Building a Beyblade launcher grip is one of those DIY projects that looks simple at firstuntil your launcher slips, your ripcord pulls at a weird angle, and your Beyblade launches with all the confidence of a sleepy pancake. A good grip gives your hand a steadier base, helps you line up your launch, and makes long battle sessions more comfortable. The goal is not to turn your launcher into a rocket engine. It is to make it easier to hold, easier to control, and more fun to use.
This guide shows you how to make a simple homemade Beyblade launcher grip using lightweight craft materials. It is designed for casual play, practice battles, and display customization. If you plan to play in organized tournaments, always check the current event rules first. Many communities allow decorative or ergonomic custom grips only when they do not change the launcher’s mechanical performance, interfere with another player, or create an unfair advantage.
The best part? You do not need a workshop full of tools. You can create a comfortable Beyblade launcher handle with cardboard, craft foam, tape, zip ties, and a little patience. Patience is important because rushing a grip build is how you end up with something that looks like it survived a stadium finish before the battle even started.
What Is a Beyblade Launcher Grip?
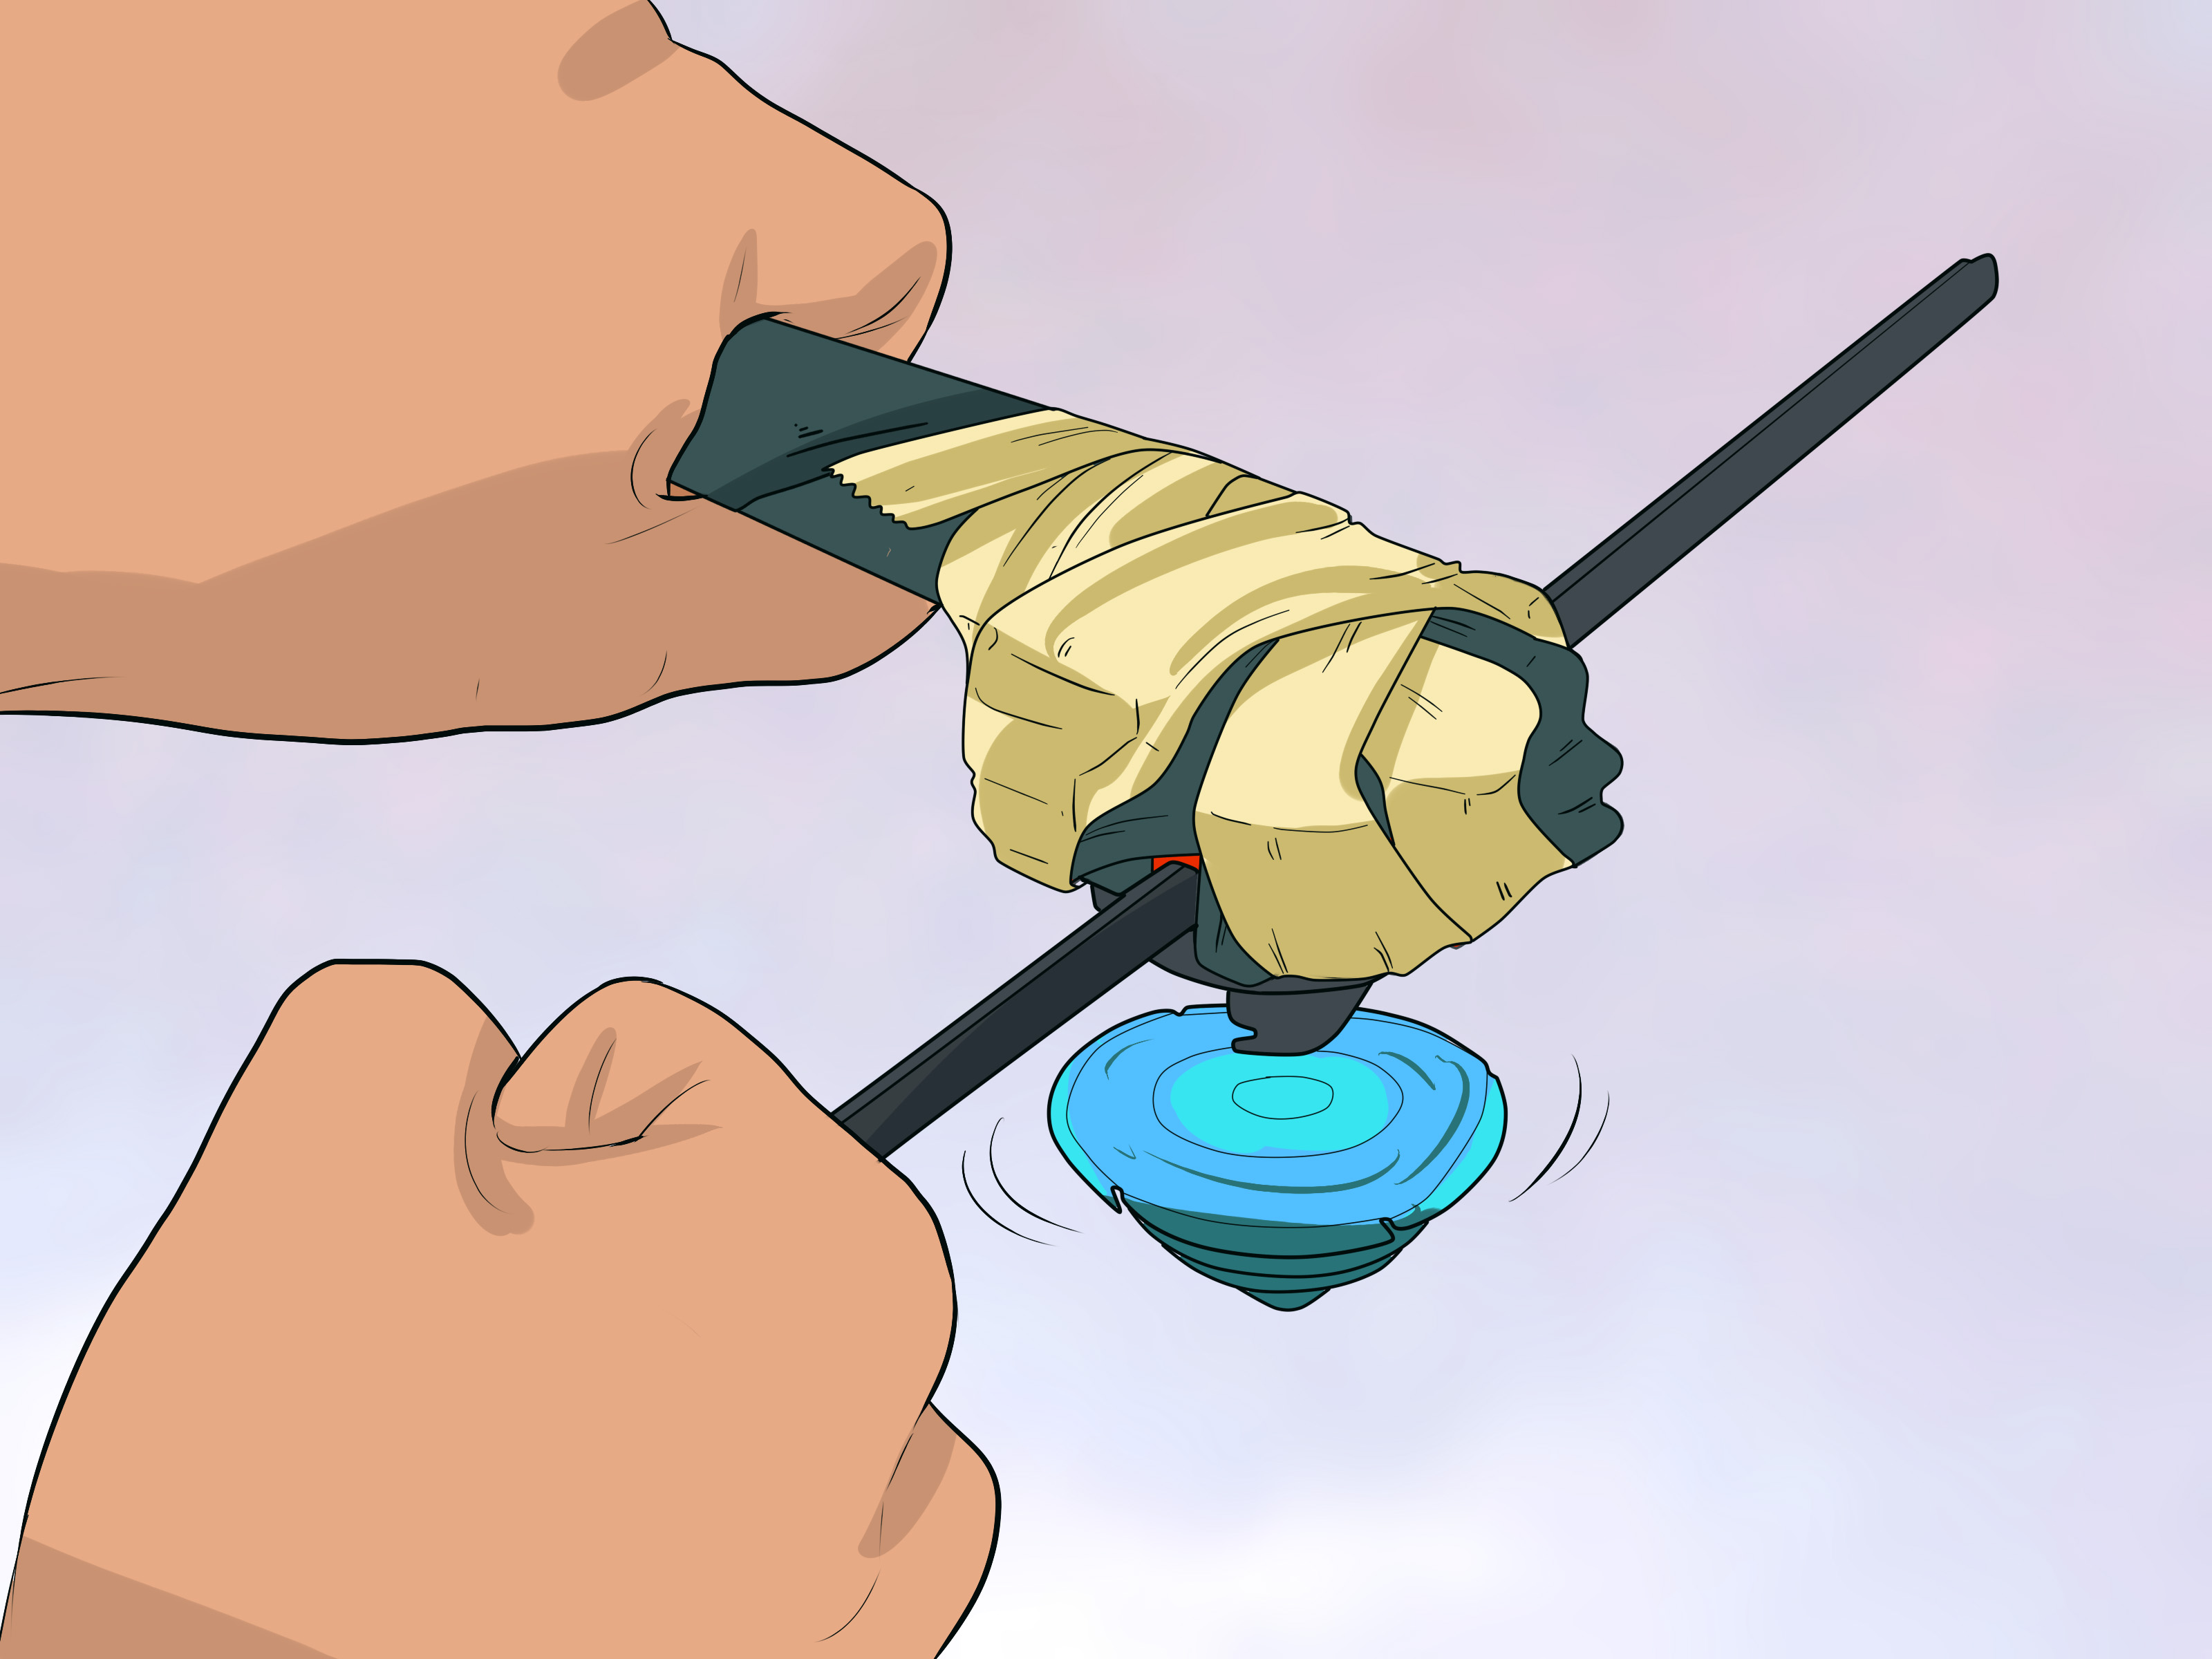
A Beyblade launcher grip is an accessory attached to a launcher to make it easier to hold during launch. Official launcher grips have appeared across several Beyblade generations, including Burst and Beyblade X. Their basic purpose is simple: give the player more stability and comfort while launching. Instead of pinching a small launcher body between your fingers, you hold a handle that feels more natural.
A homemade Beyblade launcher grip follows the same idea. It should support the launcher without blocking the ripcord, string, prongs, switch, or connection points. It should also be light enough that it does not make the launcher awkward. Think of it like adding a handle to a camera: the camera still does the work, but the handle helps you control the shot.
Before You Start: Safety and Compatibility
Not every launcher works the same way. Some Beyblade launchers are compact and do not have much room for accessories. Others have rails, side slots, or shapes that make grip attachment easier. Before building anything permanent, test the launcher in your hand and decide where a grip can sit without covering moving parts.
Use safe craft methods whenever possible. If scissors, hot glue, or cutting tools are needed, younger builders should ask an adult for help. Do not drill into the launcher, melt plastic, force pieces into the mechanism, or glue anything over the launcher’s moving parts. A launcher grip should support the launcher, not trap it like a tiny plastic prisoner.
Materials You Will Need
For this beginner-friendly Beyblade launcher grip, gather the following:
- A Beyblade launcher for fitting and testing
- Thick cardboard, a small cardboard tube, or lightweight plastic craft board
- EVA craft foam or foam grip tape
- Painter’s tape, masking tape, or electrical tape
- Two small zip ties or hook-and-loop straps
- Rubber bands for temporary fitting
- A ruler
- A pencil or marker
- Safety scissors
- Craft glue or double-sided tape
- Optional: stickers, colored tape, or paint pens for decoration
The easiest homemade design is a vertical handle with a top cradle. The launcher sits in the cradle, and the handle gives your hand something firm to hold. This avoids risky internal modification and keeps the launcher removable for cleaning, storage, and future upgrades.
How to Make a Beyblade Launcher Grip: 12 Steps
Step 1: Choose the Launcher You Want to Customize
Start by picking the exact launcher you want to use. Do not build a grip based on memory, vibes, or “it looks about right.” Beyblade launchers vary in size, shape, and ripcord direction. Place the launcher on a table and look at where your hand naturally wants to hold it. Notice the ripcord slot, string pull area, prongs, and any spin-direction switches.
Your homemade grip should never block those areas. If the launcher has a left/right switch, leave enough room to move it. If it uses a ripcord, make sure the ripcord can slide in and pull out smoothly. If it is a string launcher, leave open space for the string handle to move without scraping the grip.
Step 2: Decide Your Grip Style
There are three common DIY styles: vertical handle, side handle, and pistol-style handle. For most beginners, the vertical handle is the best choice because it is simple, stable, and easy to adjust. A side handle can work, but it may twist in your hand if the launcher is heavy. A pistol-style handle may look cool, but it can be harder to build safely and may not be accepted in organized play.
For this tutorial, use a straight vertical handle. It keeps the launcher above your fist and helps your wrist stay steady during launch. It also makes the grip look clean instead of like a confused TV remote.
Step 3: Measure the Launcher Base
Use a ruler to measure the width and length of the launcher area that will rest on the grip cradle. You do not need engineering-level precision, but you should get close. Write down the width, length, and any uneven shapes. If one side sticks out farther than the other, note that too.
Cut a small rectangle of cardboard or craft board slightly larger than the launcher base. This rectangle becomes the cradle platform. The launcher should sit on it without wobbling, but the platform should not be so large that it gets in the way of your hand or the stadium opening.
Step 4: Make the Handle Core
Cut a cardboard tube or roll a piece of thick cardboard into a handle shape. A handle about 4 to 5 inches long works well for many hands, but you can adjust it based on comfort. The handle should feel secure without forcing your fingers into an awkward position.
If you roll cardboard, overlap the edge and secure it with tape. Press it firmly so the shape does not collapse. For extra strength, slide a second rolled layer inside the first. Lightweight is good, but flimsy is not. Your grip should not bend every time you say “Let it rip.”
Step 5: Attach the Cradle Platform to the Handle
Place the cradle platform on top of the handle and center it. Use tape first, not glue. Temporary assembly lets you test the angle before making anything permanent. Wrap tape around the top of the handle and across the bottom of the platform until it feels stable.
Hold the handle like you would during battle. The platform should sit flat, and the launcher should point in the direction you naturally launch. If the launcher feels tilted, adjust the platform now. Fixing the angle later is possible, but it is annoyingthe craft version of trying to put stickers on a Beyblade after drinking too much soda.
Step 6: Build Side Rails for the Launcher
Cut two narrow strips of craft foam or folded cardboard. Place them along the sides of the cradle platform to create rails. These rails help keep the launcher from sliding sideways. Do not make them too tall. They should support the launcher, not lock it in permanently.
Use double-sided tape or small pieces of masking tape to hold the rails in place. Put the launcher on the platform and check the fit. It should slide in and out with gentle pressure. If it feels too tight, trim the rails or move them outward. If it is too loose, add a thin foam strip.
Step 7: Add a Front Stop
A front stop prevents the launcher from sliding forward during the pull. Cut a small foam or cardboard block and attach it at the front edge of the platform. Keep it low enough that it does not block the launcher’s prongs or the Beyblade when attached.
This step matters because launch force often pushes the launcher forward. Without a front stop, your launcher can creep out of place over time. The stop should act like a tiny bumper, not a wall. If the Beyblade touches it while attached, the stop is too high or too close.
Step 8: Secure the Launcher with Straps
Use two small zip ties, rubber bands, or hook-and-loop straps to secure the launcher to the cradle. For a removable build, hook-and-loop straps are best. Zip ties are stronger but less adjustable. Rubber bands are good for testing, but they may stretch or snap after repeated use.
Place one strap near the back of the launcher and one near the center, avoiding buttons, switches, ripcord slots, and moving parts. Tighten the straps only enough to prevent sliding. Over-tightening can bend cardboard, shift the launcher angle, or make removal difficult.
Step 9: Wrap the Handle for Comfort
Now make the grip feel good in your hand. Wrap the handle with EVA foam, foam grip tape, or several smooth layers of electrical tape. Start at the bottom and work upward, overlapping slightly with each wrap. This creates a softer handle and improves traction.
If your hand gets tired quickly, add a little more padding near the middle of the handle. If your grip feels too bulky, remove a layer. The right handle thickness is personal. Some players like a slim grip for fast movement; others prefer a chunkier grip that feels planted and steady.
Step 10: Test the Ripcord or String Path
Before launching a Beyblade, test the launcher empty. Insert the ripcord or hold the string handle and slowly practice the pull direction. Nothing should scrape, catch, or wobble. If the ripcord hits the handle, rotate the launcher or trim the platform. If a string handle bumps the grip, move the strap position.
This is the step where many DIY builds reveal their secrets. A grip can look perfect on the desk and still feel wrong during the pulling motion. Test slowly first. Then test with a normal launch motion. Do not use maximum power until the grip passes basic checks.
Step 11: Practice With a Beyblade in a Stadium
Attach a Beyblade and test your launcher grip inside a proper Beystadium. Start with medium launches. Watch whether the launcher stays aligned and whether the Beyblade releases cleanly. If the Beyblade scrapes, falls off, or launches at a weird angle, stop and adjust the grip.
Try a few launch angles: flat launch, slight bank, and controlled angled launch. A good grip should make these easier, not more confusing. If you feel like you are fighting the handle, reshape it. Comfort matters because launch consistency is built through repetition.
Step 12: Decorate and Finalize the Grip
Once the grip works well, decorate it. Add team colors, stickers, paint pen designs, or a name label. Keep decorations smooth and secure. Avoid loose charms, dangling pieces, or bulky attachments that could swing around during launch.
After decorating, do one final test. Check that straps are secure, the launcher is removable, and the ripcord or string moves freely. If everything feels solid, congratulationsyou have made a homemade Beyblade launcher grip that is practical, comfortable, and not held together purely by wishful thinking.
Common Mistakes to Avoid
Making the Grip Too Heavy
A heavy grip may feel powerful, but it can slow your reaction and make angled launches harder. Keep the build lightweight. Cardboard, foam, and thin craft board are better than dense materials for a beginner project.
Blocking the Launcher Mechanism
Never cover the ripcord slot, string path, prongs, or switches. If the launcher cannot operate exactly as designed, the grip is not doing its job. A launcher grip should improve handling, not interfere with function.
Using Permanent Glue Too Early
Always test with tape first. Once you glue everything, adjustments become harder. Temporary fitting lets you find the best angle before committing to the final shape.
Ignoring Tournament Rules
Homemade grips are fun for casual battles, but competitive events may have specific rules. Some events allow custom grips only when they are safe, fair, and do not affect launcher performance. When in doubt, ask the organizer before using your DIY grip in a match.
How to Improve Your DIY Beyblade Launcher Grip
After the basic version works, you can upgrade it. Add a removable wrist strap made from soft cord or hook-and-loop material. Add extra foam on one side if your hand naturally tilts. Build a second cradle for another launcher style. You can even make themed grips for attack, defense, stamina, and balance combos.
For better consistency, mark your preferred hand position with a thin strip of tape. This helps you hold the grip the same way every time. Small details like this can improve launch repeatability. Beyblade battles are chaotic enough; your grip does not need to join the chaos committee.
Experience Notes: What Making a Beyblade Launcher Grip Teaches You
Making a Beyblade launcher grip is not just a craft project. It teaches you how much small changes matter in a battle. The first thing most players notice is comfort. A basic launcher can feel fine for one or two rounds, but after repeated practice, your hand may start shifting position. When that happens, launch angle changes without you realizing it. A grip gives your hand a repeatable place to rest, which can make your launch feel more controlled.
During testing, the biggest lesson is that stability beats size. Many beginners think a larger grip will automatically feel better. Sometimes it does, but sometimes it turns the launcher into a clunky brick. The best grip is the one that disappears in your hand. You should not be thinking about the handle during battle. You should be focused on timing, angle, and strategy.
Another useful experience is learning how your launch style works. If you pull straight and fast, you may prefer a slim vertical handle. If you launch at a banked angle, you may want a slightly thicker grip that supports your wrist. If you use a string launcher, you may care more about clearance around the string path. The project helps you understand your habits instead of copying someone else’s setup blindly.
Testing also teaches patience. The first version may wobble. The second version may block the ripcord. The third version may look amazing but feel strange. That is normal. Good DIY builds improve through small adjustments. Move a strap, trim a foam rail, wrap the handle again, and test. Each change gives you more information.
One practical tip is to keep your first grip simple. Do not start with complex shapes, moving parts, or oversized decorations. A clean handle with a secure cradle is more useful than a dramatic design that gets in the way. Once the basic build works, then you can add style. In Beyblade terms, performance first, flair secondunless the flair is really good, in which case we respectfully admire it after the test launch.
Finally, making your own launcher grip adds personality to your setup. Your Beyblade combo already shows your strategy, but your launcher grip shows your style. Maybe you like a clean black-and-silver design. Maybe you want neon tape and stickers that look like they escaped from an arcade. Either way, the finished grip feels more personal because you built it. And when your launch improves, even a little, the project feels worth it.
Conclusion
A homemade Beyblade launcher grip can make casual battles more comfortable, controlled, and fun. The key is to keep the design lightweight, removable, and safe. Build a sturdy handle, create a simple cradle, secure the launcher without blocking moving parts, and test carefully before full-power launches. With 12 straightforward steps, you can turn a basic launcher into a more comfortable practice setup while learning more about your own launch style.
Remember, the best Beyblade launcher grip is not always the flashiest one. It is the one that helps you launch consistently. Start simple, adjust patiently, and decorate once the grip works. Your Beyblade may still burst, get knocked out, or dramatically betray you in the stadiumbut at least your launcher will feel great in your hand.