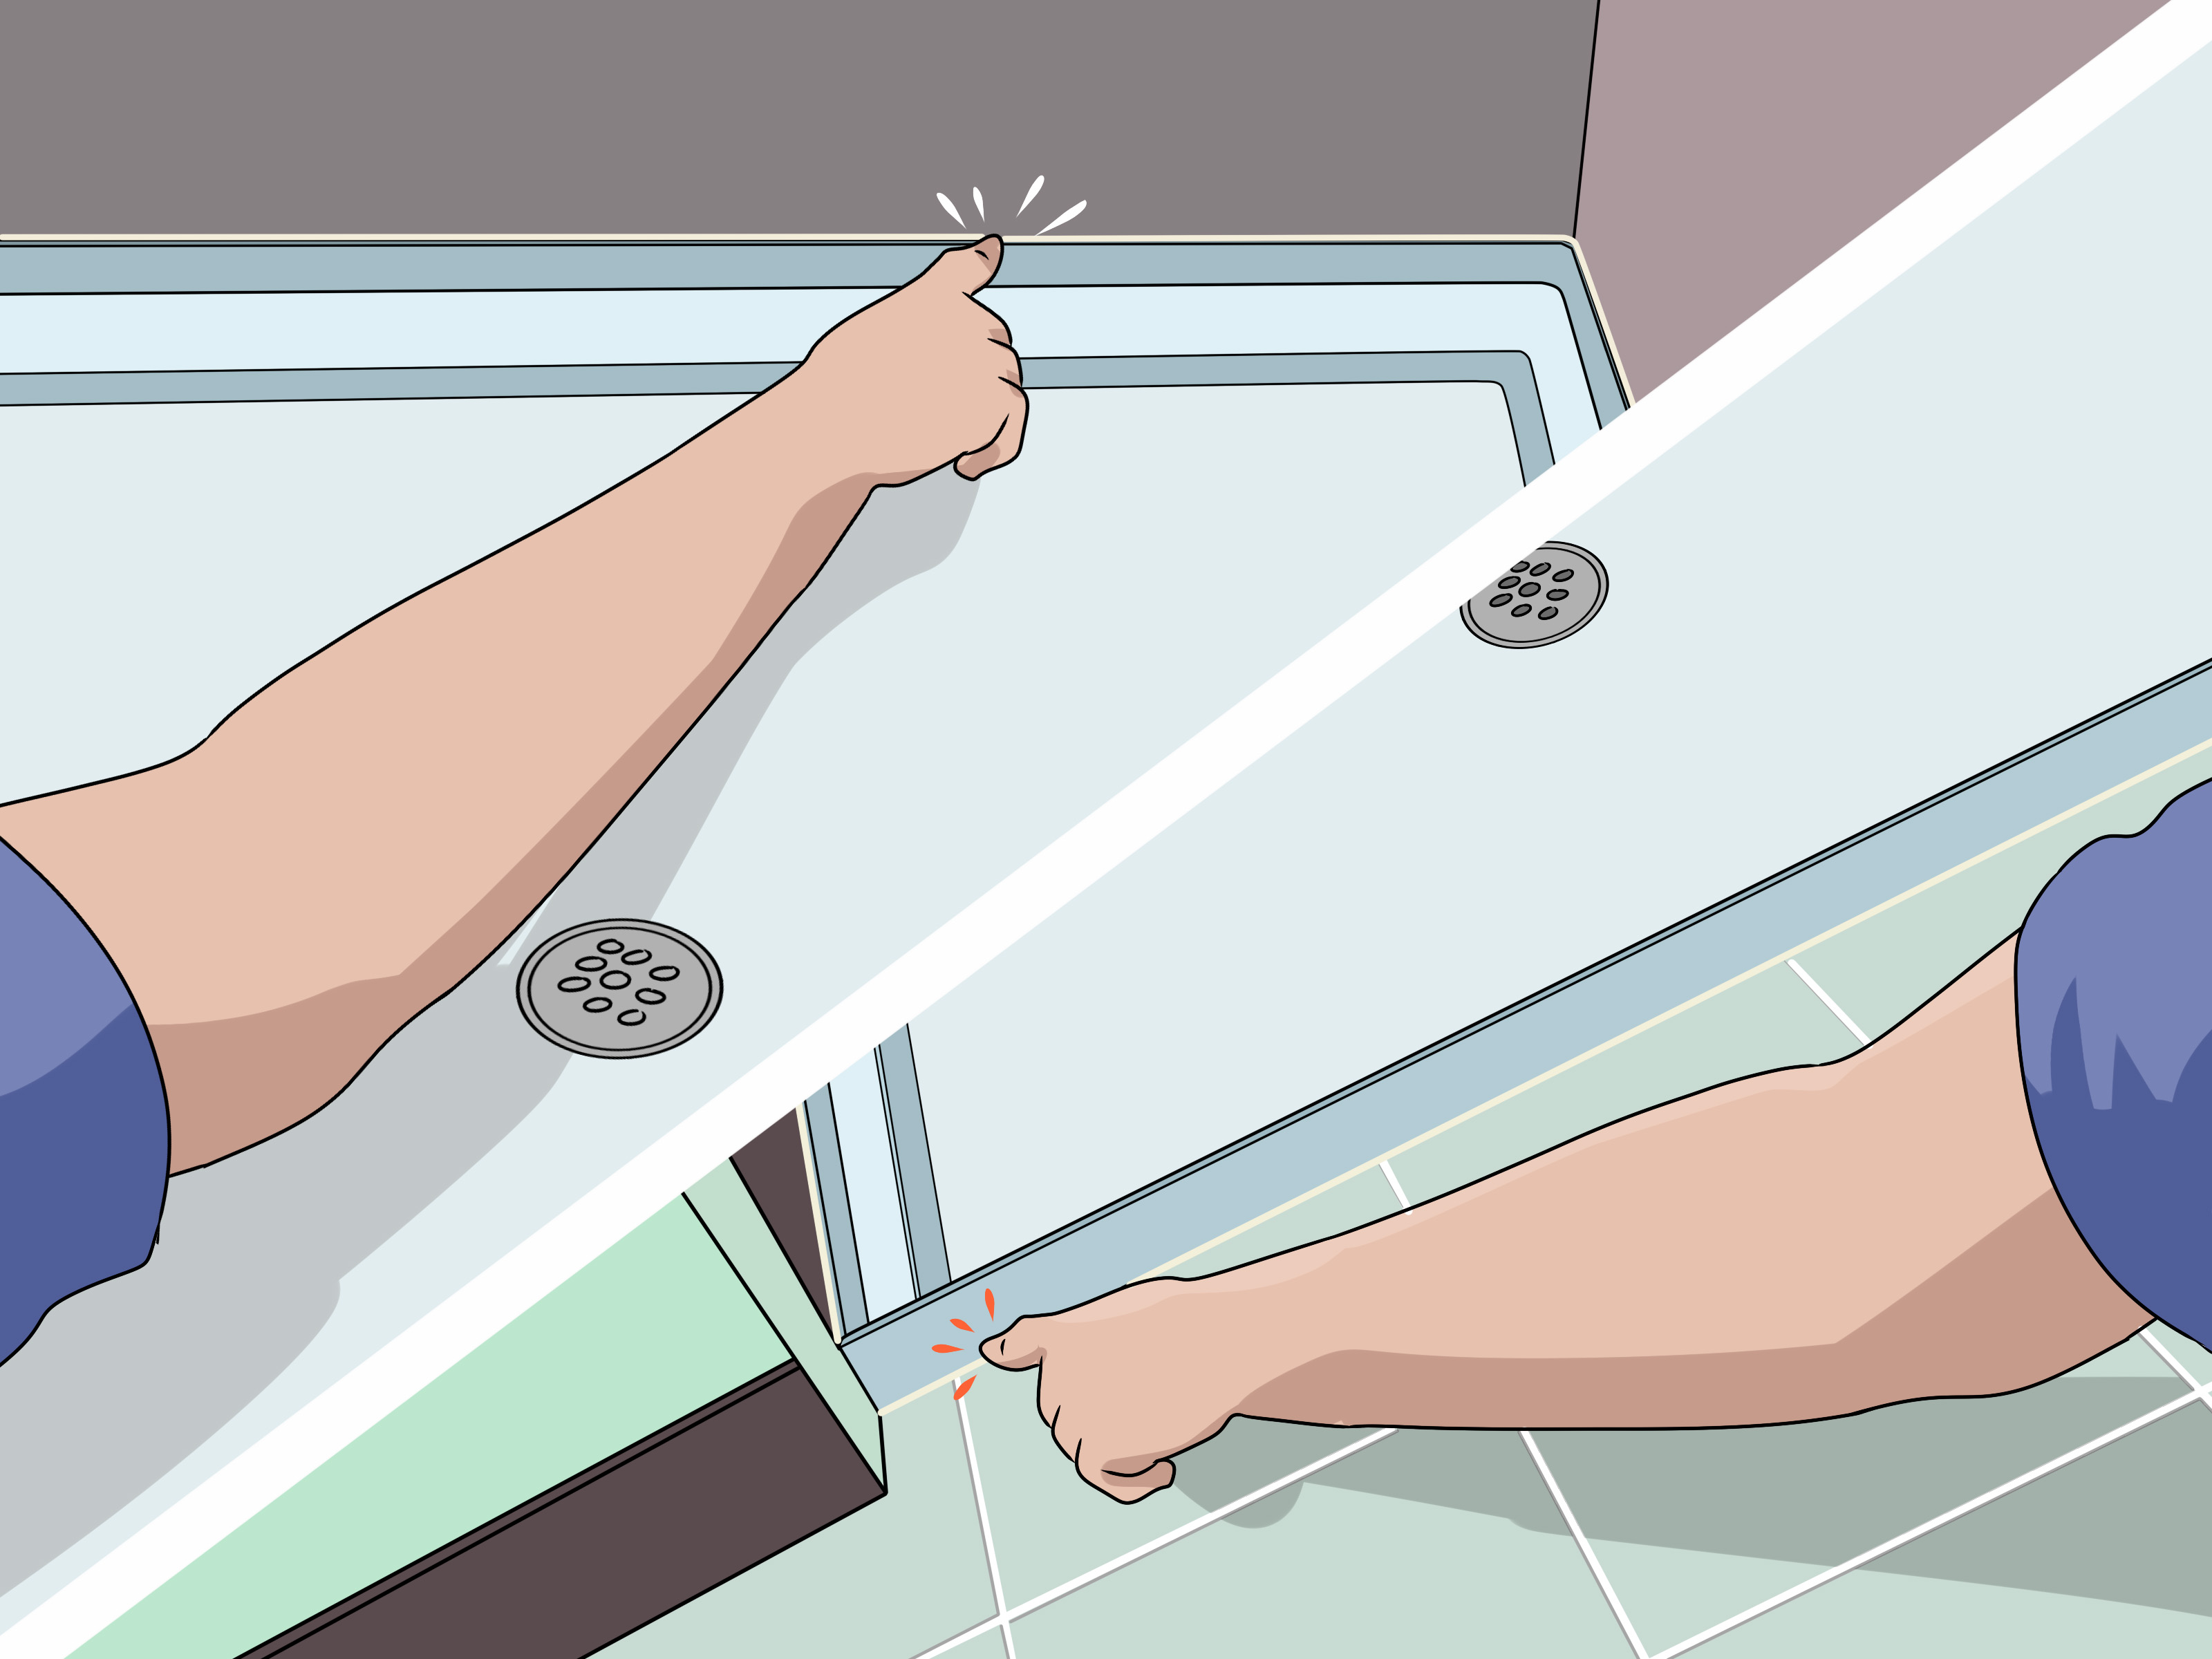
Installing a shower pan is one of those home improvement projects that looks suspiciously simple from across the room. A pan goes on the floor, a drain goes in the hole, water goes away, and everyone lives happily ever after, right? Mostly yesbut only if the base is level, the drain is sealed properly, the subfloor is solid, and the wall system overlaps the pan flange correctly. Skip one of those details and your “quick bathroom upgrade” can turn into a slow-motion indoor waterfall.
The good news is that a prefabricated shower pan installation is very doable for careful DIYers. This guide focuses on an effective, simple method for installing a common acrylic, fiberglass, composite, or solid-surface shower base in an alcove or corner shower. It is not a full custom tiled mortar pan tutorial. Instead, it is a practical step-by-step shower pan installation guide for homeowners who want a sturdy, leak-resistant result without needing a master plumber’s belt, a tile setter’s knees, or a second mortgage.
What Is a Shower Pan and Why Does Installation Matter?
A shower pan, also called a shower base or shower receptor, is the waterproof floor of the shower. It supports your weight, directs water toward the drain, and protects the framing below from moisture. Most modern prefab shower pans are already sloped at the factory, which makes them much friendlier for DIY installation than traditional hand-built mortar pans.
Still, “pre-sloped” does not mean “just toss it in and hope.” The pan must sit firmly on the floor without rocking. It must be level around the edges so the built-in slope works as designed. The drain connection must be watertight. The wall panels, backer board, or tile system must shed water into the pannot behind it. In other words, the shower pan is the bathroom’s quiet hero. Treat it well and it will work for years. Treat it like a pizza tray and it may punish you with leaks.
Before You Start: Confirm the Job Is DIY-Friendly
This method is best for replacing an existing shower base with a similar size and drain location, or installing a new shower where the plumbing rough-in is already correct. If you need to cut joists, move a drain across the room, repair rotten framing, or modify structural flooring, pause and call a licensed professional. Local plumbing and building codes vary, and many areas require permits for plumbing changes.
Also read the manufacturer’s instructions for your specific shower pan. Different brands may require mortar, adhesive, shims, screws through the flange, or a specific drain type. When the printed instructions disagree with a general online guide, trust the manufacturer. They designed the pan; the internet designed arguments.
Tools and Materials You Will Need
Basic tools
- Tape measure
- 4-foot level and small torpedo level
- Pencil or marker
- Drill and bits
- Screwdriver
- Adjustable pliers or channel-lock pliers
- Utility knife
- Caulk gun
- Bucket and mixing paddle if using mortar
- Notched trowel or margin trowel
- Shop vacuum
Materials
- Prefabricated shower pan
- Compatible shower drain assembly
- 100% silicone sealant or approved plumber’s putty, depending on pan and drain material
- Mortar mix or floor-leveling compound if required
- Galvanized or corrosion-resistant screws, if allowed by the manufacturer
- Wood shims or composite shims, if approved
- Construction adhesive, only if specified
- Clean rags
- Painter’s tape
One important warning: regular plumber’s putty is not always safe for acrylic, ABS, or certain plastic shower bases. Many drain manufacturers recommend silicone for those materials. Read the drain and pan instructions before choosing your sealant. A watertight seal is great; a stained or damaged shower base is less great.
Step 1: Remove the Old Shower Pan and Inspect the Area
If you are replacing a shower pan, remove the old door, wall panels, tile, or lower wall covering as needed. Disconnect the drain according to the drain style. Some compression drains can be loosened from above, while older solvent-welded drains may require access from below or careful cutting.
Once the old pan is out, clean everything. Remove old caulk, loose mortar, nails, screws, dust, and mystery bathroom debris. This is also the time to inspect the subfloor. Look for dark staining, softness, swelling, mildew smell, or crumbling wood. A new shower pan should never be installed over damaged subfloor. That is like putting a new roof on a collapsing shed and calling it “character.”
Replace any compromised plywood or framing before moving forward. The floor must be structurally sound, flat, and capable of supporting the shower base and the person using it.
Step 2: Dry-Fit the Shower Pan
Set the new shower pan into the opening without sealant or mortar. Push it gently into the stud pocket or against the framed walls. The pan should fit snugly without forcing. Check that the drain hole lines up with the drain pipe. If it does not, the drain plumbing must be adjusted before installation.
Now place a level across the front threshold, then along the back edge, and then from side to side. The rim of the pan should be level. Remember, the inside floor is already sloped toward the drain; you are checking the upper edges, not trying to “fix” the pan’s built-in slope.
If the pan rocks, identify the high spot or low spot. Sometimes a stray screw head or clump of old thinset is the villain. Other times the floor is uneven and needs leveling compound, mortar support, or approved shimming.
Step 3: Check the Framing and Studs
Before the pan is permanently set, check that the studs are straight, plumb, and square. The shower pan flange should sit flat against the framing. Bowed studs can create gaps that make wall board installation difficult later. If necessary, plane high spots, sister crooked studs, or add furring strips so the wall surface will sit correctly over the pan flange.
This step matters because the waterproofing layer must direct water into the shower pan. If the wall board kicks out oddly or stops behind the flange, water can sneak into the wall cavity. Water is persistent. It has patience. It does not care about your weekend plans.
Step 4: Prepare the Drain Opening
Most prefab shower pans require a floor opening large enough for the drain assembly and final connection. Follow the pan instructions for the exact cutout size. A common installation may need several inches of clearance around the drain pipe so the drain body can drop into place and the gasket or compression nut can be tightened.
Check the drain pipe height carefully. It must match the drain assembly requirements. If the pipe is too tall, the pan may not sit flat. If it is too short, the gasket may not seal properly. For a no-caulk compression drain, the pipe usually extends through the drain body and seals with a rubber gasket tightened from above. Other drains may require solvent welding or access from below.
If you are unsure about drain pipe sizing, trap location, venting, or code requirements, bring in a plumber. Drain work hidden under a shower pan is not where you want to practice advanced guesswork.
Step 5: Install the Drain Assembly on the Shower Pan
Many shower pan installations begin by attaching the drain flange to the pan before the pan is set in place. Disassemble the drain and clean the drain hole. Apply the approved sealant under the drain flange. For many plastic and acrylic bases, 100% silicone is the safer choice. For compatible materials, plumber’s putty may be allowed.
Insert the drain flange through the top of the shower pan. From underneath, install the rubber gasket, friction washer, and locking nut in the order specified by the drain manufacturer. Tighten the nut securely without overdoing it. Too loose can leak; too tight can stress the pan or deform the gasket.
Wipe away excess sealant from the top side. The drain should sit flat, clean, and centered. At this stage, resist the urge to celebrate by standing in the pan. It is not installed yet, and gravity is always looking for comedy.
Step 6: Add Mortar Support If Required
Some shower pans are designed to rest directly on the subfloor. Others require or strongly benefit from a mortar bed for full support. Even when labeled optional, mortar can reduce flexing, squeaking, and that hollow “plastic drum solo” sound underfoot.
If your manufacturer recommends mortar, mix it to a thick but workable consistency. Spread it on the subfloor where the pan bottom will make contact, avoiding the drain area. Do not use drywall compound or gypsum-based products for this purpose. They are not structural support materials, and they do not belong under a shower base.
The goal is not to build a mountain range. Use enough mortar to support low areas and create full contact under the pan. When the pan is pressed into place, the mortar should compress and cradle the base without lifting it above the correct height.
Step 7: Set the Shower Pan in Place
Carefully lower the shower pan into position. Align the drain over the pipe and slide the base against the studs. Press down evenly so the pan beds into the mortar or sits firmly on the subfloor. Do not twist aggressively once the drain flange is aligned, especially if sealant is fresh.
Check the pan with a level again. Test front to back and side to side across the rim. If adjustment is needed, make it immediately before the mortar begins to firm up. Use only approved shims and place them where the manufacturer allows. The pan should feel solid, not springy or wobbly.
If the pan has a fastening flange, drill pilot holes if required and secure it to the studs according to the instructions. Do not drive screws through the horizontal deck, the curb, or the inside of the pan. Fasteners generally go through the vertical flange only, and they should not crack or distort it.
Step 8: Connect and Tighten the Drain Seal
For a compression-style no-caulk drain, install the rubber gasket around the drain pipe inside the drain body. Push it down evenly until seated, then tighten the compression ring or gasket set screw as directed. Snap in the strainer only after the seal is complete and clean.
For solvent-weld drains, follow the drain manufacturer’s instructions exactly. Solvent welding must be done with compatible pipe, primer, and cement. Once glued, the connection becomes permanent very quickly. This is not a “let me rotate it later” situation. It is more of a “measure twice, breathe once, glue carefully” situation.
Step 9: Perform a Leak Test
Before installing finished walls, test the drain. Plug the drain or use a test plug if appropriate. Add water to the pan and let it sit long enough to reveal leaks around the flange or drain connection. Then release the water and watch the underside if you have access. If you are working over a ceiling below, inspect that area too.
Also pour water around the drain and across the floor of the pan. It should move toward the drain without pooling in corners. Tiny beads of water can cling because of surface tension, but standing puddles may indicate that the pan is out of level or not seated correctly.
Fix leaks now, not after tile, glass doors, and trim are installed. Future you will be deeply grateful.
Step 10: Install Wall Board or Shower Walls Correctly
Once the shower pan is secure and the drain passes testing, install the wall system. For a direct-to-stud surround, the panels usually overlap the pan flange. For tile, cement board or approved backer board should be installed with the correct gap above the pan ledge, then waterproofed according to the system being used.
Do not rely on tile and grout alone for waterproofing. Grout is not a magic force field. A proper shower wall system uses membranes, waterproof boards, sealant, flashing, or manufacturer-approved seams to direct water back into the pan.
Apply silicone where the wall system meets the pan if required, leaving weep paths if the wall system specifies them. Follow the instructions for your exact products.
Common Shower Pan Installation Mistakes to Avoid
Skipping the dry fit
Dry-fitting catches drain alignment problems, framing issues, and uneven floors before adhesive or mortar enters the story. Skipping it is how simple projects become dramatic.
Installing over a weak subfloor
A shower base needs a solid foundation. If the floor flexes, the pan may flex too, which can damage seals and create cracks over time.
Using the wrong sealant
Some surfaces are incompatible with plumber’s putty. When in doubt, use the sealant recommended by the pan and drain manufacturers.
Fastening through the wrong part of the pan
Screws belong only where the manufacturer says they belong. Random holes in a waterproof receptor are not “extra secure.” They are future leaks wearing disguises.
Forgetting the wall-to-pan water path
The shower walls must overlap or integrate with the pan flange so water runs into the pan. If water can run behind the flange, it eventually will.
How Long Does It Take to Install a Shower Pan?
A straightforward shower pan replacement may take a skilled DIYer a full day, not counting demolition, wall repair, or cure time for mortar and sealant. A first-time homeowner should plan for a weekend. That gives you time to dry-fit, correct surprises, make a hardware store run, and stare thoughtfully at the drain while holding a cup of coffee.
If mortar is used, allow it to cure according to the product instructions before putting weight on the pan or installing heavy wall materials. Silicone also needs proper cure time before a serious water test or daily use.
When to Call a Professional
DIY is empowering, but water damage is expensive. Call a licensed plumber or contractor if the drain must be relocated, the trap is inaccessible, the subfloor is rotten, the shower is curbless, the installation must meet accessibility requirements, or local code requires permitted plumbing work. Professional help is also smart when working on a second-floor bathroom where leaks can damage finished ceilings below.
There is no shame in hiring out the risky part and finishing the rest yourself. In fact, that is often the smartest version of DIY: save money where you can, spend money where mistakes get costly.
Practical Experience: What Really Makes Shower Pan Installation Easier
The biggest lesson from shower pan installation is that the job is won before the pan is permanently set. The visible stepdropping the base into placefeels like the main event, but the real work is preparation. A clean floor, accurate measurements, square framing, and a properly placed drain are what make the final installation feel easy. If those details are wrong, the pan will fight you like it has somewhere else to be.
One useful habit is to mark reference lines on the studs during the dry fit. After setting the pan in place, trace the top of the flange or mark the manufacturer’s recommended height. When you remove the pan to add mortar or install the drain, those marks help you return it to the exact position. It sounds small, but during installation, when the mortar is wet and the drain needs alignment, small reference marks feel like GPS for your bathroom floor.
Another real-world tip is to test the pan for sound and movement before committing. Step gently in different areas during the dry fit, if the manufacturer allows it and the pan is safely supported. Listen for hollow popping or rocking. A pan that flexes now may squeak later. Mortar support can make a dramatic difference, especially with lightweight acrylic or fiberglass bases. The goal is a base that feels boringly solid. In home improvement, “boring” often means “installed correctly.”
Drain work deserves extra patience. Many leaks come from rushing the flange seal, mixing up washer order, or tightening unevenly. Lay out the drain parts on the floor in order before installing them. Clean both sides of the drain hole. Apply sealant evenly. Tighten the locknut snugly, then stop before you become a superhero with pliers. Over-tightening can squeeze out too much sealant or distort the gasket. A controlled hand beats brute force almost every time.
It also helps to keep the work area obsessively clean. Grit under a pan can create a high spot. A dropped screw can hold one corner up just enough to ruin level. Old caulk can prevent the flange from sitting tight to the studs. Vacuum more than seems necessary. Your shower pan will not applaud, but it will sit better.
Finally, do not rush the leak test. A pan can look perfect and still have a drain connection that weeps slowly. Fill, wait, drain, inspect, and repeat if something looks suspicious. If you have access below, use it. If not, be extra careful before closing walls. Once tile or panels are installed, every repair becomes more complicated. A patient test today can save a ceiling repair tomorrow.
Conclusion
Learning how to install a shower pan is less about fancy tools and more about precision. Start with a solid subfloor, dry-fit the base, verify the drain location, support the pan properly, seal the drain correctly, and test before covering anything. A prefabricated shower base can make a bathroom remodel faster and cleaner, but it still needs careful installation to prevent leaks and long-term movement.
For most DIYers, the simplest successful method is this: prepare thoroughly, follow the manufacturer’s instructions, use approved sealants, level the rim, support the base, and respect the drain. Do that, and your shower pan will quietly do its job every morning while you think about more important thingslike why shampoo bottles multiply when nobody is watching.
Note: This article is based on widely accepted U.S. shower pan installation practices, manufacturer-style installation guidance, and common plumbing recommendations. Always follow your specific product instructions and local code requirements.