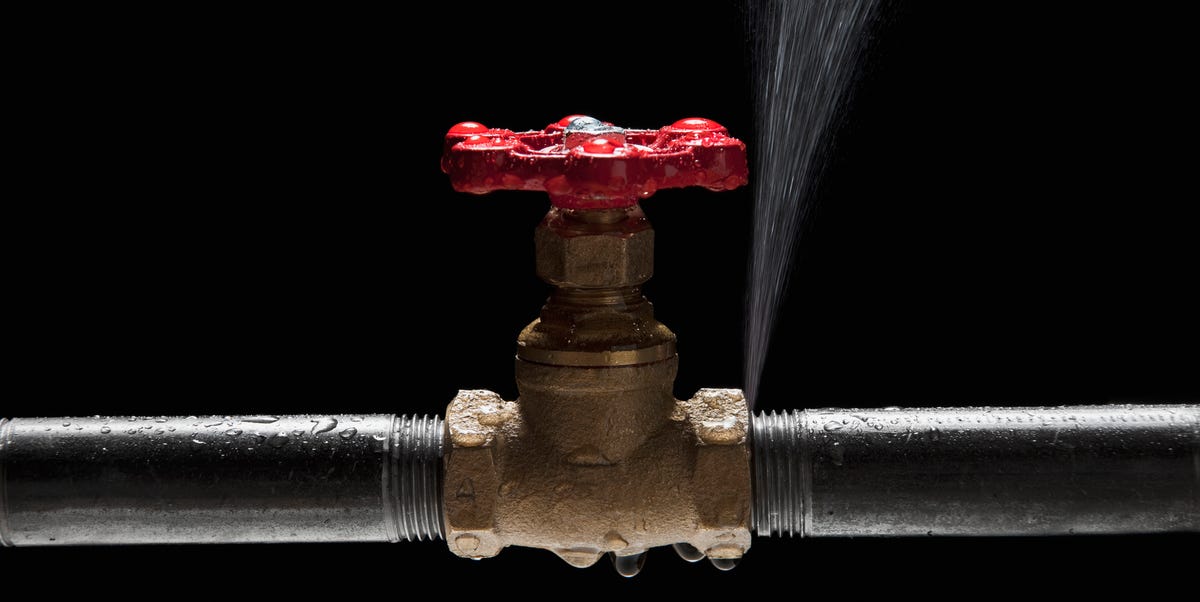
Leaky pipes rarely arrive with dramatic music, flashing lights, or a polite written warning. They usually introduce themselves with a mysterious stain, a suspicious drip, a soft cabinet floor, or a water bill that looks like it took a vacation without you. The good news? Many pipe leaks can be controlled quickly, diagnosed calmly, and repaired properly when you know what you are looking at.
This guide explains how to handle leaky pipes safely, how to tell a temporary patch from a real repair, when to call a plumber, and how to prevent the same soggy little villain from returning. Whether the leak is under the kitchen sink, behind a wall, near a water heater, or in a copper line with a pinhole, the goal is the same: stop the water, protect the house, and fix the pipe the right way.
Why Leaky Pipes Deserve Fast Attention
A small leak can look harmless at first. One drip under a sink may not seem urgent, especially if the bucket is doing its brave little bucket job. But water is patient. It seeps into wood, drywall, flooring, insulation, and cabinets. Over time, it can cause staining, swelling, rot, musty odors, mold growth, and higher utility bills.
Household leaks are also a water-waster. Common problems such as worn toilet flappers, dripping faucets, and leaking valves can waste thousands of gallons per year if ignored. That means repairing leaky pipes is not just about avoiding damage; it is also about saving money and conserving water.
Common signs of a leaky pipe
- Water stains on ceilings, walls, or cabinet floors
- A musty smell near sinks, bathrooms, basements, or laundry rooms
- Peeling paint, bubbling drywall, or warped flooring
- Low water pressure from one fixture
- A water meter that moves when all fixtures are off
- Unexplained increases in the water bill
- Dripping, hissing, or spraying sounds inside walls or cabinets
Step One: Shut Off the Water Before You Play Detective
Before you grab a wrench, a flashlight, and the confidence of a reality-TV handyman, stop the water. If the leak is under a sink or behind a toilet, use the local shut-off valve. Turn it clockwise until it stops. If the leak is from a pipe without a nearby valve, shut off the main water supply to the house.
The main shut-off valve is often found in a basement, crawl space, garage, utility room, near the water heater, or where the water line enters the home. In warmer climates, it may be outside near the foundation or inside a meter box near the curb. After closing the valve, open a faucet at the lowest level of the house to relieve pressure and drain remaining water from the line.
Do not ignore electrical safety
If water is near outlets, appliances, a breaker panel, or extension cords, treat the situation as an electrical hazard. Do not stand in water while touching switches, plugs, or electrical equipment. If you cannot safely reach the breaker, step away and call a professional. Water and electricity are not a DIY friendship bracelet.
Find the Type of Leak You Are Dealing With
Repairing leaky pipes starts with identifying the source. Not every leak is actually a broken pipe. Some leaks come from loose slip nuts, worn washers, cracked supply hoses, failed faucet cartridges, old shut-off valves, garbage disposal connections, or damaged drain traps.
Supply line leaks
Supply lines carry pressurized clean water to sinks, toilets, showers, dishwashers, washing machines, ice makers, and water heaters. Because they are under pressure, leaks from supply lines can drip constantly or spray aggressively. These leaks require quick action because they can release a surprising amount of water in a short time.
Drain line leaks
Drain lines carry wastewater away. They usually leak only when water is running through the sink, tub, shower, dishwasher, or washing machine. Under-sink drain leaks are often caused by loose slip-joint nuts, worn washers, cracked plastic traps, or misaligned pipes.
Pinhole leaks
Pinhole leaks are tiny openings, often seen in copper pipe. They may start as a faint greenish stain, mineral crust, or fine spray. Do not poke the spot to “see how bad it is.” That is how a small leak becomes a dramatic indoor fountain with terrible timing.
Hidden leaks
Hidden leaks behind walls or under floors are trickier. Watch for soft drywall, stains that grow after using a fixture, flooring that cups or buckles, or water meter movement when no water is being used. A plumber may use moisture meters, pressure testing, acoustic tools, or thermal imaging to locate the leak without opening half the house.
Temporary Fixes for Leaky Pipes
A temporary repair is meant to buy time, not become a family heirloom. Use it to stop or slow water damage until a proper repair can be made. Always read the product instructions and confirm the material is suitable for your pipe type, water temperature, and pressure.
Epoxy putty
Epoxy putty can be used on small leaks or holes in certain pipe materials. The basic process is to shut off the water, dry the area as much as possible, clean and lightly roughen the pipe surface, knead the putty until it is uniform, then press it firmly over and around the leak. Let it cure according to the manufacturer’s instructions before turning the water back on.
Epoxy is useful in emergencies, but it is not a magic spell. On active pressurized leaks, dirty surfaces, flexible pipe, or badly corroded pipe, it may fail. Think of epoxy as the bandage, not the surgery.
Pipe repair clamps
A pipe repair clamp uses a rubber gasket and a metal sleeve to compress around a small damaged section. It is one of the fastest ways to stop a pinhole leak in a straight section of pipe. The pipe must be accessible, the clamp must match the pipe size, and the rubber gasket must sit directly over the leak.
Self-fusing silicone tape
Self-fusing silicone repair tape can help slow small leaks when wrapped tightly around a clean pipe. It does not rely on adhesive; it bonds to itself. Stretch it as you wrap, overlap each pass, and extend beyond the leaking area. It works best as a short-term emergency measure, not a permanent fix inside a wall.
Pipe repair wrap
Some repair kits include resin-activated fiberglass wrap. These are often used with putty: the putty fills the hole, and the wrap reinforces the patch. The pipe surface must be prepared correctly, and the wrap must cure fully before pressure is restored.
Permanent Repairs: What Actually Solves the Problem?
A permanent pipe repair removes or replaces the failed section, fitting, valve, washer, gasket, or connector. The right method depends on the pipe material, location, water pressure, local plumbing code, and your skill level.
Repairing copper pipe
For copper pipe, common permanent repair options include soldering in a new section, using a compression coupling, installing a press fitting with professional tools, or using an approved push-to-connect fitting. The damaged area is cut out with a tubing cutter, the pipe ends are cleaned and deburred, and the replacement section is installed with the correct fittings.
Soldering copper requires clean pipe, dry conditions, flux, heat control, and fire safety. If the pipe is near framing, insulation, or tight wall cavities, this is often a job for a licensed plumber. A torch is helpful in the right hands and terrifying in the wrong ones, which is a sentence that applies to both plumbing and birthday cakes.
Repairing PEX pipe
PEX is flexible plastic tubing commonly used in modern homes. Permanent PEX repairs may use crimp rings, clamp rings, expansion fittings, or push-to-connect fittings approved for PEX. The damaged section is cut out cleanly, and a new piece is installed with compatible fittings. Always match the repair method to the PEX type and fitting system.
Repairing CPVC or PVC pipe
CPVC is used for hot and cold water supply in some homes, while PVC is more common for drain, waste, vent, and cold-water applications. Repairs typically involve cutting out the damaged section and solvent-welding in a new section with primer and cement rated for that pipe type. The pipe must be clean, square-cut, dry, and properly supported while the cement cures.
Repairing galvanized steel pipe
Older galvanized pipes can corrode from the inside out. A single leak may be a warning sign that the pipe system is nearing the end of its useful life. Threaded galvanized repairs can be difficult because old fittings may seize, crack, or break loose in unpleasant ways. If your home still has extensive galvanized plumbing, ask a plumber whether partial or full replacement makes more sense than repeated patching.
How to Repair a Leaky Pipe Under a Sink
Under-sink leaks are common, visible, and usually less mysterious than leaks inside walls. Start by drying the cabinet floor and running water while watching the supply lines, shut-off valves, faucet base, drain trap, garbage disposal, dishwasher hose, and wall connection.
If the leak is from a supply connection
Turn off the valve, place a towel underneath, and gently tighten the connection with an adjustable wrench. Do not overtighten. If the leak continues, replace the supply hose or the washer inside the connection. Braided stainless steel supply lines are widely used and are often easier to replace than repair.
If the leak is from the drain trap
For plastic slip-joint drain parts, hand-tighten the slip nuts first. If that does not work, disassemble the trap, inspect the washers, clean the mating surfaces, and reassemble the parts straight. A crooked drain trap is like a crooked picture frame: you can ignore it for a while, but it will keep bothering you.
If the leak is from the garbage disposal
Check the dishwasher inlet hose, discharge pipe, mounting ring, and bottom of the unit. A leak from a side connection may require tightening or replacing a gasket. A leak from the bottom of an old disposal often means the internal seal has failed, and replacement is usually the better solution.
When to Call a Plumber
DIY repairs are satisfying, but some leaks are not good candidates for weekend experimentation. Call a licensed plumber if the leak is inside a wall, under a slab, near electrical components, connected to the main service line, part of a gas water heater system, or caused by severe corrosion. Also call a pro if the pipe keeps leaking after a temporary patch, if you cannot identify the pipe material, or if local code requires professional work.
Professional help is also smart when you see repeated leaks in different parts of the house. That may indicate high water pressure, corrosion, aggressive water chemistry, poor installation, freezing damage, or aging plumbing. Fixing one spot without addressing the cause is like replacing one flat tire while driving over a box of nails.
Clean Up Water Damage the Right Way
After the leak is stopped, remove standing water quickly. Use towels, a wet/dry vacuum if appropriate, fans, and dehumidifiers. Open cabinet doors and pull wet items away from walls. Porous materials such as soaked carpet pad, swollen particleboard, wet insulation, and moldy ceiling tiles may need removal.
Mold prevention depends on speed and dryness. Hard surfaces can usually be scrubbed with detergent and water, then dried completely. Never mix bleach with ammonia or other cleaners. If the damaged area is large, if sewage is involved, or if someone in the home has asthma, allergies, immune issues, or respiratory concerns, bring in a qualified remediation professional.
Document the damage
Before tearing out damaged materials, take clear photos and videos. Photograph the leak source, wet flooring, damaged drywall, swollen cabinets, damaged belongings, and repair receipts. Insurance coverage varies, but documentation helps if you need to file a claim.
Will Homeowners Insurance Cover Leaky Pipes?
Homeowners insurance often treats sudden and accidental water damage differently from slow leaks caused by neglect or normal wear. A burst pipe may be covered, while damage from a long-term leak that went unrepaired may be denied. The pipe repair itself is often considered maintenance, while resulting water damage may or may not be covered depending on the policy and cause.
Read your policy, contact your insurer quickly, and avoid making assumptions. Keep receipts for emergency plumbing, water extraction, drying equipment, and repairs. If the leak is significant, ask the plumber to describe the cause in writing. “Old pipe finally gave up” and “sudden fitting failure” can lead to very different insurance conversations.
Preventing Leaky Pipes Before They Start
The best pipe repair is the one you never need to make. Regular plumbing maintenance can reduce the risk of leaks and help you catch small problems early.
Check visible plumbing twice a year
Look under sinks, behind toilets, near water heaters, around washing machines, under dishwashers, and around ice maker lines. Feel for moisture, look for mineral deposits, and sniff for musty odors. Your nose is not a certified leak detector, but it often gets suspicious before your eyes do.
Replace old supply hoses
Rubber washing machine hoses and old fixture supply lines can fail without much warning. Consider braided stainless steel replacements and follow manufacturer recommendations for inspection and replacement.
Monitor water pressure
High water pressure can stress pipes, valves, water heaters, appliances, and fixtures. If faucets bang, toilets run unpredictably, or supply lines fail repeatedly, ask a plumber to test the pressure and inspect the pressure-reducing valve if your home has one.
Protect pipes from freezing
Insulate vulnerable pipes in crawl spaces, garages, basements, and exterior walls. During extreme cold, open cabinet doors under sinks and let indoor heat reach the plumbing. If you leave home during winter, keep the heat on and know how to shut off the water.
Install leak detectors
Water leak detectors can alert you to moisture near water heaters, washing machines, sinks, sump pumps, dishwashers, and toilets. Basic sensors sound an alarm. Smart sensors can send phone alerts. More advanced systems can monitor water flow and automatically shut off the main valve when a serious leak is detected.
Common Mistakes to Avoid When Repairing Leaky Pipes
- Using tape on the wrong leak: Thread seal tape helps threaded connections, not cracked pipe walls or slip-joint drain washers.
- Overtightening fittings: Too much force can crush washers, crack plastic nuts, or damage threads.
- Patching corroded pipe: A patch on badly corroded pipe may only move the leak a few inches away.
- Ignoring water pressure: Repeated leaks may be a symptom, not the main problem.
- Closing walls too soon: Always pressure-test and monitor the repair before replacing drywall.
- Forgetting the water heater: If you shut off water to the house, follow safe shutdown procedures for the water heater, especially electric units.
Real-World Experiences With Leaky Pipes
One of the most common homeowner experiences starts under the kitchen sink. Someone reaches for dish soap and discovers the cabinet floor has turned into a tiny indoor marshland. The first instinct is usually panic, followed by the ancient ritual of throwing every towel in the house at the problem. In many cases, the culprit is not a shattered pipe but a loose slip nut, a worn washer, or a misaligned trap. The lesson is simple: dry everything first, run water slowly, and watch carefully. The leak will usually reveal itself if you give it a minute and stop waving the flashlight around like you are directing airport traffic.
Another familiar story involves a pinhole leak in a copper pipe. At first, it may look like a small green stain or a little crusty spot. Then one day, it sprays a fine mist against drywall or framing. Many people try to wipe the spot, only to discover that the pipe was more fragile than it looked. A pipe clamp or epoxy putty may stop the emergency, but the better long-term move is to remove the damaged section and install a proper repair. If one pinhole appears, it is wise to inspect nearby pipe and ask why it happened. Water chemistry, age, electrical grounding issues, or poor installation can sometimes contribute to repeated copper leaks.
Basement leaks create a different kind of drama. A small drip near a water heater, pressure valve, or overhead pipe can go unnoticed for weeks because basements are where people store holiday decorations, old paint cans, and things they promise to organize “next weekend.” By the time the leak is found, cardboard boxes may be soft, wood shelving may be stained, and the room may smell musty. The experience teaches a valuable habit: check mechanical rooms regularly. Five minutes with a flashlight every month can prevent hours of cleanup later.
Laundry rooms are another common trouble zone. Washing machines shake, hoses age, and connections loosen. A slow leak behind a washer can hide until flooring begins to cup or a baseboard swells. Pulling the washer forward once or twice a year to inspect hoses is not glamorous, but neither is explaining to your insurance adjuster that a ten-dollar hose tried to remodel the house.
Bathrooms offer their own lessons. A toilet supply valve may leak only when bumped. A tub drain may leak only when someone takes a long shower. A vanity faucet may drip down the back of the cabinet where no one looks. The best approach is to test fixtures intentionally. Run the sink, fill and drain the basin, flush the toilet, use the shower, and inspect from below if possible. Leaks that appear only during use are easy to miss during a quick glance.
The biggest practical lesson from repairing leaky pipes is that speed matters, but calm matters too. Shut off the water, protect electrical safety, document damage, dry the area, and then decide whether the repair is temporary or permanent. A bucket can help for an hour. A clamp can help for a day. A proper repair helps you sleep at night.
Conclusion: Fix the Leak, Then Fix the Cause
Repairing leaky pipes is not just about stopping the drip you can see. It is about understanding why the leak happened, choosing the right repair method, drying the area properly, and preventing the next problem. Some fixes are simple: tighten a drain nut, replace a washer, install a new supply line. Others require cutting out damaged pipe, replacing old materials, or calling a licensed plumber.
The smartest homeowner is not the one who owns the biggest wrench. It is the one who knows where the shut-off valve is, checks plumbing regularly, treats temporary patches as temporary, and calls for help before a small leak becomes an indoor swimming pool with cabinets.