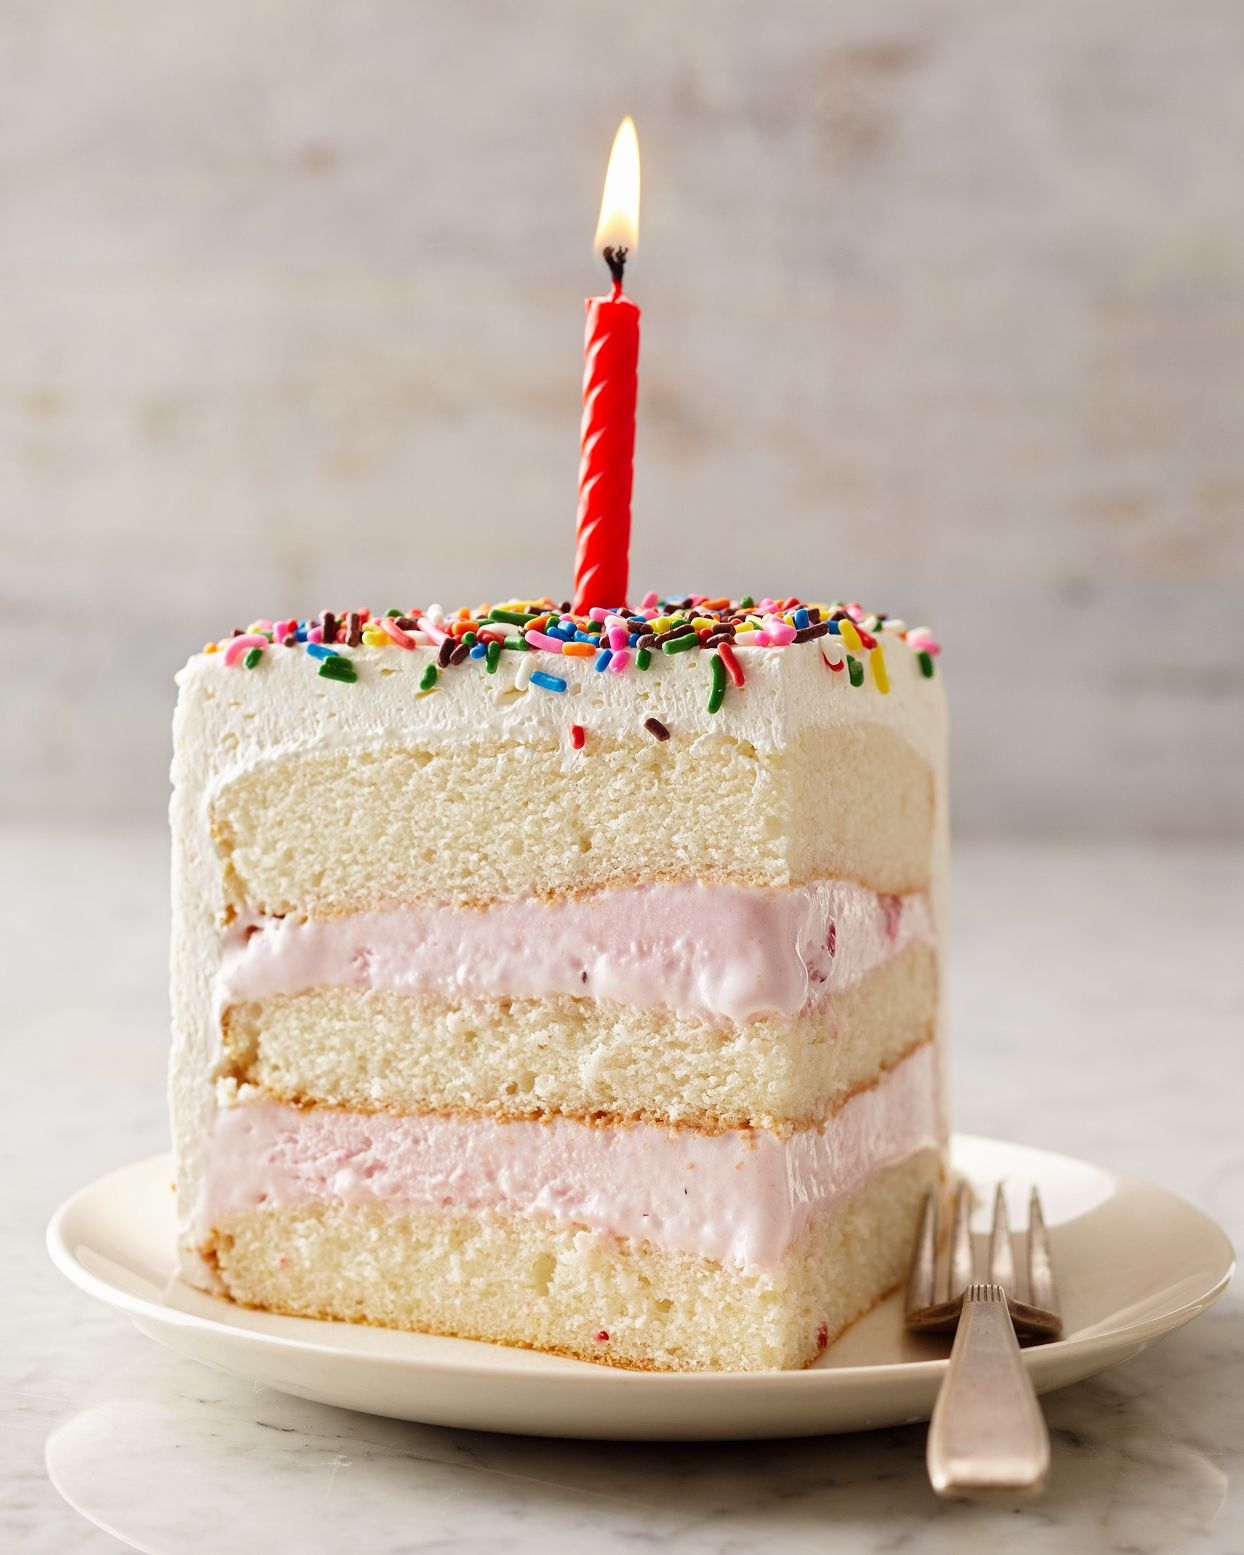
There are desserts that politely sit on the table and wait to be noticed. Then there is a layered ice cream cake, which enters the room like it owns the party, steals the spotlight from the balloons, and somehow convinces everyone that “just one more slice” is a perfectly reasonable life choice.
This layered ice cream cake recipe is creamy, crunchy, chocolaty, customizable, and surprisingly easy to make at home. You do not need a pastry degree, a commercial freezer, or the emotional stamina required to pipe perfect roses. With a springform pan, your favorite ice cream flavors, a simple cookie crunch layer, hot fudge, and whipped topping, you can create a bakery-style frozen dessert that looks impressive and tastes like summer vacation in cake form.
The beauty of homemade ice cream cake is flexibility. Want chocolate and vanilla? Classic. Strawberry and cheesecake ice cream? Elegant. Mint chip and cookies-and-cream? Bold, refreshing, and slightly chaotic in the best way. This guide walks you through ingredients, layering, freezing, decorating, serving, storage, and real-life tips so your cake slices cleanly instead of collapsing into a delicious puddle of “well, we tried.”
Why This Layered Ice Cream Cake Works
A great ice cream cake needs balance. Too much ice cream and it melts into a soft mountain. Too much cake and it becomes dry once frozen. Too little crunch and the texture feels flat. This recipe solves those problems by using a smart mix of layers: a cookie crust, softened ice cream, fudge, cookie crumbs, another ice cream layer, and a fluffy whipped topping finish.
The cookie crumb layer gives structure and a pleasant crunch. The fudge adds richness and helps mimic that beloved ice cream shop-style center. The whipped topping stays lighter than buttercream, which matters because buttercream can become firm and overly sweet when frozen. Most importantly, each layer is frozen before the next one goes on, keeping the cake neat, stackable, and sliceable.
Ingredients for Layered Ice Cream Cake
For the Cookie Crust
- 24 chocolate sandwich cookies, finely crushed
- 4 tablespoons unsalted butter, melted
- 1 tablespoon granulated sugar, optional
- Pinch of salt
For the Ice Cream Layers
- 1.5 quarts vanilla ice cream, slightly softened
- 1.5 quarts chocolate ice cream, slightly softened
- 1 cup hot fudge sauce, slightly warmed but not hot
- 14 chocolate sandwich cookies, coarsely crushed for the crunch layer
For the Whipped Topping
- 2 cups heavy whipping cream, very cold
- 1/2 cup powdered sugar
- 1 teaspoon vanilla extract
- Pinch of salt
For Decorating
- Sprinkles
- Chocolate curls
- Extra cookie crumbs
- Mini chocolate chips
- Caramel sauce or chocolate drizzle
- Birthday candles, if the cake is headed to a celebration
Equipment You Need
A 9-inch springform pan is the easiest choice for this homemade ice cream cake. The removable sides help release the frozen cake without drama. If you do not have a springform pan, use a 9-inch round cake pan lined with plastic wrap and parchment paper, leaving enough overhang to lift the cake out later.
- 9-inch springform pan
- Parchment paper
- Plastic wrap
- Mixing bowls
- Offset spatula or silicone spatula
- Food processor or rolling pin for crushing cookies
- Electric mixer for whipped topping
- Sharp knife for slicing
How to Make a Layered Ice Cream Cake
Step 1: Prepare the Pan
Line the bottom of a 9-inch springform pan with parchment paper. For extra insurance, wrap the outside bottom of the pan with plastic wrap or foil. This helps catch any buttery crumbs or softened ice cream that tries to escape. Ice cream cake is wonderful, but it does occasionally behave like a toddler near an open door.
Step 2: Make the Cookie Crust
Crush the chocolate sandwich cookies into fine crumbs. Stir them with melted butter, sugar, and a pinch of salt until the mixture looks like damp sand. Press the crumbs firmly into the bottom of the pan. Use the bottom of a measuring cup to compact the crust evenly.
Freeze the crust for 15 to 20 minutes. This quick freeze helps the base firm up before the first ice cream layer is added.
Step 3: Add the First Ice Cream Layer
Let the chocolate ice cream sit at room temperature for about 10 to 15 minutes, just until spreadable. It should be soft enough to smooth with a spatula but not melted. If it looks like soup, it has gone too far. Send it back to the freezer for a few minutes and pretend nothing happened.
Spoon the softened chocolate ice cream over the chilled crust. Spread it evenly, pressing gently into the edges. Smooth the top with an offset spatula. Freeze for 30 to 45 minutes, or until firm.
Step 4: Add Fudge and Cookie Crunch
Warm the hot fudge sauce just enough to make it spreadable. It should not be steaming or hot, because hot fudge can melt the ice cream layer underneath. Spread a thin, even layer over the firm chocolate ice cream. Sprinkle the coarsely crushed cookies on top.
Gently press the cookie crumbs into the fudge so they stick. This creates the signature crunchy middle layer that makes every bite more exciting. Freeze again for 20 to 30 minutes.
Step 5: Add the Second Ice Cream Layer
Soften the vanilla ice cream until spreadable. Spoon it over the fudge-cookie layer and smooth the top. Work quickly but calmly. This is not a race, but it is also not the moment to answer three text messages and reorganize the freezer.
Cover the pan tightly with plastic wrap and freeze the cake for at least 6 hours. Overnight is even better. A long freeze helps the layers become firm enough to unmold, decorate, and slice cleanly.
Step 6: Make the Whipped Topping
In a cold mixing bowl, beat heavy whipping cream, powdered sugar, vanilla extract, and a pinch of salt until stiff peaks form. The whipped cream should hold its shape but still look smooth and fluffy. Do not overbeat, or it may turn grainy.
If you prefer convenience, you can use thawed whipped topping instead. Homemade whipped cream tastes fresher, but store-bought whipped topping is stable, easy, and party-friendly.
Step 7: Unmold and Frost the Cake
Remove the cake from the freezer. Run a thin knife around the inside edge of the springform pan, then release the sides. Transfer the cake to a serving plate or cake stand.
Spread whipped topping over the top and sides. A slightly rustic finish looks beautiful here. Ice cream cake does not require perfection; it requires confidence, sprinkles, and a freezer with enough space.
Step 8: Decorate and Freeze Again
Add sprinkles, cookie crumbs, chocolate curls, or a drizzle of fudge. Once decorated, freeze the cake uncovered for 20 minutes to set the topping. Then cover loosely and freeze until ready to serve.
Best Flavor Combinations
The classic chocolate-and-vanilla version is always a crowd-pleaser, but this layered ice cream cake recipe is easy to customize. Try these combinations for birthdays, cookouts, holidays, or “Tuesday felt long” celebrations.
Cookies and Cream Dream
Use cookies-and-cream ice cream for one layer and vanilla for the other. Add crushed chocolate sandwich cookies in the middle and on top.
Chocolate Peanut Butter
Pair chocolate ice cream with peanut butter cup ice cream. Use crushed peanut butter cookies in the center and drizzle the top with chocolate sauce.
Strawberry Shortcake Style
Use strawberry ice cream and vanilla ice cream. Replace chocolate cookies with vanilla sandwich cookies or shortbread crumbs. Add freeze-dried strawberries for a bright, fruity crunch.
Mint Chocolate Chip
Layer mint chocolate chip ice cream with chocolate ice cream. Use chocolate cookie crumbs and finish with mini chocolate chips.
Caramel Brownie
Use chocolate ice cream and salted caramel ice cream. Add chopped brownies or chocolate cookies to the center, then finish with caramel drizzle.
Tips for the Best Homemade Ice Cream Cake
Do Not Melt the Ice Cream Completely
Softened ice cream spreads beautifully. Melted ice cream refreezes with an icier texture. Let it soften just enough to scoop and smooth.
Freeze Between Layers
This is the secret to neat layers. If you stack everything while the layers are soft, they can blur together. It will still taste good, but it may look like modern art.
Use a Warm Knife for Clean Slices
Dip a sharp knife in hot water, wipe it dry, and slice. Repeat between cuts. This simple trick creates clean, bakery-style wedges.
Let the Cake Rest Before Serving
Set the cake at room temperature for 5 to 10 minutes before slicing. If your freezer is extremely cold, it may need a few extra minutes. The cake should be firm but not rock-hard.
Store It Properly
Keep the cake covered in the freezer. Press plastic wrap gently against cut surfaces to reduce ice crystals, then cover with foil or place the cake in an airtight container if possible. For best flavor and texture, enjoy it within one week.
Food Safety and Storage Notes
Ice cream cake should stay frozen until shortly before serving. Store it at 0°F or below, and avoid leaving it out for long periods. If the cake becomes very soft or fully melted, the texture will suffer after refreezing, and safe handling becomes more important.
For parties, slice the cake, serve what you need, and return the rest to the freezer promptly. If you are serving outdoors in warm weather, keep the cake in a cooler or bring it out only when everyone is ready for dessert. Ice cream cake is charming, but it is not built for sunbathing.
Common Mistakes to Avoid
Using Hot Fudge That Is Too Warm
Hot fudge should be pourable, not hot enough to melt the ice cream. Let it cool slightly before spreading.
Skipping the Pan Lining
Parchment and plastic wrap make removal easier. Without them, you may spend quality time wrestling a frozen dessert out of a pan. That is not the kind of upper-body workout anyone requested.
Rushing the Final Freeze
A layered ice cream cake needs time. The longer freeze gives the cake structure and makes slicing easier. Plan ahead, and your future self will be grateful.
Overloading the Middle Layer
Crunch is good. A mountain of cookies and fudge can make slicing difficult. Keep the middle layer generous but even.
Serving Ideas
This cake is rich, so small slices are usually enough. Serve it with fresh berries, a little extra fudge sauce, or a cup of coffee. For birthdays, add candles right before serving. For summer cookouts, decorate with red, white, and blue sprinkles. For a holiday version, use peppermint ice cream and crushed candy canes.
If you are making this for kids, consider using one familiar flavor and one fun flavor. Vanilla plus cookies-and-cream is usually safe territory. If you are making it for adults, coffee ice cream with chocolate fudge and cookie crumbs is dangerously good.
Make-Ahead Instructions
This is an excellent make-ahead dessert. You can assemble the cake up to two days before serving. For the freshest look, decorate it the day you plan to serve it, or decorate it fully and cover it carefully once the whipped topping is firm.
If transporting the cake, freeze it solid overnight and place it in a cooler with ice packs. Keep it level. A tilted ice cream cake may still taste delicious, but it can arrive looking like it had an adventurous commute.
Recipe Summary
- Prep time: 45 minutes active
- Freezing time: 6 hours to overnight
- Total time: About 7 hours, mostly hands-off
- Servings: 12 to 14 slices
- Difficulty: Easy to moderate
- Best for: Birthdays, summer parties, family gatherings, celebrations, and make-ahead desserts
Experience Notes: What Making Layered Ice Cream Cake Teaches You
The first time you make a layered ice cream cake, you may feel like you are negotiating with three separate forces of nature: time, temperature, and your own patience. The recipe is not difficult, but it does reward planning. Unlike a regular cake that goes from oven to cooling rack to frosting, an ice cream cake asks you to slow down. Freeze the crust. Freeze the first layer. Freeze the fudge. Freeze the second layer. Freeze the whole thing again. It is less like baking and more like building a tiny frozen skyscraper.
One of the biggest lessons is that texture matters as much as flavor. Plain ice cream stacked on more ice cream can taste good, but the cookie crunch layer transforms the whole dessert. It breaks up the creaminess, adds structure, and gives every bite that satisfying contrast. The fudge also plays an important role. It acts almost like dessert glue, holding the crumbs in place while adding a rich chocolate ribbon through the center.
Another experience worth mentioning is the importance of freezer space. Before starting, clear a flat area in your freezer. This sounds obvious until you are standing there with a half-assembled cake, one hand freezing, the other hand moving a bag of peas, and your brain wondering why you own three half-empty boxes of waffles. A level freezer shelf helps the layers set evenly and keeps the finished cake from leaning.
Serving the cake also teaches timing. Straight from the freezer, it may be too firm to slice. Left out too long, it softens quickly. The sweet spot is usually 5 to 10 minutes at room temperature. A warm knife makes a huge difference, especially for clean slices. Wipe the blade between cuts, and the layers will look sharp enough for photos.
Flavor testing is part of the fun. Vanilla and chocolate are classic because they please almost everyone, but homemade ice cream cake invites creativity. A strawberry and vanilla version feels bright and nostalgic. Mint chip with chocolate is refreshing. Coffee ice cream with fudge tastes grown-up without being fussy. The best combinations usually include one creamy, mellow flavor and one stronger flavor, so the cake feels balanced instead of overly sweet.
Decorating is where personality comes in. Sprinkles make the cake cheerful. Chocolate curls make it elegant. Crushed cookies make it look intentionally rustic. A drizzle of caramel or fudge adds drama with almost no effort. The goal is not perfection. The goal is a dessert that makes people smile before they even take a bite.
After making this recipe a few times, you will probably stop thinking of ice cream cake as something you buy from a shop. It becomes a reliable homemade dessert for birthdays, backyard dinners, holidays, and hot weekends when turning on the oven feels personally offensive. It is flexible, forgiving, and wildly rewarding. Even if the layers are not perfectly even, nobody complains. They are too busy eating ice cream cake.
Conclusion
A homemade layered ice cream cake recipe is one of the most satisfying desserts you can make without baking. It combines creamy ice cream, crunchy cookies, silky fudge, and fluffy whipped topping into a frozen cake that feels festive, nostalgic, and special. The key is simple: soften the ice cream just enough, freeze each layer patiently, and give the finished cake plenty of time to set.
Whether you keep it classic with chocolate and vanilla or create your own flavor combination, this cake is built for celebrations. It is easy to customize, easy to make ahead, and almost impossible not to love. In other words, it is the kind of dessert that makes people hover near the freezer asking, “Is there any left?”