Few things reveal the personality of a building faster than its floors. A clean, glossy floor says, “Welcome, we have our act together.” A dull, scuffed, mystery-stained floor says, “Please enjoy this archaeological record of every shoe that has ever entered.” The good news? With the right method, tools, and patience, you can strip and wax a floor so it looks fresh, protected, and proudly reflective again.
In professional floor care, “waxing” usually means applying a modern floor finish, not old-fashioned natural wax. The process is most common on vinyl composition tile, often called VCT, in schools, offices, retail stores, clinics, hallways, and other high-traffic spaces. Stripping removes old finish, dirt, scuffs, and buildup. Waxing, or refinishing, adds new protective coats that improve shine, resist wear, and make daily cleaning easier.
This guide explains how to strip and wax a floor step by step, what supplies you need, how to avoid common mistakes, and how to keep the finished floor looking good after the big makeover. Think of it as a spa day for your floorexcept the mud mask is alkaline stripper, and the floor does not get cucumber slices.
What Does It Mean to Strip and Wax a Floor?
To strip and wax a floor means to remove the existing layers of floor finish and apply fresh coats of finish. Over time, floor finish collects scratches, embedded soil, heel marks, mop residue, and dull traffic lanes. Regular mopping can help, but once the finish is damaged, no amount of wishful thinking or aggressive mopping will restore the original gloss.
Stripping is the deep reset. It dissolves and loosens old finish so it can be scrubbed and removed. Waxing, more accurately called applying floor finish, creates a new protective film. This film helps shield the flooring from foot traffic, spills, abrasion, and stains. It also gives the floor that clean, polished appearance people notice even if they cannot quite explain why the hallway suddenly feels “more expensive.”
Before You Start: Know Your Floor Type
Not every floor should be stripped and waxed. This process is usually appropriate for VCT and some resilient commercial floors that are designed to accept acrylic floor finish. It is not a universal cure for every hard surface.
Good candidates for stripping and waxing
Vinyl composition tile is the classic candidate. It is durable, common in commercial buildings, and restorable when properly maintained. Some terrazzo, concrete, and older resilient floors may also accept specific finishes, depending on the product and manufacturer recommendations.
Floors that may not need wax
Many modern luxury vinyl tile, luxury vinyl plank, rubber flooring, polished concrete, ceramic tile, and factory-coated “no-wax” floors are not meant to be waxed. Applying finish to the wrong surface can cause peeling, cloudiness, slippery conditions, or a maintenance nightmare with a mop handle. Wood floors also require separate wood-specific care; vinyl or tile floor strippers and finishes can damage wood finishes or make them slippery and dull.
Before using any chemical, check the flooring manufacturer’s maintenance guide. When in doubt, test in a hidden area or contact a flooring professional. The five minutes you spend confirming compatibility can save you from the kind of mistake that gets discussed in staff meetings for years.
Tools and Supplies You Will Need
A successful strip and wax job starts with having everything ready before the floor is wet. Once stripper is on the floor, you do not want to discover that the wet vacuum is in another building or that your only mop head looks like it fought a raccoon.
Basic equipment checklist
- Wet floor signs, cones, caution tape, or barriers
- Personal protective equipment: gloves, eye protection, slip-resistant shoes, and any PPE required by the chemical label
- Dust mop, broom, or vacuum
- Floor stripper suitable for the flooring and existing finish
- Mop buckets and wringers
- Separate mop heads for stripping, rinsing, and finishing
- Low-speed floor machine or auto scrubber
- Black stripping pad, brown pad, or manufacturer-recommended stripping brush
- Doodlebug pad holder or detail scrubber for edges and corners
- Wet vacuum or auto scrubber for slurry pickup
- Neutral cleaner or neutralizer if recommended by the finish system
- Clean water for rinsing
- Floor finish applicator, synthetic finish mop, or microfiber finish system
- Trash bags, scraper, and clean towels
Use clean tools. Floor finish is unforgiving. A dirty bucket, contaminated mop, or dusty corner can leave streaks, specks, or dull patches. Floor finish has the memory of an elephant and the drama of a reality show contestant.
Safety First: Stripper Is Not Fancy Soap
Commercial floor stripper can be slippery, alkaline, and irritating to skin or eyes. Always read the product label and safety data sheet before use. Wear recommended PPE, keep the area ventilated, and block access so people do not stroll through your work zone like it is an indoor skating rink.
Never mix cleaning chemicals unless the label specifically instructs you to do so. Use cool or room-temperature water unless the product says otherwise. Hot water can increase odors, speed evaporation, or create unnecessary handling risks. Also, keep the floor wet while the stripper is working. Dried stripper residue is stubborn, ugly, and exactly the sort of problem that makes people sigh deeply into a mop bucket.
How to Strip and Wax a Floor Step by Step
Step 1: Clear the area completely
Remove chairs, tables, mats, trash cans, displays, and anything else sitting on the floor. If furniture must stay nearby, move it far enough away that splashes and foot traffic will not interfere. Place signs and barriers at every entrance to the work zone.
Step 2: Dust mop or sweep thoroughly
Remove dry soil before applying liquids. Sand, grit, staples, paper clips, and tiny mystery pebbles can scratch the floor during machine scrubbing. Pay special attention to corners, baseboards, and under fixtures. Dry soil is easier to remove now than after it becomes part of the slurry soup.
Step 3: Mix the floor stripper correctly
Dilute the stripper according to the manufacturer’s directions. Stronger is not always better. Too much chemical can damage flooring, create heavy residue, or increase safety risks. Too little chemical may fail to remove the finish, forcing you to repeat the job. Measure carefully. The floor does not award bonus points for improvisational chemistry.
Step 4: Apply stripper in manageable sections
Work in small areas, such as 10-by-10-foot sections, or whatever size your crew can control. Apply the solution liberally with a mop so the floor stays uniformly wet. Let it dwell for the recommended time, often several minutes, so it can soften the old finish. Do not let the stripper dry. If an area begins to dry before you scrub it, apply more solution.
Step 5: Scrub the floor
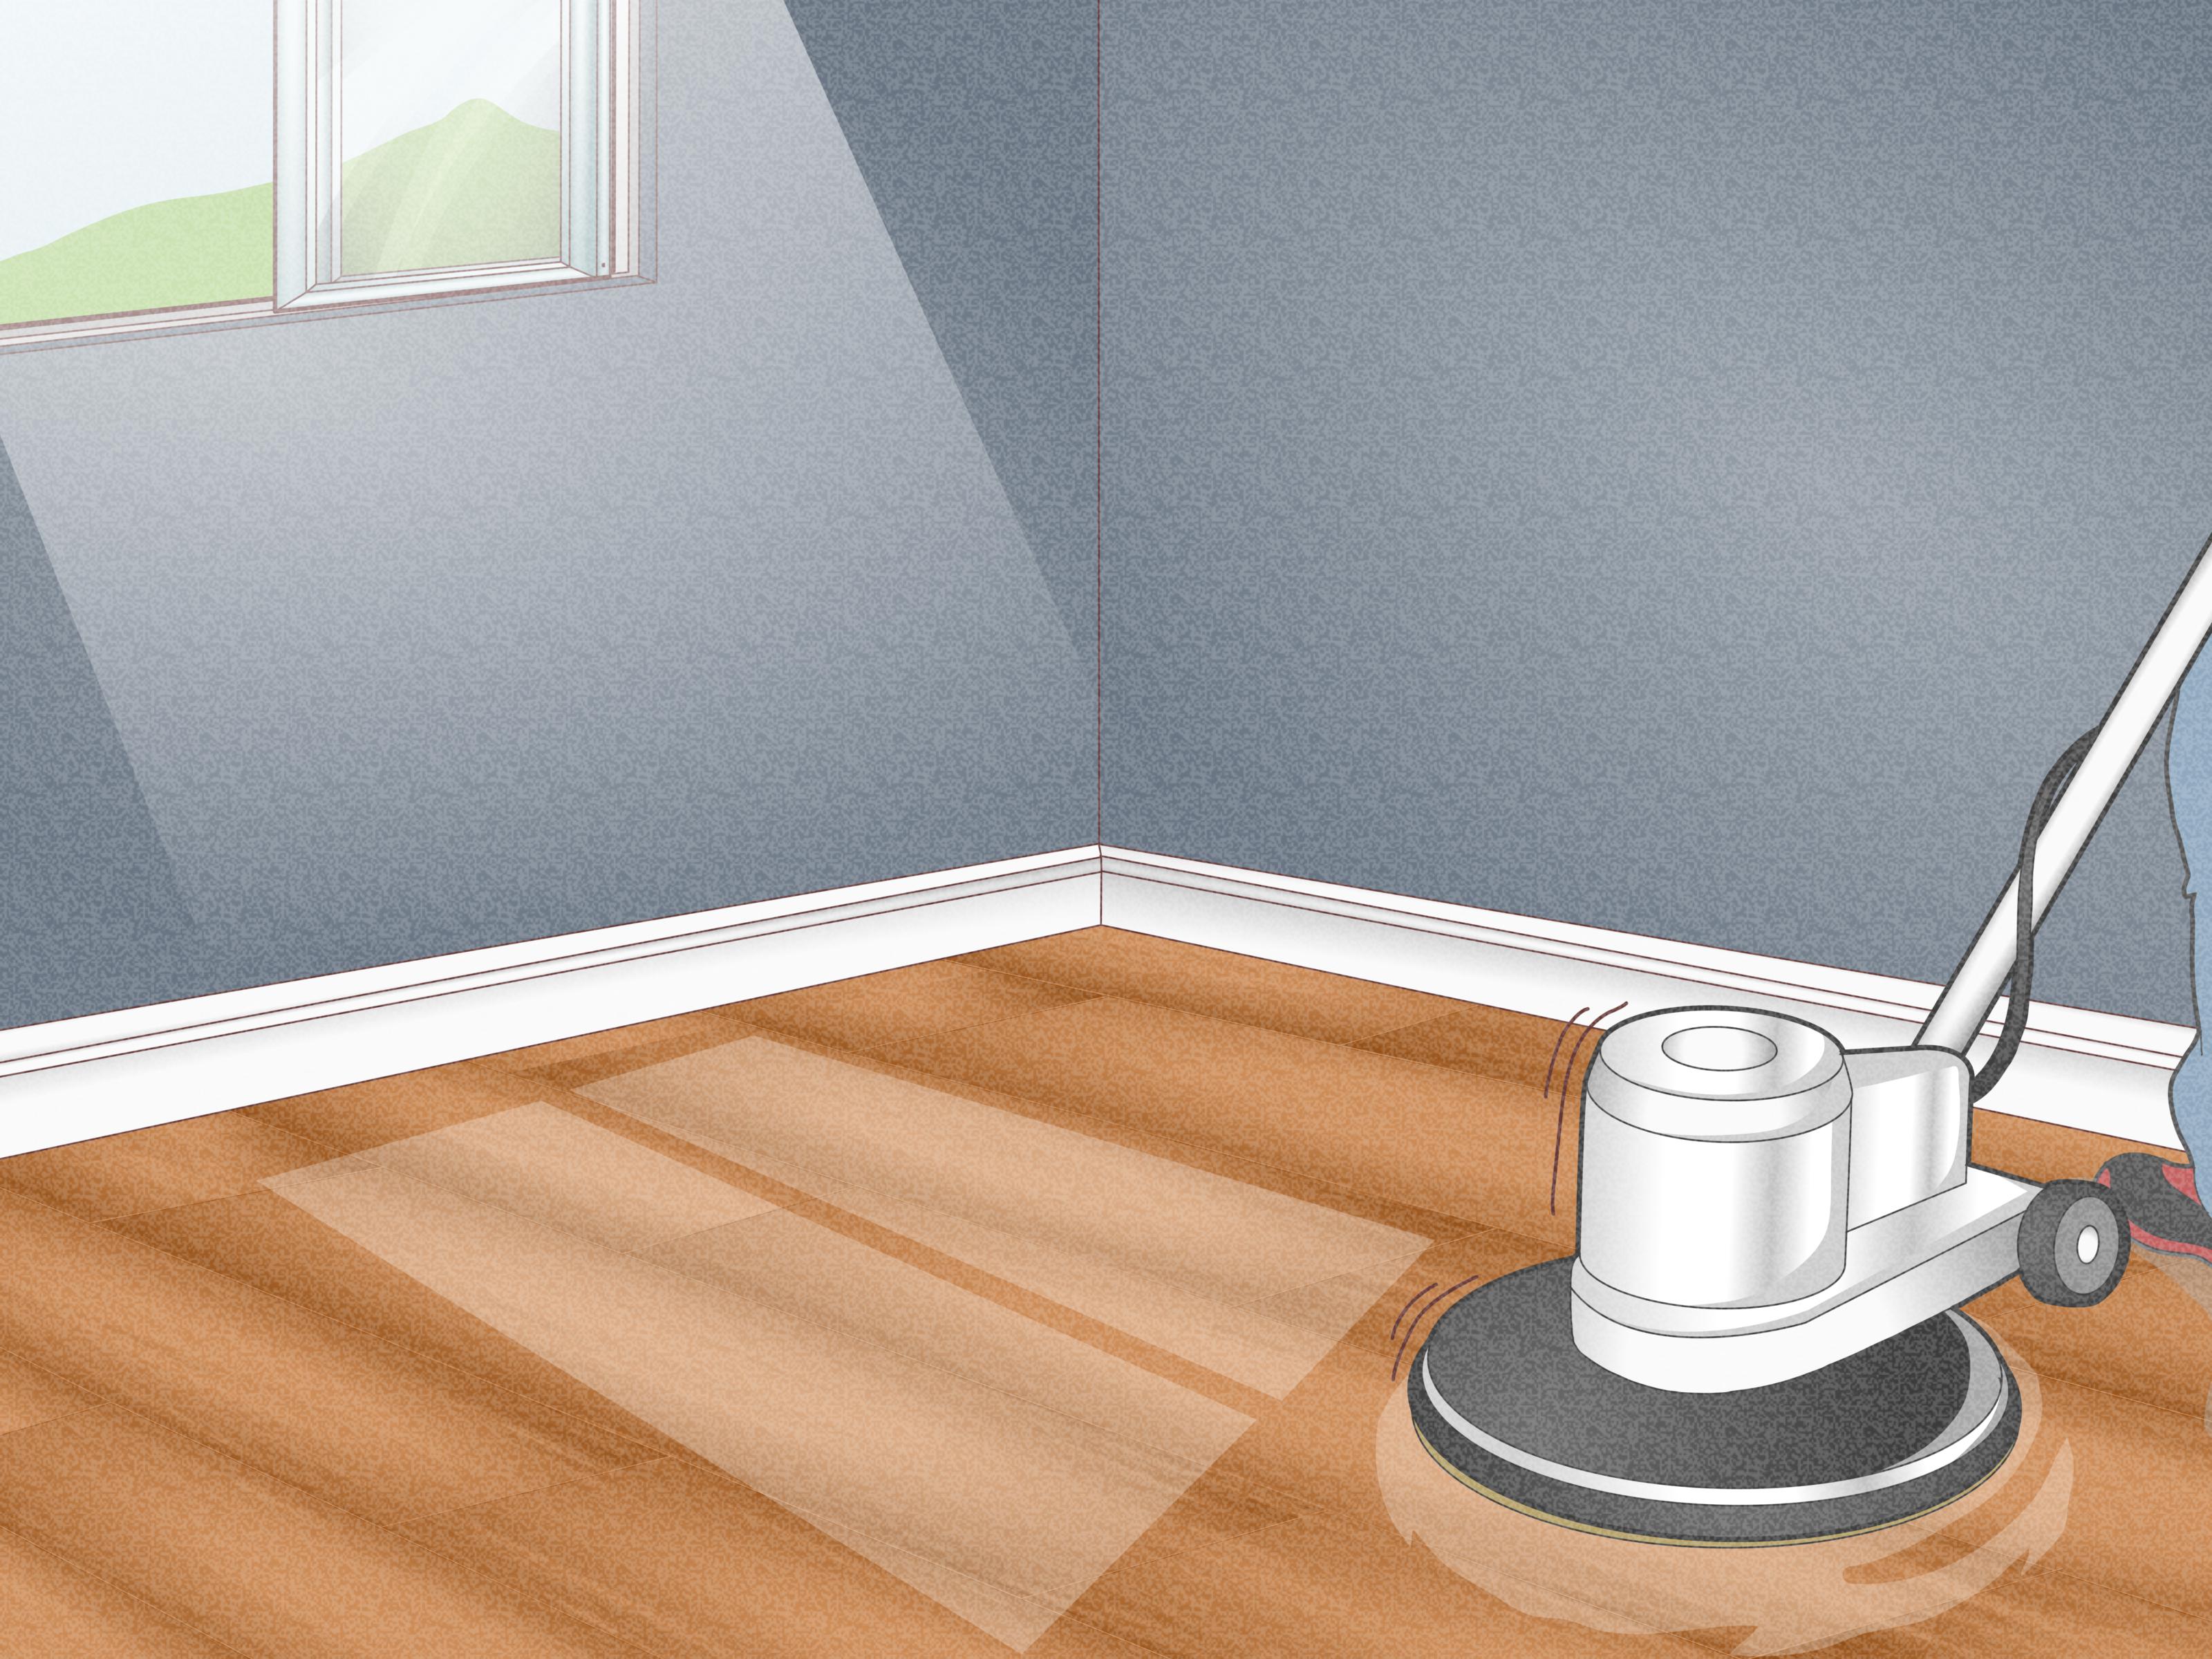
Use a low-speed floor machine with the proper stripping pad or brush. Move slowly and overlap your passes. The goal is not to win a race; the goal is to remove old finish evenly. Edges, corners, and baseboards often need extra hand work with a doodlebug pad or scraper. This is where old finish likes to hide, quietly judging your technique.
Step 6: Pick up the slurry
Once the old finish has loosened, remove the dirty solution with a wet vacuum, auto scrubber, or mop pickup method. Do not let slurry dry on the floor. It contains stripper, dissolved finish, soil, and disappointment. Remove it promptly and completely.
Step 7: Rinse, rinse, and then rinse again
Rinsing is one of the most important steps in the entire process. Residue left behind can cause haze, poor adhesion, streaks, peeling, or a finish that looks cloudy instead of clear. Use clean water and change rinse water frequently. Many professionals flood rinse at least twice and then inspect the floor carefully. If the floor feels slippery, tacky, powdery, or soapy after rinsing, rinse again.
Step 8: Let the floor dry completely
Floor finish should be applied only to a clean, dry, residue-free floor. Give the floor enough time to dry, especially in humid conditions. Air movement can help, but avoid blowing dust across the floor. A dry floor should look clean and dull, not shiny in patches. Shiny patches may mean old finish remains and needs additional attention.
Step 9: Apply the first coat of floor finish
Use a clean finish mop, microfiber applicator, or dedicated finish system. Pour finish into a clean lined bucket or applicator tray. Apply thin, even coats. Avoid heavy puddles, missed strips, and overworking the finish. A smooth “figure-eight” motion with a finish mop can help distribute product evenly.
Start along edges, then fill in the center. Keep a wet edge and work toward an exit so you do not trap yourself in a glossy island of poor planning. It happens. It is funny only when it happens to someone else.
Step 10: Allow proper drying time between coats
Most floor finishes need about 20 to 30 minutes or more between coats, but drying depends on humidity, temperature, airflow, coat thickness, and product formula. Do not rush. If you apply a new coat over a tacky coat, you can trap moisture, create haze, or cause uneven gloss.
Step 11: Apply additional coats
Many commercial VCT floors need three to five coats of finish, while worn or porous floors may need a sealer first. Apply each coat evenly and allow full drying time. Avoid applying too many heavy coats in one day. Thin, consistent coats usually look better and perform better than thick coats that dry like pancake batter under plastic wrap.
Step 12: Cure before heavy traffic
A floor may feel dry before the finish fully cures. Keep traffic off as long as practical, and avoid dragging furniture back too soon. If furniture must be returned, lift it instead of sliding it. Replace walk-off mats only after the finish is dry enough that mats will not imprint or stick.
Common Mistakes to Avoid
Using the wrong chemical
A stripper that works on one floor may damage another. Always match the stripper to the floor type and finish system. Newer floors, specialty floors, and no-wax surfaces may require different maintenance methods.
Skipping dwell time
Stripper needs time to soften finish. Scrubbing immediately can waste effort and leave layers behind. Give the product time to work, but do not let it dry.
Poor rinsing
Residue is the enemy of shine. If the new finish looks milky, streaky, or patchy, leftover stripper may be the culprit. Rinse until the floor is truly clean.
Applying finish too thick
Thick coats dry slowly and can create cloudy, uneven results. Thin coats are easier to control and usually deliver a better-looking floor.
Waxing dirty edges
Edges and corners collect buildup. If you ignore them, the center of the floor may look brand new while the perimeter looks like it has been storing secrets since 1998.
How Often Should You Strip and Wax a Floor?
Frequency depends on traffic, soil load, weather, cleaning routines, and the quality of the finish. High-traffic areas such as entrances, school corridors, cafeterias, and retail aisles may need more frequent scrub-and-recoat maintenance and occasional full stripping. Lower-traffic areas may last much longer between full restorative jobs.
Many facilities plan a full strip and wax once a year, but that is not a law carved into tile. If the floor still responds well to cleaning, buffing, or scrub-and-recoat procedures, a full strip may not be necessary. If the finish is yellowed, deeply scratched, peeling, dirty under the coating, or no longer responds to maintenance, it may be time for a full strip.
How to Maintain the Floor After Waxing
The best way to avoid constant stripping is to maintain the finish properly. Place quality walk-off mats at entrances to catch grit and moisture. Dust mop daily. Damp mop or auto scrub with a neutral cleaner. Use clean pads, clean solution, and the correct machine settings. Burnishing a dirty floor does not create shine; it creates shiny dirt, which is not a design trend anyone asked for.
Schedule periodic scrub-and-recoat service before the finish wears down to bare tile. This removes the top damaged layers and adds new finish without doing a complete strip. It saves labor, chemicals, downtime, and money.
Practical Experience: What Real Floor Jobs Teach You
On paper, stripping and waxing a floor sounds very orderly: apply chemical, scrub, rinse, dry, finish, admire. In real life, the floor has opinions. The first experience many people have is learning that the edges take longer than the open areas. The middle of a hallway may strip beautifully, while the wax along baseboards clings on like it signed a long-term lease. That is why experienced floor techs prepare detail tools before they start. A doodlebug pad, scraper, and patience are not optional accessories; they are survival gear.
Another lesson is that lighting matters. Under dim lighting, a floor can look clean and ready for finish. Then the morning sun hits it, and suddenly you see streaks, missed spots, and old finish smiling at you from the corner. Whenever possible, inspect the floor from several angles before applying finish. Walk the space slowly. Look near doors, under counters, around corners, and along traffic lanes. A ten-minute inspection can prevent hours of rework.
Temperature and humidity also have a personality. On a dry day with good airflow, finish may dry predictably. On a humid day, the same finish can take much longer. Experienced crews plan extra dry time and avoid heavy coats. They also know that fans should move air through the room without blowing dust directly across wet finish. Dust in fresh finish is like glitter at a birthday party: once it lands, it becomes part of the story.
There is also a rhythm to applying finish. Beginners often press too hard, overwork the mop, or keep “fixing” an area that was fine two passes ago. Floor finish is happiest when handled calmly. Lay it down evenly, keep moving, and resist the urge to fuss with it. Once it starts to set, leave it alone. A smooth coat is about consistency, not heroics.
One of the biggest experience-based tips is to control access aggressively. Someone will always need to “just grab one thing” from the room. That person is a threat to the finish, the schedule, and your emotional well-being. Use barriers, signs, locked doors, and clear communication. Fresh finish with footprints is not charming. It is a time capsule of regret.
Finally, cleanup tells you a lot about professionalism. Rinse equipment immediately, clean the floor machine housing, remove pad residue, empty wet vacs, and label mop heads so stripping tools and finish tools never mix. A clean finish mop should be treated almost like a kitchen utensil, not a general-purpose swamp rope. Good floor work is not just what happens on the tile; it is the preparation, timing, rinsing, inspection, and cleanup that surround the visible shine.
Conclusion
Learning how to strip and wax a floor is partly science, partly craft, and partly knowing when not to rush. The basic formula is simple: identify the floor, use the right products, protect the work area, remove old finish completely, rinse until the floor is residue-free, apply thin coats, and allow proper drying time. The difference between an average result and a professional-looking floor often comes down to patience in the boring steps: dusting, detailing, rinsing, drying, and waiting.
Done correctly, stripping and waxing restores gloss, protects the flooring, improves appearance, and makes daily cleaning easier. Done carelessly, it creates haze, peeling, slippery residue, and a strong desire to pretend you never owned a floor machine. Respect the process, and your floor will reward you with a clean shine that says, “Yes, someone here knows what they are doing.”
Note: Always follow the flooring manufacturer’s instructions and the chemical product label. For damaged, asbestos-suspect, specialty, wood, or no-wax flooring, consult a qualified flooring professional before stripping or applying finish.