Singing into a microphone looks easy until you actually do it. Suddenly your “soft, emotional verse” sounds like a mosquito in a coffee can,
your big chorus triggers feedback, and every “P” turns into a tiny windstorm. The good news: microphone technique is a learnable skill.
It’s part voice, part physics, and part “don’t panicjust move two inches.”
This guide breaks it down into nine practical steps you can use for live shows, rehearsals, karaoke, streaming, and recording at home.
You’ll learn how to control distance and angle, reduce plosives and harsh sibilance, manage volume without straining, and sound more confident
even if you’re nervous enough to consider hiding behind the mic stand.
Step 1: Know what your mic is “hearing”
Before you adjust anything, get one idea locked in: microphones don’t hear like humans. Your ears automatically “edit” a roomyour mic doesn’t.
It captures whatever is closest (your voice), whatever is loudest (the drummer, the speakers), and whatever blasts air at it (plosives).
Dynamic vs. condenser (why it matters)
In many live settings, singers use dynamic vocal mics because they’re durable and handle loud stages well. In recording, condensers often capture
more detailgreat for nuance, but they also pick up more room sound and mouth noises. You don’t need a gear obsession; you just need to know
what kind of mic you’re on so you can adjust distance and control.
Polar pattern basics (the “don’t point this at that” rule)
Many vocal mics are cardioid or supercardioid. That means they pick up sound mostly from the front and reject sound from certain angles behind.
This affects feedback, monitor placement, and how forgiving the mic is when you move. Treat the mic like a flashlight: aim it at your mouth,
not the speakers.
Step 2: Warm up, breathe, and stand like you mean it
Microphone technique can’t save a voice that’s tense, under-supported, or pushed. A mic will amplify your toneyesand also amplify your bad habits.
So give yourself 5–10 minutes to warm up and get your breathing organized.
Posture that helps your sound (and doesn’t look weird)
- Feet about shoulder-width apart, knees not locked.
- Chest comfortably lifted (not military), shoulders loose.
- Neck long, jaw relaxed, tongue not doing parkour.
A simple warm-up set (quick and effective)
- Gentle lip trills or “brrr” slides for 30–60 seconds.
- Humming on easy notes (keep it comfortable, not heroic).
- “Yawn-sigh” or light sirens to release throat tension.
Then do one rehearsal line at performance energynot full blastjust enough to remind your body:
“We’re singing today, not wrestling a bear.”
Step 3: Set your starting distance, height, and angle
This step is the fastest way to sound better immediately. Your distance and angle control tone, clarity, and how much “air” hits the capsule.
Small changes matter.
Start here (then adjust)
- Live singing: Often closerroughly 1–3 inchesespecially on loud stages (but not pressed to your lips).
- Recording vocals: Often farther backroughly 4–8 incheswith a pop filter; some voices prefer 6–10 inches.
Height and angle: the “plosive dodge”
Try placing the mic slightly off-center and angled so air doesn’t shoot straight into itoften around a gentle 45-degree angle works.
Another common trick: place the mic a bit above mouth level and angle it down toward the mouth.
You still aim the mic at your voice, but you avoid aiming your breath directly at the mic.
Mini test to find your sweet spot
- Sing one line at your normal volume.
- Move 2 inches closer and repeat (listen for extra bass/boom).
- Move 2 inches farther and repeat (listen for thinness/room sound).
- Pick the most “clear and natural” position as your default.
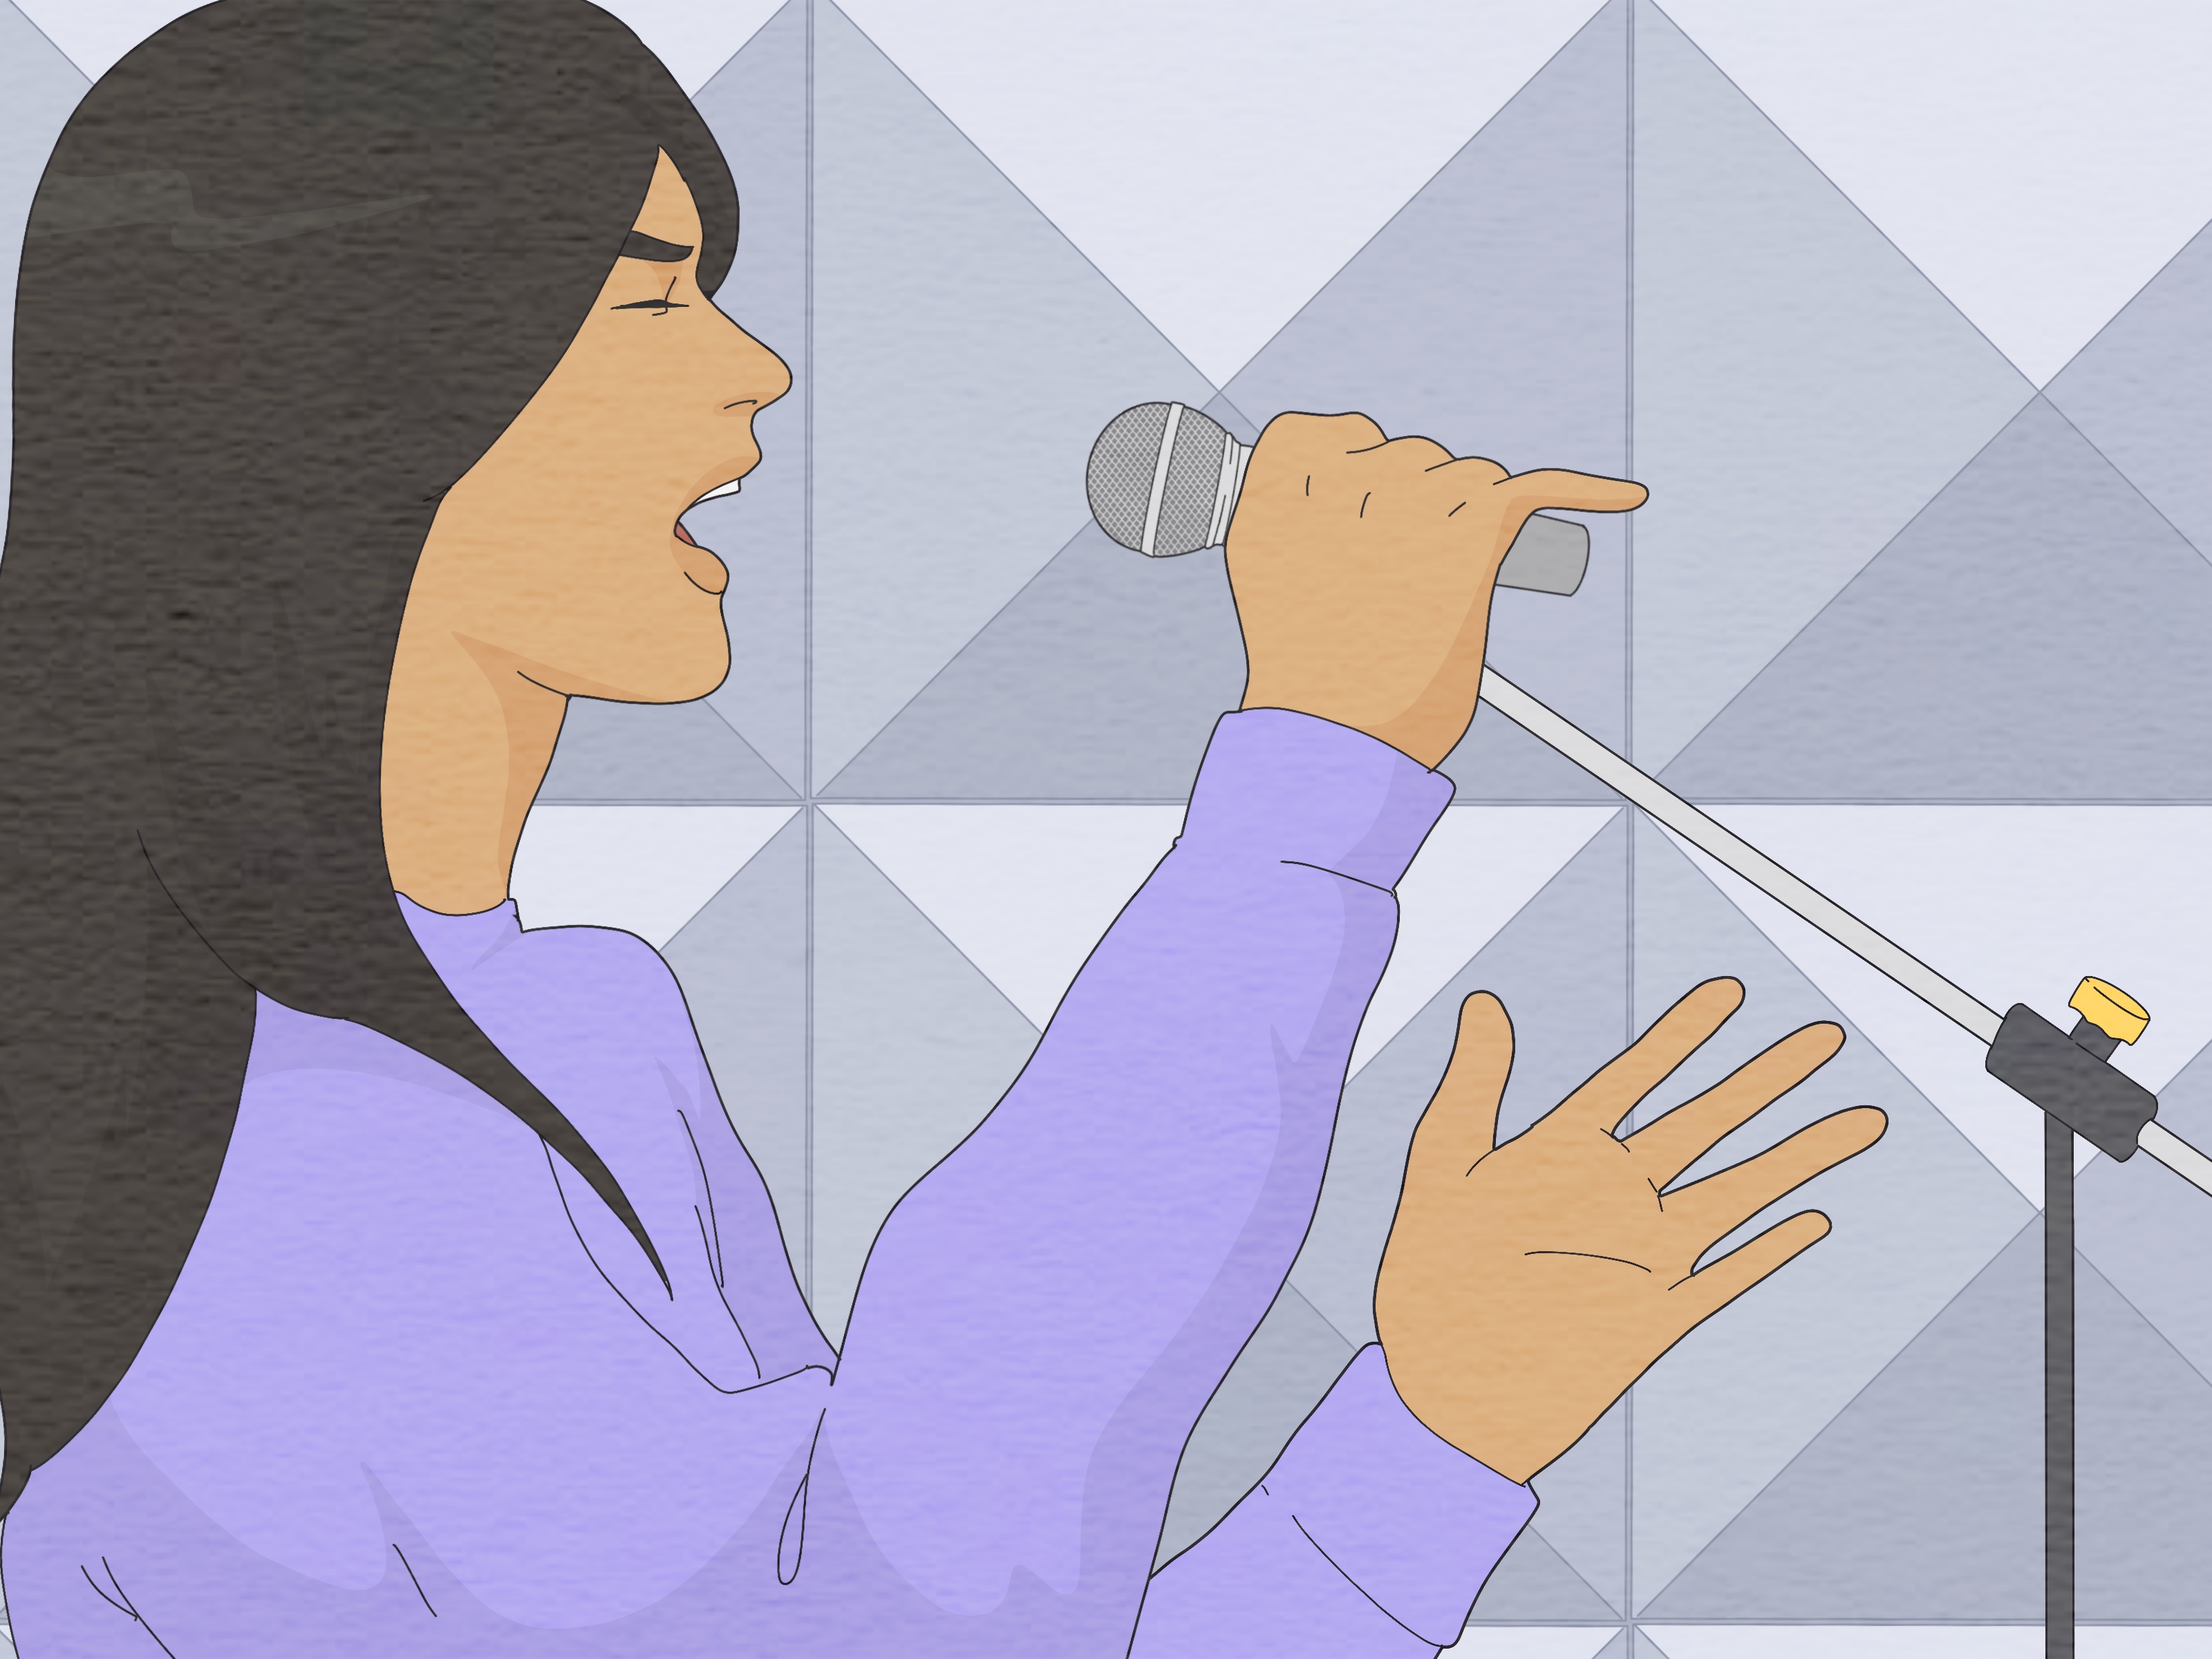
Step 4: Hold the mic correctly (and don’t “cup” it)
The mic should feel like an extension of your instrumentnot a stress ball. Hold it in a way that keeps the mic’s sound consistent and avoids
accidental muffling or feedback.
What “correct” usually looks like
- Grip the handle (not the grille), with a firm but relaxed hold.
- Keep fingers off the mesh/grille so you don’t block sound or add rubbing noise.
- Point the mic toward the center of your mouth while staying slightly off to one side.
Why you shouldn’t cup the mic
Cupping the grille can change how the mic picks up sound, making your vocal duller and increasing feedback risk.
If you’ve ever wondered why your voice suddenly sounded like it was trapped in a hoodiethis is a top suspect.
Practical tip: Practice in front of a mirror with a chorus you know well. The goal isn’t to look fancyit’s to stop unintentionally
drifting the mic away from your mouth when you get excited.
Step 5: Tame plosives, breath noise, and sibilance
Clear vocals aren’t only about singing “better”they’re also about preventing ugly noises that microphones love to capture.
The biggest three are plosives (“P/B” pops), breath blasts, and harsh “S” sounds (sibilance).
Plosives: stop the tiny wind explosions
- Use a pop filter (recording) or a windscreen (live) when possible.
- Angle slightly off-axis so air travels past the mic, not into it.
- Soften your “P” and “B” slightlystill crisp, just not punchy-airy.
Breath noise: keep the mic from hearing your lungs negotiate
- Practice quick, quiet inhales (think “sip,” not “gasp”).
- For bigger breaths, turn your head slightly away rather than pulling your whole mic hand around.
- Stay supported so you don’t run out of air and inhale loudly mid-phrase.
Sibilance: the “S” that stings
If “S” sounds feel sharp, try a tiny off-axis shift, or position the mic slightly above mouth level and angle downward.
You’re not hiding your dictionyou’re reducing the direct line-of-fire into the capsule.
Step 6: Use “mic choreography” for loud and soft parts
Pros don’t sing the same distance from the mic for every moment. They use controlled movement to keep volume and tone consistent
like a built-in compressor, but made of elbows and good judgment.
The basic rule
- Soft/intimate lines: slightly closer (without getting boomy).
- Big belts/high notes: pull back a few inches to prevent distortion and harshness.
Example: chorus control without strain
Say your verse sits comfortably, but the chorus jumps up and you naturally get louder. Instead of pushing less (hard to do mid-song),
keep your vocal energy honest and pull the mic back 2–4 inches on the biggest notes. Your sound stays clear, the engineer stays happy,
and you’re less likely to shout your way into vocal fatigue.
One warning: don’t “paint the air” with the mic
Wild mic waving makes your volume and tone jump around. Move with intention: small, repeatable motions timed to specific moments
(like the chorus peak), not random excitement.
Step 7: Beat feedback and stage noise without fighting your voice
Live singing adds two villains: feedback and handling noise. Feedback happens when the mic picks up sound from speakers/monitors and the system
loops it louder and louder. Handling noise is what happens when your mic hears your hands more than your voice.
Feedback habits that actually work
- Keep the mic pointed away from speakers and as steady as you can.
- Don’t step directly in front of the main speakers with the mic facing them (classic “squeal summoning”).
- Stay close enough to your mic on a loud stage so your voice is the dominant sound.
Stage noise control
- Avoid tapping or blowing into the mic to “check it.” (Engineers everywhere just sighed.)
- If you hear low rumble or boom, ask about a high-pass filter; it can clean up low-frequency mud.
- Hold the mic steadily; rubbing rings, bracelets, or cable bumps can show up surprisingly loud.
Step 8: Do a smart soundcheck (even at home)
Soundcheck is not a performanceit’s a controlled experiment. Your goal is to give the system a predictable vocal level so it can be set correctly,
then confirm you can hear yourself without over-singing.
A simple soundcheck script
- Say your name and speak one sentence at a normal volume.
- Sing the loudest chorus line you’ll do (yes, actually loud).
- Sing the softest line you’ll do (yes, actually soft).
- Do one “P/B” heavy phrase (like “baby, please be mine”) to check plosives.
- Hold a sustained note to check feedback spots as you shift slightly.
At-home recording shortcut
Record a 20-second test take and listen back on headphones. If it’s boomy, back up or angle off-axis. If it’s thin, come slightly closer.
If you hear pops, add a pop filter and aim across the mic rather than straight into it.
Step 9: Perform with clarity, consistency, and confidence
Once the technique is set, your job is to stay consistentespecially under adrenaline. Most mic problems happen when singers get excited and
unconsciously change distance, grip, and angle.
Performance habits that make you sound “pro” fast
- Keep your default mic position consistent, then use planned moves for big moments.
- Articulate clearly, but don’t over-pronounce consonants into the mic.
- Use your body for expression, not the mic for dramatic choreography.
- Hydrate and pace your rehearsalfatigue shows up as pitch drift and harshness.
Quick confidence trick
If you’re nervous, pick one anchor: “Mic stays here.” When your brain tries to sprint in ten directions, return to that one rule.
Good mic technique is calm techniqueand calm reads as confident on stage.
Real-World Experiences: What actually changes when you use a mic
The first “aha” most singers have is that the microphone doesn’t just make you louderit makes you closer. Even if the room is big,
a mic can create that intimate, right-in-your-ear feeling… if you treat it like a camera lens. Stand too far back and you look tiny.
Get too close and the lens distorts. The sweet spot is where your voice feels present, clear, and controlled.
In rehearsals, a common moment happens during the first big chorus: the singer gets excited, pushes more air, and suddenly the vocal sounds harsh
or starts flirting with feedback. The fix is rarely “sing less.” It’s usually “pull back an inch or two and keep your mouth aimed the same way.”
That tiny move can keep the sound strong while protecting your voice from strainbecause you stop fighting the system.
Another real-world surprise is how much microphones reward consistency. Two singers can have the same natural talent, but the one who keeps a steady
distance will sound more professional instantly. Why? Because the tone stays stable. Engineers can EQ you once and you stay inside that “good sound”
instead of bouncing between boomy and thin every time you turn your head.
Home recording teaches a different lesson: your room is part of the sound. If you stand too far from the mic, you’ll capture more reflections,
keyboard clicks, and random house noises, and your vocal can feel distant. Many singers learn to love pop filters herenot just for plosives,
but as a physical distance guide. When your mouth consistently lands the same space behind the filter, your takes become easier to mix
and less frustrating to edit.
Live performance adds the “monitor reality check.” If you can’t hear yourself, you’ll instinctively over-sing, which makes everything worse.
In practice, singers who sound best on stage often do two simple things: they stay close enough that the mic mostly hears them, and they
keep the mic pointed away from speakers. They also learn that moving around is finegreat, evenif the mic stays oriented correctly.
You can dance, gesture, and connect with the crowd; just don’t accidentally point your mic at the monitor like you’re offering it a solo.
Finally, there’s the confidence shift. Once singers trust their mic technique, their focus changes from “Am I loud enough?” to “Am I telling the story?”
That’s the whole point. The microphone becomes a tool you control, not a mystery object you hope behaves. And when that happens, your voice doesn’t just
sound betterit feels better to sing.
Wrap-Up
If you remember only three things, make them these: (1) keep a consistent default position, (2) angle slightly off-axis to reduce pops and harshness,
and (3) use small, intentional distance changes for big dynamic moments. Master those, and “singing into a microphone” stops being stressful and starts
being funlike it’s supposed to be.