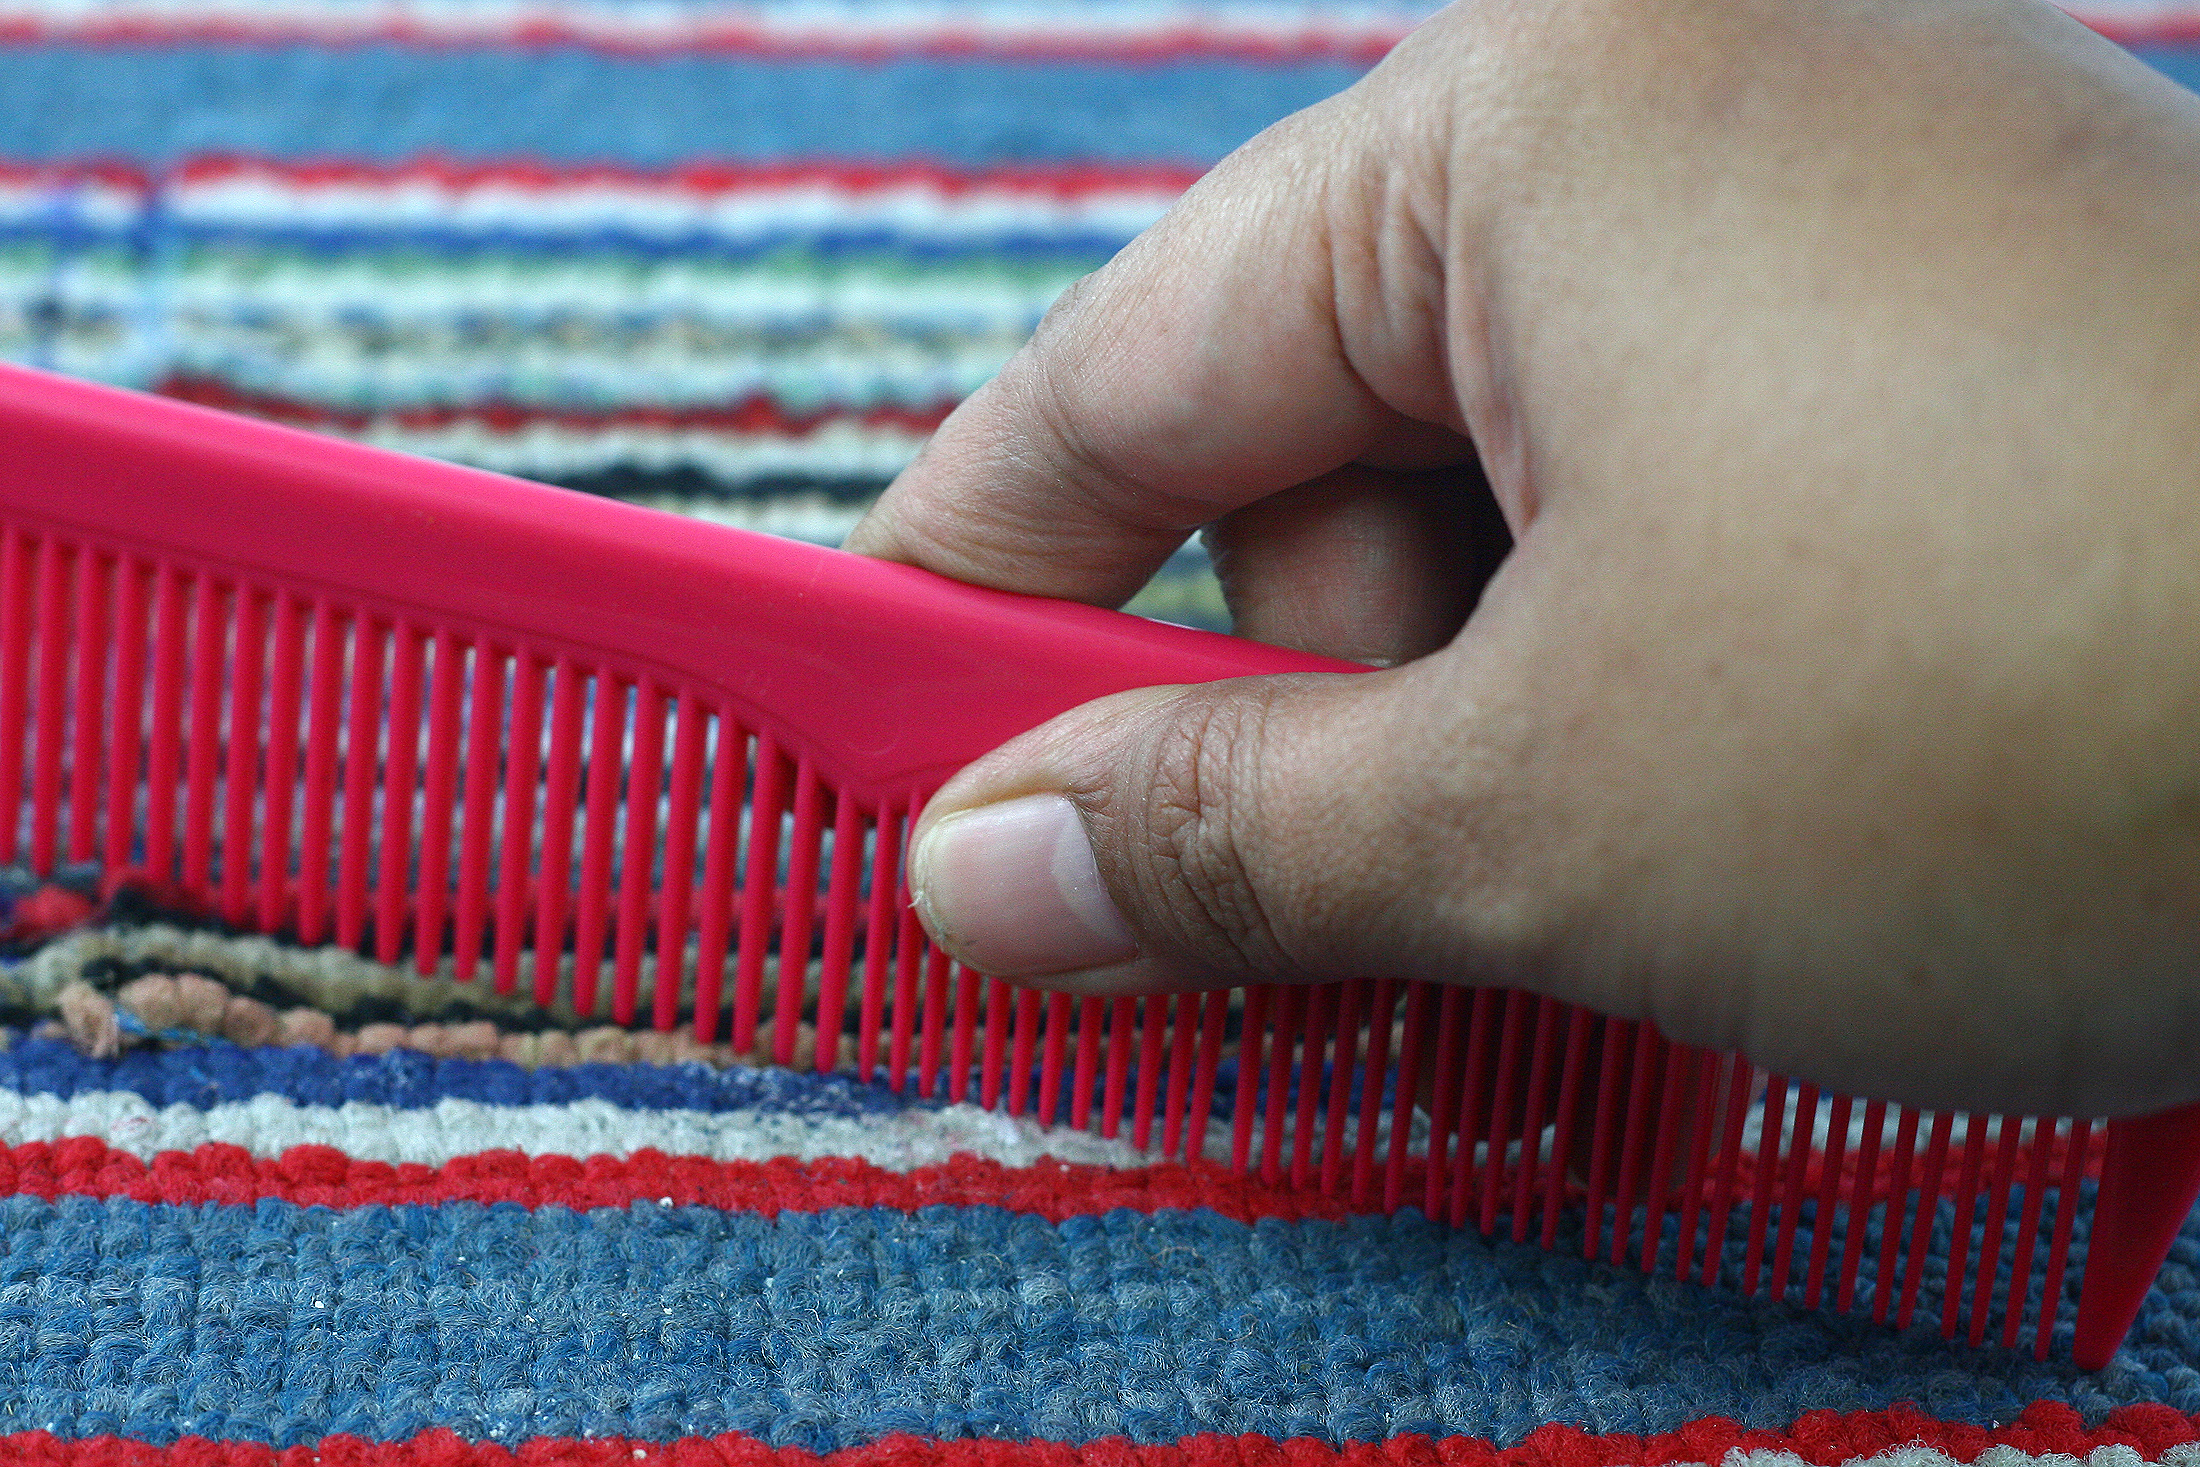
A cigarette burn in carpet has a special talent for looking much larger than it is. One tiny ember lands on the floor, and suddenly your living room carpet appears to be wearing a permanent polka dot of regret. The good news? Many cigarette burns in carpet can be repaired without replacing the entire room’s flooring, especially if the damage is small, shallow, and limited to the carpet fibers.
This guide explains how to repair cigarette burns in carpet using simple tools, careful trimming, donor fibers, and patching methods. You will learn how to judge the depth of the burn, when to use scissors and sandpaper, when to glue in replacement fibers, and when a full carpet patch is the better choice. The goal is not magic. The goal is a repair that blends well enough that guests do not walk in, point at the floor, and ask, “What happened there?”
Understanding the Damage Before You Start
Before grabbing scissors like a carpet surgeon in a hurry, take a close look at the burn. Cigarette burns usually fall into three categories: surface scorch marks, shallow fiber burns, and deep burns that reach the backing. Each one needs a slightly different repair strategy.
Surface Scorch Marks
A surface scorch is the mildest type of carpet burn. The fibers may look brown, gray, or slightly blackened at the tips, but the carpet backing is still hidden and intact. If the burn only toasted the top of the pile, you may be able to fix it with trimming, light sanding, cleaning, and brushing.
Shallow Cigarette Burns
A shallow cigarette burn damages more than the tips. You may see a small dark crater, melted fibers, or a stiff area where the pile no longer stands upright. These burns often need replacement fibers from a hidden area of the same carpet. This method is sometimes called fiber grafting, and yes, it sounds fancier than it feels when you are crouched on the floor with tweezers.
Deep Burns or Holes
A deep burn exposes the carpet backing or creates a clear hole. If the damage has gone through the pile and into the base, trimming alone will leave a bald spot. In that case, the best repair is usually a small carpet patch taken from a leftover remnant or an out-of-sight area, such as inside a closet.
Tools and Materials You May Need
You do not need a professional workshop to repair a cigarette burn in carpet, but the right tools make the job cleaner and less stressful. Gather what you need before you begin so you are not running around the house with glue on your fingers.
- Small sharp scissors or manicure scissors
- Fine-grit sandpaper or an emery board
- Vacuum cleaner with a hose attachment
- Mild dish soap or carpet-safe cleaner
- Clean white cloths
- Tweezers
- Carpet adhesive, latex adhesive, or strong fabric glue
- Toothpick or cotton swab for applying glue
- Replacement carpet fibers or a matching carpet remnant
- Utility knife for patch repairs
- Double-sided carpet tape or seam tape
- A heavy book or flat object for weighting the repair
Use white cloths when cleaning because colored towels can sometimes transfer dye. Also, test any cleaner in a hidden spot first. Carpet is dramatic. It may look tough, but some fibers object loudly to the wrong chemical.
Step 1: Vacuum and Clean the Burned Area
Start by vacuuming the burn gently. Use the hose attachment instead of dragging the full vacuum head aggressively over the spot. The goal is to remove ash, loose fibers, grit, and any crunchy burned bits without widening the damaged area.
Next, mix a small amount of mild dish soap with warm water. Dip a clean white cloth into the solution, wring it out well, and blot the burn. Do not soak the carpet. Too much water can reach the backing and padding, which may create odor or mildew problems later. After blotting with the soap solution, blot again with a cloth dampened with plain water. Finish by pressing a dry towel over the spot.
Let the area dry before trimming or gluing. Adhesive does not bond well to damp fibers, and wet carpet can make the burn look darker than it really is.
Step 2: Trim Lightly Burned Fibers
If the burn is minor, trimming may be all you need. Use small sharp scissors and snip only the blackened or brown tips of the fibers. Work slowly. This is not lawn mowing; you are not trying to level an entire backyard. Cut just enough to remove the singed ends while keeping the surrounding pile as full as possible.
For plush or cut-pile carpet, careful trimming can blend surprisingly well. For loop pile or Berber carpet, be extra cautious. Cutting loops too aggressively can cause runs or unraveling. If you see looped strands, avoid pulling them. Trim only loose, damaged ends and stop if the carpet starts to fray.
After trimming, gently rub the area with fine-grit sandpaper or an emery board. This can help soften stiff melted tips and feather the edges so the repair does not look like a tiny haircut. Vacuum again to remove the dust and trimmed fibers.
Step 3: Brush and Blend the Carpet Pile
Once the charred fibers are gone, use your fingers, a soft toothbrush, or a clean carpet brush to fluff the pile. Brush in the same direction as the surrounding carpet. Carpet has a grain, just like hair. Brush against it too hard, and the spot may stand out like bedhead.
Stand up and look at the repair from different angles. Natural light, lamp light, and hallway light can all reveal different things. If the mark is barely visible, you may be done. If there is still a small pit or dark spot, move on to replacement fibers.
Step 4: Repair a Small Burn With Donor Fibers
For a shallow cigarette burn, donor fibers can fill the damaged area. The best source is leftover carpet from installation. If you do not have a remnant, look for a hidden area where you can safely borrow a tiny amount of fiber: the back corner of a closet, under a large piece of furniture, or along a tucked edge near a baseboard.
Use scissors to snip a small amount of matching fibers. Cut them as close to the backing as possible so they are long enough to blend. Collect more than you think you need; tiny fibers have a mysterious habit of disappearing into the carpet universe.
Apply a very small amount of carpet adhesive to the base of the burned spot using a toothpick or cotton swab. Do not smear glue across the surrounding carpet. Too much adhesive can harden the fibers and create a shiny, stiff patch. Press the donor fibers into the glue with tweezers, arranging them upright and in the same direction as the existing pile.
Place a piece of wax paper or plastic wrap over the repair, then set a heavy book on top. This keeps the fibers in place while the adhesive dries. Follow the adhesive label for drying time. When dry, remove the weight, fluff the fibers, and carefully trim any strands that stand too tall.
Step 5: Patch a Deep Cigarette Burn in Carpet
If the cigarette burn created a hole or exposed backing, a patch will usually look better than fiber grafting. A carpet patch replaces the damaged section with a matching piece. The key word is matching. Color, texture, pile direction, pattern, and wear level all matter.
Find a Matching Patch
The best patch comes from leftover carpet. The second-best option is a hidden area of the same carpet, such as a closet corner. If you cut from a hidden area, you can later fill that closet spot with a less perfect match because nobody is likely to inspect the closet floor with a magnifying glass. At least, we hope not.
Cut Out the Damaged Section
Place a small square or circle template around the burn. A square is easier for many DIY repairs, but a circle can hide seams better in some carpets. Use a sharp utility knife and cut through the carpet backing, not deep into the padding. Keep the cut as small as possible while removing all damaged material.
Cut the Replacement Piece
Place the damaged piece on the donor carpet and use it as a template. Match the pile direction before cutting. This is extremely important. If the patch faces the wrong way, it may look darker or lighter than the surrounding carpet even if it is the exact same material.
Secure the Patch
Place seam tape or double-sided carpet tape under the edges of the opening. Apply carpet adhesive as needed, keeping glue away from the top fibers. Fit the patch into the hole and press it gently into place. The edges should meet snugly without buckling.
Blend the Edges
Use your fingers or a brush to blend the fibers across the seam. Place wax paper over the repair and weigh it down with a heavy book until the adhesive sets. After drying, vacuum the area and trim any uneven strands. A good patch should not be invisible from one inch away, but it should be hard to notice during normal use.
How to Fix Cigarette Burns in Different Carpet Types
Plush Carpet
Plush carpet is often forgiving because the dense pile can hide small repairs. Trimming and donor fibers usually work well for minor cigarette burns. Be careful not to over-trim, because plush carpet can show depressions when too much pile is removed.
Berber or Loop Carpet
Berber carpet requires patience. Do not yank burned loops or cut long connected strands. A small mistake can create a visible run. For deep burns in Berber, a professional repair may be worth the cost because matching loop direction and tension is tricky.
Patterned Carpet
Patterned carpet can hide small burns, but patching it requires careful alignment. Match both the pattern and the pile direction. If the design has stripes, diamonds, or repeated shapes, cut the patch slightly larger at first and trim slowly until the pattern lines up.
Wool Carpet
Wool is durable, beautiful, and not cheap. For a tiny scorch, careful trimming may be safe. For deeper damage, consider calling a carpet repair professional. Wool can respond differently to cleaners and adhesives, and a bad repair may be more obvious than the original burn.
Common Mistakes to Avoid
The first mistake is cutting too much. A small burn can become a large bald spot if you attack it with oversized scissors. Trim slowly and check your progress often.
The second mistake is using too much glue. Adhesive belongs at the base of the repair, not on the surface fibers. If glue reaches the visible pile, it can dry stiff, attract dirt, and create a crunchy spot that feels like old cereal underfoot.
The third mistake is ignoring pile direction. A patch cut from the same carpet can still look wrong if the fibers point the opposite way. Before gluing anything, rotate the patch and view it from several angles.
The fourth mistake is using harsh bleach or strong solvents. Bleach can remove color from carpet and turn a small burn into a larger stain. When cleaning, start with mild soap and water unless the carpet manufacturer recommends something else.
When Should You Call a Professional?
DIY carpet burn repair works best for small, isolated damage. Call a professional if the burn is larger than a quarter, the carpet is expensive, the damage affects seams, the carpet is Berber or wool, or the burned area is in a highly visible spot. A professional can stretch, seam, patch, and blend carpet with tools most homeowners do not keep in the junk drawer.
You should also call a pro if you are renting and the carpet damage could affect your security deposit. A clean, professional patch may cost less than paying for a full room replacement later. In rental situations, take photos before and after the repair and keep receipts if you hire help.
How to Prevent Cigarette Burns in Carpet
The easiest burn to repair is the one that never happens. If smoking occurs indoors, use heavy ashtrays with stable bases and keep them away from carpeted areas. Avoid balancing cigarettes on furniture arms, window ledges, or anything that can tip. Empty ashtrays only when ashes are completely cool.
For homes where guests smoke, create a designated outdoor area. If that sounds too formal, call it “the fresh-air lounge.” Add a sturdy ash container and a small table so people are not tempted to improvise. Carpets and improvisation rarely have a happy ending.
Experience-Based Tips for Repairing Cigarette Burns in Carpet
After dealing with carpet burns in real homes, one lesson becomes clear: patience matters more than strength. A cigarette burn is small, but it sits in a material made of thousands of fibers. If you rush, you can damage the healthy fibers around the burn and make the repair area larger. The best approach is to treat the carpet like fabric, not like a floor. Work slowly, use small tools, and stop every few minutes to check the spot from standing height.
One practical experience is that the repair often looks worse while you are doing it. After trimming blackened fibers, the area may appear slightly hollow. After adding donor fibers, it may look too fluffy. After gluing, it may seem uneven. Do not panic halfway through. Many carpet repairs improve after the adhesive dries, the fibers relax, and the area is vacuumed. The final blending step can make a bigger difference than expected.
Another useful tip is to harvest donor fibers from more than one hidden area if the carpet has color variation. Some carpets are not a single flat color; they contain beige, tan, gray, cream, or darker flecks. If you take fibers from only one spot, the repair may look like a dot. If you mix fibers from a few hidden sections, the result can blend more naturally. Think of it like seasoning soup. One ingredient is fine, but a balanced mix tastes better. In this case, the soup is your carpet, and thankfully nobody has to eat it.
Lighting also matters. A repair that looks perfect at night under warm lamps may show slightly in bright daylight. Before calling the job finished, check it in the morning or with a flashlight held low across the carpet. Low-angle light reveals uneven pile and raised seams. If you see a tall fiber or a hard edge, trim lightly and brush again. Small finishing touches often separate a decent repair from a repair you forget about.
For renters, the best experience-based advice is to avoid dramatic DIY experiments. Do not cut a large patch from the middle of the room because an online tip made it sound easy. Start with the least invasive method: vacuum, clean, trim, blend. If the burn is still obvious, try donor fibers. Only move to patching when the burn is deep enough to justify it. If the carpet is part of a rental inspection, a professional patch can be a smart investment.
Finally, remember that carpet ages. Even a perfect donor patch may look slightly newer than the surrounding floor if the main carpet has faded or flattened over time. You can reduce this contrast by brushing the pile in the correct direction and vacuuming the whole area, not just the patch. Sometimes the best repair is not about making the burn disappear under a microscope. It is about making the floor look normal in everyday life, which is what most people actually notice.
Conclusion
Learning how to repair cigarette burns in carpet can save money, reduce waste, and rescue a room from one tiny but annoying mark. For light burns, careful trimming, sanding, cleaning, and brushing may be enough. For shallow burns, donor fibers and a small amount of adhesive can rebuild the damaged pile. For deep burns, a matching carpet patch is usually the strongest and cleanest solution.
The secret is to match the repair method to the damage. Do not overcut a surface scorch, do not overglue donor fibers, and do not ignore pile direction when patching. With a steady hand and a little patience, a cigarette burn does not have to become the permanent centerpiece of your carpet.
Note: This article is for general home-improvement guidance. Always test cleaners and adhesives in a hidden area first, and consider hiring a professional for expensive carpet, wool carpet, Berber carpet, large burns, or rental-property repairs.