Putting up an artificial Christmas tree should feel magical, not like assembling office furniture while being attacked by pine-flavored pipe cleaners. The good news is that today’s faux trees are easier, sturdier, and more realistic than everespecially if you know how to assemble, fluff, light, and decorate them the right way.
Whether you bought a brand-new pre-lit tree, dragged an old faithful out of storage, or inherited a mysterious box labeled “XMAS TREE???” from a relative, this step-by-step guide will help you turn a flat, compressed bundle of branches into a festive centerpiece worthy of cocoa, photos, and at least one dramatic “ta-da.”
Below, you’ll learn how to put up an artificial Christmas tree in 11 practical steps, including how to choose the right location, assemble each section, fluff branches for a fuller look, test lights safely, add decorations, and store everything properly after the holidays.
Why Artificial Christmas Trees Are So Popular
Artificial Christmas trees have become a favorite for many households because they are reusable, low-maintenance, and available in almost every shape, size, color, and style imaginable. You can choose a full green fir, a slim pencil tree for a small apartment, a flocked snowy tree, a pre-lit tree with twinkling settings, or even a dramatic black or white tree if your holiday mood says “festive but make it fashion.”
Unlike fresh trees, artificial trees do not need watering, do not shed needles in the same way, and can be reused year after year. Still, they need proper setup. A rushed artificial tree can look thin, crooked, and slightly startled. A carefully assembled one looks full, balanced, and beautifully intentional.
How to Put Up an Artificial Christmas Tree: 11 Steps
Step 1: Choose the Right Spot Before You Open the Box
Before you wrestle the tree out of storage, decide where it will live. Place your artificial Christmas tree in a room where it can be seen and enjoyed, but avoid blocking walkways, doors, vents, or furniture you use every day. A tree in the middle of a narrow hallway may look festive for three minutes, right up until someone catches a sleeve on a branch and takes half the ornaments with them.
Choose a flat, stable surface near an outlet if you plan to use lights. Keep the tree away from fireplaces, space heaters, radiators, candles, and heat vents. Even though artificial trees are not fresh-cut trees, heat can still damage branches, affect wiring on pre-lit models, and create unnecessary safety risks.
Measure ceiling height if you are using a tall tree. Leave room for the tree topper. A 7.5-foot tree in an 8-foot room sounds fine until you realize your star is 16 inches tall and now lives sideways.
Step 2: Clear and Clean the Setup Area
Once you pick the location, clear the space. Move small tables, rugs, baskets, pet beds, and anything fragile. Vacuum or sweep the floor first, because once the tree is up, cleaning underneath it becomes a seasonal archaeological project.
If you have a flocked artificial tree, consider placing an old sheet, drop cloth, or large towel under the setup area. Flocked trees can shed some snowy material during assembly, especially after being stored. The sheet will make cleanup much easier and save you from finding “Christmas snow” in July.
This is also the best time to bring over any supplies you may need: gloves, a step stool, extension cord, power strip rated for indoor use, light tester, tree skirt or collar, ornaments, ribbon, garland, and a small trash bag for packaging pieces.
Step 3: Unbox the Tree and Check All Parts
Open the box carefully and remove each section. Most artificial Christmas trees come in two to four labeled sections: bottom, middle, upper, and top. Some trees use letters such as A, B, and C, while others use color-coded tags. The widest and heaviest section usually goes at the bottom.
Check for the stand, screws or bolts, center poles, branch sections, replacement bulbs or fuses if the tree is pre-lit, and the instruction manual. If your tree has been in storage for a year, look for damaged branches, bent metal hinges, loose wires, or missing parts. Do this before you start building so you do not discover a missing stand screw after the tree is already leaning like it has heard shocking family gossip.
Keep the manual nearby, especially for pre-lit trees with special pole connections, remote controls, or multiple lighting modes.
Step 4: Assemble and Secure the Tree Stand
Open the metal or plastic stand fully so the legs create a stable base. Place it exactly where you want the finished tree, because moving a fully assembled artificial tree can be awkward and risky. Insert the main screw or bolts loosely so the bottom pole can slide into place.
Make sure the stand sits flat on the floor. If the floor is uneven, adjust the tree location rather than forcing the stand to compensate. A wobbly base will only become more dramatic once you add lights, ornaments, ribbon, and a topper.
For extra protection on hardwood floors, place a tree mat, felt pads, or a tree skirt under the stand. This helps prevent scratches and gives the base a cleaner appearance.
Step 5: Insert the Bottom Section
Place the bottom section of the artificial Christmas tree into the stand. Make sure the pole is fully seated, then tighten the stand screw or bolts enough to hold it firmly upright. Do not overtighten to the point of damaging the pole or stand.
Once the bottom section is secure, let the hinged branches fall naturally into place. Some branches may need a gentle pull downward if they have been pressed tightly during storage. Avoid yanking. Artificial tree branches are sturdy, but they are not auditioning for a gym membership.
Step back and check that the trunk is straight. If the bottom section leans, loosen the stand slightly, adjust the pole, and tighten again.
Step 6: Fluff the Bottom Branches First
Fluffing is the secret to making an artificial Christmas tree look full and realistic. This step takes time, but it makes the biggest visual difference. Start with the bottom section before adding the next section. Working from bottom to top keeps the branches easier to reach and prevents missed spots.
Begin near the center pole and work outward. Separate each small branch tip, bending some upward, some outward, and some slightly downward. Fan the tips in different directions to cover gaps and create depth. If every branch points the same way, the tree will look flat and mechanical. Nature is not that organized, and neither is December.
Wear gloves if the needles feel scratchy. Long sleeves can also help, especially with larger trees. For the best result, fluff one branch at a time instead of grabbing handfuls randomly. The goal is to make each branch look layered, airy, and intentional.
Step 7: Add the Middle and Upper Sections
After the bottom section is shaped, insert the next tree section into the center pole. Make sure it fits securely. If your tree is pre-lit and uses pole-to-pole electrical connections, align the sections according to the manual so the lights connect properly.
Let the branches fall into place, then fluff this section just as you did the bottom. Continue adding and shaping each section until you reach the top. For tall trees, fluff the top section before placing it on the tree if it is easier to handle at eye level.
As you build, keep stepping back to check balance. Look for bare spots, crooked branches, or areas that seem heavier on one side. Rotate branch tips and adjust the shape gradually. A few minutes of correction now prevents the final tree from looking like it got dressed in the dark.
Step 8: Test the Lights Before Decorating
If you have a pre-lit artificial Christmas tree, plug it in after the sections are assembled but before you decorate. Check that every section lights up. If one section stays dark, inspect the connections, plugs, bulbs, and fuses according to the manufacturer’s instructions.
If you are adding your own lights, test each strand before putting it on the tree. Look for cracked sockets, frayed wires, loose bulbs, or damaged plugs. Replace damaged light strands instead of trying to “make them work one more year.” Holiday cheer should not require electrical bravery.
Use lights labeled for indoor use if the tree is indoors. LED lights are popular because they use less energy and produce less heat than older incandescent bulbs. Avoid overloading outlets or connecting more light strands than the manufacturer recommends.
Step 9: String Lights From the Inside Out
If your artificial tree is not pre-lit, add lights before ornaments, ribbon, or garland. A polished tree usually has depth because the lights are not only sitting on the outer branch tips. Start near the trunk at the bottom and work upward, weaving lights around major branches.
Move from the trunk toward the branch tip and back again, rather than simply wrapping the tree around the outside like a glowing lasso. This inside-out method creates a warmer, fuller glow and helps hide wires among the branches.
Step back every few feet to check the spacing. Squint slightly if needed; uneven dark patches will become easier to spot. Secure cords gently and avoid pinching wires between metal branches. Once the lights look balanced, plug them in again and admire your work. You have earned at least one cookie.
Step 10: Add Garland, Ribbon, Ornaments, and a Topper
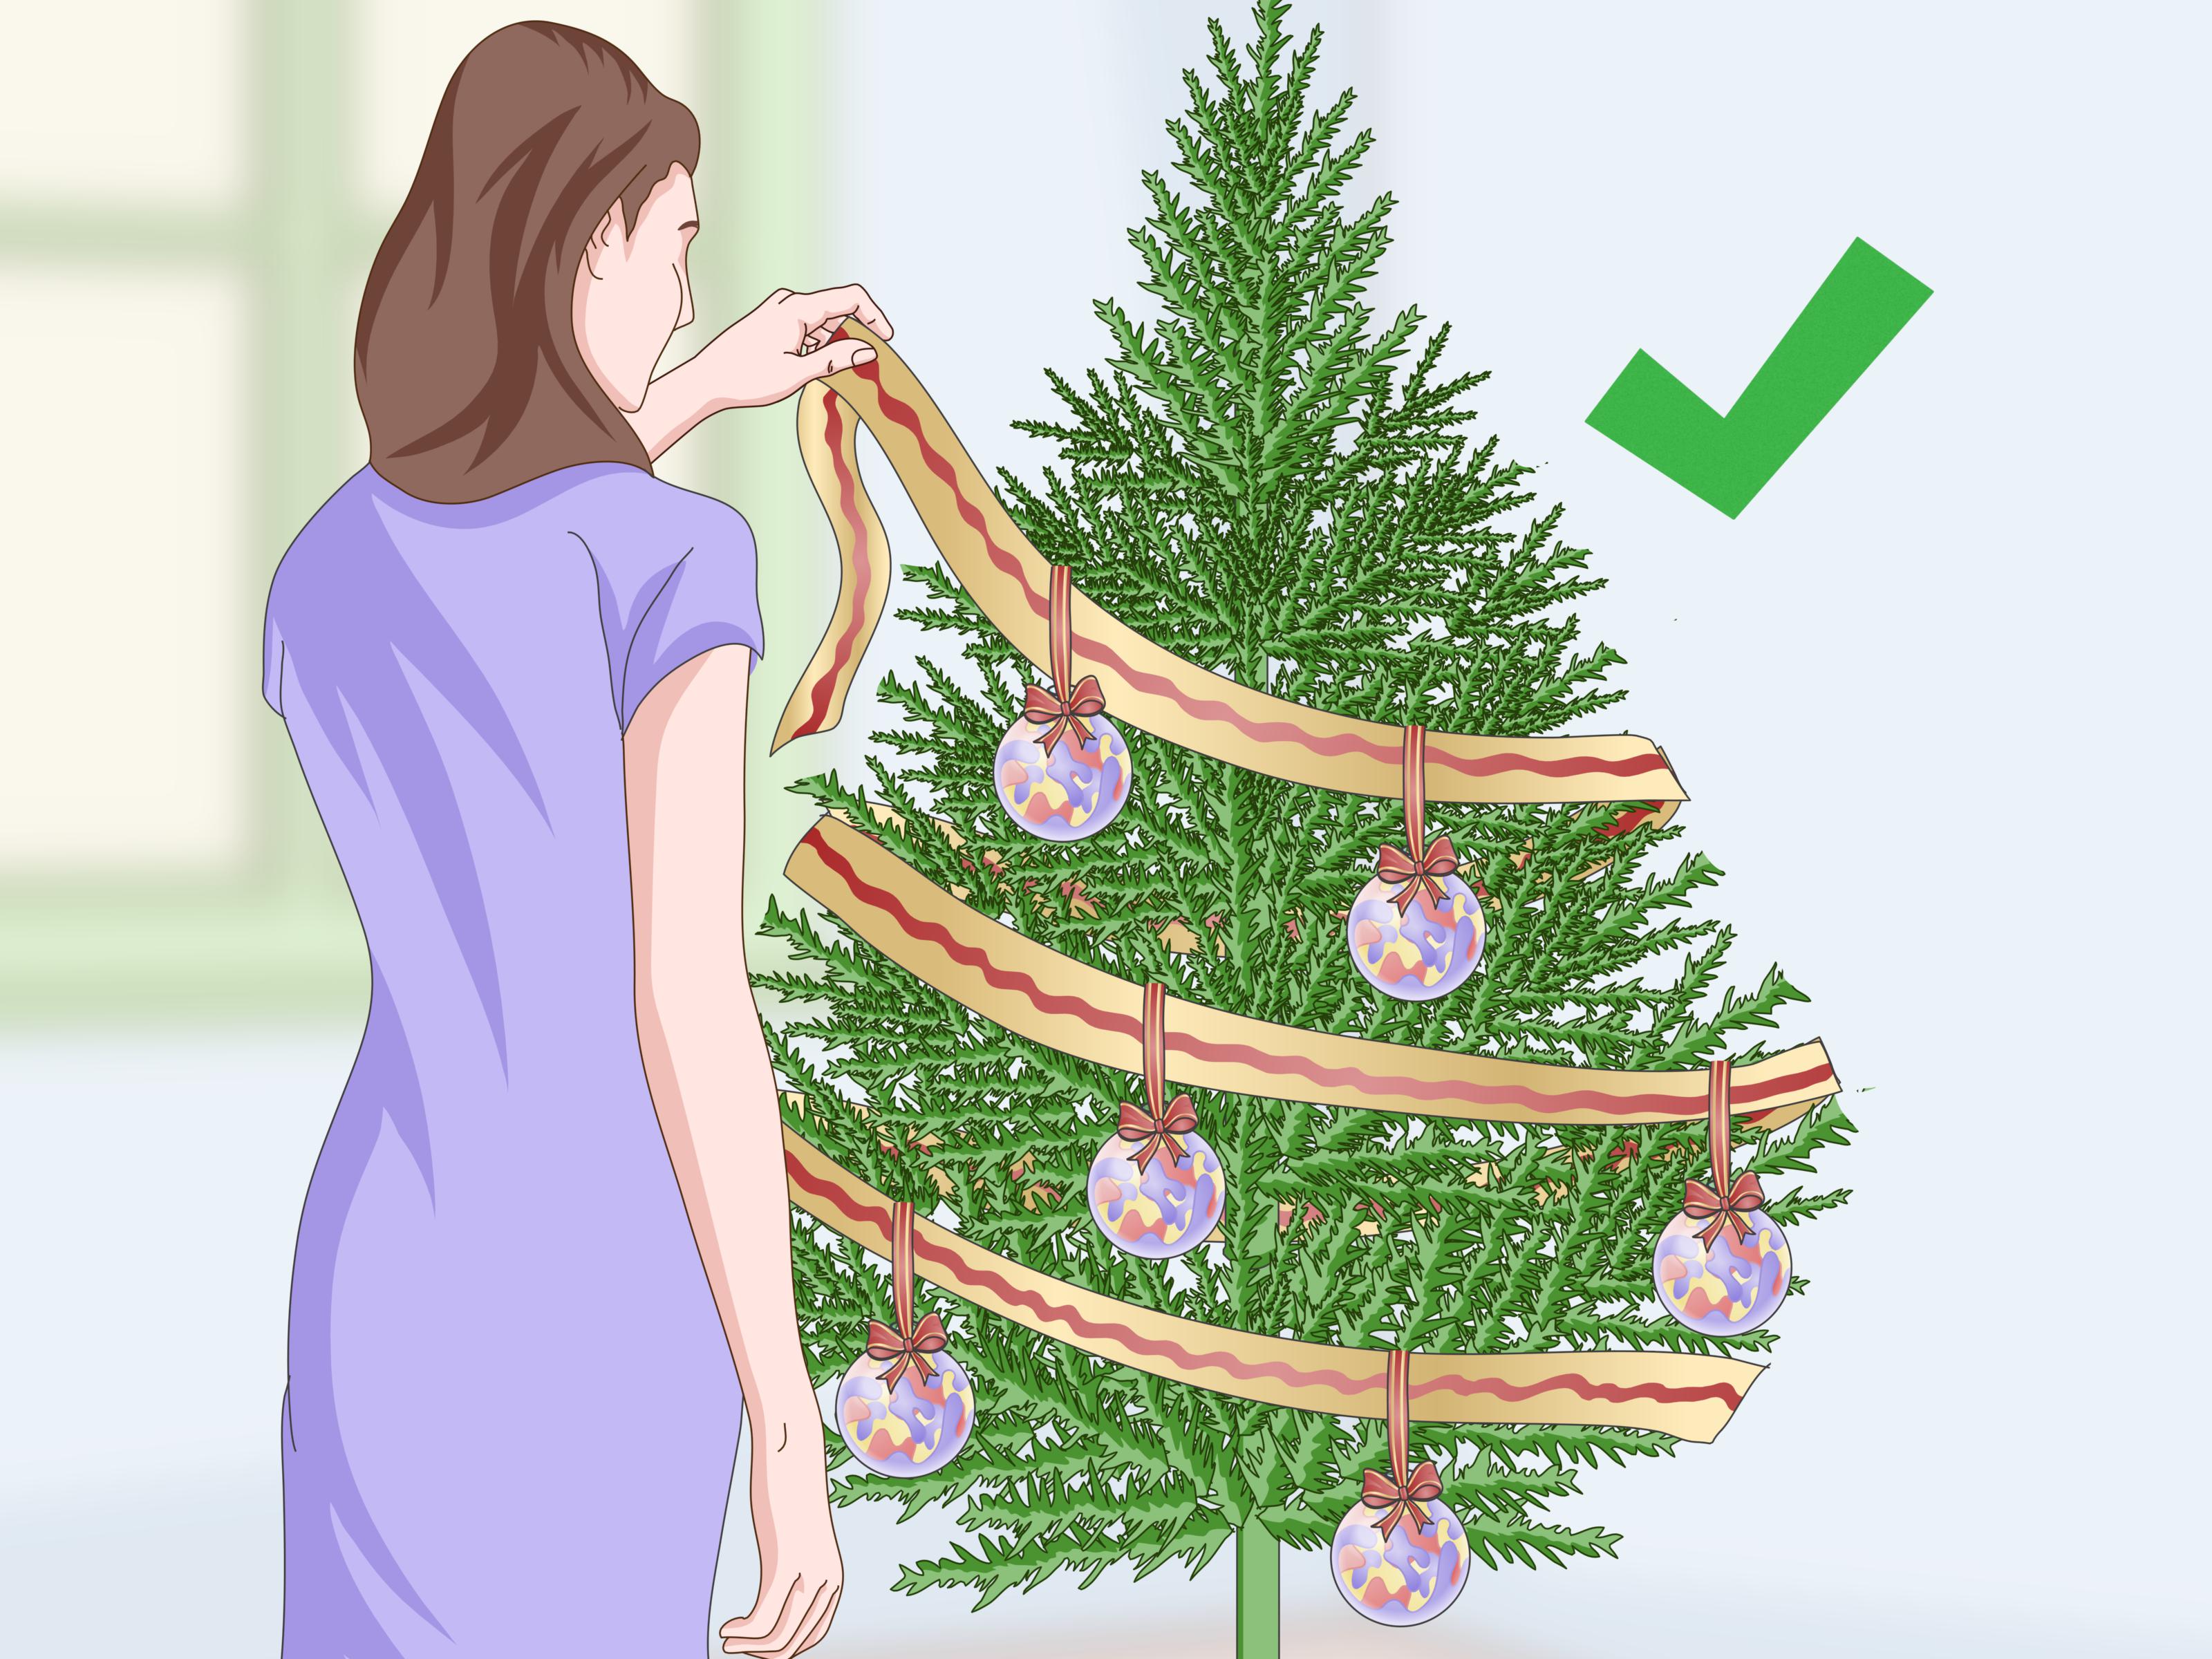
Now comes the fun part: decorating. Start with garland or ribbon because these pieces need room to move through the tree. Drape garland loosely rather than pulling it tight. For ribbon, tuck sections into the branches in soft waves, creating movement from top to bottom.
Next, hang larger ornaments deeper inside the tree to add dimension and fill gaps. Medium ornaments can go throughout the middle layer, while smaller or delicate ornaments look best near the outer tips. Place special ornaments where they can be seen, not buried in the back where only the wall can appreciate them.
Keep heavier ornaments on stronger branches. Bend branch tips slightly upward if needed so ornaments stay secure. Add the topper last, making sure the top branch can support it. If the topper is too heavy, use floral wire, a zip tie, or a hidden support stick to keep it upright.
Step 11: Finish With a Tree Skirt, Safety Check, and Final Fluff
Once the decorations are in place, cover the stand with a tree skirt, tree collar, basket, or decorative fabric. This hides the hardware and gives the tree a finished look. Arrange presents, faux snow, or holiday figures around the base if desired.
Do one final safety check. Make sure cords are not stretched across walkways, crushed under furniture, or hidden where pets can chew them. Turn lights off before going to bed or leaving home. A timer can make this easier and prevent the classic midnight realization: “Did I unplug the tree?”
Finally, walk around the tree from all angles. Fluff any flattened branches, shift ornaments away from crowded areas, and adjust lights if needed. Take a photo, because cameras are brutally honest. If the tree looks good in a picture, it will usually look even better in person.
Common Mistakes to Avoid When Setting Up an Artificial Christmas Tree
Rushing the Fluffing Process
The most common mistake is rushing through fluffing. Artificial trees are compressed in storage, so they need time to open up. A full-size tree may take 45 minutes or more to shape properly, especially the first year. That may sound long, but it is the difference between “luxury holiday centerpiece” and “green umbrella with ornaments.”
Decorating Before Testing Lights
Always test lights first. Nothing drains holiday joy faster than decorating an entire tree and then discovering the middle section is dark. At that point, fixing the lights requires the patience of a saint and the flexibility of a circus performer.
Using Too Many Heavy Ornaments in One Area
Balance matters. Heavy ornaments should be spread around the tree and placed on strong branches. If one side carries all the weight, the tree may lean or look uneven. Mix heavy, medium, and lightweight ornaments throughout for better structure and style.
Ignoring the Back of the Tree
If your tree sits against a wall, the back does not need your most precious ornaments, but it should still be shaped. A fluffy back helps the whole tree look fuller from the side. Also, anyone sitting at an angle will notice if the back looks like it gave up.
How to Make an Artificial Christmas Tree Look Fuller
If your tree looks sparse, do not panic. First, spend more time separating branch tips from the trunk outward. Many “bare spots” are simply branches that are still clumped together from storage. Bend tips in different directions to create layered coverage.
Second, use lights strategically. Lights placed deeper in the tree create a glowing interior that makes the tree appear richer. Third, add wide ribbon, floral picks, pine sprays, berries, faux snow branches, or oversized ornaments to fill gaps. These decorations are especially useful for older artificial trees that have lost some shape over time.
Finally, choose a decorating theme that works with your tree’s natural shape. Sparse trees can look elegant with minimalist ornaments and warm lights. Full trees can handle bold ribbon, large baubles, and dramatic toppers. The best artificial Christmas tree is not always the fullestit is the one styled with confidence.
How to Store Your Artificial Christmas Tree After the Holidays
Proper storage makes next year’s setup easier. Remove ornaments, garland, ribbon, and lights if the tree is not pre-lit. Dust the branches gently with a microfiber cloth or vacuum using a soft brush attachment on low suction.
Disassemble the tree from top to bottom. Compress branches gently in the direction they naturally fold. Avoid forcing sections into a box that is too small, because crushed branches will require more shaping later. A dedicated Christmas tree storage bag is often easier than the original box, especially for larger trees.
Store the tree in a cool, dry place away from direct sunlight, moisture, pests, and extreme temperatures. Label the bag or box clearly. Future you will be grateful, especially when holiday storage becomes a mountain of bins labeled only “decor.”
Personal Experiences: What Putting Up an Artificial Christmas Tree Teaches You
Putting up an artificial Christmas tree sounds simple until you are standing in the living room surrounded by three green sections, one mystery plug, a bag of spare bulbs, and a family member saying, “Are you sure that part goes there?” The experience is part decorating, part engineering, and part holiday therapy.
One of the biggest lessons is that patience changes everything. The first time many people assemble an artificial Christmas tree, they expect it to look beautiful the second it comes out of the box. Instead, it often looks flat, squashed, and deeply unimpressed. That is normal. The tree has spent months folded up like a festive accordion. It needs help waking up.
Fluffing branches can feel tedious at first, but it becomes oddly satisfying. You start with one sad branch, separate the tips, bend them outward, and suddenly it looks alive. Then you do another. And another. Before long, the tree transforms section by section. It is like giving the tree a spa day, except the spa involves scratched wrists and tiny plastic needles in your socks.
Another real-life lesson is that lighting matters more than most people think. A tree with evenly placed lights looks warm and professional even before ornaments are added. A tree with rushed lights can look patchy no matter how beautiful the decorations are. Taking time to weave lights toward the trunk, not just around the outside, gives the tree depth. It creates that cozy glow people notice when they walk into the room.
Decorating also teaches restraint. It is tempting to use every ornament you own, including the glitter-covered pinecone from 2009 and the handmade snowman with one eye. Sentimental ornaments absolutely deserve a place, but balance helps. Put meaningful pieces at eye level, distribute colors evenly, and leave enough space for individual ornaments to shine. A Christmas tree should feel joyful, not like it lost a fight with a craft store.
Families often create their own traditions around artificial tree setup. Some people play holiday music, some make hot chocolate, and some argue passionately about whether the ribbon should spiral or cascade. Children may hang five ornaments on one branch. Pets may investigate the tree skirt like it is a new kingdom. Someone will probably ask where the extension cord went even though it is directly beside them. These little moments become part of the season.
Artificial trees are also forgiving. If one side looks bare, you can rotate the tree. If the top leans, you can adjust it. If an ornament looks wrong, move it. Unlike many holiday tasks, tree decorating gives instant visual feedback. You can improve it as you go. There is no single perfect method, only a series of small choices that make the tree feel like yours.
The best experience comes when you stop trying to copy a showroom tree exactly. Magazine-perfect trees are lovely, but real homes have personality. Maybe your tree has matching gold ornaments and velvet ribbon. Maybe it has preschool crafts, travel souvenirs, candy canes, and one strange ornament nobody remembers buying. That mix tells a story.
By the time the artificial Christmas tree is fully assembled, fluffed, lit, and decorated, the room feels different. The space becomes warmer, brighter, and more inviting. The tree is not just a decoration; it is a seasonal gathering point. It holds memories, traditions, and the annual proof that yes, you can assemble the whole thing without losing the stand screw.
Conclusion
Learning how to put up an artificial Christmas tree is mostly about planning, patience, and shaping. Start with the right location, secure the stand, assemble each section carefully, fluff from the inside out, test your lights, decorate in layers, and finish with a simple safety check. The process does not need to be stressful. In fact, with the right approach, it can become one of the most enjoyable rituals of the holiday season.
A beautiful artificial Christmas tree does not happen by accident. It is built branch by branch, light by light, and ornament by ornament. Take your time, play your favorite holiday playlist, and remember: if glitter ends up on your face, that is not failure. That is Christmas commitment.
Note: This article is written as original, publish-ready content based on widely accepted artificial Christmas tree assembly, decorating, storage, and holiday electrical safety practices.