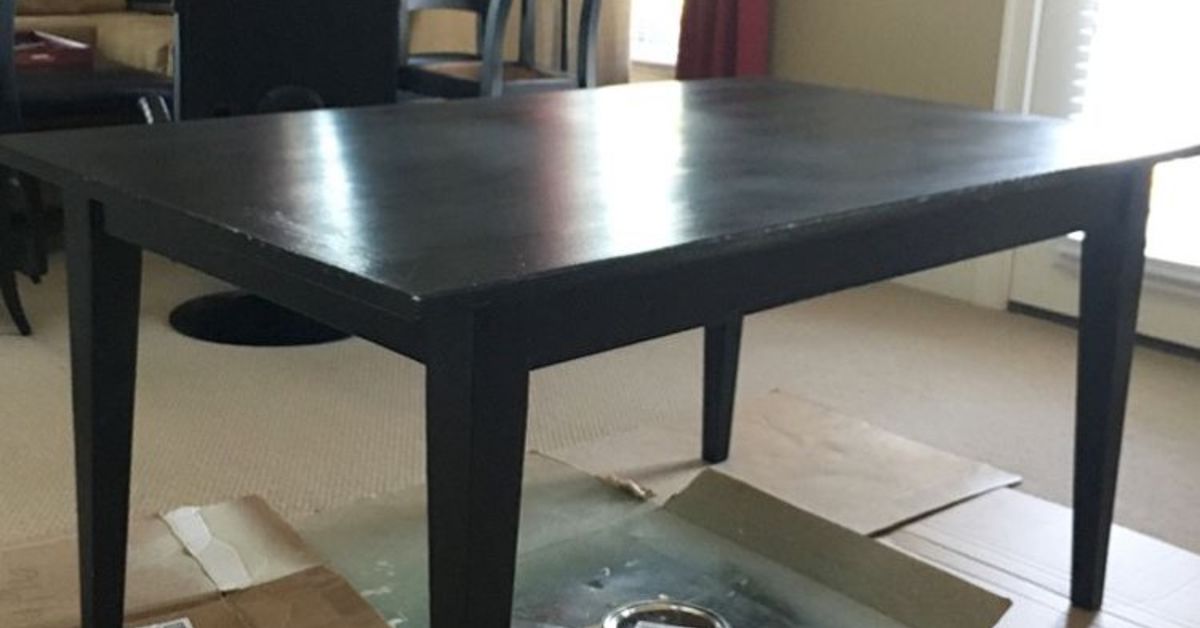
There is something almost magical about that soft, weathered, gray-brown furniture finish you see in coastal-style catalogs. It looks relaxed but expensive, casual but curated, like it was rescued from a windswept beach cottage where everyone owns linen napkins and somehow never spills coffee. The good news? You do not need a designer budget to get that Pottery Barn-inspired driftwood gray paint finish at home.
This DIY tutorial shows you how to create a knock off Pottery Barn driftwood gray paint finish using paint, glaze, a little sanding, and a healthy respect for the phrase “wipe it back before it dries.” The goal is not to make furniture look painted gray. The goal is to create depth: soft taupe undertones, muted gray layers, a faint whitewashed effect, and visible brush movement that mimics aged wood grain.
Whether you are refinishing a thrifted coffee table, updating a dated dresser, or giving a plain sideboard a coastal farmhouse makeover, this method is beginner-friendly, budget-conscious, and forgiving. Translation: if you mess up, you can usually wipe, sand, glaze, or mutter dramatically and keep going.
What Is a Driftwood Gray Paint Finish?
A driftwood gray finish is a layered furniture finish inspired by wood that has been naturally weathered by sun, salt air, water, and time. Real driftwood is rarely one flat color. It usually contains gray, beige, tan, white, charcoal, and soft brown tones. That is why the best DIY driftwood finish uses layers instead of one solid coat of gray paint.
Pottery Barn-style gray wash, seadrift, and weathered wood finishes are popular because they work with many decorating styles. They can lean coastal, modern farmhouse, rustic, transitional, or even slightly Scandinavian depending on the furniture shape and room design. The finish feels neutral, textured, and warm without looking orange, shiny, or overly distressed.
The biggest secret is contrast. A successful faux driftwood gray paint finish needs both light and dark variation. Too much gray can look cold. Too much brown can look muddy. Too much white can look chalky. But when those colors are layered lightly, the result looks like aged wood instead of a craft project that got into a wrestling match with a paintbrush.
Best Furniture Pieces for This DIY Finish
This Pottery Barn knock off finish works beautifully on wood furniture, veneer pieces, and many laminate surfaces if properly cleaned, sanded, and primed. It is especially effective on furniture with visible grain, carved details, planked tops, turned legs, or raised panels because the glaze settles into texture and creates realistic depth.
Great candidates include:
- Coffee tables and console tables
- Dining tables and benches
- Dressers, nightstands, and chests
- Bookcases and media cabinets
- Wood trays, frames, and decorative boxes
- Thrifted or outdated furniture with good bones
Avoid using this technique on heavily damaged furniture unless you repair it first. Peeling veneer, oily surfaces, deep water damage, or waxy buildup can prevent paint from bonding well. A rustic finish can hide a few sins, but it cannot perform miracles. Even paint has boundaries.
Supplies You Need
You do not need a professional spray booth or a warehouse full of specialty products. Most of the materials are easy to find at home improvement stores or paint retailers. The exact colors can vary, but the formula should include a warm light base, a gray glaze, a brown-taupe glaze, and a protective topcoat.
Basic supply list:
- Degreasing cleaner or mild detergent
- Lint-free rags
- Painter’s tape
- Drop cloth
- 120-grit, 180-grit, 220-grit, and 320-grit sandpaper
- Sanding sponge or orbital sander
- Bonding primer
- Light beige, greige, or warm off-white furniture paint
- Dark gray paint or glaze
- Warm taupe, mushroom, or gray-brown paint
- Clear mixing glaze
- Chip brush, synthetic paintbrush, and soft blending brush
- Matte or satin water-based polyurethane or furniture topcoat
- Disposable cups or containers for mixing glaze
For the base color, choose something warmer than pure white. Think light raffia, oatmeal, pale greige, linen, or warm ivory. For the gray layer, choose a medium charcoal-gray or smoky gray. For the brown layer, look for mushroom, weathered taupe, or gray-brown. The more natural and muted the colors are, the more believable the finish will look.
Step 1: Clean the Furniture Like You Mean It
Before you paint anything, clean the surface thoroughly. Furniture collects oils, furniture polish, dust, wax, hand grime, and mystery substances that no one wants to identify. Paint does not bond well to dirt, grease, or glossy residue, so this step matters more than most people think.
Use a degreasing cleaner or a small amount of mild detergent mixed with water. Wipe the piece well, paying close attention to drawer fronts, table edges, chair arms, and any area touched frequently. After cleaning, wipe again with clean water to remove residue and let the piece dry completely.
If the furniture has hardware, remove it if possible. If you cannot remove it, tape it carefully. Painting around hardware is like cutting your own bangs: technically possible, but often regrettable.
Step 2: Sand for Adhesion, Not Punishment
You do not always need to strip furniture down to raw wood for a painted driftwood finish. In many cases, a good scuff sanding is enough. The goal is to dull the existing finish so primer and paint can grip the surface.
Use 120-grit or 180-grit sandpaper on glossy surfaces, then smooth with 220-grit. Sand with the direction of the grain whenever possible. For detailed areas, use a flexible sanding sponge. After sanding, vacuum the dust and wipe the piece with a damp lint-free cloth.
If your piece has a slick laminate top or an old shiny varnish, do not skip primer. A bonding primer is your insurance policy. It helps prevent peeling, improves adhesion, and creates a better surface for layered paint effects.
Step 3: Prime the Surface
Apply one thin coat of bonding primer. Use a brush for corners and details, then a small roller or smooth brush for flat areas. Let the primer dry according to the product instructions. Once dry, lightly sand with 220-grit sandpaper to remove raised grain or brush marks.
Wipe away the dust before moving on. This is not the glamorous part of the project, but it is the part that separates a durable furniture makeover from a finish that scratches off the first time someone sets down a set of keys.
Step 4: Apply the Warm Base Coat
The base coat sets the undertone for the entire driftwood gray finish. Use a warm light beige, greige, or creamy off-white furniture paint. Apply one thin coat, let it dry, then apply a second coat if needed for coverage.
Do not worry if the base looks too plain at this stage. It is supposed to. Right now, your furniture may look like it got dressed for a beige office meeting. The personality comes later with glaze and dry brushing.
For the smoothest result, paint in long strokes following the direction of the wood grain. Avoid thick coats. Thin layers dry harder, look smoother, and make the later glaze easier to control.
Step 5: Mix the Gray Glaze
Now the fun begins. Mix a gray glaze using about one part gray paint to three parts clear mixing glaze. This ratio gives you enough transparency to create movement without covering the base coat completely. If you want a deeper, moodier gray wash, use slightly more paint. If you want a softer coastal look, use more glaze.
Test the mixture on a scrap board or the back of the furniture before applying it to a visible area. The glaze should look translucent, not like regular paint. You want it to slide, streak, and settle into the surface just enough to mimic weathered wood.
Step 6: Brush On the Gray Wood Grain Effect
Dip the tips of a soft brush into the gray glaze, then blot off the excess on a paper towel. Using long, light strokes, brush the glaze across the furniture in the direction of the grain. Keep your hand loose. Perfectly straight, identical strokes look fake. Slight variation looks natural.
Work in small sections so the glaze does not dry before you can manipulate it. If an area looks too dark, wipe it back with a lint-free rag. If it looks too pale, add another light pass. The beauty of glaze is that it gives you working time, which is extremely helpful when your inner perfectionist starts pacing the room.
On tabletops, use full-length strokes from one end to the other. On drawer fronts, follow the horizontal or vertical direction of the existing grain. On carved areas, let a little glaze settle into the details, then wipe the raised edges to create dimension.
Step 7: Add the Warm Taupe-Brown Layer
Real driftwood is not just gray. It often has warm beige and brown undertones. To avoid a cold, flat finish, mix a second glaze using a warm taupe, mushroom, or gray-brown paint. A good starting ratio is one part paint to one part clear glaze for stronger color, or one part paint to two parts glaze for a lighter touch.
Apply this glaze sparingly over the gray layer. Use long strokes and avoid covering the entire surface evenly. The best areas for warmth are edges, corners, legs, grooves, and random sections where natural wood might show more color variation.
If the finish starts looking muddy, stop adding color and let everything dry. DIY furniture painting has one universal law: when in doubt, walk away before you “fix” it into a crime scene.
Step 8: Dry Brush White or Light Beige Highlights
Dry brushing adds the pale, sun-bleached quality that makes driftwood finishes look airy and expensive. Use a nearly dry brush dipped in warm white, ivory, or pale beige paint. Wipe most of the paint off onto a paper towel before touching the furniture.
Lightly drag the brush over raised edges, corners, and textured areas. The brush should leave faint streaks, not solid coverage. If the highlights look too strong, soften them with a damp rag or blend lightly with a clean dry brush.
This step is especially helpful on dark furniture makeovers because it gives the surface a weathered, layered effect. It also makes details pop without creating a harsh distressed look.
Step 9: Sand Lightly for a Natural Worn Look
Once the glaze layers are fully dry, lightly sand selected areas with 220-grit or 320-grit sandpaper. Focus on edges, corners, and spots that would naturally receive wear. The goal is subtle distressing, not making the furniture look like it survived a raccoon attack.
Sand gently until bits of the base coat or original wood peek through. Then wipe away all dust. If you sand too much, touch up the area with a little glaze and let it dry again.
Step 10: Seal the Finish
A protective topcoat is essential for tables, dressers, nightstands, and any furniture that will be touched regularly. Choose a matte or satin water-based polyurethane, polycrylic, or furniture topcoat. A flat sheen keeps the finish close to the soft, natural look of weathered wood. High gloss can make a driftwood finish look less authentic.
Apply thin coats with a quality synthetic brush, foam brush, or applicator pad. Let each coat dry fully, then lightly sand between coats with very fine sandpaper if recommended by the product instructions. Two coats are usually fine for decorative pieces. Three coats are better for tabletops and high-use furniture.
Allow the finish to cure before placing heavy objects, lamps, trays, or decor on top. Dry to the touch does not always mean fully cured. Give the piece time to harden so your beautiful knock off Pottery Barn finish does not collect permanent coaster rings on day two.
Color Recipe for a Pottery Barn-Inspired Driftwood Gray Finish
You can customize the exact tones based on your room, but this simple color recipe works well for many DIY furniture projects:
- Base coat: warm greige, light beige, oatmeal, or ivory
- First glaze: medium gray mixed with clear glaze
- Second glaze: mushroom, taupe, or gray-brown mixed with clear glaze
- Highlight: dry brushed warm white or pale beige
- Topcoat: matte or satin clear protective finish
For a cooler finish, use more gray and less brown. For a warmer seadrift-style finish, use more taupe and beige. For a more rustic farmhouse finish, add slightly darker gray in the crevices and sand the edges more heavily.
Common Mistakes to Avoid
Using only one gray paint color
One solid gray paint color will not create a realistic driftwood effect. Layering is what gives the finish depth and movement.
Skipping the prep work
Cleaning, sanding, and priming may not be exciting, but they help the finish last. Poor prep can lead to peeling, scratching, and uneven coverage.
Applying glaze too heavily
Glaze should be thin and workable. If it looks like paint, add more clear glaze or wipe it back quickly.
Choosing colors that are too cool
Blue-gray can look icy on furniture. Balance gray with beige, taupe, or brown for a warmer, more expensive look.
Over-distressing
A little sanding creates charm. Too much sanding creates chaos. Aim for naturally worn, not abandoned-in-a-barn-since-1892.
Where This Finish Looks Best in the Home
A driftwood gray paint finish works especially well in light, relaxed spaces. It pairs beautifully with white walls, linen upholstery, black metal accents, woven baskets, jute rugs, natural wood, greenery, and soft blue or sage decor.
In a coastal living room, a driftwood gray coffee table can soften a white sofa and bring texture to the space. In a farmhouse dining room, a gray-washed table can make mismatched chairs feel intentional. In a bedroom, a Pottery Barn-inspired nightstand can add a high-end look without requiring a high-end receipt that makes you question your life choices.
Budget Breakdown
The cost of this DIY project depends on what you already own. If you have brushes, sandpaper, and a topcoat on hand, you may only need paint, glaze, and primer. A small nightstand can often be finished with sample-size paints or leftover furniture paint. Larger pieces, such as dining tables or dressers, may require quarts.
Compared with buying new designer furniture, painting your own driftwood gray finish can save a significant amount of money. It also lets you customize the color to your home. That flexibility is one of the biggest advantages of the DIY approach: you are not stuck hoping a catalog finish matches your flooring, wall color, and rug.
Care Tips for Your Finished Furniture
After the topcoat cures, clean the furniture with a soft damp cloth. Avoid harsh chemicals, abrasive scrubbers, and furniture polish that can leave buildup. Use coasters on tabletops and felt pads under lamps or decor. For dining tables, placemats and runners can help protect the finish from heat, moisture, and scratches.
If the surface gets nicked later, touch it up with a small artist brush and the same glaze colors. Because this finish is layered and varied, minor repairs blend more easily than they do on a solid painted surface.
Experience Notes: What I Learned Painting a Knock Off Pottery Barn Driftwood Gray Finish
The first thing you learn when painting a driftwood gray finish is that the project looks questionable before it looks good. There is a moment after the base coat when the furniture looks boring. Then there is a moment after the first gray glaze when it may look streaky. Then the taupe layer goes on and suddenly you start wondering whether you have invented a new color called “wet cardboard.” Do not panic. Layered finishes need time to develop.
One of the most useful lessons is to keep a damp rag nearby at all times. The rag is not just for cleanup; it is your emergency undo button. If a glaze line looks too heavy, wipe it back. If a corner turns too dark, soften it. If your brush makes a weird mark that resembles a tiny gray lightning bolt, blend it before it dries. Working in small sections makes this much easier.
Another important experience is that lighting changes everything. A finish that looks perfect in the garage may look too cool in a north-facing room or too beige under warm bulbs. Before sealing the piece, move it near the space where it will live or at least check it in daylight and evening light. This one step can save you from sealing a color you only love under fluorescent garage lighting, which is not exactly known for emotional honesty.
Brush choice also matters more than expected. A stiff brush can leave harsh lines, while a soft blending brush creates a more natural grain effect. For dry brushing, an inexpensive chip brush can work beautifully because the uneven bristles create random texture. The trick is to remove almost all the paint before touching the furniture. If you think the brush is too dry, it is probably just right.
I also learned that subtlety wins. The most realistic driftwood finishes are not dramatic from two inches away. They look layered and natural from across the room. You should see soft movement, not obvious stripes. You should notice the furniture as a beautiful whole before noticing the technique. If each brushstroke is shouting for attention, blend it back.
Finally, sealing is where patience pays off. After spending hours creating the perfect Pottery Barn-inspired gray wash, it is tempting to throw on one thick coat of topcoat and declare victory. Resist that urge. Thin coats dry clearer, smoother, and stronger. Let the finish cure before styling the piece. Yes, waiting is annoying. But so is lifting a decorative tray and finding it has become spiritually bonded to your tabletop.
The best part of this DIY project is how forgiving it is. Unlike a flawless lacquer finish, driftwood gray is supposed to have variation. Every streak, softened edge, and layered tone adds character. That makes it a fantastic project for beginners and a satisfying makeover for experienced DIYers. You get the high-end catalog look, the custom color, and the small thrill of saying, “Thanks, I painted it myself,” while trying not to grin too hard.
Conclusion
Learning how to paint a knock off Pottery Barn driftwood gray paint finish DIY is really about mastering layers. Start with a warm base, add gray glaze for weathered depth, bring in taupe for natural warmth, dry brush pale highlights, then protect everything with a durable matte or satin topcoat. The process is simple, but the result can completely transform old furniture into something that feels stylish, coastal, and expensive.
This finish is perfect for anyone who loves designer furniture but would rather keep the budget under control. With the right prep, patient layering, and a little blending, even a tired thrift-store table can look like it belongs in a beautifully staged catalog room. Just remember: clean well, sand lightly, glaze gradually, and do not underestimate the power of walking away before overworking the finish.
Note: This article was created from practical DIY furniture painting methods, manufacturer-style product guidance, and widely used refinishing best practices. Always follow the specific drying, safety, ventilation, and application instructions printed on the products you choose.