Pine is charming, affordable, easy to work with, and full of personality. Unfortunately, some of that personality comes in the form of knots that like to reappear through paint like tiny amber ghosts. You sand, prime, paint, admire your work, and thensurpriseyellow-brown stains start peeking through like they paid rent.
The good news: covering pine wood knots is not complicated. The bad news: skipping the right sealer is basically inviting the knots to a comeback tour. Pine knots contain resin, sap, and natural wood extractives that can migrate through regular paint and light-duty primer. That is why a white wall, cabinet, shelf, door, or piece of trim can develop circular stains long after it looked “finished.”
This guide explains how to cover pine wood knots in 12 practical steps, using real-world painting and wood-finishing methods: cleaning, sanding, sealing, priming, filling, and painting. Whether you are updating knotty pine paneling, painting raw pine boards, refreshing furniture, or trying to rescue a project where knots already bled through, this method will help you get a smoother, cleaner, longer-lasting finish.
Why Pine Wood Knots Bleed Through Paint
Before grabbing a brush like a DIY superhero, it helps to know what you are fighting. Pine is a softwood, and its knots are denser, darker, and more resin-rich than the surrounding wood. A knot is basically the leftover base of a branch inside the board. It has different grain direction, more extractives, and sometimes tiny cracks that allow sap and resin to move toward the surface.
Regular latex paint is not designed to lock in those resins. Even some general-purpose primers may not fully block heavy knot stains, especially under white or pale paint. That is why professional painters often spot-prime knots with a shellac-based primer or a strong stain-blocking primer before applying a full primer coat.
Tools and Materials You Will Need
For the best results, gather everything before you start. Pine knots are sneaky, but they are not smarter than a well-prepared homeowner.
- Fine- and medium-grit sandpaper, such as 120, 150, and 180 grit
- Sanding sponge or orbital sander
- Vacuum, tack cloth, or microfiber cloth
- Mild cleaner or degreaser
- Shellac-based stain-blocking primer or high-quality oil-based stain-blocking primer
- Paintbrush for spot priming
- Roller and tray for larger surfaces
- Wood filler or spackling compound for holes and cracks
- Putty knife
- Acrylic latex caulk for gaps, if needed
- Quality interior or exterior paint suitable for the project
- Painter’s tape and drop cloths
- Gloves, eye protection, and good ventilation
How to Cover Pine Wood Knots: 12 Steps
Step 1: Inspect the Pine Surface
Look closely at the wood before doing anything else. Identify every visible knot, dark ring, sap pocket, crack, nail hole, dent, and glossy patch. On knotty pine paneling, check the grooves as well as the flat boards. On furniture, inspect corners, legs, edges, and hidden areas where resin may have collected.
If a knot feels sticky or looks wet, it may still be releasing resin. Do not paint directly over active sap. Scrape away excess residue gently and let the area dry. If the board has severe resin pockets or loose knots, replacement may be easier than trying to make a miracle happen with primer. Paint is powerful, but it is not a wizard in a can.
Step 2: Clean the Wood Thoroughly
Primer sticks best to a clean surface. Dust, grease, smoke residue, furniture polish, and old wax can all interfere with adhesion. Wipe the pine with a mild cleaner or degreaser, then rinse with a clean damp cloth. Let the surface dry completely before sanding.
This step is especially important for old knotty pine walls, kitchen cabinets, shelves, and trim. Years of fingerprints, cooking residue, and mystery grime can sit on the surface like an invisible force field. If you prime over it, the coating may peel, streak, or fail to seal properly.
Step 3: Sand the Surface Smooth
Sand the pine with 120- to 150-grit sandpaper to dull glossy finishes and level rough grain. If you are working with previously finished knotty pine, sanding helps the primer grip. If the wood is raw, sanding removes mill glaze and fuzzy fibers.
Do not over-sand only the knots while ignoring the rest of the board. The goal is an even surface. For paneling, use a sanding sponge to reach grooves and edges. For flat boards or furniture tops, an orbital sander can save time. Finish with 180-grit sandpaper for a smoother feel.
Step 4: Remove Every Bit of Dust
After sanding, vacuum the surface and wipe it with a tack cloth or slightly damp microfiber cloth. Dust left behind will mix into the primer and create a gritty finish. That is not “rustic texture.” That is just dust wearing a disguise.
Check corners, seams, and panel grooves carefully. Dust loves hiding there. Let the surface dry fully before applying primer or filler.
Step 5: Spot-Seal Each Knot
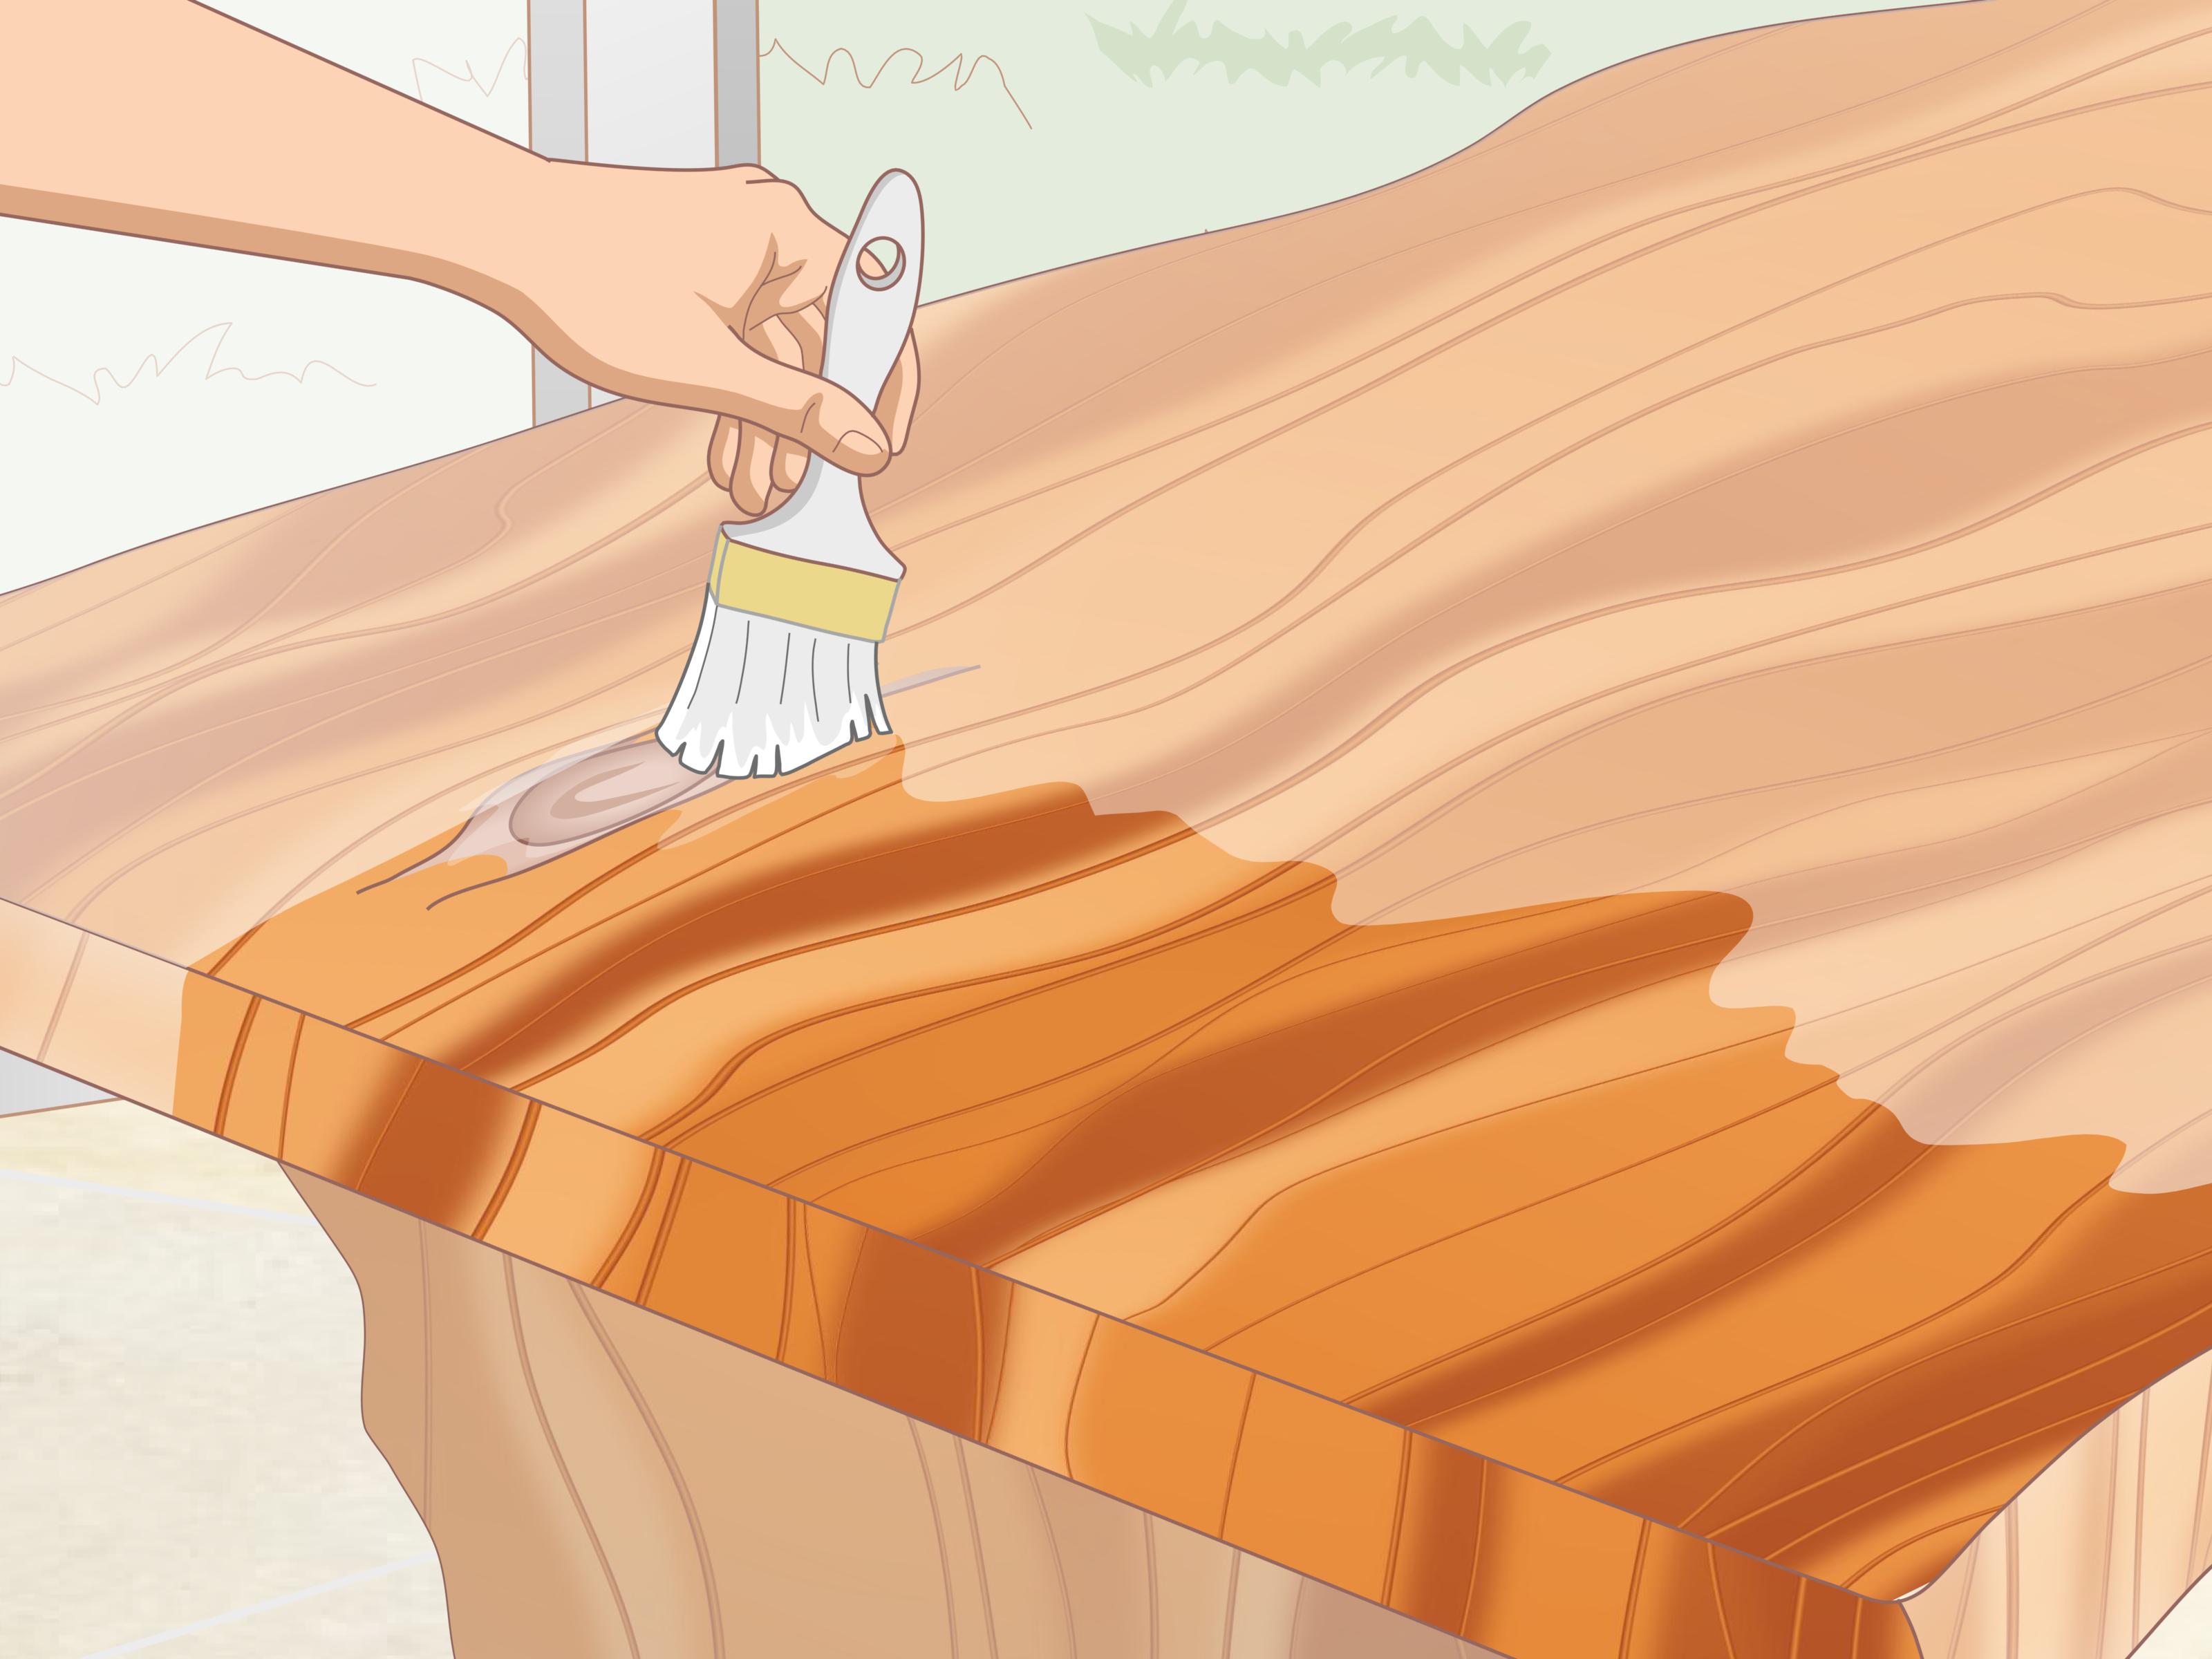
This is the most important step in covering pine wood knots. Use a shellac-based stain-blocking primer or another primer specifically labeled for blocking knots, sap streaks, tannin, or heavy stains. Apply it directly over each knot with a brush, extending slightly beyond the edge of the knot.
Do not rely on wall paint alone. Do not rely on “paint and primer in one” for problem knots. Those products can work well on normal surfaces, but pine knots need a true stain-blocking barrier. Shellac-based primers are popular because they dry quickly and create an excellent seal over resinous areas.
Step 6: Apply a Second Spot Coat if Needed
Some knots are polite. Others are drama queens. If a knot is large, dark, cracked, or especially resinous, apply a second coat of spot primer after the first coat dries according to the product label. Two thin coats are usually better than one heavy coat.
A heavy coat can drip, wrinkle, or take longer to dry. Thin, controlled coats build a stronger barrier and make it easier to keep the final surface smooth.
Step 7: Prime the Whole Surface
Once the knots are sealed, prime the entire surface. This evens out porosity, improves paint adhesion, and helps the topcoat look consistent. For raw pine, a full primer coat is highly recommended. For stained or glossy pine, choose a primer designed for adhesion and stain blocking.
Use a brush to cut in around edges, corners, grooves, and trim details. Use a roller on larger flat sections. On knotty pine paneling, work primer into the grooves first, then roll the flat boards. Allow the primer to dry fully before moving on.
Step 8: Fill Cracks, Holes, and Depressions
After the first primer coat dries, fill nail holes, small cracks, dents, and gaps with wood filler or spackling compound. Many painters prefer filling after priming because the primer helps reveal defects and gives filler a better visual target.
Use a putty knife to press filler into the flaw, leaving it slightly proud of the surface. Let it dry completely. For deep cracks in knots, it may take more than one application. Do not rush drying time unless you enjoy sanding gummy filler, which is about as fun as chewing cardboard.
Step 9: Sand the Filled Areas
Sand filled spots smooth with 180-grit sandpaper or a fine sanding sponge. Feather the edges so the repair blends into the surrounding pine. Run your hand over the surface; your fingers often notice bumps your eyes miss.
Vacuum and wipe away dust again. Then spot-prime the filled areas. Bare filler absorbs paint differently than primed wood, so spot-priming repairs helps prevent dull patches and uneven sheen.
Step 10: Caulk Long Gaps and Seams
If you are painting pine trim, paneling, baseboards, or built-ins, caulk long gaps where boards meet walls, corners, or other trim. Use paintable acrylic latex caulk. Apply a small bead, smooth it with a damp finger or caulk tool, and wipe away excess.
Do not caulk over knots themselves as a stain-blocking strategy. Caulk is for gaps, not resin. A knot sealed only with caulk can still discolor the paint around it.
Step 11: Apply the First Coat of Paint
Use a quality paint appropriate for the surface. Interior acrylic latex paint works well for many walls, paneling, shelves, and trim. For furniture, cabinets, or high-touch areas, choose a durable enamel or cabinet-grade paint. For exterior pine, use exterior paint and follow weather, temperature, and drying recommendations on the label.
Apply paint in thin, even coats. Brush with the grain when possible, and avoid overworking paint as it starts to dry. On paneling, paint grooves first, then roll the boards. On furniture, watch for drips along edges and corners.
Step 12: Sand Lightly and Apply the Final Coat
After the first coat dries, inspect the surface. If it feels rough, lightly sand with 220-grit sandpaper or a fine sanding sponge. Wipe away dust, then apply the final coat of paint.
If you still see a shadow from a knot after painting, do not panic. Let the paint cure, then spot-prime the knot again and repaint that area. Pine knots can be stubborn, but a good stain-blocking primer usually wins if applied properly.
Best Primer for Pine Wood Knots
The best primer for pine wood knots is usually a shellac-based stain-blocking primer, especially for stubborn knots, sap streaks, and yellow-brown bleed-through. Oil-based stain-blocking primer can also work well on bare wood and tannin-prone surfaces. Some advanced water-based stain-blocking primers are designed for heavy stains, but for raw knotty pine, shellac or oil-based products are often the safer choice.
For a practical approach, spot-prime the knots with shellac-based primer, then prime the entire surface with a compatible primer. This gives you the stain-blocking power where you need it most without necessarily coating the entire room in a strong-smelling product.
Can You Cover Pine Knots Without Painting?
Yes, but the result depends on the look you want. If you want to keep the natural wood appearance, you can use clear shellac or a suitable sanding sealer before applying a clear finish. This helps reduce resin migration and creates a more even finish. However, clear finishes will not hide the knots; they will only seal and showcase them.
If your goal is a clean painted look, especially white, cream, gray, or pastel, you need stain-blocking primer. Pale paint colors are less forgiving because even a small amount of resin bleed can show through as a yellow or brown stain.
Common Mistakes to Avoid
Using Regular Paint as Primer
Paint is not primer. Paint adds color and protection, but primer prepares and seals the surface. Pine knots need a stain-blocking barrier before paint goes on.
Skipping the Cleaning Step
Dust, oil, wax, and old polish can stop primer from bonding. Clean first, sand second, prime third. The order matters.
Applying One Thick Primer Coat
Thicker is not always better. Two thin coats over knots are usually more reliable and smoother than one heavy coat.
Painting Too Soon
Follow the drying and recoat times on the product label. Primer that feels dry on top may still need more time before sanding or painting.
Ignoring Old Lead Paint Safety
If the pine surface was painted before 1978, do not sand or scrape it casually. Older paint may contain lead. Use lead-safe practices or consult a qualified professional before disturbing the coating.
Example: Painting Knotty Pine Paneling White
Imagine a room with orange-brown knotty pine paneling from decades past. It has charm, sure, but it also makes the room feel like a cabin where every lamp is legally required to have a bear on it. To paint it white, start by washing the walls thoroughly. Sand the glossy finish until dull. Vacuum and wipe everything clean.
Next, spot-prime every knot with shellac-based primer. Large knots may need two coats. Then prime the entire wall, working into grooves with a brush and rolling the flat areas. Fill nail holes and dents, sand smooth, spot-prime repairs, caulk gaps, and apply two coats of high-quality interior paint.
The result is brighter, cleaner, and more modern. More importantly, the knots are sealed underneath instead of waiting to photobomb your fresh paint job six weeks later.
How Long Does It Take to Cover Pine Wood Knots?
A small pine shelf or furniture piece may take one day, mostly because of drying time. A full room of knotty pine paneling may take several days. Cleaning, sanding, spot-priming, filling, priming, and painting all require patience. The actual brushing is not the slow part; waiting between coats is.
Do not shorten the process by skipping primer or sanding. That kind of shortcut usually circles back later wearing a yellow-brown stain and saying, “Remember me?”
Experience Notes: What I’ve Learned Covering Pine Knots
The biggest lesson from working with pine is that knots are not just cosmetic marks. They behave differently from the rest of the board. On one small project, a pine storage bench looked perfectly smooth after sanding and one coat of regular primer. The first coat of white paint looked great too. Then, after a few weeks, faint yellow circles appeared right where the knots were. It was not a disaster, but it was annoying enough to teach the golden rule: seal the knots first, not after they complain.
Another useful experience is that knot coverage is easiest before the whole surface is painted. When you spot-prime bare knots, you can see exactly where the problem areas are. Once everything is white, it becomes harder to tell whether a shadow is a stain, a missed spot, or just the lighting playing tricks. For furniture and trim, I like marking knots lightly with painter’s tape before cleaning and sanding, then removing the tape before priming. It sounds fussy, but it prevents the classic “Where did that knot go?” moment.
On older knotty pine paneling, cleaning is often more important than people expect. The walls may look dry and normal, but decades of dust, smoke, polish, or cooking residue can sit on the surface. If you sand first, you may grind that residue into the wood. Cleaning first makes sanding more effective and helps primer bond better. A clean surface also reveals which knots are cracked, loose, or still shiny with resin.
I have also learned that cheap brushes make shellac primer harder to control. A decent brush helps you apply thin coats around each knot without leaving big ridges. If the spot-primer edges are too thick, they can telegraph through the final paint, especially under satin or semi-gloss finishes. Feathering the primer slightly beyond each knot helps the repair disappear.
For large knotty pine rooms, ventilation and pacing matter. Stain-blocking primers can have strong odors, especially shellac-based and oil-based formulas. Open windows, use fans safely, wear appropriate protection, and take breaks. This is not the time to prove toughness by inhaling primer fumes like a cartoon handyman. Good prep should make the room better, not make you dizzy.
Finally, patience beats panic. If a knot bleeds through after painting, the project is not ruined. Let the paint dry, sand the stained area lightly, spot-prime with the right stain blocker, and repaint. Pine can be stubborn, but it is predictable. Once you understand that knots need sealing, the entire process becomes much less mysterious.
Conclusion
Covering pine wood knots is all about building the right barrier. Clean the surface, sand it smooth, seal every knot with a true stain-blocking primer, prime the full surface, repair flaws, and finish with quality paint. The extra prep may feel slow, but it prevents the most common problem: yellow-brown knot stains bleeding through your beautiful new finish.
If you are painting pine furniture, trim, shelves, cabinets, doors, or knotty pine paneling, remember this simple rule: knots get special treatment. Treat them first, and your final paint job will look smoother, brighter, and far more professional.
Note: This article synthesizes practical guidance from reputable paint manufacturers, wood-finishing references, and DIY home-improvement best practices. No source links are inserted in the article body for cleaner web publishing.