A bandage is one of those humble household heroes we barely notice until a kitchen knife, paper edge, bike pedal, garden thorn, or mysterious “how did that even happen?” scrape enters the chat. Then suddenly, the tiny box in the bathroom cabinet becomes the most important medical supply in the house.
Knowing how to apply different types of bandages can help protect a wound, control bleeding, reduce contamination, support healing, and prevent the classic mistake of wrapping a finger so tightly it looks like a tiny purple sausage. Good wound care is not complicated, but it does require a few smart steps: clean hands, clean wound, correct dressing, secure wrap, circulation check, and regular bandage changes.
This guide explains the most common types of bandages, when to use them, how to apply them properly, and what wound care warning signs mean it is time to call a healthcare professional. Think of it as first aid with less panic and fewer sticky surprises.
First Things First: What a Bandage Actually Does
A bandage is not just a decorative sticker for adults who still secretly enjoy cartoon Band-Aids. In wound care, a bandage or dressing has several jobs. It protects the injured area from dirt and germs, absorbs fluid, helps keep the wound slightly moist, reduces friction, and may apply pressure when bleeding needs control.
The dressing is the material placed directly over the wound, such as sterile gauze or a nonstick pad. The bandage is often what holds that dressing in place, such as rolled gauze, tape, or an elastic wrap. In casual conversation, people use “bandage” for both, and that is perfectly fine unless you are taking a medical terminology quiz.
Before You Apply Any Bandage: Basic Wound Care Steps
1. Wash your hands
Before touching a wound, wash your hands with soap and water. If soap and water are not available, use hand sanitizer. Disposable gloves are even better if you have them, especially if you are helping someone else.
2. Stop the bleeding
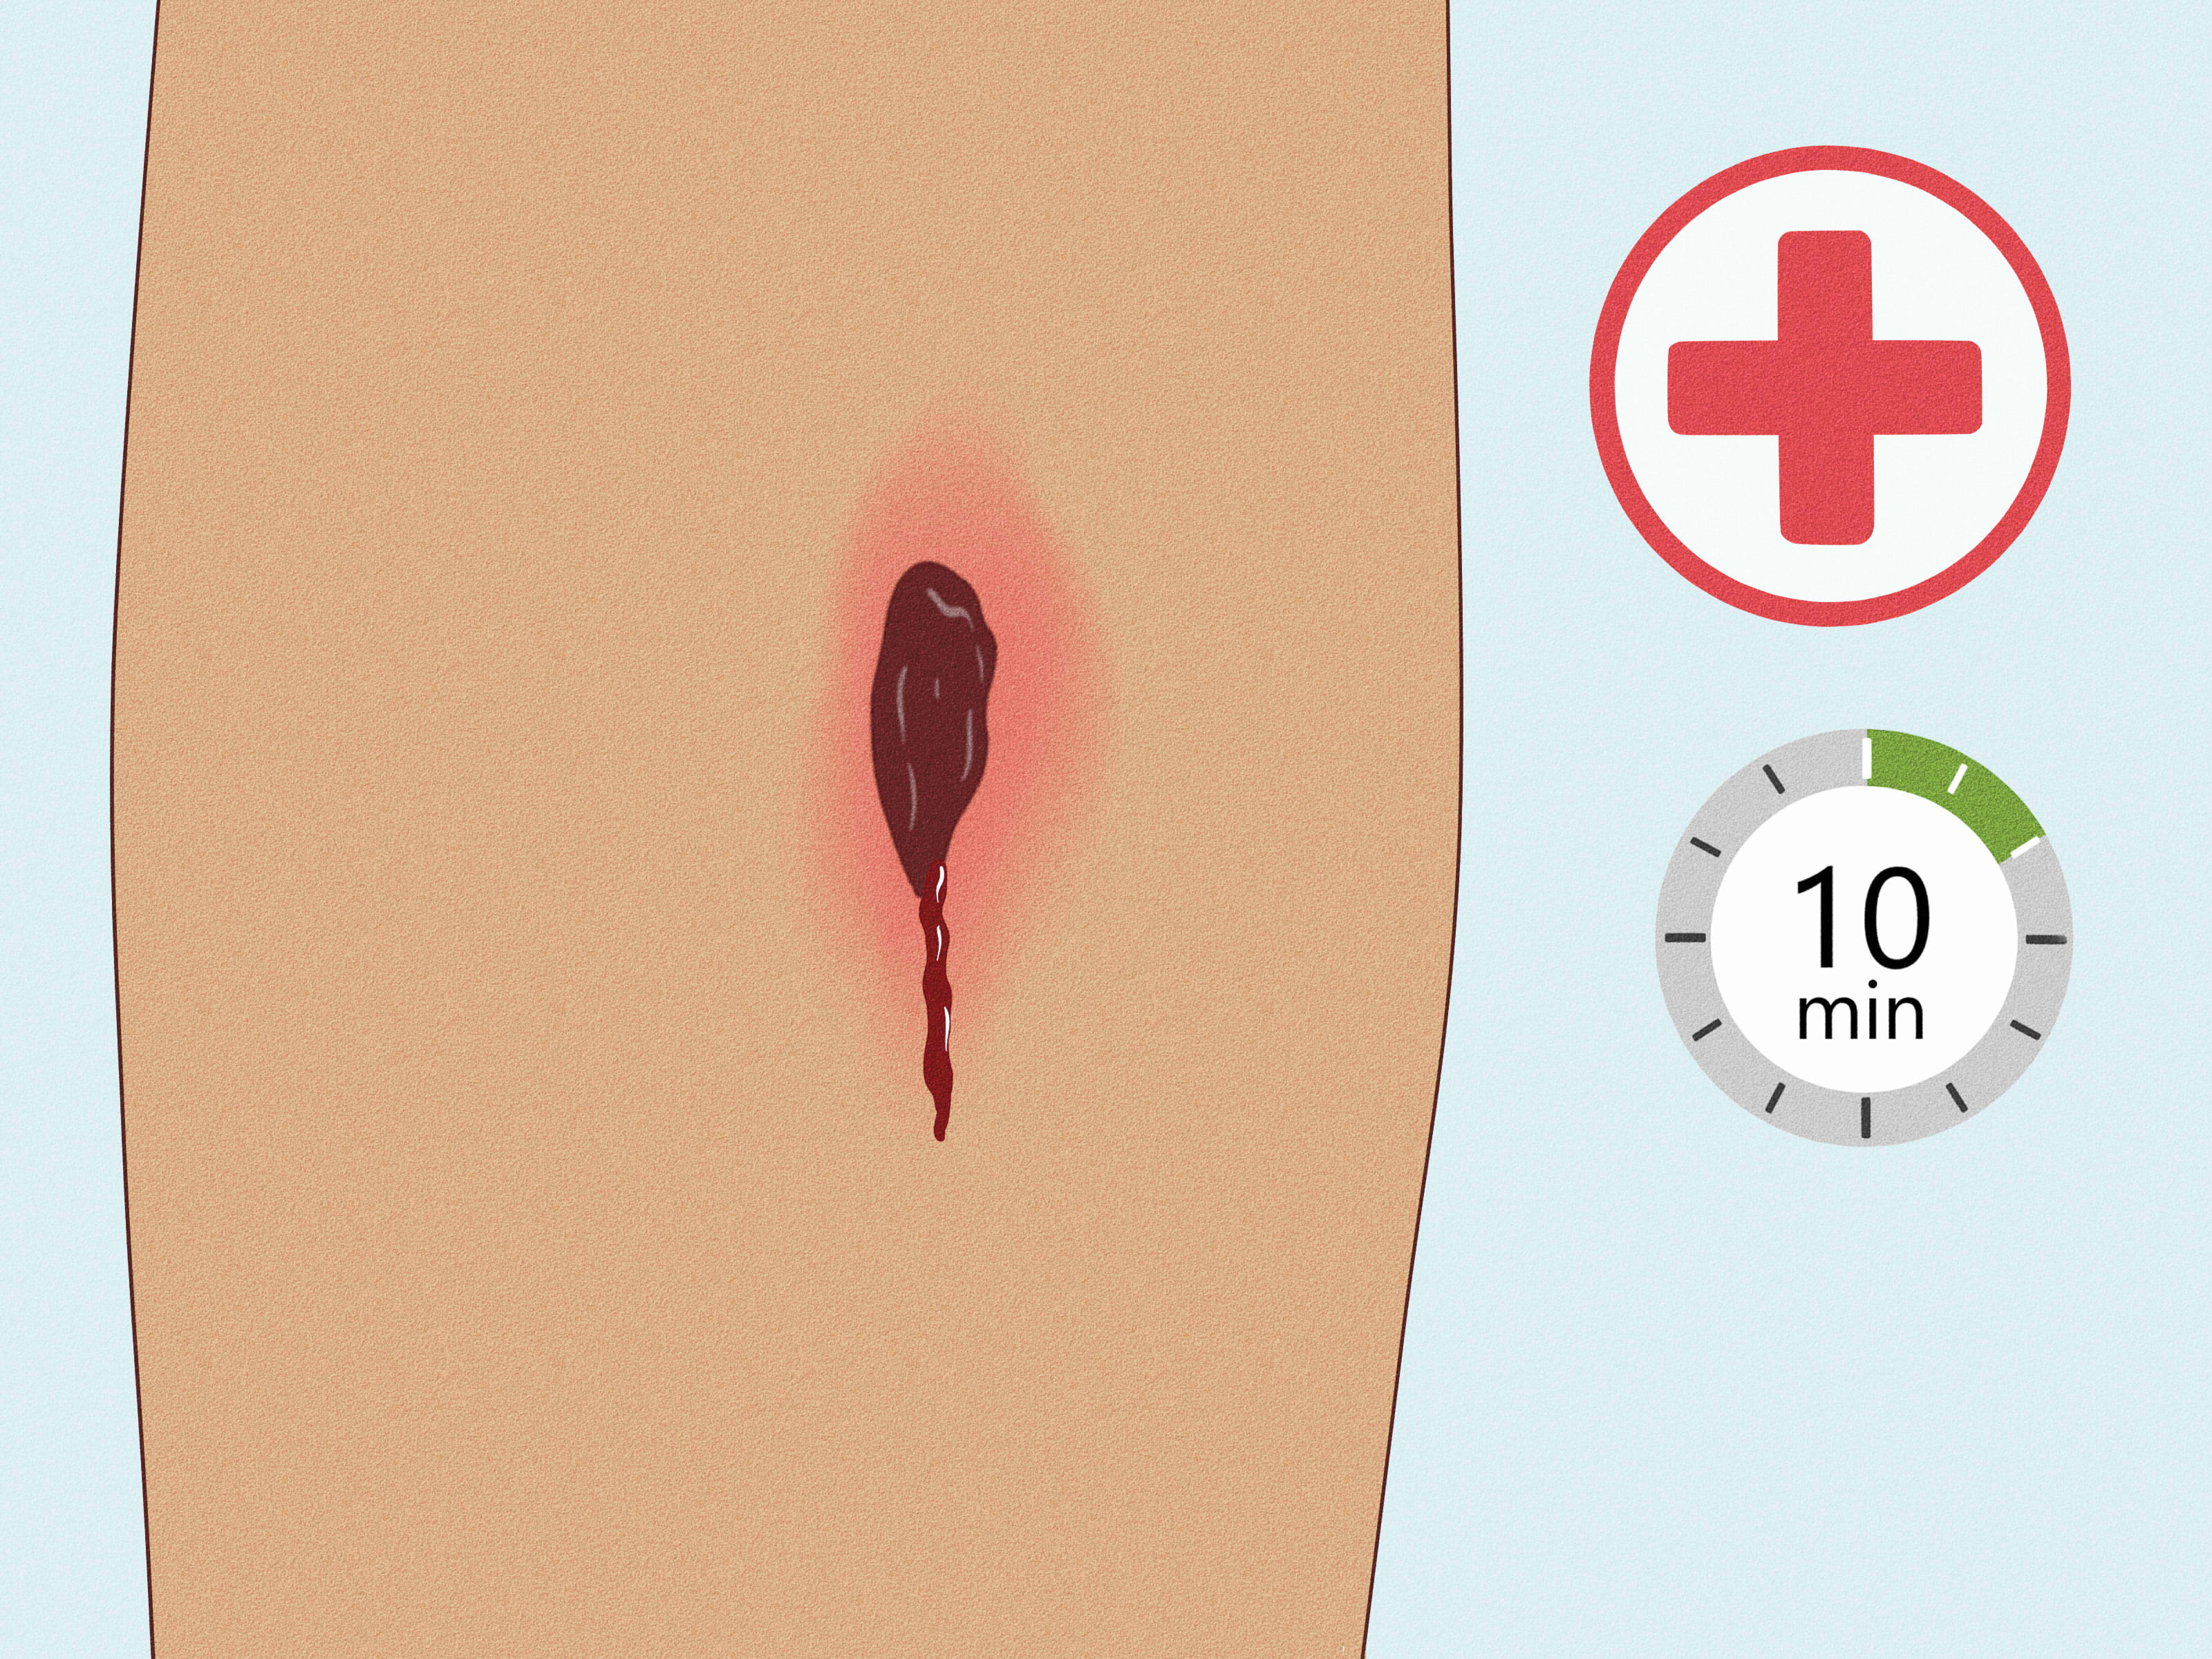
For minor cuts and scrapes, bleeding often stops on its own. If it does not, place sterile gauze or a clean cloth over the wound and apply steady, direct pressure. Do not keep lifting the cloth to “check” every five seconds. That interrupts clotting, and the wound is not auditioning for a progress report.
If blood soaks through, add more gauze on top. Do not remove the first layer because it may disturb the forming clot. For heavy, spurting, or uncontrolled bleeding, call 911 immediately and continue firm pressure while waiting for help.
3. Clean the wound
Once bleeding is controlled, rinse the wound with clean running water to remove dirt and debris. Clean around the wound with mild soap, but avoid forcing harsh cleansers deep into the injured tissue. For small cuts and scrapes, gentle cleaning is usually enough.
4. Keep it lightly moist
For many minor wounds, a thin layer of petroleum jelly can help keep the surface from drying out. Moist wound healing often supports better comfort and may reduce scab cracking. Some people use antibiotic ointment, but it can irritate sensitive skin. If redness, itching, or a rash appears after using an ointment, stop using it and consider plain petroleum jelly instead.
5. Choose the right bandage
The best bandage depends on wound size, location, drainage, movement, and bleeding. A tiny scrape needs different care than a deeper cut on a knuckle or a bleeding wound on the forearm.
Types of Bandages and How to Apply Them
Adhesive Bandages for Small Cuts and Scrapes
Adhesive bandages are the classic peel-and-stick option. They work best for small, shallow cuts, minor scrapes, and tiny wounds that are not bleeding heavily.
How to apply:
- Clean and dry the skin around the wound.
- Apply a thin layer of petroleum jelly if appropriate.
- Place the pad directly over the wound.
- Press the adhesive ends onto clean, dry skin.
- Make sure it is snug but not tight.
For fingers, toes, elbows, or knees, flexible adhesive bandages work better because they move with the body. Standard strips tend to pop off at the worst possible moment, usually while you are washing dishes or pretending the injury “doesn’t hurt that much.”
Sterile Gauze Pads for Larger Wounds
Sterile gauze pads are useful for larger cuts, abrasions, and wounds that need more coverage than a small adhesive bandage can provide. Gauze absorbs light drainage and creates a protective barrier.
How to apply:
- Clean the wound and surrounding skin.
- Place a sterile gauze pad over the wound.
- Secure it with medical tape, rolled gauze, or a wrap.
- Avoid taping directly over fragile or irritated skin when possible.
- Change the dressing daily or sooner if it becomes wet, dirty, or loose.
If gauze sticks to the wound, do not yank it off like you are opening a stubborn snack bag. Moisten it with clean water or saline and remove it slowly.
Nonstick Dressings for Tender or Draining Wounds
Nonstick dressings are designed to cover wounds without clinging aggressively to healing tissue. They are helpful for burns, scrapes, fragile skin, blisters, and wounds that are painful during dressing changes.
How to apply:
- Wash your hands and gently clean the wound.
- Place the shiny or nonstick side against the wound if the product has a specific wound-contact side.
- Add absorbent gauze on top if there is drainage.
- Secure with rolled gauze, paper tape, or a soft wrap.
- Do not wrap tightly; comfort matters.
Nonstick pads are especially useful for kids, older adults, or anyone who has ever said, “Taking the bandage off hurts more than the scrape.” Fair point.
Rolled Gauze for Arms, Legs, Hands, and Feet
Rolled gauze is a flexible bandage used to hold dressings in place, cover awkward areas, and lightly secure wounds on limbs. It is not usually the wound-contact layer by itself; place sterile gauze or a nonstick pad over the wound first.
How to apply:
- Place a dressing over the wound.
- Start wrapping below the wound and move upward.
- Overlap each layer by about half the width of the gauze.
- Keep the pressure even and gentle.
- Secure the end with tape or clips.
After wrapping, check circulation. Fingers or toes beyond the bandage should stay warm and normally colored. If they become blue, pale, numb, cold, swollen, or tingly, loosen the bandage immediately.
Elastic Wrap Bandages for Support and Compression
Elastic wrap bandages are often used for sprains, strains, swelling, and holding bulky dressings in place. They can provide light compression, but they are easy to over-tighten.
How to apply:
- Begin wrapping below the injured area.
- Use smooth, overlapping turns.
- Apply gentle, even tension without pulling hard.
- Leave fingers or toes visible when wrapping a hand, wrist, ankle, or foot.
- Recheck comfort and circulation often.
Elastic wraps should not cause numbness, throbbing, or increased pain. If the wrap feels like it is trying to win a wrestling match against your ankle, it is too tight.
Pressure Bandages for Bleeding Wounds
A pressure bandage helps maintain direct pressure over a bleeding wound after bleeding has slowed or stopped with hand pressure. It is useful when you need to keep pressure in place while getting medical help or moving safely.
How to apply:
- Place sterile gauze or a clean cloth directly over the bleeding area.
- Apply firm direct pressure with your hand.
- Once bleeding is controlled, wrap rolled gauze or an elastic bandage over the dressing.
- Secure it firmly enough to hold pressure, but not so tight that circulation is cut off.
- Check the area beyond the bandage for warmth, color, feeling, and movement.
If bleeding continues through the pressure bandage, apply more pressure and call emergency services. Do not remove soaked layers unless trained medical help instructs you to do so.
Butterfly Bandages and Wound Closure Strips
Butterfly bandages and wound closure strips help pull the edges of a small, straight cut together. They are not for deep, dirty, gaping, infected, or heavily bleeding wounds.
How to apply:
- Clean the wound and dry the surrounding skin well.
- Gently bring the wound edges together.
- Place the middle of the strip across the cut.
- Press one side down, then pull gently and press the other side down.
- Add more strips if needed, leaving small spaces between them.
Seek medical care if the cut is deep, wide, on the face, caused by a bite, contains debris, or will not stay closed. Closure strips are helpful, but they are not tiny surgeons wearing adhesive coats.
Liquid Bandage for Tiny Surface Cuts
Liquid bandage is a skin adhesive used on small, clean, shallow cuts where a regular bandage may not stay put. It can be useful on fingers and knuckles, though it may sting briefly when applied.
How to apply:
- Clean the cut and stop any bleeding.
- Dry the skin completely.
- Apply a thin layer of liquid bandage over the cut.
- Let it dry fully before touching or covering the area.
- Do not pick at it; it usually wears off on its own.
Do not use liquid bandage on deep wounds, infected wounds, animal bites, punctures, burns, or areas near the eyes or mouth unless a healthcare professional says it is appropriate.
Triangular Bandages for Slings and Temporary Support
A triangular bandage is a large triangle-shaped cloth used for slings, securing splints, or holding dressings in place. It is common in first-aid kits because it is wonderfully low-tech and surprisingly useful.
How to use as an arm sling:
- Place one end of the triangle over the shoulder on the uninjured side.
- Rest the injured arm across the bandage, elbow bent.
- Bring the lower end up over the injured arm.
- Tie the two ends behind the neck.
- Support the elbow and check that the hand is slightly elevated.
A sling can reduce movement and discomfort, but it does not replace medical evaluation for suspected fractures, severe sprains, dislocations, numbness, or major swelling.
How Often Should You Change a Bandage?
For minor wounds, change the bandage at least once daily. Change it sooner if it becomes wet, dirty, loose, or soaked with drainage. Wet bandages can invite bacteria to throw a tiny house party, and nobody wants that.
Each time you change the bandage, wash your hands, remove the old dressing gently, check the wound, clean as directed, reapply a thin layer of petroleum jelly if appropriate, and cover it with a fresh dressing.
Signs a Bandage Is Too Tight
A bandage should protect, not punish. Loosen it if you notice:
- Numbness or tingling
- Cold fingers or toes
- Blue, pale, or gray skin beyond the wrap
- Increasing pain or throbbing
- Swelling below the bandage
- Difficulty moving the wrapped area
When wrapping hands, wrists, feet, or ankles, keep fingers or toes visible whenever possible so circulation is easier to monitor.
When to Seek Medical Care
Home wound care is helpful for minor injuries, but some wounds need professional attention. Contact a healthcare provider or seek urgent care if:
- Bleeding does not stop after steady pressure
- The wound is deep, wide, or gaping
- Fat, muscle, tendon, or bone is visible
- The injury is from an animal bite or human bite
- The wound contains dirt, glass, metal, or another embedded object
- The cut is on the face, near the eye, across a joint, or on the hand
- You have numbness, weakness, or trouble moving the area
- Signs of infection appear, such as spreading redness, warmth, swelling, pus, worsening pain, red streaks, or fever
- You may need a tetanus booster, especially after a puncture, dirty wound, burn, crush injury, or bite
For severe bleeding, call 911. Apply direct pressure immediately. If trained and appropriate, use bleeding-control supplies such as hemostatic gauze or a tourniquet for life-threatening bleeding.
Common Bandaging Mistakes to Avoid
Wrapping too tightly
This is the greatest hits album of bandage mistakes. A wrap should stay secure without cutting off circulation. Snug is good. Tourniquet-by-accident is not.
Using cotton balls directly on open wounds
Cotton fibers can stick inside the wound and become annoying little souvenirs. Use sterile gauze or a nonstick dressing instead.
Leaving a dirty bandage on too long
A bandage that is wet, dirty, or crusty has retired from active duty. Thank it for its service and replace it.
Ignoring infection signs
A little redness around a fresh scrape can be normal, but spreading redness, warmth, pus, fever, or worsening pain deserves medical attention.
Using closure strips on the wrong wound
Butterfly bandages are not a fix for deep, contaminated, or high-tension cuts. When in doubt, get it checked.
What to Keep in a Smart First-Aid Kit
A well-stocked first-aid kit makes wound care faster and calmer. Include:
- Adhesive bandages in different sizes
- Sterile gauze pads
- Rolled gauze
- Nonstick dressings
- Medical tape
- Elastic wrap bandage
- Wound closure strips
- Disposable gloves
- Small scissors
- Tweezers
- Petroleum jelly packets or tube
- Saline wound wash
- Clean cloths
- Instant cold pack
- Emergency bleeding-control supplies if trained to use them
Check your kit every few months. Replace expired products, restock used items, and remove anything that has become mysterious, sticky, or older than your streaming subscriptions.
Bandage Tips for Specific Body Parts
Fingers
Use a fingertip or knuckle bandage for cuts on curved areas. For gauze wraps, keep the wrap light and check fingertip color often. Fingers swell easily, especially after injury.
Knees and elbows
Use flexible bandages or secure gauze with a wrap that allows movement. Avoid placing tape where the skin bends sharply because it may peel off quickly.
Hands
Hand wounds can be tricky because hands are full of tendons, nerves, and moving parts. Seek medical care for deep cuts, bites, punctures, numbness, or difficulty moving fingers.
Feet
Foot wounds need extra attention because shoes create pressure and moisture. People with diabetes, poor circulation, or nerve problems should contact a healthcare provider for foot wounds, even if the injury looks small.
Face
Facial cuts may need medical care to reduce scarring and protect delicate structures. Use gentle pressure and seek professional help for deep, wide, or eye-area wounds.
Wound Care Experience: Real-Life Lessons From Bandage Moments
Anyone who has ever handled a minor injury knows that bandaging is part medical skill, part patience test, and part comedy routine. The first lesson is that wounds always seem to happen at inconvenient times. You do not usually get a scrape while sitting calmly beside a perfectly stocked first-aid kit. You get it while cooking dinner, fixing a shelf, trimming roses, opening a cardboard box, or trying to prove that you are “pretty handy” five seconds before gravity offers feedback.
One useful experience is learning that cleaning comes before covering. Many people rush to slap on an adhesive bandage because seeing blood makes the brain hit the emergency button. But a bandage placed over dirt, crumbs, garden soil, or splinters is like putting a clean tablecloth over a messy table. It may look better, but the problem is still underneath. Taking a minute to rinse the wound, wash hands, and prepare a clean dressing makes a big difference.
Another practical lesson is that size matters. A tiny adhesive strip may look heroic on a larger scrape, but if the pad does not cover the wound fully, it will not protect much. On the other hand, wrapping an entire arm for a paper cut is dramatic, but not necessary unless you are trying to win an Oscar for Best Injured Office Worker. Choose a bandage that fully covers the injured area with a little extra room around the edges.
Bandage tightness is another lesson people often learn the uncomfortable way. A wrap may feel secure at first, then swelling increases and the area begins to throb. That is why circulation checks matter. After wrapping a finger, wrist, ankle, or foot, look beyond the bandage. Can the person wiggle fingers or toes? Is the skin warm? Is the color normal? Does it feel numb or tingly? A good bandage protects the wound without creating a second problem.
Removing a bandage gently is also underrated. Dry gauze can stick to healing tissue, especially on scrapes. Pulling it off quickly may reopen the wound and create unnecessary pain. A better approach is to moisten the dressing with clean water or saline and peel slowly. This is especially important for children, older adults, and anyone with fragile skin. Calm removal can turn a dreaded bandage change into a manageable routine.
Experience also teaches that not every wound should be handled at home. A deep cut, bite, dirty puncture, spreading redness, pus, fever, numbness, or uncontrolled bleeding deserves medical attention. There is no prize for pretending a serious wound is “just a scratch.” Good wound care includes knowing when to stop DIY care and get help.
Finally, keeping supplies organized saves stress. A first-aid kit should not be a treasure hunt featuring expired ointment, one lonely adhesive strip, and scissors that vanished in 2019. Keep adhesive bandages, gauze, tape, gloves, saline, nonstick pads, and elastic wraps in one place. When an injury happens, a calm response starts with being able to find what you need before the patient, child, spouse, or dramatic friend asks, “Is it bad?” for the seventh time.
Conclusion
Learning how to apply different types of bandages is a small skill with big practical value. Adhesive bandages are great for small cuts, sterile gauze covers larger wounds, nonstick dressings protect tender skin, rolled gauze secures awkward areas, elastic wraps support sprains, pressure bandages help control bleeding, and butterfly strips can close minor straight cuts when used correctly.
The golden rule is simple: clean the wound, choose the right dressing, secure it gently, check circulation, change it regularly, and watch for warning signs. Bandages do not need to be fancy to work well. They just need to be clean, appropriate, and applied with common sense.
Note: This article is for general first-aid education and should not replace medical advice. For severe bleeding, deep wounds, bites, signs of infection, or uncertainty about tetanus protection, contact a healthcare professional or emergency services.