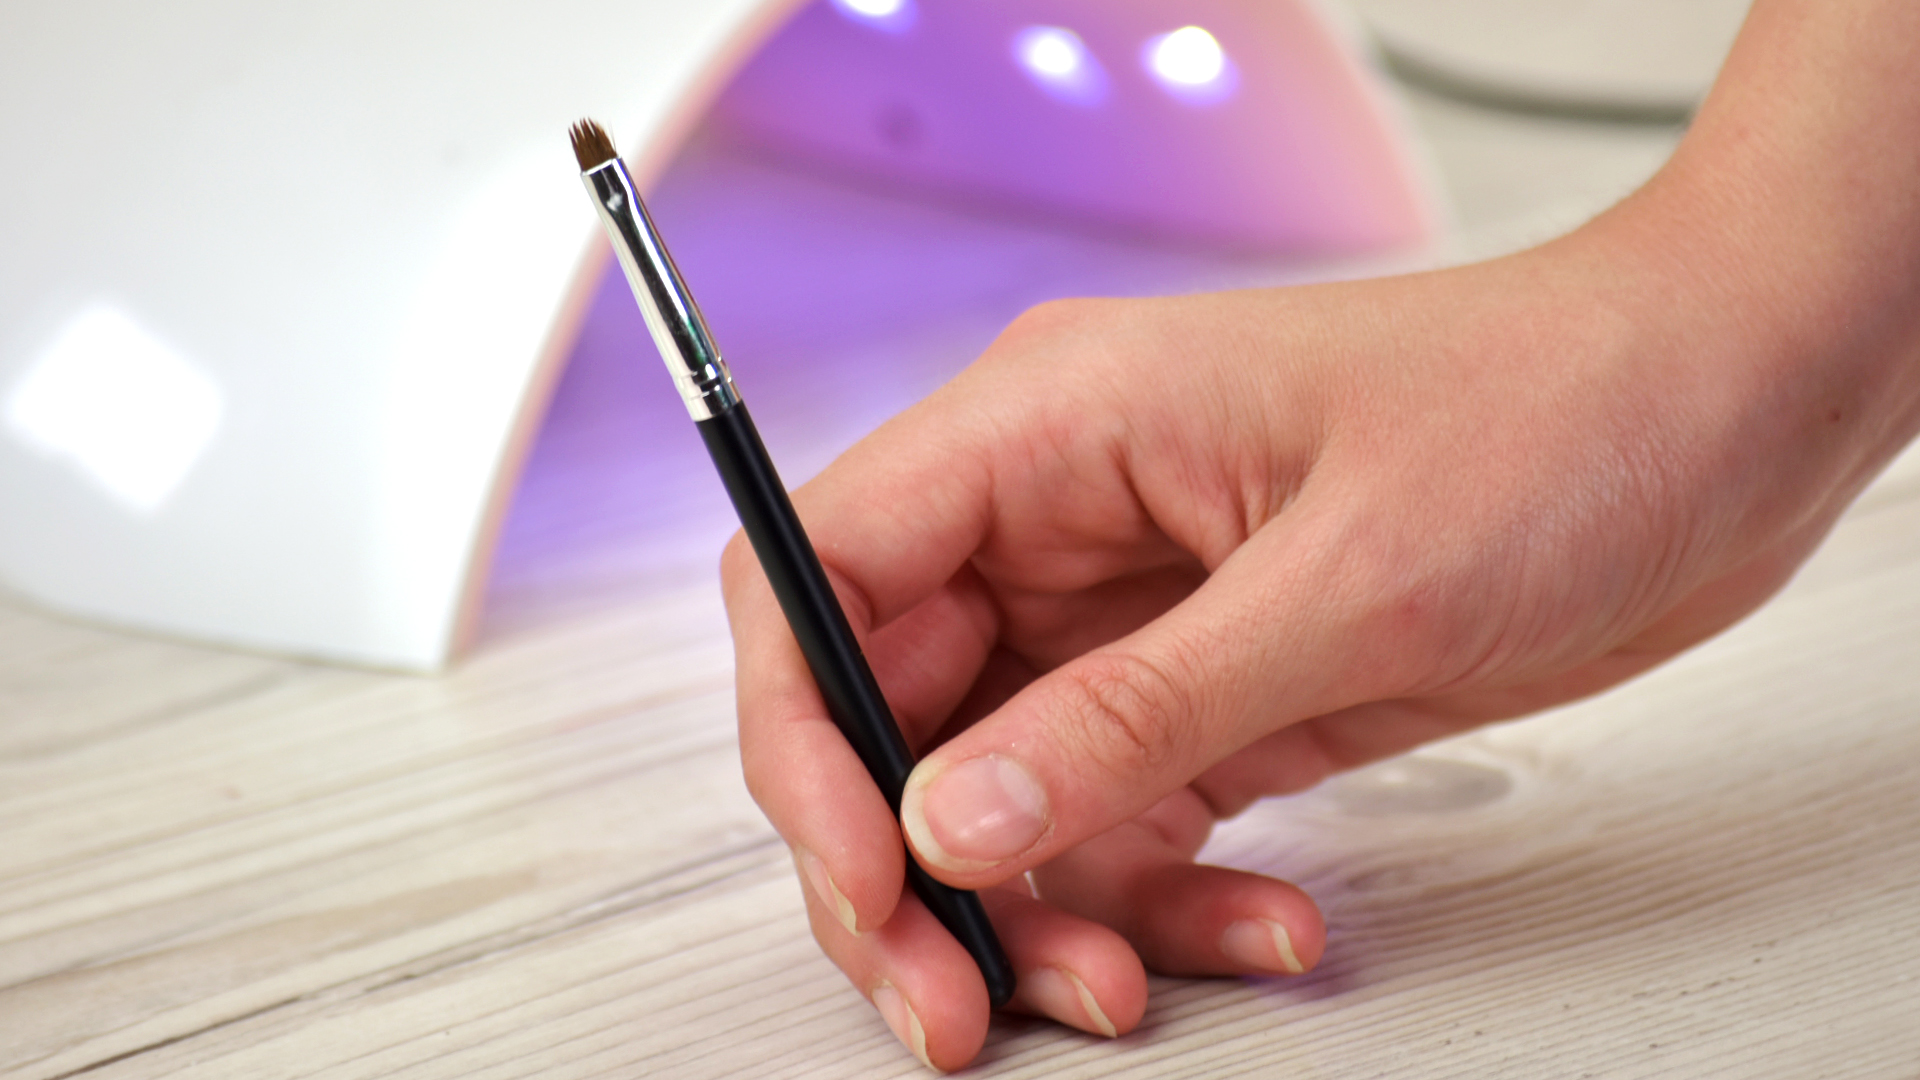
Gel nail polish brushes are tiny beauty tools with big responsibilities. They glide color, sculpt smooth layers, draw delicate nail art, and somehow survive being dipped into sticky, light-curing gel over and over again. Treat them well, and they will behave like loyal little artists. Neglect them, and they may turn into crunchy, frayed, mystery-colored paint sticks that look like they retired in 2009.
Learning how to clean gel nail polish brushes is not just about making your nail kit look tidy. Clean brushes help your gel apply more smoothly, prevent color contamination, protect the shape of the bristles, and reduce waste. Whether you are doing your own gel manicure at home or practicing nail art like a future salon legend, brush care is one of those small habits that makes your results look noticeably more professional.
The key rule is simple: gel polish is not regular polish. It does not air-dry the same way, and it should not be cleaned exactly like regular lacquer. Most gel products cure under UV or LED light, so your goal is to remove excess gel before it hardens, keep the bristles flexible, avoid harsh soaking unless truly necessary, and store brushes away from sunlight or curing lamps. In other words, your brush needs a spa day, not a chemical wrestling match.
Why Cleaning Gel Nail Polish Brushes Matters
A dirty gel brush can ruin a manicure faster than a dog jumping onto your lap five seconds after you finish painting your nails. Old gel trapped in the bristles can create streaks, drag marks, clumps, uneven coverage, and tiny cured bits that show up exactly where you do not want them. If darker pigment remains in the brush, it may tint your next pale color. That soft milky pink you planned? Surprise: now it has a haunted berry undertone.
Clean brushes also last longer. Gel nail brushes are often made with synthetic bristles, and they perform best when the hairs stay aligned, flexible, and protected. Rough scrubbing, long acetone baths, and leaving brushes uncapped can weaken the bristles, loosen adhesive inside the ferrule, or cause the brush tip to fan out. Once a detail brush loses its point, painting a crisp line becomes about as easy as drawing eyeliner in a moving car.
There is also a safety angle. Uncured gel should be kept off the skin as much as possible because some nail product ingredients can irritate or sensitize certain people. Good brush control and proper cleanup help reduce accidental skin contact. Use products according to their labels, work in a ventilated space, keep solvents away from flames, and wash your hands after handling nail products. A pretty manicure should not come with a side quest called “Why are my fingers angry?”
What You Need Before You Start
Before cleaning your gel nail polish brushes, gather your supplies. You do not need a luxury laboratory, just a tidy little setup:
- Lint-free wipes or lint-free nail pads
- Clear gel, base coat, or top coat for gentle pigment removal
- Gel brush cleaner or 90% to 99% isopropyl alcohol, if recommended for your brush type
- A clean palette, tile, or glass surface
- Brush caps or protective sleeves
- Paper towel for your work area, not for wiping bristles directly if it sheds fibers
- Nitrile gloves if you are sensitive to nail products
Avoid cotton balls because they shed lint, and lint loves gel polish the way glitter loves existing forever. Also avoid direct sunlight, open windows with bright sun, or placing brushes close to your curing lamp. Gel can start to thicken or cure in the bristles when exposed to curing light, and once that happens, cleaning becomes much harder.
Easy Ways to Clean Gel Nail Polish Brushes: 9 Steps
Step 1: Wipe Off Excess Gel Immediately
The best time to clean a gel nail brush is right after you use it. Hold a lint-free wipe flat on your work surface and gently pull the brush through the wipe from ferrule to tip. Do not scrub back and forth like you are trying to erase a bad math grade. Instead, use soft, controlled strokes that follow the direction of the bristles.
This removes the bulk of the gel before it settles deep into the brush. For bottle brushes, wipe the stem and brush neck before closing the bottle so gel does not collect around the cap. That sticky ring around the bottle opening may seem harmless, but eventually it can make the cap hard to close and introduce cured flakes into the product.
Step 2: Use Clear Gel to Pull Out Pigment
If your brush still looks stained after wiping, place a small bead of clear gel, base coat, or top coat on a clean palette. Gently press and sweep the brush through the clear gel. The clear product helps loosen colored pigment from the bristles without stripping the brush too aggressively.
Wipe the brush on a fresh lint-free pad, then repeat if needed. This method is especially helpful for nail art brushes, liner brushes, and ombré brushes because it keeps the bristles conditioned while removing leftover color. Think of clear gel as a polite little magnet for pigment. It says, “Come along, blue glitter, your shift is over.”
Step 3: Clean With Gel Brush Cleaner or Isopropyl Alcohol When Needed
For brushes that need a deeper clean, use a gel brush cleaner or high-percentage isopropyl alcohol if it is compatible with your brush and product system. Dampen a lint-free wipe, then swipe the bristles gently. You can also place a tiny amount of cleanser on a palette and lightly work the brush through it.
The important word is “tiny.” Flooding the brush with liquid is rarely necessary. Too much solvent can dry out bristles or seep into the ferrule, where the bristles are held together. That can shorten the life of the brush. If you are unsure, check the brush manufacturer’s care instructions. Some professional gel brush brands recommend cleaning with clear gel rather than solvent for everyday maintenance.
Step 4: Avoid Soaking Brushes in Acetone
Acetone is powerful. It is useful for removing many nail products, but it can be too harsh for routine gel brush cleaning. Long acetone soaking may dry out synthetic bristles, weaken the brush structure, and make the tip fray. Use acetone only as a last resort for stubborn cured or semi-cured product, and even then, use it sparingly.
If a brush has a tiny spot of hardened gel, try softening the surrounding residue with brush cleaner first. If acetone is absolutely necessary, apply a small amount to a lint-free wipe and touch only the affected area. Do not park your brush in a cup of acetone and hope for a miracle. That is less “cleaning method” and more “farewell ceremony.”
Step 5: Reshape the Bristles While They Are Still Flexible
After cleaning, use your fingers with gloves or a clean lint-free wipe to reshape the brush tip. Flat gel brushes should be pressed gently back into a smooth paddle shape. Liner brushes should be coaxed into a fine point. Oval brushes should keep their rounded edge.
Never pinch, twist, or bend the bristles sharply. The goal is to guide them, not discipline them. If the brush has been overloaded with product, repeat the clear gel cleaning method and reshape again. A well-shaped brush gives you better control at the cuticle line, smoother overlays, cleaner French tips, and more satisfying nail art details.
Step 6: Keep Brushes Slightly Conditioned, Not Bone Dry
Unlike makeup brushes, gel nail brushes are not usually washed with soap and water after every use. Water does not play nicely with gel products, and soap residue can interfere with future application. Many nail artists prefer leaving a very thin trace of clear gel, base gel, or compatible brush conditioner in the bristles before storage.
This does not mean leaving the brush dripping wet with product. Wipe away excess, then keep the bristles lightly conditioned so they do not become stiff or brittle. For art brushes, this small habit can preserve the spring and shape of the tip. It is like giving the brush a tiny jacket before sending it into storage.
Step 7: Cap Brushes and Store Them Away From Light
Gel cures when exposed to the correct type of light, so storage matters. Always cap your gel brushes after cleaning. Store them in a drawer, brush case, or covered holder away from sunlight, desk lamps, and UV or LED curing lamps. Even ambient light can slowly affect product left in the bristles.
Keep brushes lying flat or standing with the bristles upward, depending on the brush design. Avoid storing them bristles-down because pressure can bend the tip. Also keep caps clean. A dirty cap can transfer old gel back onto your freshly cleaned brush, which is the nail tool version of taking a shower and then putting on muddy socks.
Step 8: Clean Bottle Necks and Built-In Gel Polish Brushes
Built-in gel polish brushes need care too. After using a bottle of gel polish, wipe excess product from the brush stem and bottle neck with a lint-free wipe. Be careful not to drip cleaner into the bottle unless the product instructions specifically say it is safe. Adding random liquid to gel polish can change the formula and affect curing.
If the brush inside a bottle becomes clumpy, first check whether the polish has been exposed to light or left open too long. Thickened gel may not be fixable, and using compromised product can lead to uneven curing. Keep bottle mouths clean, close caps tightly, and store bottles upright in a cool, dark place. Your polish collection deserves better than a sunny windowsill. That is where gels go to become expensive pudding.
Step 9: Know When a Brush Cannot Be Saved
Sometimes, despite your best efforts, a gel nail brush reaches the end of its career. If the bristles are permanently stiff, split, gummy, curled, or full of cured chunks, replacement may be the best option. A damaged brush can waste product, frustrate your application, and make your finished manicure look uneven.
Before tossing it, consider whether it can be repurposed. A slightly frayed brush may still work for glitter placement, cleanup practice, swatching, or mixing pigments. But for smooth builder gel application or detailed nail art, use a brush that holds its shape. Good tools do not have to be expensive, but they do need to behave.
Common Mistakes to Avoid
Using Cotton Instead of Lint-Free Wipes
Cotton fibers cling to gel polish and can end up on your brush, palette, or nail surface. Always choose lint-free wipes for cleaning gel brushes. They make the process cleaner, faster, and much less annoying.
Scrubbing the Brush Too Hard
Aggressive scrubbing damages bristles and ruins the brush shape. Pull the brush gently through your wipe in one direction. If pigment remains, use clear gel to loosen it instead of using brute force.
Leaving Brushes Near the Curing Lamp
This is one of the fastest ways to ruin a brush. Even a few accidental flashes of curing light can thicken gel inside the bristles. Keep brushes capped or turned away from the lamp while working.
Mixing Too Many Cleaners
Do not experiment by combining acetone, alcohol, brush cleaner, soap, and mystery liquids from the back of your drawer. Use one compatible cleaner at a time, and follow product directions. Your nail desk is not a chemistry fair.
How Often Should You Clean Gel Nail Polish Brushes?
Clean your brush lightly after every use. That means wiping away excess gel, removing pigment with clear gel when needed, reshaping the bristles, and capping the brush. A deeper clean with brush cleaner or alcohol can be done when the brush looks cloudy, sticky, stained, or overloaded with product.
If you switch between strong colors, clean between shades. Dark red, black, navy, neon pink, and glitter gels are the usual suspects. They love to hang around in the bristles and crash your next manicure. For clear builder gel or base gel brushes, cleaning may be simpler, but you should still wipe the brush and protect it from light after every session.
Best Cleaning Method by Brush Type
Flat Gel Brushes
Flat brushes are used for applying builder gel, base gel, color, or overlays. Wipe them gently, clean with clear gel, and reshape the flat edge before capping. Do not let product build up near the ferrule.
Liner and Detail Brushes
These brushes need extra care because their fine points are delicate. Use clear gel to remove pigment, wipe in the direction of the tip, and reshape carefully. Avoid acetone unless there is no other option.
Ombré and Gradient Brushes
Ombré brushes can trap pigment between bristles. Work clear gel through the brush on a palette, then wipe lightly. Make sure the bristles are separated and fluffy enough for blending before storage.
Bottle Brushes
Wipe the stem and bottle neck, close the cap tightly, and store upright. Avoid putting alcohol or acetone into the bottle. If the brush is badly contaminated, check whether the brand sells replacement caps or brush inserts.
Safety Tips for Cleaning Gel Nail Brushes
Use nail products in a well-ventilated area. Keep acetone and alcohol away from heat, sparks, and open flames because they are flammable. Do not touch uncured gel with bare skin, and avoid curing gel that has flooded onto the cuticle or sidewalls. If gel gets on your skin, clean it off before curing.
If you notice itching, redness, swelling, burning, peeling, or discomfort after using gel products, stop using them and consider asking a qualified health professional for advice. Nail products are fun, but your skin is not being dramatic when it complains. It is literally its job.
Real-World Experience: What Actually Keeps Gel Brushes Alive
After cleaning plenty of gel nail polish brushes, one lesson becomes very clear: the boring habits work. The fancy rescue methods are useful once in a while, but the everyday routine is what keeps brushes alive. Wipe the brush immediately, keep it out of the lamp, use clear gel for pigment, reshape it, cap it, and store it properly. That is the whole magic trick. No glitter smoke required.
The most common mistake beginners make is waiting too long. They finish a manicure, admire the shine, take pictures, answer messages, make a snack, and then remember the brush sitting on the desk with gel slowly thickening in the bristles. At that point, cleaning becomes harder. The brush may still be saved, but it takes more effort. A better habit is to clean each brush as soon as you finish using that color or product. It takes less than a minute, and future you will feel like you have your life together.
Another practical discovery is that dark colors deserve extra attention. Black gel, deep burgundy, navy, and highly pigmented reds can linger in the brush even after wiping. If you use that same brush for a sheer nude or milky white, you may see faint streaks. The fix is simple: work the brush through a small bead of clear base gel until the color stops transferring. Wipe, repeat, and check the brush against a clean white lint-free pad. If the wipe stays clean, your brush is ready for its next assignment.
Glitter is its own tiny kingdom. Glitter gel can cling to bristles like it signed a long-term lease. For glitter brushes, it helps to dedicate one brush just for sparkle products. That way, you do not find surprise holographic confetti in a minimalist French manicure. If you only have one brush, clean glitter gel slowly with clear gel and several fresh lint-free wipes. Do not grind the bristles into the wipe, because glitter particles can tug at the hairs and distort the tip.
Storage also matters more than people expect. A brush can be perfectly cleaned and then ruined by being left uncapped on a sunny desk. Even indirect light can make leftover gel thicker over time. Keeping brushes in a covered case or drawer is one of the easiest ways to extend their life. If your nail station is near a window, move your gel products and brushes before starting. Sunlight is lovely for houseplants, not for uncured gel.
One small habit that makes a big difference is cleaning the handle and cap. Sticky handles attract dust, lint, and random nail debris. Then that debris travels back to your fingers, your workspace, or your brush. After each session, wipe the handle and cap with a lint-free pad lightly dampened with alcohol, keeping the liquid away from the bristle base unless the brush instructions allow it. This keeps your tools feeling fresh and professional.
Finally, do not expect one brush to do every job forever. Detail brushes, ombré brushes, builder gel brushes, and cleanup brushes all work differently. If you can, dedicate brushes by purpose. You will get cleaner results, and each brush will last longer because it is not constantly being forced into tasks it was never designed to do. Your liner brush wants to draw delicate lines, not scoop chunky glitter like a tiny shovel.
Final Thoughts
Cleaning gel nail polish brushes is simple once you understand the rules: remove gel before it cures, be gentle with the bristles, use clear gel for everyday pigment removal, save strong solvents for rare situations, and store everything away from light. These small steps protect your brushes, improve your manicures, and make nail art feel smoother instead of stressful.
A clean brush gives you better control, cleaner cuticle lines, smoother color, and fewer surprise streaks. It also saves money because you will not need to replace brushes as often. Treat your gel brushes like precision tools, not disposable sticks, and they will reward you with better manicures. They may not say thank you, but they will paint straighter lines, which is basically the same thing.
Note: This article synthesizes widely accepted U.S. nail product safety and brush-care guidance from public health agencies, dermatology resources, professional nail brands, and salon safety recommendations. Always follow the instructions on your specific gel polish, brush cleaner, and nail tool labels.