Some Christmas trees look “perfect.” Others look lived-inlike they’ve been collecting stories for years, one weird little craft at a time. If you want the second kind (the kind that makes guests say, “Wait, is that a tiny sweater?”), homemade Christmas ornaments are your secret weapon.
This guide rounds up 82 DIY homemade Christmas ornaments across stylesrustic, modern, nostalgic, kid-friendly, “I made this with snacks,” and “I’m not saying I’m an artist, but….” You’ll also get quick tips for choosing materials, making your ornaments last, and styling them so your Christmas tree decor looks charmingly collected, not craft-store-chaotic.
Before You Start: The 5-Minute Ornament Game Plan
The best DIY Christmas ornaments aren’t the most complicatedthey’re the ones you’ll actually finish. Here’s how to keep your crafting ambitions aligned with reality (and bedtime).
Pick a “tree vibe” in one sentence
- Classic: red, green, gold, and “grandma definitely approves.”
- Scandi: neutral, woodsy, cozy, and suspiciously photogenic.
- Maximalist: color, sparkle, and joy turned up to 11.
- Memory tree: every ornament has a story (or at least a date and a name).
Stock a tiny “ornament kit”
If you keep these on hand, you can make half this list with almost no extra shopping: craft glue or hot glue, string/twine, ribbon, scissors, a fine-tip marker, acrylic paint, and a pack of ornament hooks.
Make them hang-ready
Any ornament becomes a tree ornament if it has a sturdy hanger. Pro move: add a small loop of twine first, then decorate. It’s much easier than trying to thread ribbon through a masterpiece while it’s still sticky.
15 Quick-Win Homemade Ornaments (Great for “Oh No, Guests Are Coming”)
These are fast, forgiving, and high-impact. Perfect if you want a tree with personality but you also enjoy having free time.
- Glitter-dipped baubles: Dip the bottom half of a plain ornament in glue, then glitter. Instant fancy.
- Ribbon “candy” ornaments: Wrap a small cylinder (paper roll) in gift wrap and tie ribbon ends like candy.
- Confetti-filled clear ornaments: Funnel in confetti, sequins, or tiny paper starsshake for happiness.
- Mini pom-pom puffballs: One pom-pom + twine loop = adorable texture on the tree.
- Twine-wrapped mini wreaths: Wrap twine around a small ring; add a bow and a sprig of faux greenery.
- Painted stripes and dots: Use painter’s tape for stripes, or a pencil eraser for perfect polka dots.
- Metal cookie-cutter silhouettes: Tie ribbon through a cookie cutter; add a tiny tag for extra charm.
- Gift-tag ornaments: Layer pretty tags, write a year, and hang them like “tree notes.”
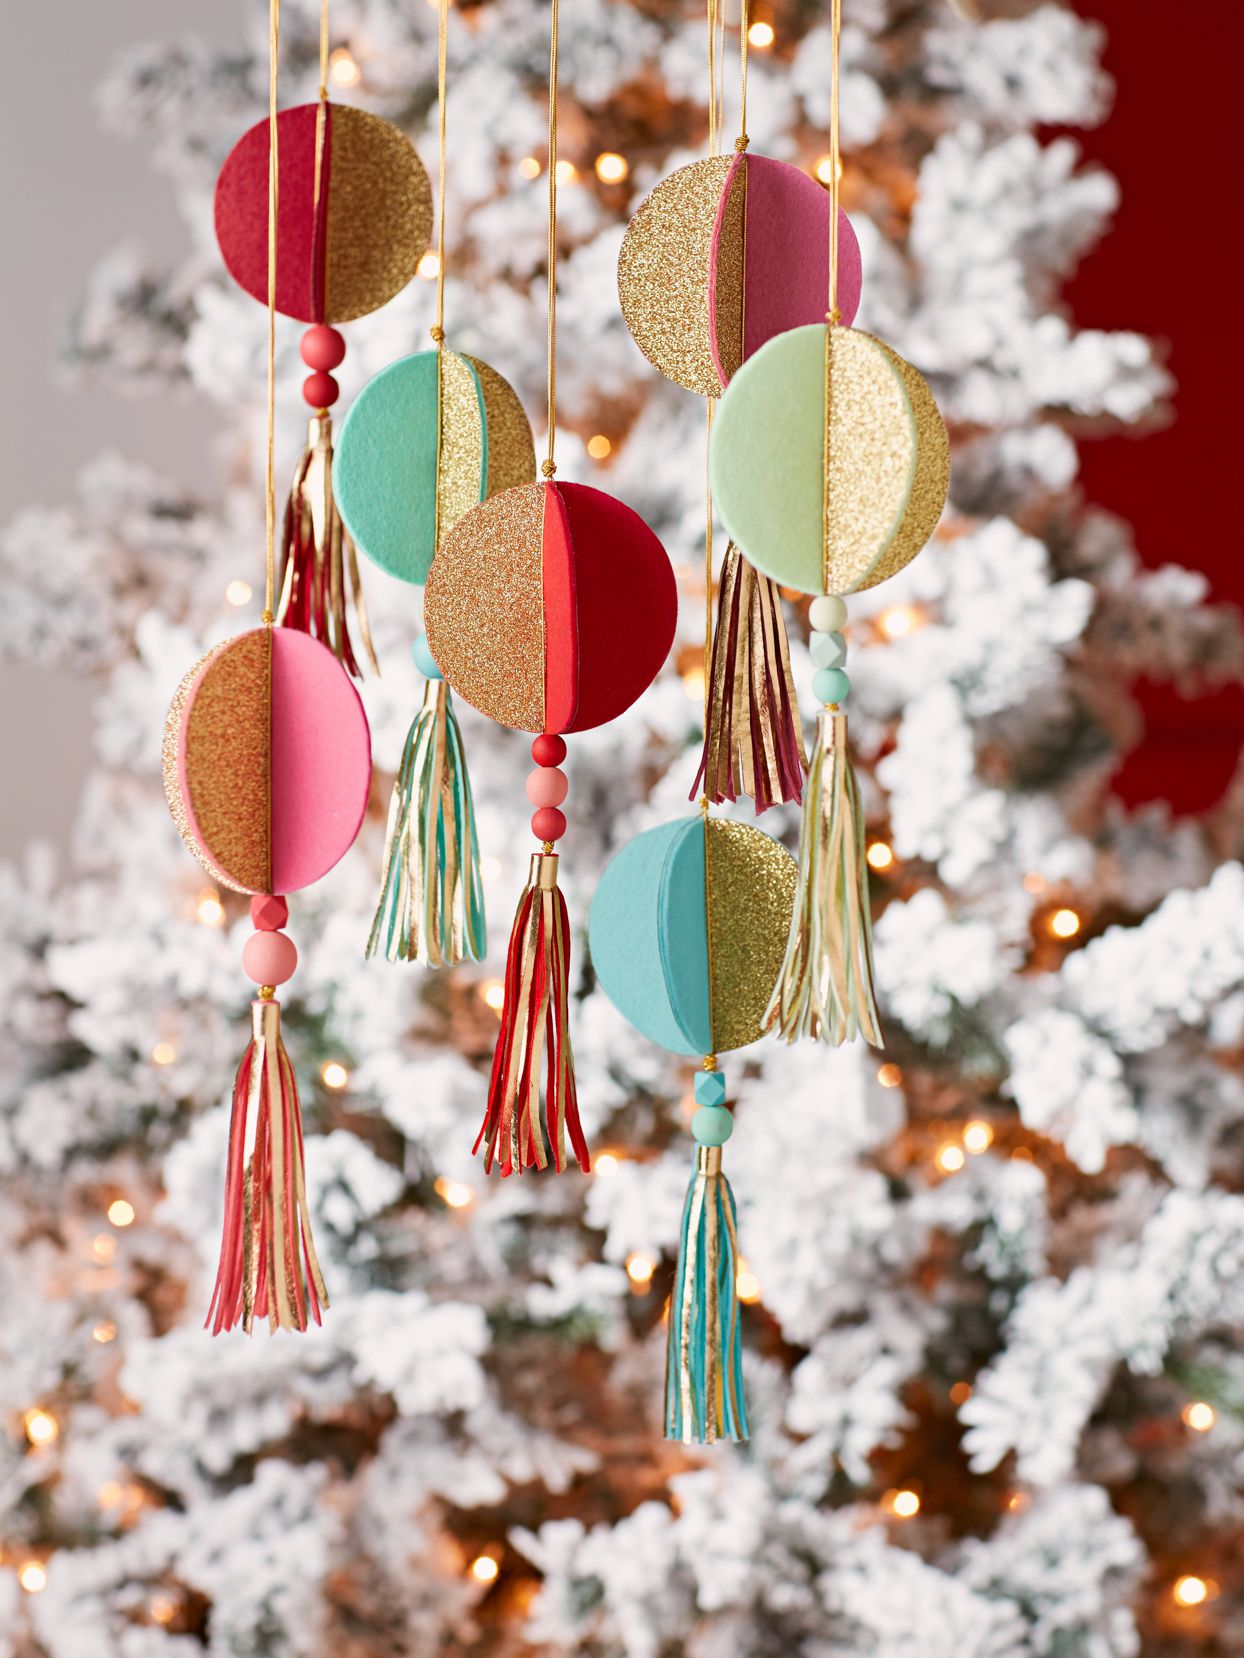
- Mini tassels: Wrap embroidery floss or yarn, tie, snip, fluff, and pretend you bought them “at a boutique.”
- Jingle-bell clusters: String 3–6 bells together; sounds like holiday cheer, looks like effort.
- Washi tape patterns: Cover a plain ball with tapefast, clean, and surprisingly stylish.
- Button snowmen: Stack white buttons, glue, add a tiny scarf ribbon and a marker face.
- Painted wooden beads: String oversized beads; alternate colors; tie off with ribbon.
- Mini bouquet ornaments: Bind faux berries/greenery with floral wire; finish with ribbon.
- “Tiny note” ornaments: Write a one-line memory from the year on a slip of paper inside a clear ornament.
12 Kitchen & Scented Ornaments (Your Tree, But Make It Smell Like the Holidays)
These DIY homemade Christmas ornaments bring the cozy factorcinnamon, citrus, spice, and old-school charm. Bonus: some double as gift toppers.
Signature project: Cinnamon Applesauce Ornaments (fragrant + classic)
This is a beloved “two-ingredient miracle” in the homemade ornament world: mix applesauce and ground cinnamon into a dough, roll it out, cut shapes, poke a hole, and dry. They look rustic, smell incredible, and feel like a holiday memory you can hang.
- Cinnamon-applesauce cutouts: Hearts, stars, gingerbread peoplekeep shapes chunky so they don’t crack.
- Salt dough keepsakes: Flour + salt + water; cut shapes; stamp names/dates; bake low and slow.
- Stamped salt dough initials: Use letter stamps (or a toothpick) for monograms.
- Mini gingerbread ornaments: Bake sturdy cookies, poke a hole before baking, hang with ribbon (snack risk: high).
- Dried orange slice ornaments: Slice thin, dry in oven, tie with twinesimple, elegant, and naturally bright.
- Dried citrus “garland chips”: Add dried lemons/grapefruit for a modern color mix.
- Clove-studded mini pomanders: Small oranges with cloves; hang short-term or use as bowl decor.
- Popcorn-and-cranberry mini strands: Make small loops for ornaments, not just garland.
- Mini candy-cane hearts: Glue two mini candy canes into a heart; add a ribbon bow at the top.
- Peppermint “stained glass” cookies: Use crushed candies baked into cutout centers (hang after cooling fully).
- Hot cocoa “marshmallow” ornaments: Paint small wood cubes white; string like marshmallows in a cocoa “mug” tag.
- Spice bundle ornaments: Tie cinnamon sticks, star anise, and dried orange with twine for rustic scent.
12 Nature-Inspired Ornaments (Woodsy, Cozy, and Surprisingly Chic)
Nature crafts are the shortcut to a tree that looks curated, even if your crafting process looked like a glitter tornado.
Signature project: Glitter Pinecones (easy + timeless)
Pinecones are practically pre-ornaments. Add a bit of glue, sprinkle glitter on the tips, tie on twine, and they instantly read “rustic glam.” If you collect pinecones outdoors, make sure they’re clean and fully dry before decorating.
- Glitter-tipped pinecones: Classic, works with any thememinimal glitter or full disco pinecone.
- Paint-dipped pinecones: Dip the bottom edges in paint for a modern ombré look.
- Acorn cap ornaments: Glue two caps together, add a bead in the middle, hang like tiny bells.
- Birch wood-slice monograms: Write initials in paint marker; seal for durability.
- Pressed-leaf medallions: Sandwich leaves between clear laminate or transparent craft film.
- Twigs-into-stars: Glue five small twigs into a star; wrap joints with twine.
- Mini wreaths from greenery: Wrap floral wire with faux rosemary/pine, finish with ribbon.
- Feather ornaments: Add a tiny bead “head” for a bird vibe or keep it elegant and airy.
- Sea-salt “snow” shells: Coastal ornaments: shells dusted with glitter and white paint look wintry.
- Dried flower resin ornaments: Preserve tiny blooms in resin for a crystal-clear keepsake.
- Little pine sprig bundles: Tie a short sprig with ribbon; add a small bell for sound.
- Cinnamon-stick reindeer: Two sticks + pipe cleaners for antlers + bead nose = instant Rudolph.
10 Paper & Cardstock Ornaments (Low-Cost, High-Drama)
Paper is wildly underrated. It can look minimalist, vintage, modern, whimsicalplus it’s lightweight, so your branches won’t sag like they’re carrying emotional baggage.
Signature project: Paper Stars That Look Expensive
Folded paper stars (from cardstock or old book pages) add volume and shape. Use metallic paper for glam, brown kraft paper for rustic, or patterned paper for cheerful color. Hang a cluster at varying heights and suddenly your tree has “design.”
- Folded paper stars: Make a few large ones for statement pieces and mix in small stars for balance.
- Origami cranes: A calm craft until someone loses patiencethen it becomes a character-building exercise.
- Book-page cones: Roll pages into cones; add a bead at the bottom; vintage charm unlocked.
- Paper snowflakes: Cut, unfold, gasp at your own talent, repeat.
- Quilled snowflakes: Tight paper coils arranged into delicate icy patterns.
- Mini paper houses: Fold tiny “gingerbread house” shapes; draw windows; add a dusting of glitter.
- Accordion-fold fan ornaments: Two fans glued into a circle make a rosette.
- Map-print ornaments: Cut circles from old maps (or printouts) for a travel-themed tree.
- Paper bead ornaments: Roll strips into beads; seal; string into a funky modern drop.
- Paper chain “mini wreaths”: Make a tiny ring of chains; finish with a bow.
15 Fabric, Felt & Yarn Ornaments (Soft Texture = Instant Warmth)
If your tree feels a little too shiny or “hard,” add soft ornaments. Felt and yarn make your Christmas tree decor feel cozy and layeredlike a sweater, but for branches.
Signature project: Felt Ornaments (customizable + giftable)
Felt ornaments are the sweet spot: easy to cut, easy to sew or glue, and easy to personalize. Keep shapes simple (trees, stars, mittens), then add personality with embroidery, beads, or tiny buttons.
- Classic felt trees: Two layers, blanket stitch, light stuffingcute and puffy.
- Felt stars with beads: A little sparkle without glitter fallout in your carpet forever.
- Mini felt mittens: Add tiny “stitch” lines for a cozy knit look.
- Felt candy shapes: Peppermints, lollipops, gumdropszero stickiness, maximum charm.
- Embroidered initials on felt circles: Personal and elegant; great for family sets.
- Yarn-wrapped ring ornaments: Wrap yarn around metal rings; add tassel or bow.
- Pom-pom ornaments: Make one giant pom or stack three into a snowman.
- Mini knit sweater ornaments: Use an old sweater sleeve or knit scrapstiny outfits for your tree.
- Fabric scrap baubles: Stuff a clear ornament with fabric strips for color and texture.
- Ribbon “twist” ornaments: Wrap ribbon around a foam ball; pin or glue in spirals.
- Macramé mini rainbows: Small rope arches with yarn wrapmodern boho holiday vibes.
- Crochet snowflakes: Stiffen with diluted glue so they hold their shape.
- Fabric yo-yo rosettes: Layer yo-yos into a flower and hang as a soft statement ornament.
- Mini quilt-star ornaments: Use small patchwork squaresperfect for heirloom style.
- Felt “hot cocoa mug” ornaments: Add mini pom-pom marshmallows on top for extra cute.
10 Upcycled & Thrifted Ornaments (Personality on a Budget)
Upcycled DIY Christmas ornaments are where character really shows up. They also come with a fun side benefit: you get to feel smug while reducing clutter. (It’s basically holiday cardio for your junk drawer.)
Signature project: Clothespin Snowflakes (surprisingly classy)
Clothespin snowflakes look fancy, but they’re mostly glue and confidence. Paint them white for classic, metallic for glam, or colorful for a playful tree. Add glitter if you’re feeling chaotic-good.
- Clothespin snowflakes: Glue clothespin halves into a snowflake; paint; seal; hang.
- Scrabble tile name ornaments: Spell a family name or “JOY” on a taginstant custom charm.
- Wine cork reindeer: Cork body + twig antlers + bead nose = party conversation starter.
- Bottle-cap ornaments: Glue a small image inside a cap; add ribbon loop.
- Old key ornaments: Tie keys with velvet ribbon; looks vintage and a little mysterious.
- Puzzle piece wreaths: Glue puzzle pieces in a circle; paint; add mini bow.
- Upcycled light-bulb snowmen: Paint an old bulb white; draw face; add tiny scarf.
- Mini frame ornaments: Use tiny thrifted frames; add a photo or patterned paper.
- Cardboard “gingerbread” ornaments: Cut cardboard shapes; paint like cookies; add white “icing.”
- Denim or flannel stars: Cut stars from old shirts; add a stitch border for rustic texture.
8 Keepsake & Personalized Ornaments (The Ones You’ll Never Throw Out)
This is the sentimental section. You knowornaments that make you smile, cry a little, and then immediately text someone a photo of the tree.
Signature project: Photo Transfer Wood Slice Ornament
Photo ornaments can look dated fastunless you use a transfer method on wood slices. The texture feels warm and timeless, like a tiny cabin-core museum of your favorite people (or pets). Add the year on the back, because Future You will be grateful.
- Photo transfer wood slices: A rustic keepsake that looks “collected,” not mass-produced.
- Clear ornament photo fill: Roll a photo into a clear ball; add faux snow or confetti.
- Handprint salt dough: A classic for kidstiny hands, huge feelings.
- Pawprint clay ornaments: Yes, your dog deserves to be on the tree. They know it.
- “First home” mini house ornaments: Paint a tiny house shape and write the address/year.
- Travel memory ornaments: Add a tiny tag with a city name, year, or a mini charm.
- Milestone ornaments: New baby, graduation, engagementwrite the story on the back.
- Monogrammed ribbon ornaments: Big bow + initial tag = elegant, easy personalization.
How to Make 82 Ornaments Look Like “Design,” Not “Craft Explosion”
Use the “Rule of Repeats”
Pick 3–5 ornament types from this list and repeat them across the tree. Repetition makes homemade ornaments look intentionallike a collection, not a random pile of adorable chaos.
Mix textures on purpose
Great-looking trees usually have a balance: shiny (glass/glitter), matte (wood/paper), soft (felt/yarn), and natural (citrus/pinecones). Texture is what makes handmade ornaments feel “expensive,” even when they were born from cardboard.
Create “moment zones”
Cluster statement ornaments in a few spots (mid-height is best), then sprinkle simpler ones elsewhere. Your eye will read it as styled, not crowded.
Protect your work
- Seal paint: A clear craft sealer helps prevent scratches.
- Store smart: Egg cartons, small boxes, and tissue paper keep DIY ornaments safe and un-crushed.
- Date the back: It turns crafts into heirlooms.
Field Notes: of Real-World Ornament-Making Wisdom
Craft tutorials love to pretend every project happens in a sunlit room where nobody spills anything and scissors never disappear. In the real world, DIY Christmas ornaments happen between meetings, homework, and the mysterious moment when the hot glue gun cord becomes seven feet shorter because it’s wrapped around your chair.
Here’s what tends to make homemade Christmas ornaments actually work: start with the “anchor projects” that give you quick wins, then add one or two “slow crafts” you genuinely enjoy. Anchor projects are things like glitter-dipped baubles, dried orange slices, and pom-pomsfast, cheerful, hard to mess up. Slow crafts are felt ornaments, photo transfers, and resin piecesmore steps, more drying time, more chances to mutter, “Why did I choose the hardest option?” If you mix the two, you’ll keep momentum and still get a few showstoppers.
Another truth: drying time is the boss of you. Salt dough and cinnamon dough ornaments look easy until you’re staring at a tray wondering if they’re “done” or just “warm and confident.” Plan those for a day when you can let them sit. The same goes for paint. If you hang a painted ornament too soon, you will create a fingerprint fossil that will survive longer than most empires.
If you’re crafting with kids (or adults with kid energy), set up a “yes zone” and a “not today zone.” Yes zone: paper, felt, stickers, pom-poms, beads the size of marbles, washable paint. Not today zone: glitter you can’t control, tiny rhinestones, and anything that requires “gentle pressure” because nobody has gentle pressure in December.
For gifts, the easiest way to make a DIY ornament feel meaningful is to add a micro-story: a name, a date, a place, or a one-line memory. A simple tag that says “First Christmas in our new home (2026)” hits harder than a perfectly symmetrical bow. And if you’re worried your ornament isn’t “professional,” remember: store-bought ornaments are flawless. Handmade ornaments are familiar. They’re the ones people recognize year after year and say, “Oh my gosh, I remember when we made that.”
Finally, give your tree permission to evolve. A character-filled tree isn’t finished in one afternoonit grows. Add a few new ornaments each year, retire the ones that aren’t your vibe anymore, and keep the ones that still make you grin. The goal isn’t perfection. The goal is a tree that looks like your holidayswarm, funny, a little sparkly, and proudly homemade.