Note: This article is written in standard American English for web publishing and is based on practical DIY guidance from reputable home improvement, hardware, and drywall repair resources.
Wall anchors are tiny heroes when you need to hang a shelf, mirror, towel bar, curtain rod, or framed photo without hitting a stud. But once the shelf comes down, the mirror moves, or the towel bar admits defeat after one too many dramatic towel pulls, those same anchors become little plastic or metal reminders of decisions past. The good news? Learning how to remove wall anchors is usually simple, affordable, and very doable for beginners.
The trick is knowing what type of wall anchor you are dealing with. A plastic expansion anchor does not come out the same way as a threaded drywall anchor. A metal molly bolt is a different beast entirely. A toggle bolt may leave part of itself inside the wall, which sounds alarming but is often normal. In other words, the wall anchor removal process is less “grab and yank” and more “identify, choose the right method, and avoid turning a small hole into a drywall crater.”
This guide explains how to remove drywall anchors, plastic wall anchors, threaded anchors, molly bolts, and toggle bolts with minimal wall damage. You will also learn how to patch anchor holes afterward so the wall looks clean againbecause nothing says “I tried” like a perfectly smooth patch where chaos once lived.
What Are Wall Anchors?
Wall anchors are fasteners designed to help screws hold firmly in surfaces that are too weak or hollow to support weight on their own. Drywall is the most common example. A screw driven directly into drywall may hold a very light item, but it can loosen quickly under pressure. A wall anchor spreads the load behind or inside the wall, giving the screw more grip.
Wall anchors are commonly used for hanging bathroom accessories, lightweight shelves, curtain brackets, artwork, mirrors, small cabinets, and decorative items. They are useful, but they are not magic. Each anchor has a weight rating, and the wall material matters. Drywall, plaster, masonry, tile, and wood all behave differently.
Before removing an anchor, check what it looks like from the front. Is it plastic or metal? Is there a wide collar? Does it have threads like a big screw? Is it spinning freely? These details help you choose the safest removal method.
Tools You May Need to Remove Wall Anchors
You do not need a full contractor’s toolbox to remove most wall anchors. In many cases, basic household tools will do the job. Gather a few options before you start so you are not wandering around with a half-removed anchor and the facial expression of someone who just made things worse.
Basic Tools
- Phillips-head screwdriver
- Flathead screwdriver
- Needle-nose pliers
- Utility knife
- Putty knife
- Hammer
- Drill and drill bits
- Spackle or joint compound
- Fine-grit sandpaper or sanding sponge
- Primer and matching wall paint
- Clean cloth or vacuum
Safety Gear
- Safety glasses
- Dust mask if sanding drywall compound
- Work gloves if removing metal anchors
Always work gently. Drywall is strong enough to support normal household use when installed correctly, but it is not fond of aggressive prying. A small anchor hole is easy to patch. A torn paper face or broken chunk of drywall is still fixable, but it adds more work.
Step 1: Identify the Type of Wall Anchor
The best way to remove wall anchors is to identify the anchor style first. Most homes contain one or more of these common types.
Plastic Expansion Anchors
Plastic expansion anchors are small, ribbed plastic sleeves. When you drive a screw into them, they expand inside the hole. These are often used for lightweight items such as small picture frames, wall clocks, or basic decor.
Threaded Drywall Anchors
Threaded drywall anchors look like oversized plastic or metal screws. They cut into drywall as they are installed. These are commonly used for medium-duty hanging jobs and are often easy to remove by turning them counterclockwise.
Molly Bolts
Molly bolts are metal hollow-wall anchors. When tightened, the sleeve expands behind the wall, creating a strong grip. They are sturdy, but removal can be more involved because the expanded metal wings do not simply slide back out.
Toggle Bolts
Toggle bolts use spring-loaded wings or a strap-style toggle that opens behind the wall. Once opened, the wings hold against the back of the drywall. When the screw is removed, traditional spring toggle wings usually fall inside the wall cavity. That is normal and usually harmless.
How to Remove Plastic Wall Anchors
Plastic anchors are among the easiest to remove, especially if they are not painted over or damaged. The goal is to pull the anchor straight out without tearing the drywall paper around it.
Method 1: Pull It Out With Pliers
First, remove the screw from the anchor. Grip the visible edge of the plastic anchor with needle-nose pliers. Wiggle it gently from side to side while pulling outward. If it begins to move, keep the pressure steady and slow. Do not yank. Drywall rewards patience and punishes enthusiasm.
If the anchor slides out cleanly, you are done with the removal step. The remaining hole can usually be patched with spackle or lightweight joint compound.
Method 2: Insert a Screw and Pull
If the anchor is too flush to grip, drive a screw partway into the anchor. Leave enough screw exposed so you can grip it with pliers. Then gently pull the screw outward. The screw gives you a handle and helps remove the anchor in one piece.
This method works well for plastic expansion anchors, but it should be done carefully. If the anchor refuses to move, stop pulling before the drywall surface tears.
Method 3: Cut the Rim and Push It In
Sometimes removing the entire anchor causes more damage than leaving it alone. If the anchor is stuck, use a utility knife to score around the anchor’s rim. Then place a screwdriver over the anchor and tap it lightly with a hammer until the anchor sits slightly below the wall surface.
Once the anchor is recessed, cover it with spackle or joint compound. This is often the cleanest option for stubborn plastic anchors, especially in rental homes where you want a smooth wall without unnecessary surgery.
How to Remove Threaded Drywall Anchors
Threaded drywall anchors are usually the most cooperative anchors in the wall anchor family. Since they were screwed in, they can often be screwed out.
Step-by-Step Instructions
- Remove the screw from the anchor.
- Place a Phillips-head screwdriver into the anchor opening.
- Turn the anchor counterclockwise slowly.
- Keep gentle pressure on the screwdriver so it stays engaged.
- Once the anchor loosens, continue turning until it comes out.
If the anchor spins but does not back out, the drywall around it may be stripped. In that case, try gripping the collar with pliers while turning. If that fails, cut around the edge and push the anchor slightly below the surface, then patch over it.
Metal threaded anchors may require a little more force than plastic ones, but the same idea applies. Work slowly and avoid enlarging the hole more than necessary.
How to Remove Molly Bolt Anchors
Molly bolts are strong because they expand behind the drywall. Unfortunately, that strength is exactly what makes them annoying to remove. You have three practical options: back them out, cut or drill off the head, or recess them into the wall.
Method 1: Try Unscrewing the Bolt
Start by removing the screw or bolt from the center. Sometimes the metal sleeve will loosen enough to pull forward with pliers. If it moves easily, grip the collar and work it out gently.
If it does not move, do not force it. A fully expanded molly bolt can tear a large hole if you try to rip it out.
Method 2: Drill Off the Collar
For stubborn molly bolts, use a drill bit slightly larger than the anchor opening to drill through the front collar. The goal is to separate the visible flange from the sleeve behind the wall. Once the collar breaks free, push the remaining metal sleeve into the wall cavity with a screwdriver.
This method keeps wall damage relatively small, but wear safety glasses. Tiny metal shavings are not a charming addition to your afternoon.
Method 3: Tap It Below the Surface
If the molly bolt is not in the way of a future fastener, you can recess it. Place a screwdriver or nail set against the anchor and tap lightly with a hammer until the head sits below the wall surface. Then cover the depression with joint compound.
This approach works best when the anchor is secure and flush, but no longer needed. It is not ideal if you plan to install another anchor in the exact same spot.
How to Remove Toggle Bolts
Toggle bolts can make people nervous because part of the anchor disappears behind the wall. Fortunately, that is usually expected.
Spring Toggle Bolts
For a spring toggle bolt, simply unscrew the bolt from the wall. As the bolt comes out, the spring-loaded wings will drop into the wall cavity. You may hear a tiny clink inside the wall. That is the sound of the toggle wings retiring from active duty.
Once the bolt is removed, patch the hole. Toggle bolts usually leave larger holes than plastic anchors, so you may need joint compound instead of lightweight spackle. For bigger holes, use a self-adhesive mesh patch before applying compound.
Strap Toggle Anchors
Strap toggle anchors have a plastic strap and a metal channel behind the wall. Remove the screw first. Then cut or break off the plastic collar if it remains visible. In many cases, the metal channel will fall into the wall cavity or can be pushed inward.
If the opening is large, patch it with a mesh repair patch and joint compound for a smoother finish.
Should You Remove the Anchor or Push It Into the Wall?
Many beginners assume every wall anchor must be pulled out. Not always. In fact, pushing a stubborn anchor into the wall is sometimes the better choice.
Remove the anchor if it comes out easily, if you need to reuse the exact location, or if the anchor is loose and sticking out. Push it in or recess it if pulling will tear the drywall, if it is a metal hollow-wall anchor, or if the patch will cover it completely.
The goal is not to win a wrestling match against a tiny piece of hardware. The goal is to leave the wall smooth, stable, and ready for paint.
How to Patch Holes After Removing Wall Anchors
Once the anchor is outor safely recessedthe repair begins. A clean patch makes the difference between a wall that looks new and a wall that looks like it has been through a very small battle.
Step 1: Clean the Hole
Remove loose drywall crumbs, dust, and peeling paint. Use a utility knife to trim ragged paper edges. If the paper around the hole is raised, press it gently flat or cut away loose pieces.
Step 2: Slightly Indent the Area
For small anchor holes, use the rounded end of a screwdriver handle or the edge of a putty knife to create a very shallow depression around the hole. This gives the spackle room to sit flush instead of forming a bump.
Step 3: Apply Spackle or Joint Compound
Use lightweight spackle for small holes. Use joint compound for larger holes or areas that need feathering. Press the compound into the hole, then smooth it with a putty knife. Pull the knife across the surface at a slight angle to remove excess material.
For larger holes left by toggle bolts or torn anchors, apply a self-adhesive mesh patch first. Spread joint compound over the patch and feather the edges several inches beyond the repair area.
Step 4: Let It Dry Completely
Drying time depends on the product, the thickness of the patch, and room humidity. Do not rush this step. Sanding damp compound creates a gummy mess, which is exactly as fun as it sounds.
Step 5: Sand Smooth
Use fine-grit sandpaper or a sanding sponge to smooth the patch. Sand lightly until the repair blends with the surrounding wall. Run your hand over the area. Your fingers will often feel bumps that your eyes miss.
Step 6: Prime and Paint
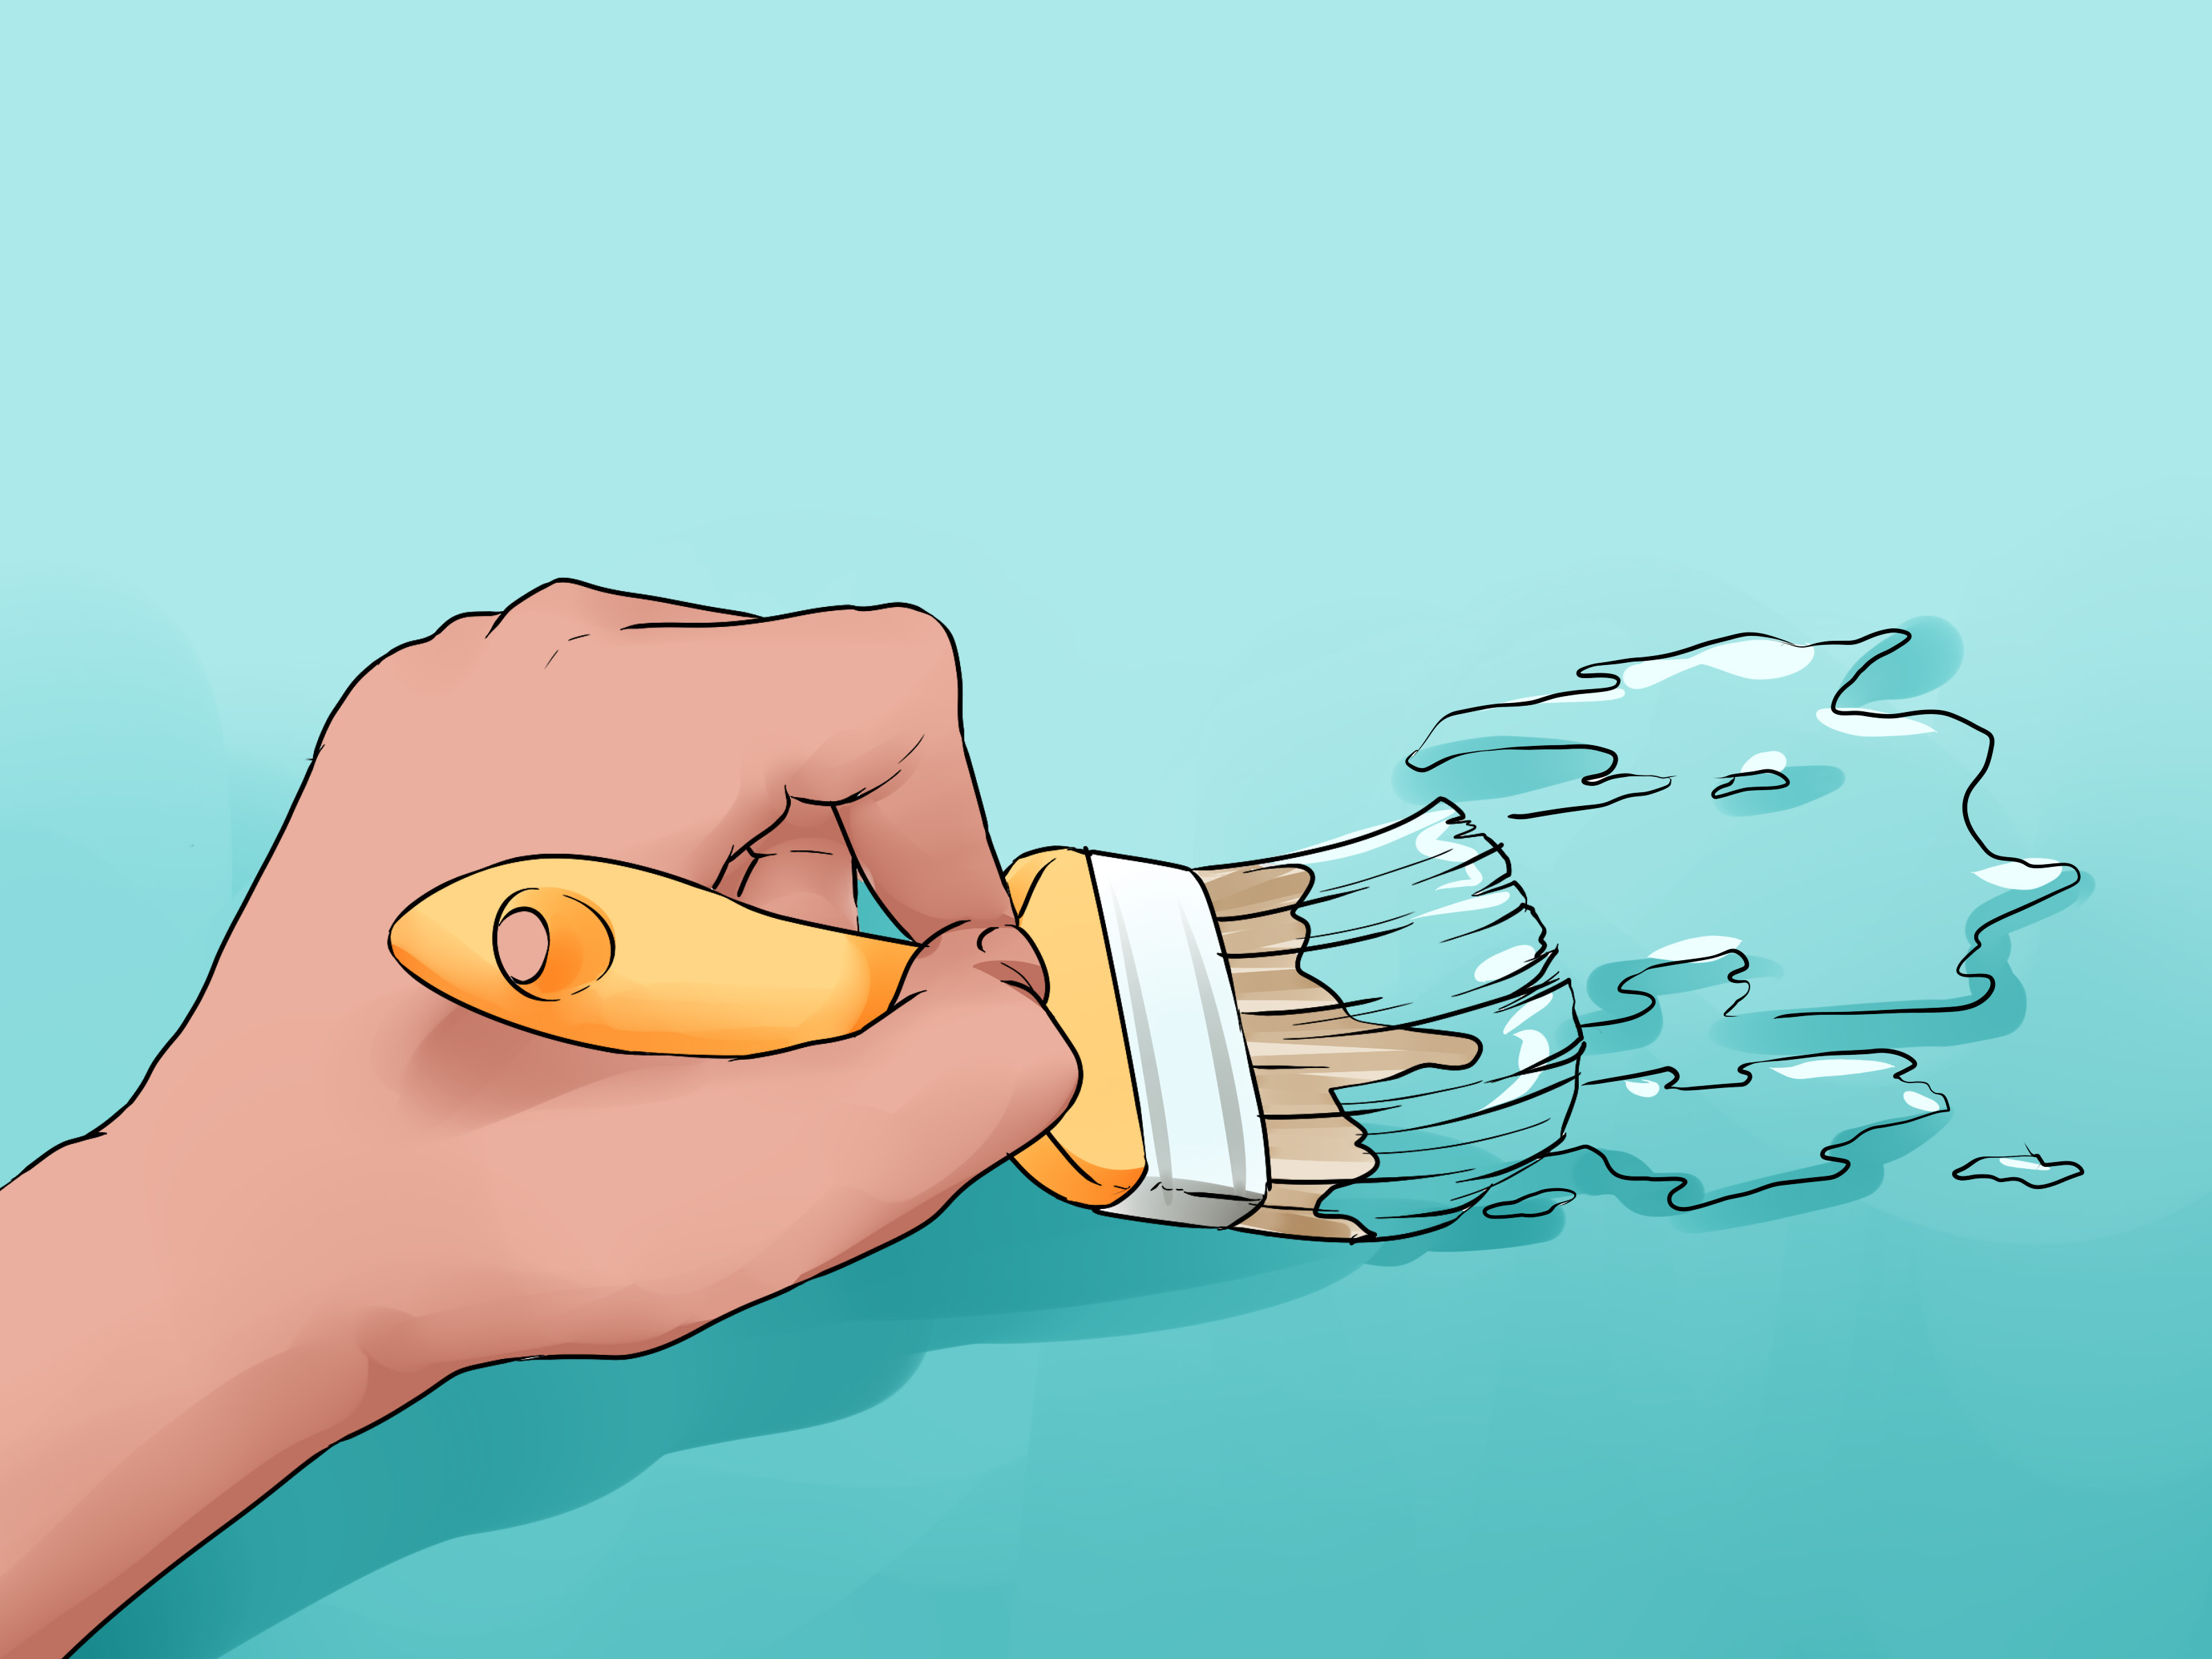
Primer helps seal the patched area so paint absorbs evenly. Without primer, the patch may show through as a dull spot called flashing. After priming, apply matching wall paint. Feather the paint outward to blend the repair into the existing finish.
Common Mistakes to Avoid
Pulling Too Hard
Brute force is the fastest way to turn a tiny anchor hole into a large drywall repair. If the anchor resists, switch methods instead of pulling harder.
Skipping the Anchor Identification Step
A plastic expansion anchor and a molly bolt behave very differently. Treating every anchor the same can damage the wall and waste time.
Using Too Much Spackle
A giant mound of spackle is not extra protection. It is just extra sanding. Apply thin layers and build up if needed.
Painting Before the Patch Is Dry
Paint traps moisture and can cause bubbling, cracking, or uneven texture. Let the patch dry fully before sanding, priming, and painting.
Ignoring Wall Texture
If your wall has orange peel, knockdown, or another texture, a perfectly smooth patch may stand out. Use a texture spray or matching technique before painting if needed.
How to Remove Wall Anchors From Plaster Walls
Plaster walls are harder and more brittle than drywall. They can crack if you pry too aggressively. If you are removing anchors from plaster, work slowly and avoid heavy hammering.
For plastic anchors, try the screw-and-pull method with gentle pressure. For metal anchors, consider drilling off the head or recessing the anchor rather than forcing it out. Use patching plaster or joint compound suitable for plaster repairs, and sand carefully once dry.
Older plaster walls may also have lath behind them, which can complicate anchor removal. If the anchor is large, rusted, or surrounded by cracks, it may be better to stabilize the area and patch over it rather than remove it completely.
How to Remove Wall Anchors From Tile or Masonry
Tile and masonry require extra care. Pulling an anchor from tile can chip the glaze or crack the tile. For plastic anchors in tile, remove the screw, grip the anchor carefully, and pull straight out. If it resists, trim the visible edge and fill the hole with an appropriate repair material, such as color-matched caulk or tile filler.
For masonry anchors in brick or concrete, removal depends on the anchor type. Some can be backed out. Others may need to be cut flush and patched. Use masonry repair compound for concrete or mortar repairs. If the anchor is structural or supports a heavy fixture, consult a professional before removing it.
When to Call a Professional
Most wall anchor removal projects are beginner-friendly. However, professional help is wise if the anchor is near electrical wiring, plumbing, tile, stone, wallpaper, or a large damaged area. You may also want help if the wall has specialty texture, Venetian plaster, historic plaster, or expensive paint finishes.
A professional drywall repair person can remove stubborn anchors, patch the wall, match texture, and repaint the area cleanly. This is especially helpful before selling a home, moving out of a rental, or repairing a highly visible wall.
Helpful Tips for a Cleaner Repair
- Take your time identifying the anchor before touching it.
- Use a sharp utility knife to score painted edges before removal.
- Pull straight outward when removing plastic anchors.
- Stop if the drywall begins to tear.
- Recess stubborn anchors instead of forcing them out.
- Use mesh patches for larger holes.
- Prime patched areas before painting.
- Save leftover wall paint for future touch-ups.
Real-Life Experience: What Removing Wall Anchors Actually Feels Like
Removing wall anchors sounds like a quick five-minute job, and sometimes it is. You remove the screw, tug the anchor with pliers, patch the hole, and feel like a home improvement genius. Other times, the anchor spins in place like it has signed a long-term lease inside your drywall. That is when experience matters.
One of the most common situations is removing anchors after taking down a towel bar. Bathroom anchors often sit in drywall that has handled moisture, movement, and years of daily use. The plastic may be brittle, the screw may be rusty, and the wall surface may be slightly damaged. In that case, pulling too hard can tear the paper face of the drywall. A better approach is to remove what comes out easily, recess what does not, and patch the area in thin layers.
Another common example is removing anchors from a living room gallery wall. Small plastic anchors may come out cleanly with the screw-and-pull method. But if the wall has been repainted several times, paint may seal the anchor collar to the surface. Scoring around the anchor with a utility knife can prevent peeling paint from spreading beyond the repair area. This tiny step saves a surprising amount of frustration.
Threaded drywall anchors are usually satisfying to remove because they often back out like a screw. The problem appears when someone overtightened them during installation. If the drywall around the anchor is crushed, the anchor may spin without moving forward. When that happens, gripping the edge with pliers while turning the screwdriver can help. If not, pushing it below the surface may be cleaner than digging it out.
Molly bolts are where many DIYers learn humility. They are strong, stubborn, and not impressed by optimism. If you try to pull a fully expanded molly bolt straight out, it may bring a chunk of wall with it. Drilling off the collar is often the more controlled method. Once the front flange is gone, the back portion can be pushed into the cavity. It feels strange to leave metal inside the wall, but with hollow-wall anchors, that is often normal and harmless.
Toggle bolts create a different emotional journey. When the wings fall behind the wall, many people worry they have done something wrong. In reality, that is how many spring toggles are removed. The wings drop into the wall cavity, and the visible hole gets patched. Unless the wall cavity is packed with something unusual, the fallen toggle is not a problem.
The biggest lesson from real anchor removal is this: the repair matters more than the removal drama. A rough removal can still look great if the patch is done well. Clean the hole, use the right filler, sand gently, prime properly, and paint with patience. Most people will never know an anchor was there.
It also helps to accept that wall repairs often need two coats of compound. The first coat fills the hole. The second coat perfects the surface. Trying to make one thick coat do everything usually leads to shrinking, cracking, or a raised patch. Thin layers are less exciting, but they win.
Finally, keep a small wall repair kit in the house. A putty knife, spackle, sanding sponge, utility knife, and leftover paint can handle most anchor holes. Once you know how to remove wall anchors properly, moving shelves, rearranging art, or fixing old hardware becomes much less intimidating. Your walls may not thank you out loud, but they will look much betterand that is basically the same thing.
Conclusion
Learning how to remove wall anchors is a practical DIY skill that saves time, money, and unnecessary wall damage. The key is to identify the anchor type before choosing a removal method. Plastic anchors can often be pulled out with pliers or a partially inserted screw. Threaded drywall anchors usually back out with a screwdriver. Molly bolts may need to be drilled, recessed, or pushed into the wall. Toggle bolts often leave their wings behind inside the wall cavity, which is usually normal.
Once the anchor is removed or recessed, patching is just as important as extraction. Clean the hole, apply spackle or joint compound, let it dry, sand it smooth, prime the repair, and paint. With a little patience, the wall can look fresh againno evidence, no drama, no tiny plastic souvenirs from shelves gone by.