Note: Confirm the exact procedure in your LiftMaster owner’s manual before programming. Button colors, keypad sequences, and smart-home setup can vary by model and production year.
A garage door remote is one of those tiny household conveniences you do not appreciate until it stops working in the rain, while you are late, holding groceries, and questioning every life choice that led to this driveway. Fortunately, programming a LiftMaster garage door opener is usually fast, straightforward, and far less dramatic than it first appears.
Whether you are pairing a new remote, setting up a wireless keypad, connecting your car’s HomeLink buttons, or replacing a lost clicker, the basic process usually starts with one small but mighty control: the LEARN button on the garage door opener motor unit. Press it correctly, complete the next step quickly, and your opener should recognize the new device.
This guide explains how to program a LiftMaster garage door opener quickly, what to do when the remote refuses to cooperate, and when you should erase old access codes for security. No engineering degree required. A ladder, a fresh battery, and a little patience are usually enough.
What You Need Before Programming Your LiftMaster Opener
Gather a few basics before climbing toward the motor unit. This saves you from the classic garage-door programming ritual: pressing the button, realizing the remote is in your car, and sprinting back and forth like you are training for a very niche Olympics event.
- Your LiftMaster garage door opener and its working power supply
- A compatible LiftMaster remote, keypad, vehicle system, or myQ-compatible device
- A fresh battery for the remote or keypad
- A stable ladder if the motor unit is ceiling-mounted
- Your opener model number or owner’s manual, when available
- A helper for keypad or in-car programming, especially if the garage is large
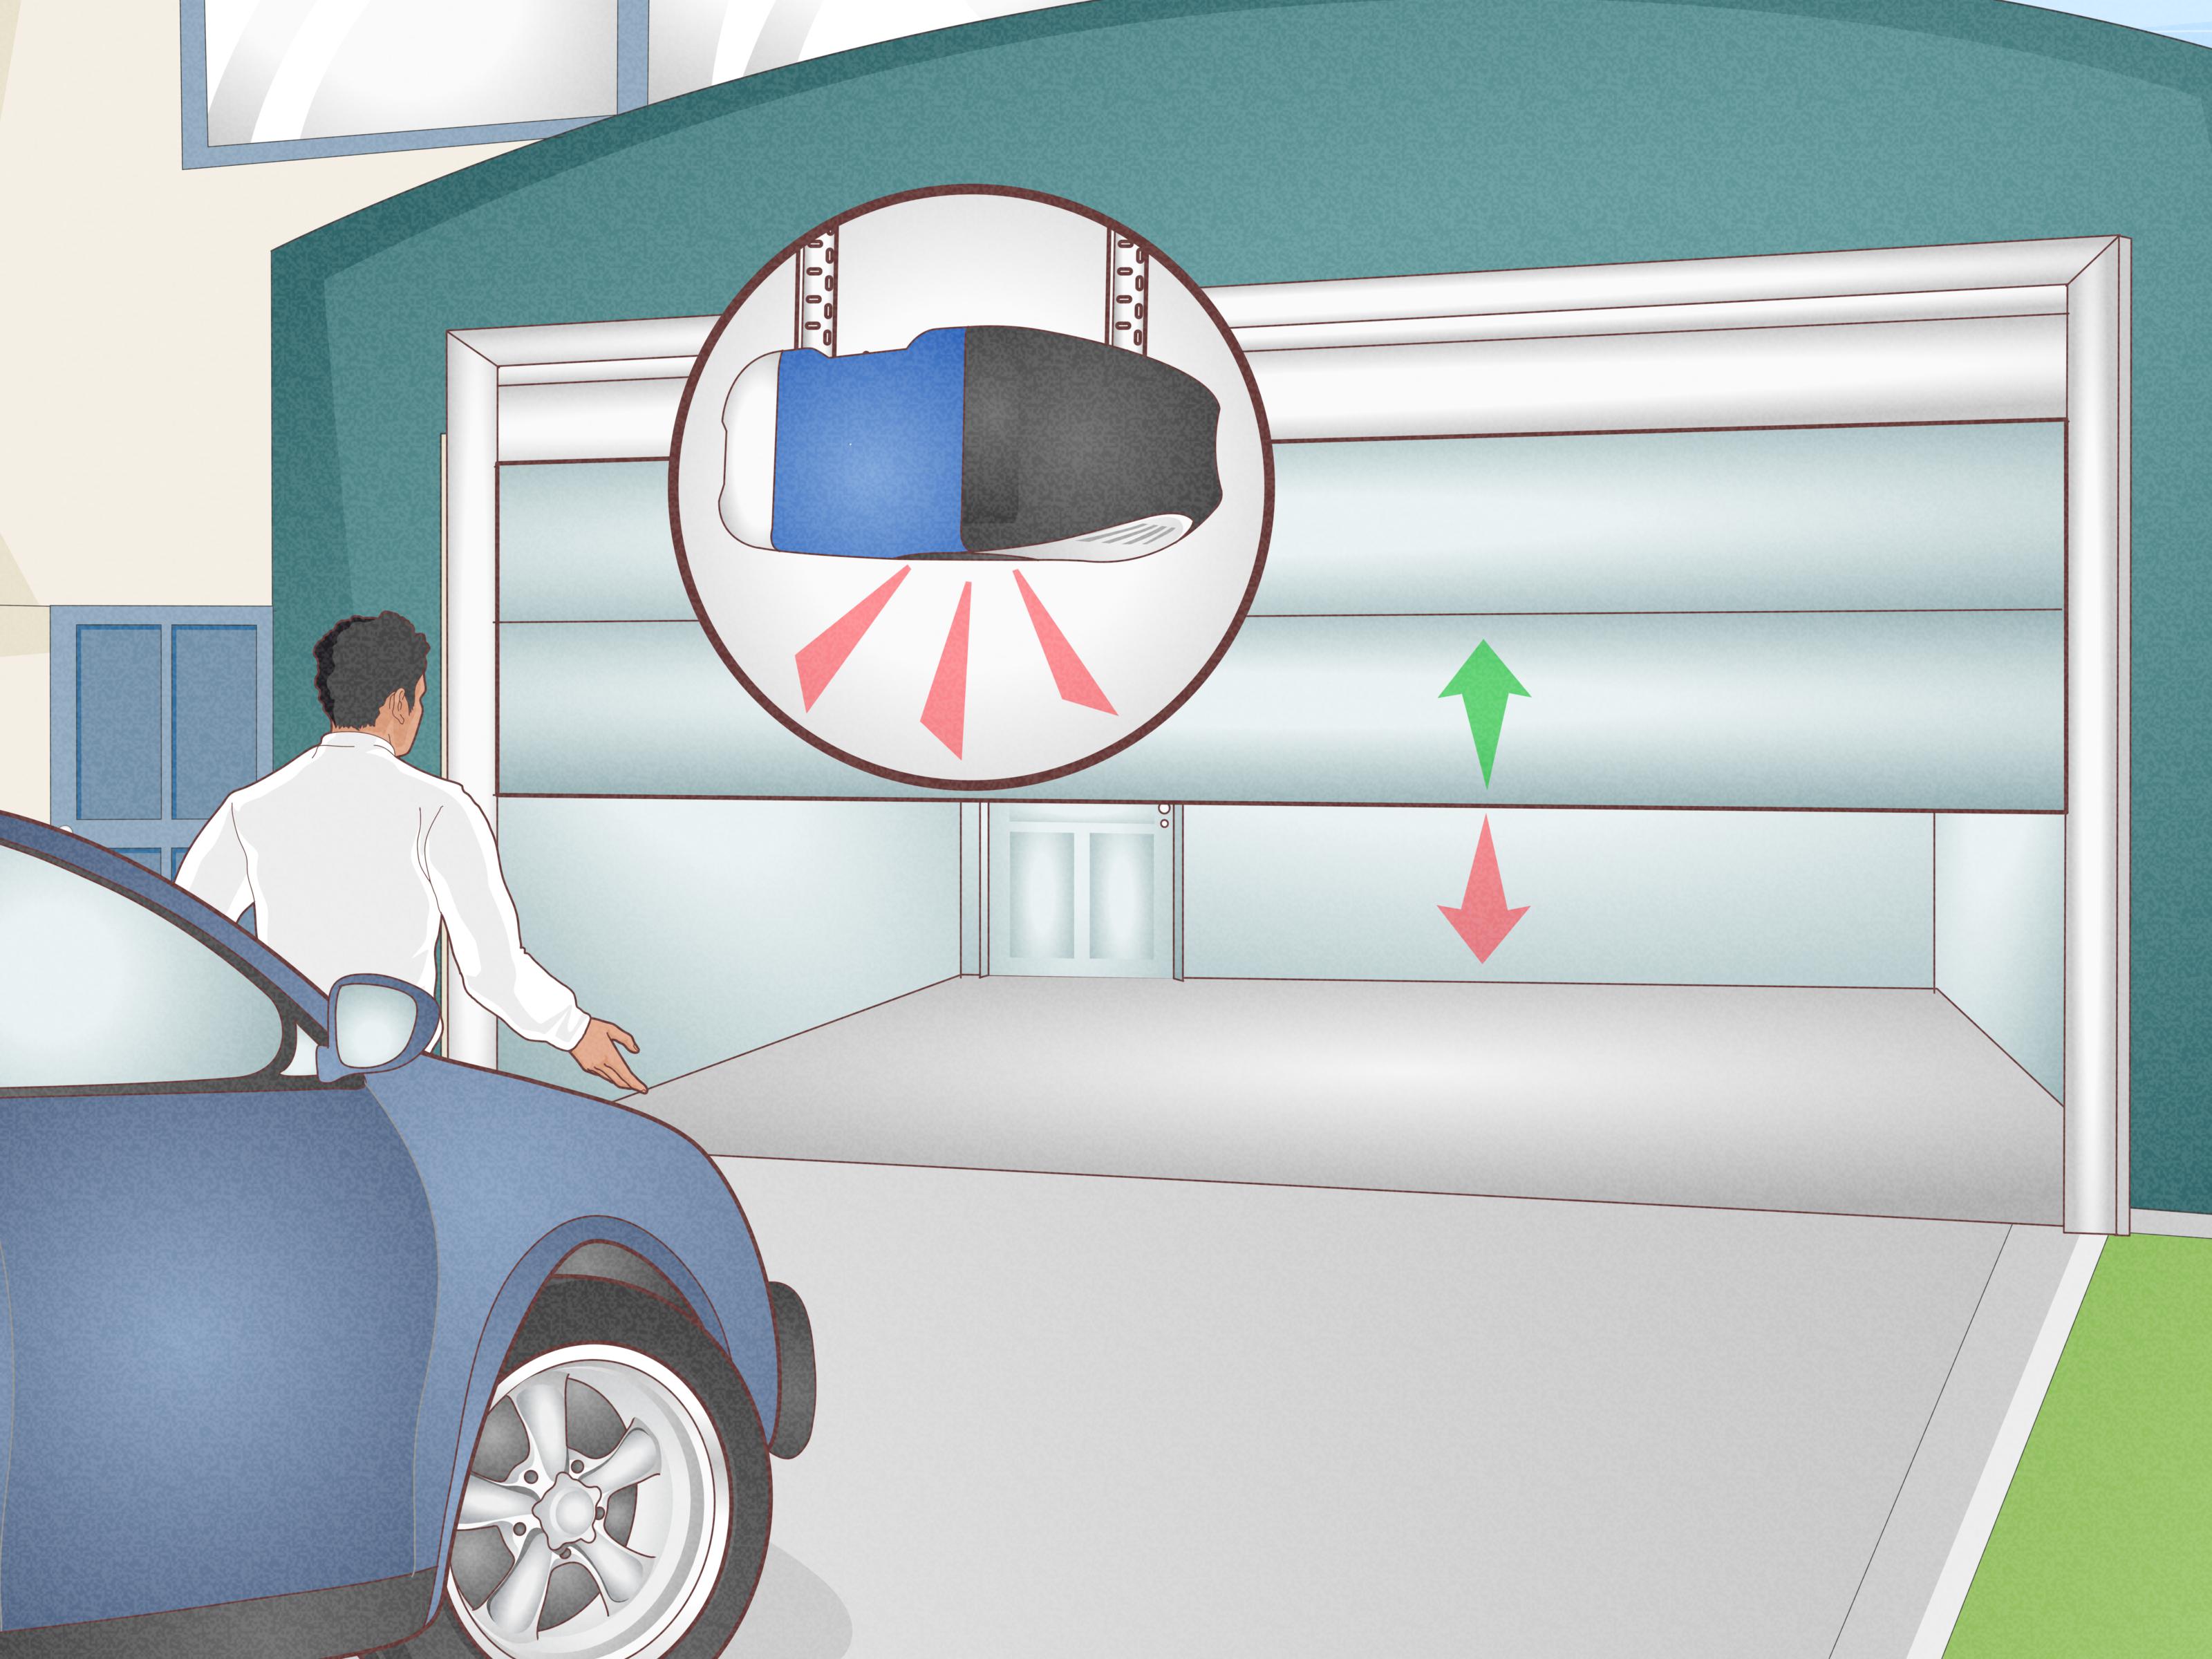
Most LiftMaster openers place the LEARN button near the hanging antenna wire, often behind a light lens or on the back or side of the motor housing. The button color matters because it helps identify compatible remotes and keypads. LiftMaster systems may use green, orange/red, purple, yellow, or white LEARN buttons, depending on their generation and technology.
Quick Safety Check Before You Press Anything
Programming a remote is simple, but a garage door is not a toy, a pet obstacle course, or a convenient place to store ladders. Keep children, pets, vehicles, and random cardboard boxes clear of the door’s travel path before testing the opener.
Use a sturdy ladder on level ground. Do not lean on the garage door tracks, pull on springs, touch high-tension cables, or start adjusting force settings just because the remote did not work on the first try. Those parts can be dangerous and are best left to trained garage door technicians.
Automatic garage door openers should have safety-reversing protection, and the U.S. Consumer Product Safety Commission recommends testing the reversing function according to the manufacturer’s instructions. If the door does not reverse properly, stop using automatic operation until the issue is corrected.
How to Program a LiftMaster Remote Control Using the LEARN Button
For most homeowners, this is the fastest way to program a LiftMaster garage door opener. It works for many compatible handheld remotes, visor remotes, key-chain remotes, and replacement clickers.
Step 1: Locate the LEARN Button
Stand under the opener motor unit and look for the LEARN button. On many LiftMaster models, it is near the antenna wire and may be hidden behind the light cover. Check the back, side, or control panel area of the motor housing.
Do not confuse the LEARN button with the light button, wall control button, or “why is this tiny button shaped like a mystery?” button. The LEARN button is usually labeled clearly, though older models may use “Smart” or “Program.”
Step 2: Press and Release the LEARN Button
Press the LEARN button once and release it. Do not hold it down unless you intentionally want to erase stored remotes. A quick tap puts the opener into programming mode.
Many LiftMaster openers give you roughly 30 seconds to complete the pairing process. Yellow LEARN-button systems may remain in programming mode longer, but it is smart to act as though you only have half a minute. This prevents confusion and keeps the process quick.
Step 3: Press the Remote Button You Want to Use
Within the programming window, press and hold the button on the remote that you want to control the garage door. Keep holding it until you see the opener lights blink, hear two clicks, or notice another confirmation signal from the motor unit.
That response means the opener received and stored the remote’s code. Release the remote button.
Step 4: Test the Remote
Wait a few seconds, then press the programmed remote button once. The door should open or close normally. Test it while standing where you can see the entire door movement.
If your remote has multiple buttons, each button can usually be programmed to operate a separate compatible garage door, gate operator, or accessory. That means one button can control the main garage door, another can control a second bay, and a third can remain available for whatever future garage-related chaos arrives.
How to Program a LiftMaster Wireless Keypad
A wireless keypad gives you key-free entry, which is especially useful for dog walkers, teenagers, contractors, runners, and anyone who has ever managed to lock their keys inside the house while standing three feet from their garage.
The exact LiftMaster keypad programming process depends on the keypad model and the color of your opener’s LEARN button. Newer 878MAX and similar keypads may use a different sequence than older 877LM, 387LM, or universal keypad models.
General LiftMaster Keypad Programming Steps
- Install a fresh keypad battery.
- Choose a secure four-digit PIN that is easy for your household to remember but difficult for neighbors to guess.
- Locate the LEARN button on the opener motor unit.
- Press and release the LEARN button.
- Move to the keypad and enter your new PIN.
- Press the keypad’s ENTER, #, or designated confirmation button, depending on the model.
- Wait for the garage door opener lights to blink or for the motor to click.
- Test the PIN by entering it again and pressing ENTER.
For a current LiftMaster keypad, use the model-specific instructions rather than guessing at the button sequence. Some newer units require you to select the opener type before pairing, while others are preconfigured for certain LiftMaster systems. LiftMaster’s 878MAX keypad, for example, uses a PIN-based setup and is designed to synchronize with the opener’s frequency.
How to Program LiftMaster to Your Car With HomeLink
HomeLink is the built-in garage door control system found in many vehicles. It may be located on the rearview mirror, overhead console, visor, dashboard, or infotainment display. Once programmed, it lets you operate your garage door without keeping a separate remote clipped to the visor like a tiny plastic barnacle.
Step 1: Find Your Vehicle’s HomeLink Buttons
Look for the HomeLink logo or a row of small buttons in your car. Review your vehicle owner’s manual before clearing any existing settings, because some reset procedures erase all previously programmed buttons.
Step 2: Train HomeLink With Your Existing Remote
Hold your working LiftMaster remote a few inches from the HomeLink buttons. Press and hold the HomeLink button you want to program while pressing and releasing the handheld remote every couple of seconds. Continue until the HomeLink indicator changes from a slow flash to a rapid flash or a solid light.
HomeLink recommends trying different distances and angles if the vehicle does not recognize the handheld remote immediately. A fresh remote battery can also make a surprising difference during programming.
Step 3: Complete the Rolling-Code Pairing
Most modern LiftMaster openers use rolling-code technology, so teaching the vehicle the remote signal is only part of the job. Next, press and release the opener’s LEARN button. Within about 30 seconds, return to the vehicle and press the programmed HomeLink button for a couple of seconds. You may need to repeat the press once or twice until the garage door responds.
Some newer white-LEARN-button systems require a different HomeLink process that uses the original remote rather than direct programming at the motor head. When that happens, follow the current instructions for your vehicle and opener model instead of repeatedly pressing buttons until the garage begins to resent you.
How to Connect a LiftMaster Opener to the myQ App
If your LiftMaster opener has built-in Wi-Fi or myQ compatibility, you may be able to monitor and control the garage door from your smartphone. The myQ app can show whether the door is open or closed and can send alerts when activity occurs.
Basic myQ Setup Process
- Download the myQ app on your phone.
- Create or sign in to your myQ account.
- Select the option to add a garage door opener or smart garage device.
- Follow the app prompts to connect the opener to your home Wi-Fi network.
- Confirm that the opener appears in the app.
- Test open, close, and status notifications while standing near the garage.
For the smoothest setup, use a strong Wi-Fi signal in the garage. A weak signal can cause connection failures, delayed status updates, or the sort of app behavior that makes you stare at your phone as though it personally betrayed you.
Why Your LiftMaster Remote Will Not Program
Most remote problems have a simple cause. Before replacing the opener, buying three more remotes, or declaring war on radio frequencies, work through these common issues.
The Remote Battery Is Weak
Replace the battery first. A weak battery may still light the remote LED but fail to send a strong enough signal to complete programming or operate the door reliably.
You Held the LEARN Button Too Long
A long press can erase stored remotes and keyless-entry devices. The correct move for ordinary pairing is usually a quick press and release. Holding the LEARN button for about six seconds until the LED turns off is commonly used to erase the opener’s remote memory.
The Remote Is Not Compatible
Not every LiftMaster remote works with every LiftMaster opener. Check the color of the LEARN button and confirm that the remote supports that technology. Universal remotes can be helpful, but they still need to list your opener type as compatible.
The Wall Control Lock Feature Is On
Some LiftMaster wall controls have a lock or vacation feature that disables remote controls while leaving the wall button operational. If the wall control works but remotes do not, check whether the lock setting is active.
LED Bulbs Are Causing Interference
Some non-approved LED bulbs can interfere with remote signals and reduce operating range. If your remote works only when you are practically parked inside the garage, try replacing the bulb with one recommended for garage door openers. HomeLink also identifies certain LED bulbs as a possible source of radio interference.
The Door Problem Is Mechanical, Not Programming-Related
If the remote activates the opener but the door reverses, stops, grinds, or refuses to close, the issue may involve safety sensors, tracks, rollers, springs, or the door itself. Programming a new remote will not fix a blocked photo eye or a damaged track. Clean the sensor lenses, remove obstructions, and call a professional if the mechanical problem continues.
When You Should Erase All LiftMaster Remote Codes
You do not need to erase all stored remotes every time you add a new one. However, a full memory reset makes sense in a few situations:
- A remote was lost or stolen.
- You moved into a home with unknown old remotes.
- You sold a vehicle that had HomeLink programmed to the garage.
- A tenant, contractor, or former household member should no longer have access.
- You are troubleshooting a messy collection of old remotes and keypads.
To erase the opener’s stored remote controls, press and hold the LEARN button until the indicator LED turns off, typically around six seconds. Be prepared to reprogram every remote, keypad, and compatible access device afterward.
A Fast LiftMaster Programming Checklist
- Confirm the opener has power.
- Replace the remote battery.
- Find the LEARN button near the antenna wire.
- Press and release the LEARN button once.
- Within about 30 seconds, press and hold the desired remote button.
- Wait for a light flash or clicking confirmation.
- Test the remote while the garage door is visible.
- Check the wall-control lock feature if the remote still fails.
- Verify compatibility using the LEARN button color and remote model.
- Erase all codes only when security or troubleshooting truly requires it.
Common Real-World Experiences When Programming a LiftMaster Garage Door Opener
The most common real-world experience is that the programming task takes less than two minutes once the homeowner finds the LEARN button. The longest part is often locating it. People expect a large, obvious button in the center of the opener, but it is usually tucked near the antenna wire, behind a light lens, or positioned where the installer apparently assumed everyone owns a neck capable of rotating 360 degrees.
Another frequent experience is pressing the LEARN button for too long. This is the garage-door equivalent of holding down the reset button on a router because the internet seemed slow. Instead of adding one remote, the homeowner accidentally erases every remote and keypad already connected to the opener. Suddenly, no one in the household can enter through the garage, and the person who volunteered to “fix it quickly” becomes less popular than a smoke detector with a low battery chirp.
Replacement remotes also cause confusion. A remote may look almost identical to the old one but use different technology or require a different programming method. The easiest way to avoid this problem is to check the LEARN button color before ordering a replacement. A yellow, purple, green, orange/red, or white button can point you toward the correct compatible remote family. Appearance is not enough; garage door remotes have more personality differences than they deserve.
Keypads create another memorable category of garage-door adventures. People often choose a PIN that is easy to enter while carrying groceries, which is sensible. The problem arrives when that PIN is also easy for every teenager on the block to guess. Avoid birthdays, street numbers, “1234,” and any code that could appear in a movie montage involving a hacker typing dramatically for seven seconds. A memorable but less obvious four-digit code is better.
Vehicle programming can feel especially frustrating because it often includes two separate steps. First, the car learns the handheld remote’s signal. Then, the garage door opener must approve the car through the LEARN button process. Many people stop after the first step because the vehicle’s indicator light changes, assuming victory has been declared. But rolling-code systems usually need that final confirmation step at the opener before the garage door will respond.
Remote range problems are another common surprise. A remote that works only from the driveway instead of the street may not need reprogramming at all. It may simply need a new battery, a straightened antenna wire, or a different LED bulb in the opener. Some LED bulbs create radio interference, which means the garage door can be defeated by a light bulb. Technology remains humble in the weirdest possible ways.
Finally, many homeowners discover that programming is not the same as repairing. When the opener clicks but the door will not close, reverses immediately, or shakes like it is auditioning for a disaster movie, the remote is not the villain. Safety sensors, damaged tracks, worn rollers, spring issues, or an obstructed door path may be responsible. In those cases, stop experimenting with programming and focus on safety. A properly programmed remote is useful, but a garage door that operates safely is the real win.
Final Takeaway
Learning how to program a LiftMaster garage door opener gives you quick control over remotes, wireless keypads, HomeLink vehicle buttons, and smart access features. In most cases, the formula is simple: find the LEARN button, tap it briefly, pair the device before the programming window closes, and test the door safely.
When the process does not work, start with the basics: check the battery, confirm remote compatibility, look for the wall-control lock feature, and make sure you did not accidentally erase the opener’s memory. With the correct remote and a few careful steps, your LiftMaster garage door opener should be back to doing its job: opening the door before the rain turns your driveway into a personal inconvenience documentary.