Pumpkins are the unofficial mascots of fall. They sit proudly on porches, supervise bowls of Halloween candy, and occasionally become pies. Unfortunately, they also have a habit of collapsing into orange mush just when your seasonal display is beginning to look respectable.
Learning how to preserve carved and uncarved pumpkins is mostly about controlling four troublemakers: heat, moisture, microorganisms, and physical damage. An intact pumpkin can remain attractive for weeks or even months under favorable conditions. A carved pumpkin has a much shorter life because cutting exposes moist flesh to air, mold, insects, and bacteria.
The good news is that careful selection, cleaning, cooling, and daily maintenance can significantly extend pumpkin life. The following methods combine practical decorating advice with guidance from U.S. university extension services and food-safety authorities.
How Long Do Pumpkins Normally Last?
An uncarved pumpkin may last one to three months in an ordinary cool household location. Under carefully controlled storage conditions, certain varieties can remain usable for as long as six months. Ideal storage generally means temperatures around 50°F to 55°F, moderate humidity, good ventilation, and protection from freezing temperatures.
Once a pumpkin is carved, however, the countdown speeds up dramatically. Most jack-o’-lanterns remain presentable for several days, and some survive about a week in cool, dry weather. Warm, humid conditions can reduce that window to only two or three days. Illinois Extension notes that a carved pumpkin may last roughly seven to ten days when conditions are favorable.
No preservation trick can stop natural decomposition permanently. The realistic goal is to delay shriveling, mold, soft spots, insect damage, and the dreaded jack-o’-lantern facial collapse.
Start With the Right Pumpkin
The preservation process begins before you bring a pumpkin home. A damaged or overripe pumpkin is already losing the freshness contest, no matter how enthusiastically you wash it later.
Look for firm, unblemished skin
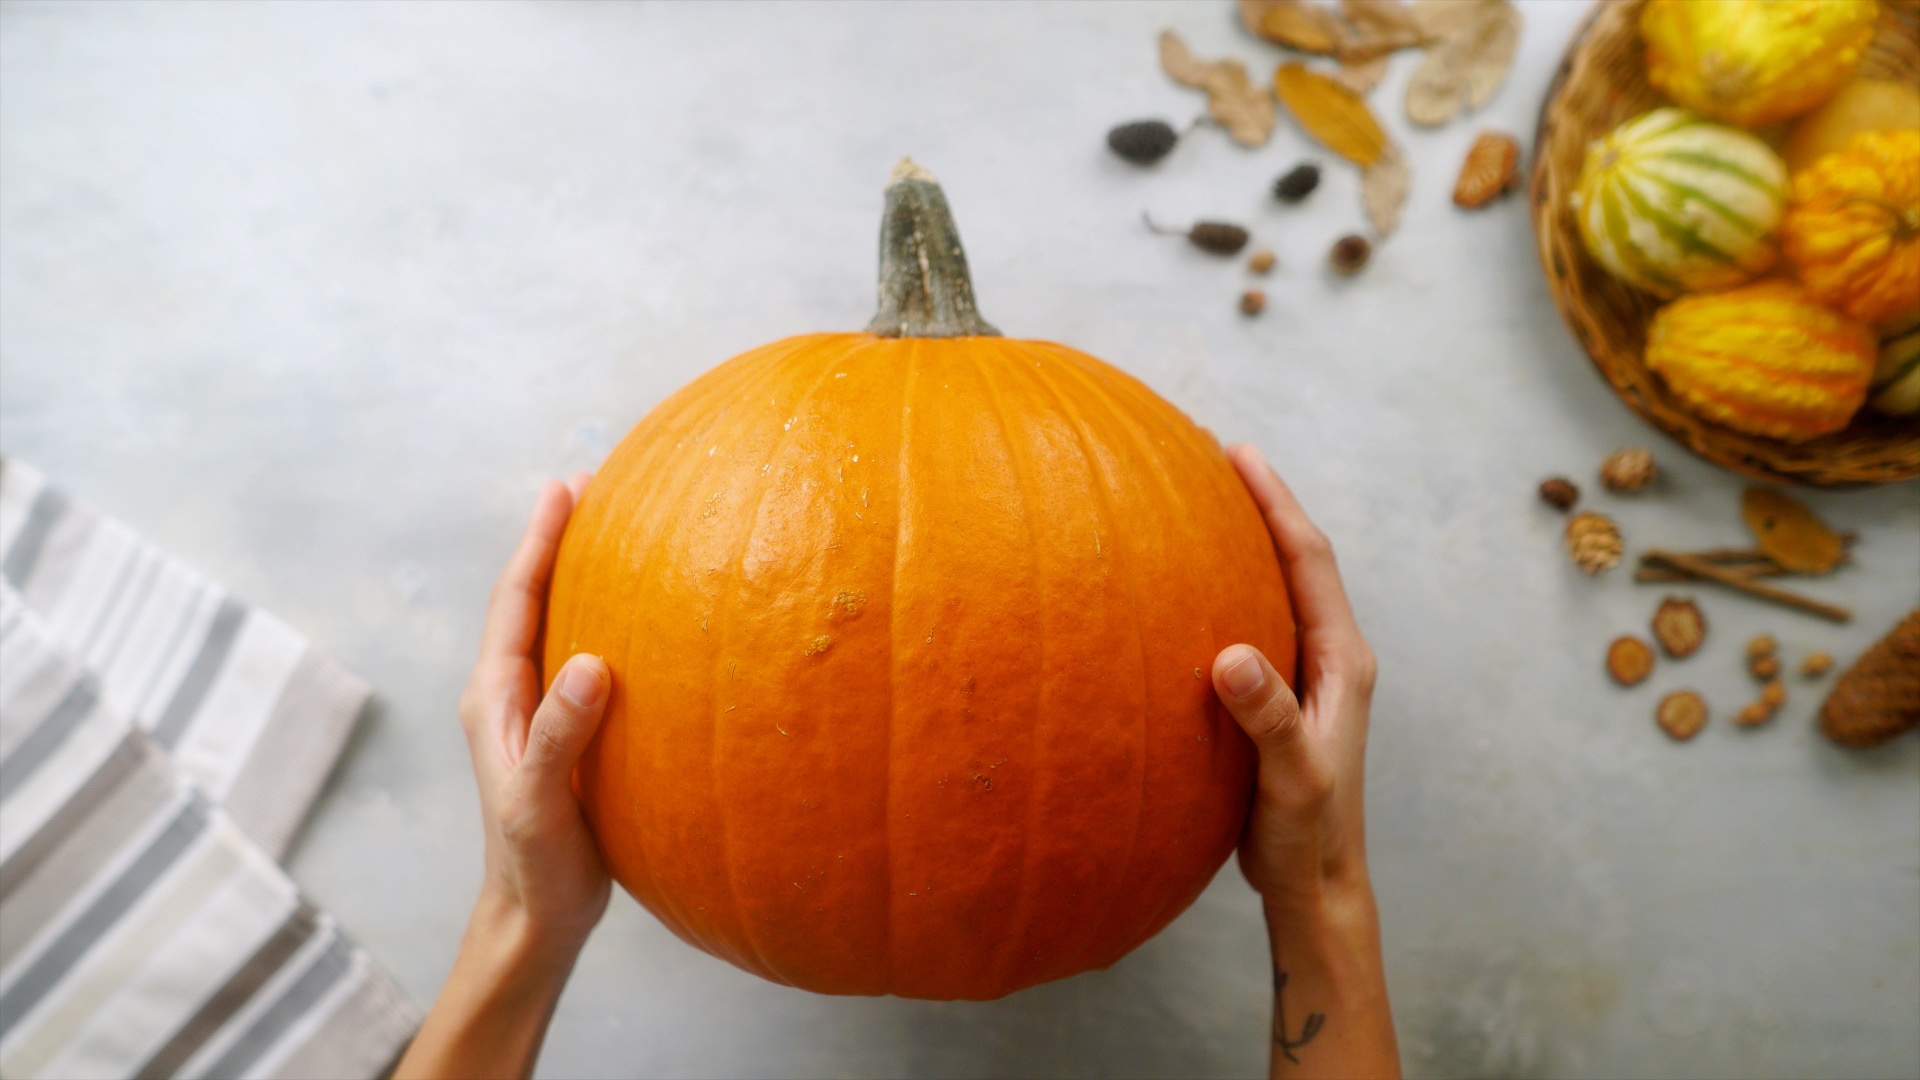
Choose a pumpkin that feels firm and heavy for its size. The rind should be evenly colored and free from punctures, deep scratches, cracks, wet patches, and soft areas. Minor surface scuffs may be cosmetic, but any wound that reaches the flesh gives decay organisms an easy entrance.
A mature pumpkin should have a tough rind that does not puncture easily when gently pressed with a fingernail. Avoid repeatedly testing pumpkins at the store, however. The produce manager may object to your one-person pumpkin stress laboratory.
Protect the stem
Select a pumpkin with at least one or two inches of dry, sturdy stem attached. A missing or broken stem leaves an open wound that can accelerate decay. Never carry a pumpkin by its stem. Support it from underneath with both hands, treating it more like a bowling ball and less like a handbag.
Match the pumpkin to its purpose
For carving, choose a pumpkin with a flat base, strong walls, and a shape that suits your design. For a long-lasting uncarved display, prioritize rind quality over perfect symmetry. A slightly lopsided pumpkin with flawless skin will usually outlast a perfectly round pumpkin with bruises.
How to Preserve Uncarved Pumpkins
Whole pumpkins last longer because their rinds act as natural protective packaging. Your job is to keep that packaging clean, dry, intact, and comfortable.
1. Clean the surface gently
Wipe away dirt with a soft, dry cloth. For a pumpkin that will be displayed rather than eaten, you may wash the surface with mild dish soap and water. Rinse away any residue and dry the pumpkin thoroughly.
Do not leave a whole pumpkin soaking in a sink or bucket. Water may collect around the stem or enter tiny cracks in the rind. Persistent moisture encourages deterioration rather than preventing it.
2. Cure homegrown pumpkins before storage
Freshly harvested pumpkins may benefit from curing, which hardens the rind and helps small surface injuries heal. Extension recommendations commonly call for approximately 10 to 14 days in a warm, dry, well-ventilated location. Suggested curing temperatures vary by variety and region but often fall between 75°F and 85°F.
Only cure mature, sound pumpkins. A pumpkin with serious bruising, frost damage, or active rot will not improve through positive thinking and warm air.
3. Store pumpkins somewhere cool and dry
After curing, move pumpkins to a dry area with air circulation. A basement room, insulated garage, pantry, mudroom, or enclosed porch may work if temperatures remain close to 50°F to 55°F. Avoid damp corners and locations that experience sudden temperature swings.
Do not place pumpkins directly on cold concrete. Set them on wooden shelves, slats, cardboard that remains dry, or a layer of straw. Leave space between individual pumpkins so air can circulate and one spoiled pumpkin does not immediately share its problems with the entire collection.
4. Avoid extreme cold and frost
Whole pumpkins tolerate cool conditions but are vulnerable to chilling injury and freezing. Temperatures below approximately 45°F can damage some pumpkins, while a hard freeze can rupture their cells and produce rapid softening after they thaw. Bring porch pumpkins inside when freezing weather is forecast.
5. Keep them away from ripening fruit
Do not store pumpkins beside apples or pears. These fruits release ethylene as they ripen, which can contribute to color changes and shorten the storage life of pumpkins and winter squash. Your pumpkin does not need an apple roommate with a chemical communication problem.
6. Rotate and inspect them regularly
Check stored pumpkins every few days. Look underneath each one for dampness, discoloration, mold, or soft spots. Rotate them gently to prevent prolonged pressure on one area.
Remove a deteriorating pumpkin immediately. Rot can progress quickly, particularly when multiple pumpkins touch one another in a humid location.
How to Preserve Carved Pumpkins
Carving removes the rind’s protective advantage, so preparation and maintenance matter much more. Plan to carve close to the date when the pumpkin will be displayed. For Halloween, two or three days beforehand is safer than carving during the first enthusiastic weekend of October.
1. Wash before making the first cut
Clean the exterior with mild soap and water, rinse it, and dry it completely. This removes soil and surface debris that could be transferred into the pumpkin by your knife.
Use clean carving tools and wash your hands before beginning. A serrated pumpkin saw is often easier to control than a large kitchen knife, especially when children are participating under adult supervision.
2. Consider opening the pumpkin from the bottom or back
Cutting around the stem creates a large wound near an area that is naturally vulnerable to decay. A removable panel in the back or bottom can preserve the stem and make it easier to place the pumpkin over a battery-powered light.
If you create a bottom opening, make it level enough for the pumpkin to remain stable. A jack-o’-lantern that rocks every time the porch floor creaks is atmospheric, but not especially safe.
3. Remove every strand of pulp
Scoop out the seeds, strings, and wet pulp. Scrape the inner walls until they feel relatively smooth and dry. Thin the carving area enough to make cutting easy, but avoid weakening the entire pumpkin.
Leftover pulp holds moisture and provides material on which microorganisms can grow. A thoroughly cleaned interior generally remains presentable longer than one containing a small pumpkin swamp.
4. Dry the pumpkin thoroughly
Blot the interior and all cut surfaces with clean paper towels. Allow the pumpkin to air-dry before applying any protective coating or placing it outside.
If you rinse or briefly soak the pumpkin during preservation, drying afterward is essential. Trapped water may cause more trouble than the treatment prevents.
5. Seal exposed edges
Apply a very thin layer of petroleum jelly to the carved edges and exposed interior surfaces. This reduces moisture loss and may help slow shriveling. Wipe away excess product so the pumpkin does not become greasy or collect dirt.
Once petroleum jelly, paint, hairspray, acrylic coating, pest repellent, or another nonfood product has been applied, treat the pumpkin strictly as a decoration. Do not cook or eat it afterward.
6. Keep the jack-o’-lantern cool
Display carved pumpkins in shade rather than direct sunlight. Bring them into a cool room or refrigerate them overnight when practical. Place the pumpkin in a large container or bag before refrigeration to prevent it from drying excessively or contacting food.
Do not leave a carved pumpkin in a refrigerator containing visibly moldy produce. Refrigeration slows deterioration; it does not provide witness protection from nearby mold spores.
7. Rehydrate a shriveled pumpkin carefully
If the pumpkin begins to wrinkle but has no mold, foul odor, or slimy texture, a cold-water bath may temporarily improve its appearance. Submerge it in cold water for one or two hours, drain it, and dry every surface thoroughly.
This is a cosmetic rescue, not a cure for decay. Do not soak a pumpkin that is already soft or moldy.
8. Use LED lights instead of candles
A real candle produces heat, which dries and partially cooks the pumpkin’s interior. Battery-operated LED tea lights provide the traditional glow without accelerating heat damage. They also reduce the risk of burns, tipped flames, and singed pumpkin eyebrows. Illinois Extension similarly recommends avoiding candles when longevity is the goal.
Should You Use Bleach on a Pumpkin?
Some extension and household guides recommend sanitizing decorative pumpkins with diluted chlorine bleach to reduce surface microorganisms. Concentrations and soaking instructions vary widely, so stronger is not automatically better. A highly concentrated solution may irritate skin, damage clothing, produce strong fumes, and make the pumpkin unsuitable for food use.
When using bleach, choose only regular, unscented household bleach suitable for sanitizing, follow the product label, wear gloves, work in a ventilated area, and protect children and pets. Never mix bleach with vinegar, ammonia, alcohol, acids, or other cleaners. Mixing cleaning chemicals can release dangerous gases.
A bleached pumpkin should be considered decorative and should not be eaten. Mild soap-and-water cleaning, careful drying, refrigeration, shade, and good carving technique are simpler options for many households.
Common Pumpkin-Preservation Mistakes
Carving too early
A carved pumpkin cannot remain fresh for the entire fall season. Display an uncarved pumpkin during early October and carve it closer to Halloween.
Leaving pumpkins in direct sun
Sunlight warms the rind and speeds moisture loss. Even a healthy uncarved pumpkin may soften early when left on a hot, south-facing porch.
Wrapping whole pumpkins tightly in plastic
Tight plastic wrapping can trap condensation against the rind. Whole pumpkins need airflow, not a personal greenhouse.
Ignoring the bottom
Decay often begins where the pumpkin touches a damp porch, soil, or concrete. Lift and inspect each pumpkin instead of judging freshness only from the photogenic side.
Trying to preserve an already rotten pumpkin
Preservation methods work best before deterioration begins. A foul odor, widespread mold, leaking liquid, collapsing walls, or a slimy texture means the pumpkin should be discarded.
When to Compost or Discard a Pumpkin
Remove a pumpkin from the display when it develops extensive mold, deep soft spots, leaking fluid, insect infestation, or a fermented smell. Moldy food can cause allergic and respiratory reactions, and visible mold may represent only part of the growth. Avoid leaning close to smell a moldy pumpkin.
Untreated pumpkins may be composted after candles, lights, toothpicks, paint, glitter, synthetic decorations, and other foreign materials are removed. Do not leave pumpkins in natural areas unless local wildlife or waste-management authorities specifically recommend it. Dumped pumpkins can attract pests and introduce decorative materials into the environment.
Do not eat a pumpkin that has been carved and displayed outdoors. Exposure to hands, insects, animals, warm temperatures, candles, dirt, and preservation products makes it unsuitable for cooking. North Carolina Cooperative Extension similarly advises against eating pumpkins after they have been carved and left out as decorations.
Practical Experiences: What Usually Works in Real Homes
The most successful pumpkin displays rarely depend on one miraculous spray. They depend on timing and routine. A pumpkin selected carefully, kept cool, and checked every day usually performs better than a damaged pumpkin covered with five layers of homemade potion.
The hot-porch experience
Imagine a carved pumpkin placed on a sunny porch where afternoon temperatures remain above 80°F. On the first evening, it looks flawless. By the second afternoon, its cut edges begin curling inward. Soon, the teeth shrink, the lid no longer fits, and the cheerful grin starts resembling a disappointed raisin.
Moving the pumpkin into shade, bringing it indoors during the hottest hours, and refrigerating it overnight can make a noticeable difference. A thin petroleum-jelly coating helps with moisture loss, but it cannot overcome hours of direct heat. In warm climates, cooling is usually more valuable than adding another surface treatment.
The early-carving experience
Families sometimes carve pumpkins one or two weeks before Halloween because everyone is finally home on the same weekend. The activity is delightful; the timing is less cooperative. Even with excellent care, a carved pumpkin may not remain attractive for that long.
A better strategy is to decorate the pumpkin without cutting it. Removable stickers, paper masks, ribbons, washable markers, or a removable costume can create an early-season display while the rind remains intact. The pumpkin can then be cleaned and carved shortly before Halloween. Avoid permanent paint or adhesives when you intend to eat the pumpkin later.
The refrigerator experience
Refrigerating a jack-o’-lantern overnight often delays shriveling, but fitting a large pumpkin beside the milk, leftovers, and mysterious jar at the back of the shelf can require advanced geometry. Smaller carving pumpkins are easier to manage.
Before refrigeration, dry the pumpkin and place it in a clean container or loose bag. The covering should reduce dehydration without trapping pools of condensation. In the morning, wipe away moisture before returning the pumpkin to the display.
The uncarved collection experience
A group of uncarved pumpkins may look healthy from the front while one hidden pumpkin develops a soft patch underneath. When pumpkins are stacked tightly, pressure and poor airflow make the problem worse.
Spacing pumpkins apart and lifting them every few days takes only a minute. That small inspection habit often saves the rest of the display. Decorative stacks should be rearranged periodically, and very heavy pumpkins should remain on the bottom.
The “more product must be better” experience
Household preservation recipes sometimes combine bleach, petroleum jelly, hairspray, acrylic sealer, pepper sauce, vinegar, peppermint soap, and other ingredients. Combining multiple treatments can create fumes, flammability concerns, sticky surfaces, or chemical reactions. It also guarantees that the pumpkin cannot be used as food.
Choose one simple plan instead: clean and dry the pumpkin, remove the pulp thoroughly, seal exposed edges lightly, keep it cool, use an LED light, and inspect it daily. Pumpkin preservation rewards consistency more than chemistry.
Conclusion
To preserve an uncarved pumpkin, begin with a firm, undamaged specimen, protect its stem, keep the rind dry, and store it in a cool, ventilated location. For homegrown pumpkins, proper curing can strengthen the rind and improve storage life.
To preserve a carved pumpkin, wait until close to the display date, clean it thoroughly, remove every strand of pulp, dry the interior, protect the cut edges, and keep it away from sun and heat. Refrigeration and occasional cold-water rehydration may extend its attractive appearance, while an LED light avoids the drying effect of a candle.
Eventually, every pumpkin returns to the great compost pile of destiny. Until then, a little careful handling can keep your porch display firm, festive, and significantly less gooey.