If your kitchen tile is solid but stuck in a color era best described as “mystery beige meets 1998,” painting it can be a smart, budget-friendly refresh. No demolition. No tile saw. No weekend spent asking why grout dust is suddenly in your coffee. Just a careful plan, the right products, and enough patience to let paint dry without poking it every 11 minutes.
Painting kitchen tiles works best when the tile is still in good shape and you mainly dislike the color, sheen, or overall vibe. It is especially useful for ceramic or porcelain backsplashes that look dated but are still firmly attached. A painted backsplash can modernize a kitchen fast, make old grout look cleaner, and stretch your remodel budget much further than a full replacement.
Note: This guide is best for kitchen wall tile and backsplashes, especially ceramic or porcelain. It is not the best solution for floor tile, countertops, glass tile, heavily textured tile, or tile that gets soaked constantly.
Why Paint Kitchen Tiles Instead of Replacing Them?
Replacing tile is the gold-standard fix, but it is also the expensive, noisy, dusty, “why is there rubble in my sink?” option. Painting gives you a practical shortcut when the tile layout still works and the damage is minor.
Here is when painting makes sense:
- Your backsplash tile is outdated but not loose or broken beyond repair.
- You want a cleaner, brighter kitchen without a full remodel.
- You are updating cabinets, walls, or hardware and the old tile suddenly looks even older.
- You need an affordable weekend project with visible payoff.
And here is when painting is a bad bet: if the tile is cracked all over, constantly wet, sitting under standing water, or used as a countertop or floor. Paint can look great on low-impact wall tile, but it is not magic armor.
Best Types of Kitchen Tile to Paint
The easiest kitchen tiles to paint are usually ceramic and porcelain. These surfaces tend to accept prep and primer more predictably. Glass tile is tricky because paint has a hard time gripping it. Natural stone, marble, and heavily textured tile can also be frustrating because they are either too slick, too patterned, or too uneven for a clean painted finish.
If your backsplash is classic subway tile, square ceramic tile, or plain porcelain tile with manageable grout lines, you are in the sweet spot. If it looks like a glossy mosaic made of tiny mirrored fish scales, maybe let that one live its life.
What You Need Before You Start
- Degreasing cleaner or TSP substitute
- Sponge or scrub pad
- 220- to 400-grit sandpaper or sanding sponge
- De-glosser, optional but helpful
- Painter’s tape and drop cloths
- Bonding primer made for slick or glossy surfaces
- Tile paint, epoxy paint, or another tile-approved topcoat
- Foam roller and angled brush
- Caulk or filler for small repairs
- Protective gloves, eye protection, and good ventilation
- Clear sealer or topcoat, if your paint system recommends one
How to Paint Kitchen Tiles: 9 Steps
Step 1: Clear the Space and Protect Everything Nearby
Before you touch the tile, remove countertop items, unplug small appliances, and take down outlet covers or switch plates in the work zone. Tape off cabinets, counters, walls, and trim. Lay down drop cloths. Open windows and set up a fan if possible.
This step is not glamorous, but it is the difference between a clean project and a paint-speckled kitchen that looks like a roller exploded. The less you rush here, the less you will mutter dramatic things later.
Step 2: Deep-Clean the Tile Like It Owes You Money
Kitchen tile collects grease, cooking residue, dust, and invisible grime. Paint does not bond well to “invisible bacon fog.” Use a heavy-duty degreaser or TSP substitute and scrub the tile thoroughly. Rinse well so no cleaner residue remains, then let the surface dry completely.
Pay extra attention to the area behind the stove, near the coffee station, and around the toaster. Those spots usually look innocent and are absolutely not innocent.
Step 3: Repair Cracks, Chips, and Sad Little Gaps
Inspect the tile and grout before painting. Fill minor chips, hairline cracks, or small surface flaws with a paintable repair product. If old caulk is peeling, remove it and replace it with a paintable acrylic caulk where needed. Let repairs cure fully.
Painting over damage does not make the damage disappear. It just turns it into colored damage. Smooth repairs now, and your finished backsplash will look far more intentional.
Step 4: Sand and De-Gloss the Surface
Tile is usually slick and shiny, which is exactly what paint does not love. Lightly sand the surface with 220- to 400-grit sandpaper to dull the glaze. You are not trying to destroy the tile. You are simply taking it from glossy ice rink to lightly scuffed handshake.
After sanding, wipe away all dust with a damp cloth and let the tile dry. If your product system recommends a liquid de-glosser, you can use that too. Follow the label carefully and do not skip safety precautions.
Step 5: Tape Edges and Prime With a Bonding Primer
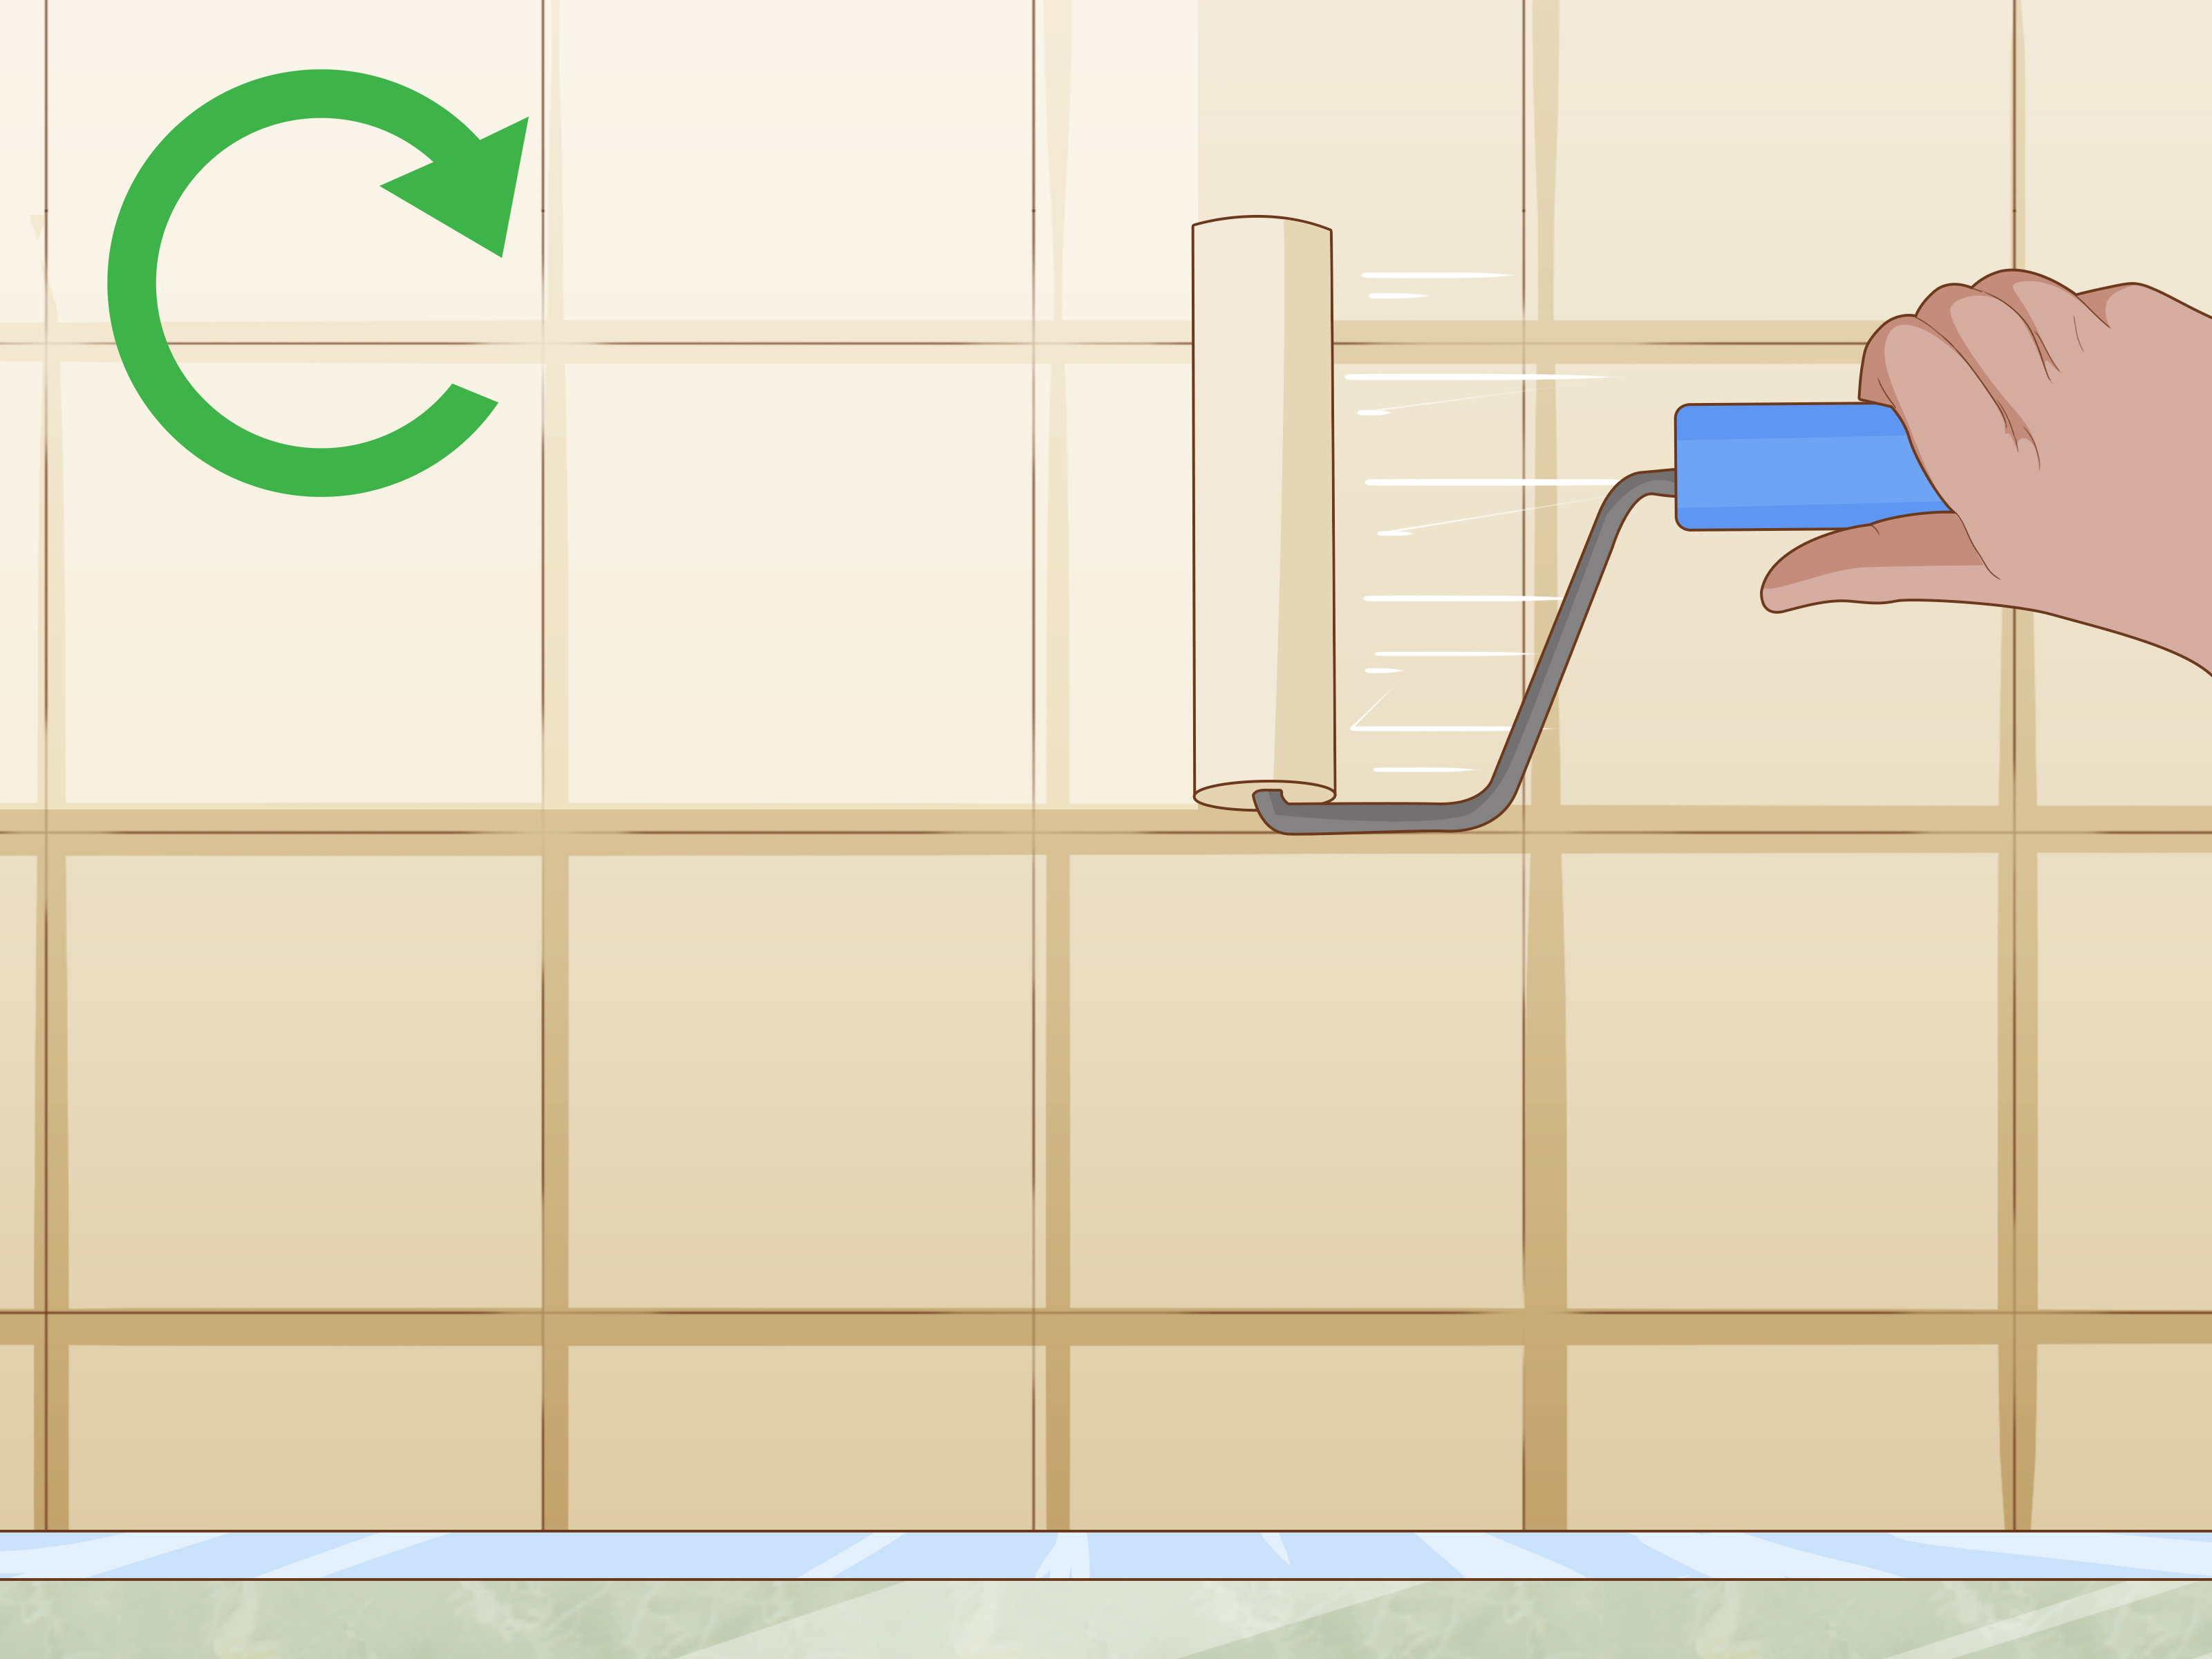
Once the surface is clean, dry, and dull, apply painter’s tape wherever you want sharp edges. Then use a bonding primer designed for glossy or hard-to-coat surfaces. Start with a brush at the edges and grout lines, then roll the tile faces with a foam roller for an even finish.
Thin coats are your friend here. Thick, gloopy primer looks terrible and takes forever to level out. One or two even coats, depending on the product and color change, usually gives you the best base for paint.
Step 6: Apply the First Coat of Tile Paint
Now for the satisfying part. Stir the tile paint well and begin with a brush around edges, corners, and tight areas. Follow with a foam roller across the tile surface. Work in small sections and keep a wet edge so the finish looks smooth instead of patchy.
For most kitchen backsplashes, painting the grout the same color as the tile creates the most cohesive look. It is also much easier than trying to preserve every grout line separately. A single-color finish can make a busy backsplash feel calmer, cleaner, and more current.
Step 7: Add a Second Coat for Full Coverage
After the first coat dries according to the manufacturer’s instructions, add a second coat. This is the layer that usually brings the transformation home. The color looks richer, the patchiness disappears, and you stop squinting at it like it personally offended you.
If you are using a two-part epoxy product, work carefully and within the product’s time window. Epoxy paints can give you a durable finish, but they are less forgiving if you mix too much and then get distracted by lunch.
Step 8: Seal It, If Your Paint System Calls for It
Some tile paint systems are designed to stand alone. Others benefit from a clear topcoat or polyurethane sealer. Check the label for your specific product. If a protective finish is recommended, apply it in thin, even coats once the paint is fully dry.
A sealer can add durability and make cleaning easier, especially on kitchen backsplashes that catch splatter. If you want to add a stencil pattern, this is usually done after the base paint is dry and before the final protective coat.
Step 9: Let It Cure Before You Treat It Like a Real Backsplash Again
Dry and cured are not the same thing. A backsplash may feel dry to the touch long before it is ready for steam, scrubbing, grease, or enthusiastic spaghetti sauce incidents. Give it the full cure time recommended by the manufacturer, which may be anywhere from 24 hours to several days depending on the system.
During this time, be gentle. Avoid heavy cleaning, splashing, or reinstalling everything too quickly. Yes, patience is annoying. It is also cheaper than repainting.
Color Ideas That Work Well on Painted Kitchen Tile
The safest paint colors for kitchen tile are usually the ones that play nicely with cabinets, counters, and natural light. Warm white, soft greige, light taupe, muted sage, and dusty blue are popular because they feel updated without shouting across the room.
If your kitchen is small, a lighter backsplash can help the room feel more open. If your cabinets are plain white, a soft green or gray-blue backsplash can add contrast without getting chaotic. If your counters are busy, keep the painted tile simple so the room does not turn into a design argument.
A few practical examples:
- White cabinets + dark counters: warm white or pale greige tile paint
- Wood cabinets + black hardware: muted sage or soft cream
- Modern kitchen: mushroom, greige, or soft charcoal in the right paint system
- Farmhouse style: creamy white with freshly painted grout and matte-friendly styling
Common Mistakes to Avoid
- Skipping the degreasing step because the tile “looks clean.” It is lying.
- Using regular wall paint instead of tile-specific or epoxy-compatible products.
- Painting over loose grout, cracked tile, or peeling caulk.
- Applying coats too thickly and creating drips, brush marks, or tacky texture.
- Ignoring ventilation when working with strong-smelling products.
- Using painted tile on floors, countertops, or high-splash zones and expecting zero wear.
- Cleaning the surface too aggressively before it has fully cured.
How Long Does Painted Kitchen Tile Last?
That depends on the tile location, the prep quality, and the products you use. A carefully painted backsplash in a low-impact area can look good for years, especially if it was cleaned, sanded, primed, and painted properly. But painted tile is still a cosmetic upgrade, not the same as factory-finished tile.
If you want the best lifespan, treat it kindly. Use a soft cloth for cleaning, avoid abrasive scrubbers, and wipe grease sooner rather than later. If a chip eventually appears, small touch-ups are usually much easier than replacing the whole backsplash.
What Painting Kitchen Tiles Is Really Like: Real-World Lessons From the Process
Anyone who has painted kitchen tile will tell you the same thing: the hardest part is not actually the painting. It is the prep. The project starts out feeling delightfully simple. You look at the backsplash, look at a can of paint, and think, “How hard can this be?” Then you start cleaning and discover that your kitchen tile has been quietly storing five years of grease mist, sauce splatter, and whatever mysterious film forms behind a blender. That is usually the moment the project becomes real.
One common experience is surprise at how dramatic the transformation feels once the primer goes on. Before that point, the tile often looks worse, not better. It is dull from sanding, covered in patch repairs, and generally giving “abandoned motel kitchenette.” Then the primer evens out the chaos, and suddenly you can see the finished idea. That is the emotional turning point of the project. Hope returns. Snacks taste better. You stop questioning every life decision.
Another thing people learn quickly is that brushwork alone is usually not enough for a smooth finish. A small foam roller makes a huge difference on flat tile faces, especially if you want the result to look clean and intentional rather than heavily “hand-painted.” The brush still matters around outlets, corners, and trim, but the roller is the unsung hero that makes the finish feel more polished.
Many DIYers also discover that painting the grout the same color as the tile is a sanity-saving move. At first, some people imagine preserving each grout line for a classic tiled look. Then they spend seven minutes trying to cut neatly around one square and realize they have accidentally signed up for a project that will outlive them. A single-color look is faster, more modern, and surprisingly elegant, especially in small kitchens.
There is also the patience lesson. Freshly painted tile can look dry and still be vulnerable. This is where people get into trouble. They reinstall outlet covers too soon, wipe a smudge too aggressively, or lean a cutting board against the backsplash before the finish cures. The smartest approach is to assume the paint needs more time than your optimism says it does.
Finally, the best experience-related takeaway is this: painted kitchen tile tends to succeed when expectations are realistic. It is not a luxury stone installation. It is not indestructible. But it can absolutely make a tired kitchen look brighter, cleaner, and more current for a fraction of the cost of replacement. When done carefully, it is one of those rare DIY projects that actually looks like you saved money on purpose, not because you had to. And in the world of home improvement, that is a beautiful little victory.
Final Thoughts
If your kitchen tile is structurally sound but visually stuck in another decade, painting it can be a clever refresh. The trick is respecting the process: clean thoroughly, repair honestly, sand lightly, prime properly, use the right paint, and let it cure without fussing over it. Do that, and your backsplash can go from dated to delightful without a full renovation budget.
In other words, you do not always need a sledgehammer to make a kitchen feel new. Sometimes you just need a foam roller, a bonding primer, and enough restraint not to rush Step 9.