There are two kinds of people in this world: people who buy T-shirts by the dozen, and people who look at a plain tee and think, “I can make that better.” This article is for the second group. Or for the first group after they get curious, caffeinated, and slightly overconfident on a Saturday afternoon.
If you want to make your own T shirt, you have more than one route. You can sew a shirt from scratch using knit fabric, which gives you full control over fit, neckline, sleeve length, and fabric feel. Or you can start with a blank shirt and customize it with vinyl, dye, embroidery, or painted designs. Both approaches count. Both are creative. Both can lead to that deeply satisfying sentence: “Thanks, I made it.”
In this guide, you will learn how to make a T-shirt from scratch, how to customize a blank tee, which tools matter, which mistakes are common, and how to avoid creating something that looks like it lost a fight with your sewing machine.
What You Need Before You Start
If you are sewing your own shirt from scratch, gather your tools first. This is not glamorous, but neither is crawling under the table looking for fabric scissors while your knit fabric slowly rolls itself into a tiny emotional support tube.
Basic sewing supplies
- Knit fabric such as cotton jersey, cotton-spandex jersey, or interlock
- A T-shirt pattern or an existing shirt to trace
- Ballpoint or stretch sewing machine needle
- Polyester thread
- Sewing machine with zigzag or stretch stitch settings
- Fabric scissors or rotary cutter
- Pins or clips
- Measuring tape
- Tailor’s chalk or washable marker
- Twin needle, optional but helpful for hems
If you are customizing a blank tee instead, your list may include a plain shirt, heat transfer vinyl, fabric paint, tie-dye supplies, embroidery floss, transfer paper, or an iron or heat press.
Choose the Right Fabric for Your DIY T Shirt
The fabric can make your homemade T-shirt feel boutique-level brilliant or tragically pajama-adjacent. For beginners, soft cotton jersey or a cotton-spandex blend is often the easiest place to start. These fabrics are comfortable, breathable, forgiving, and familiar. In plain English: they behave like the shirts you already wear.
Jersey knit is the classic T-shirt fabric. It stretches more across the width than the length, which matters when you place your pattern pieces. If the stretch goes the wrong way, your shirt may fit like a confused grocery bag. A little spandex adds recovery, meaning the shirt bounces back instead of sagging after one enthusiastic wear.
If you want structure, choose a more stable knit such as interlock. If you want drape, a rayon jersey blend can feel soft and flowy, though it may slide around more during cutting and sewing. For your first shirt, do not chase drama. Choose a knit that is stable, medium weight, and pleasant to touch. Fashion should be fun, not a wrestling match.
Step 1: Pick a Pattern or Trace a Shirt You Already Love
The simplest way to make your own T shirt is to start with a basic T-shirt pattern. Patterns remove guesswork and help you get a balanced neckline, smooth armholes, and sleeves that do not twist like they are trying to escape the garment.
If you do not have a commercial pattern, you can trace a well-fitting shirt you already own. Fold it neatly, trace the front, back, and sleeve shape onto paper, and add seam allowance. Be careful around the neckline and armholes, because these areas affect fit the most. Your goal is not to copy every wrinkle. Your goal is to copy the bones of the shirt.
Before you cut anything, compare the shirt measurements to your own body measurements. That ten-minute check can save you from sewing an entire masterpiece that only fits your left shoulder.
Step 2: Prewash the Fabric
Always wash and dry your knit fabric before cutting. This step is boring, yes, but it prevents post-project heartbreak. Many fabrics shrink or shift after laundering, and you would much rather discover that before sewing than after proudly wearing your new shirt once and turning it into a crop top against your will.
Prewashing also removes finishes that can affect dye absorption and pressing later on. In other words, clean fabric is cooperative fabric.
Step 3: Cut Carefully and Respect the Stretch
Lay your fabric flat without stretching it. Match the greatest stretch direction to the width of the shirt, not the length. This helps the finished tee move comfortably across the body.
Use pattern weights if your fabric curls. Knit fabrics love curling. They curl like they are being paid to curl. If you only remember one thing from this article, let it be this: knit fabric has opinions.
Mark notches, shoulder points, and sleeve centers clearly. Tiny marks now save big confusion later, especially when the front and back pieces look suspiciously similar at midnight.
Step 4: Use the Right Needle and Stitch
This step matters more than many beginners realize. A ballpoint or stretch needle is designed for knit fabric. Instead of punching through fibers aggressively, it slips between them more gently, which helps reduce skipped stitches and damage.
Next, choose a stitch that can stretch. A narrow zigzag, lightning-bolt stretch stitch, or other stretch-friendly setting works well for construction seams. A regular straight stitch can pop when the shirt stretches over your head, and nobody wants a neckline that gives a dramatic little crack sound before breakfast.
If your machine tends to create wavy seams on knits, reduce presser foot pressure if possible, sew slowly, and test on scraps first. A walking foot can also help feed the layers more evenly.
Step 5: Sew the Shirt in the Right Order
A basic T-shirt is wonderfully logical once you know the order. Follow this sequence for a smoother experience:
Sew the shoulders
Place the front and back right sides together and sew the shoulder seams first. Press them gently. Some sewists add clear elastic or stay tape to the shoulder seam for stability, especially with very stretchy fabric.
Attach the neckband
The neckband is the part that makes many beginners question their life choices. Stay calm. Measure the neckline, cut a neckband slightly shorter than the opening, sew the short ends together, fold it wrong sides together, and attach it evenly around the neckline. Because the band is smaller, you stretch the band slightly as you sew, not the shirt itself.
If the neckband ripples, it may be too long. If it puckers aggressively, it may be too short. This is normal. The neckband is not your enemy, but it does enjoy testing your character.
Set in the sleeves flat
With the shirt still open at the sides, attach each sleeve to the armhole. Matching notches and sleeve centers makes this much easier than trying to guess. Sewing sleeves flat is beginner-friendly and keeps the project from becoming an octopus puzzle.
Sew side seams and underarm seams
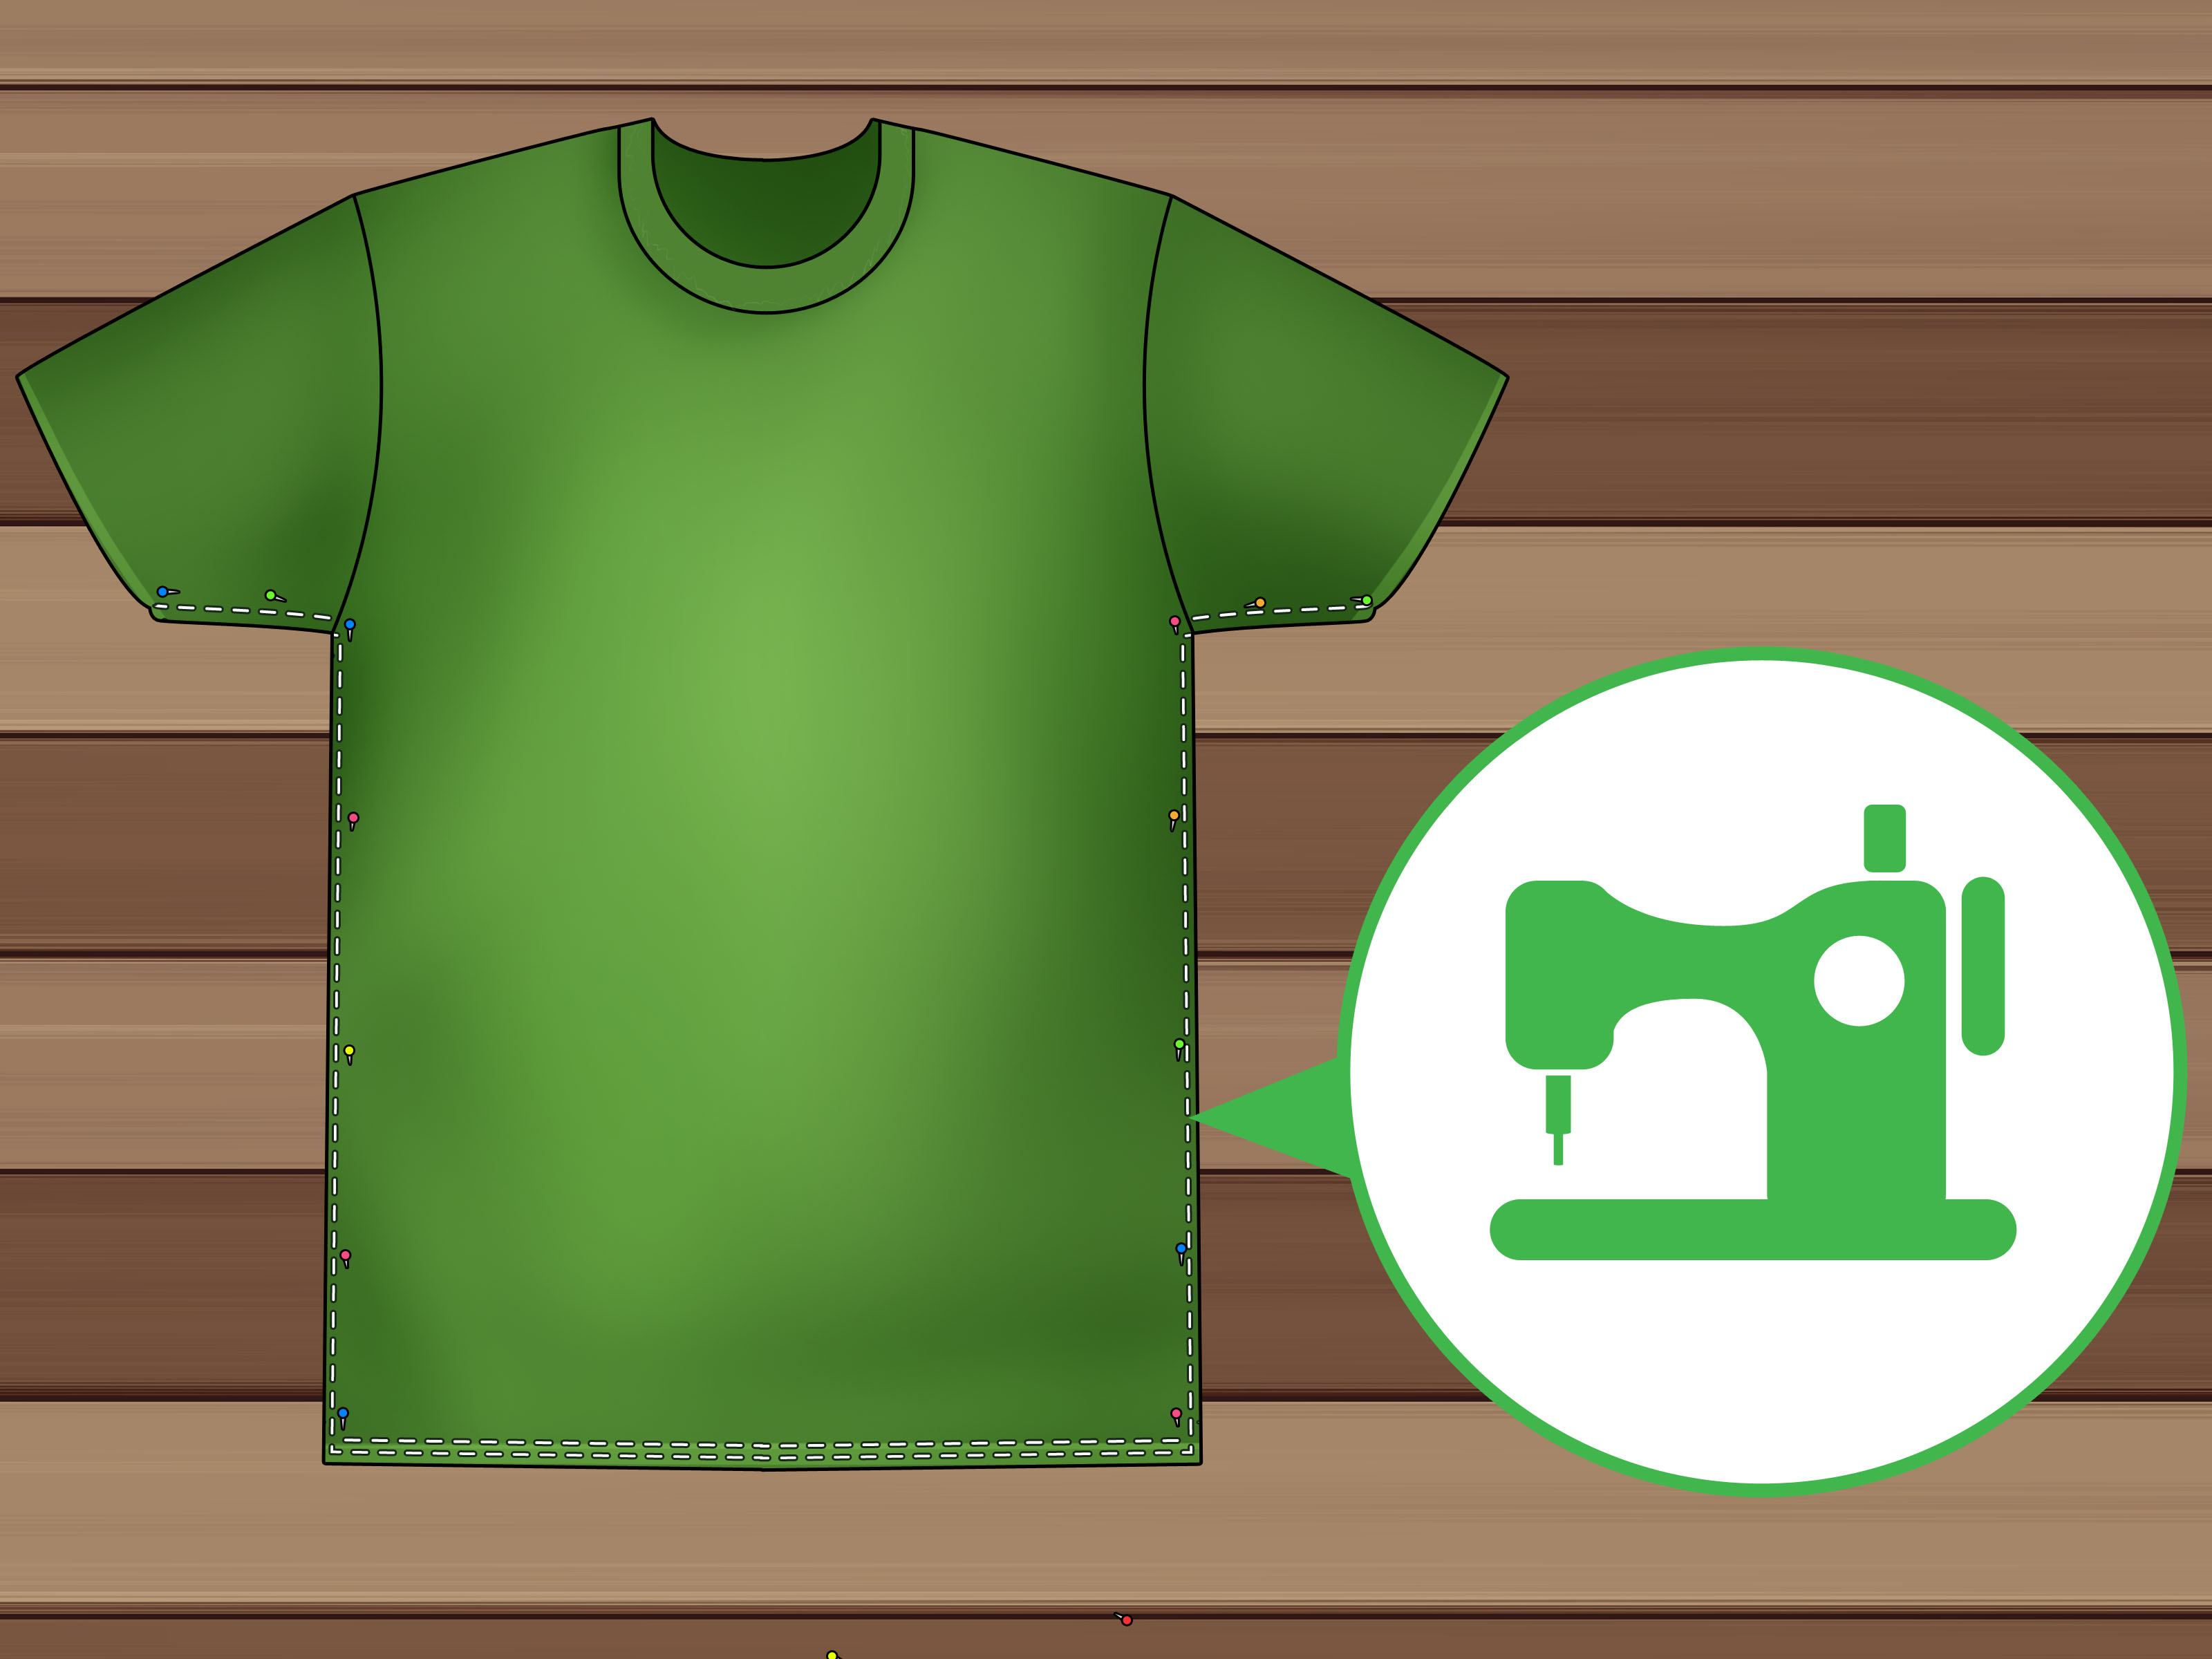
Fold the shirt right sides together and sew from sleeve hem down to the shirt hem in one continuous seam on each side. This creates that classic T-shirt shape surprisingly fast.
Hem the sleeves and bottom
For knit garments, a single-fold hem often works well and reduces bulk. Use a twin needle if you want a professional-looking finish from a regular sewing machine. If not, a stretch stitch or narrow zigzag will do the job beautifully.
How to Customize a Blank T Shirt
Not everyone wants to sew a shirt from zero. Fair enough. Sometimes you want the creativity without the pattern drafting, cutting layout, and small identity crisis over neckbands. Starting with a blank tee is the fastest way to make your own custom T-shirt.
Option 1: Heat transfer vinyl
This is ideal for slogans, graphics, names, and simple shapes. Cut your design, weed away the extra material, then apply it with an iron or heat press according to the material directions. After application, give the design time to cure before washing. Turn the shirt inside out for laundering to help preserve the finish.
Option 2: Tie-dye
Tie-dye is the cheerful chaos goblin of T-shirt customization. It is messy, colorful, and weirdly therapeutic. Prewash the shirt first, bind the fabric using your chosen pattern, apply dye, let it sit for the recommended time, then rinse and wash. Cotton shirts usually give the most vibrant results, which is one reason tie-dye and cotton have maintained a long, happy relationship.
Option 3: Fabric dye for a solid-color makeover
If you have an old pale tee that needs a second life, dyeing can be a smart fix. Fiber content matters here. Natural fibers such as cotton usually take all-purpose dye more predictably, while synthetic-heavy blends often need a different dye type and more heat. Always check the care label before you commit your shirt to a colorful science experiment.
Option 4: Hand embroidery or patches
Embroidery adds character, but stretchy fabric benefits from stabilizer. A small stitched motif on the chest pocket area, sleeve, or hem can make the shirt feel handmade in the best possible way. Patches are excellent too, especially if you prefer your creativity with fewer tiny knots.
Common Mistakes to Avoid
- Using woven fabric for a basic knit T-shirt pattern: your shirt may lose comfort and movement.
- Skipping the prewash: shrinkage may ruin your fit later.
- Using a universal needle on slippery knits: hello, skipped stitches.
- Sewing hems with a basic straight stitch: the stitches can snap when stretched.
- Stretching the shirt instead of the neckband: this often leads to a floppy neckline.
- Ignoring fiber content when dyeing: polyester blends do not behave like 100% cotton.
- Rushing the first attempt: speed is fun, but fit is funnier when it works.
Examples of Easy DIY T Shirt Projects
Example 1: The everyday basic tee. Use a cotton-spandex jersey in black, white, or heather gray. Keep the neckline simple and the hem clean. This is your wear-it-with-everything shirt.
Example 2: The custom graphic tee. Buy a plain cotton T-shirt and add a bold phrase or minimalist design with heat transfer vinyl. Great for gifts, small businesses, clubs, or inside jokes that deserve a better platform than group chat.
Example 3: The thrift flip. Take an oversized thrifted shirt, reshape the side seams, crop the length if desired, and dye it a new color. Add embroidery or a patch for extra personality.
Example 4: The tie-dye weekend shirt. Use a white 100% cotton tee and create a spiral or stripe pattern. This is the shirt equivalent of a backyard playlist and a cold drink.
What the Experience of Making Your Own T Shirt Is Really Like
Making your own T shirt is one of those deceptively simple projects. On paper, it sounds almost too easy. It is just a shirt, right? A front, a back, two sleeves, a neckband, and a dream. Then you begin, and suddenly you are discovering that fabric has mood swings, sleeves have geometry, and one inch can apparently make the difference between “tailored” and “borrowed from a much larger cousin.”
The first experience is usually a mix of excitement, confusion, and weirdly intense pride. You start by choosing fabric, and that alone teaches you more than most people expect. A soft cotton jersey feels friendly. A slippery knit feels like it is actively mocking your scissors. You learn quickly that fabric is not just fabric. It has weight, stretch, recovery, drape, and attitude. By the time you finish your first shirt, you will probably touch store-bought tees differently, like a person who has finally seen behind the curtain.
There is also something memorable about the moment you sew the shoulder seams and realize, “Oh. This is becoming a real garment.” Up until then, it looks like a collection of fabric shapes with potential. Then the neckline goes on, the sleeves are attached, and suddenly it is unmistakably a shirt. Not a theoretical shirt. Not a future shirt. A real shirt, made by you, on your table, probably with a few thread snippets clinging to your socks.
Of course, the experience is not always elegant. You may sew one sleeve inside out. You may unpick a seam and tell yourself that seam rippers are just part of the artistic process. You may stare at the neckband for five full minutes as if eye contact alone could make it behave. This is normal. In fact, those little mistakes are often the best teachers. After one wavy hem, you never forget to test stitches on scraps again. After one twisted sleeve, you become a notch-matching evangelist.
What surprises many people most is how personal the process feels. A T-shirt is such an everyday object that making one from scratch can feel oddly powerful. You are not just producing clothing. You are deciding how soft it should be, how it should sit on your shoulders, whether the sleeves should skim your arm or hang loose, whether the neckline should be classic or relaxed. You begin to understand fit in a very practical way. You stop seeing clothes only as finished products and start seeing them as choices.
Customizing a blank tee has its own version of that magic. Maybe you add a funny phrase, a family name for a reunion, a tie-dye pattern, or a tiny embroidered symbol that means something only to you. The shirt becomes more than fabric. It becomes a story. It becomes a memory of a weekend project, a gift, a small business idea, or a creative experiment that turned out better than expected.
And then comes the best part: wearing it. The first time someone says, “That’s cute,” and you casually answer, “Thanks, I made it,” your confidence grows at least three sizes. You notice every seam. You feel every design choice. Even if the hem is not perfect or the neckline is slightly more “relaxed” than planned, the shirt carries a kind of satisfaction that store-bought clothing rarely matches.
That is the real experience of making your own T shirt. It is practical, creative, occasionally ridiculous, and genuinely rewarding. It teaches patience, problem-solving, and attention to detail. It also gives you something wearable at the end, which is more than most hobbies can promise. And once you make one shirt successfully, the next thought arrives almost immediately: “Okay, but what if I made another one in a better color?” That is how it starts. One T-shirt later, and suddenly you are the person comparing knit blends for fun.
Final Thoughts
If you have been wondering how to make your own T shirt, the best answer is this: start simple and keep going. Your first shirt does not need to be perfect. It just needs to be finished. Choose a stable knit, use the right needle, test your stitches, and respect the fabric’s stretch. If sewing from scratch feels like too much for today, customize a blank tee and build confidence that way.
The beauty of a handmade T-shirt is that it can be as basic or as expressive as you want. Minimalist black tee? Great. Loud tie-dye masterpiece? Also great. Tiny embroidered tomato on the chest for no obvious reason? Honestly, iconic.
Once you know the process, you are no longer limited to what is hanging on a store rack. You can make comfort, style, and personality work together in one project. That is a pretty good deal for a humble T-shirt.