Installing a kitchen faucet is one of those home projects that looks suspiciously like plumbing wizardry until you actually do it. Then you realize the main ingredients are patience, a flashlight, a towel, and the ability to lie halfway inside a sink cabinet without questioning your life choices. The good news? Most modern kitchen faucets are designed for homeowner-friendly installation, especially single-handle, pull-down, and pull-out models with flexible supply lines already attached.
This guide walks you through how to install a kitchen faucet step by step, from choosing the right replacement to checking for leaks after the final tightening. Whether you are replacing an outdated faucet, upgrading to a pull-down sprayer, or giving your kitchen sink a mini makeover, the process is manageable for many careful DIYers. The key is preparation: know your sink hole layout, read the faucet manual, shut off the water, and do not rush the connections. Water is wonderful in a glass. It is less wonderful inside your cabinet.
Before You Begin: Make Sure the Faucet Fits
Before buying or installing a new kitchen faucet, check how many mounting holes your sink or countertop has. Common kitchen sink setups include one-hole, two-hole, three-hole, and four-hole configurations. A single-hole faucet may come with an escutcheon plate, also called a deck plate, to cover unused holes. A faucet with a separate side sprayer, soap dispenser, filtered water tap, or handle may need additional holes.
Also measure the space behind the sink. Some faucet handles rotate backward, which can be a problem if your backsplash is close. For tight installations, a handle that moves forward only is often easier to use. Consider the spout height and reach as well. A tall gooseneck faucet looks elegant, but it should still direct water into the basin instead of splashing like a tiny indoor fountain with attitude.
Tools and Materials You May Need
- Adjustable wrench
- Basin wrench
- Phillips and flathead screwdrivers
- Bucket or shallow pan
- Old towels or rags
- Flashlight or headlamp
- Plumber’s putty or silicone sealant, if required by the faucet instructions
- New supply lines, if they are not included or if the old ones are worn
- Penetrating oil for stubborn old nuts
- Safety glasses
Many modern faucets include built-in flexible supply lines, mounting hardware, gaskets, quick-connect sprayer fittings, and sometimes a special tightening tool. Still, read the manual before crawling under the sink. Faucet brands can use different mounting systems, and the “extra little plastic thing” in the box is often not extra at all.
Step 1: Clear the Cabinet and Prepare the Work Area
Remove everything from under the sink. Yes, even the mystery bottle of cleaner that has been there since your last major life era. You need room to work, and you do not want cleaning supplies, trash bags, or spare sponges blocking your access to the shutoff valves.
Place towels on the cabinet floor and set a small bucket or pan under the water connections. Even after the water is turned off, supply lines usually contain leftover water. A towel is cheaper than replacing swollen cabinet wood.
If you have a garbage disposal or an electrical outlet under the sink, turn off power to that area before working. You may not need to touch any wiring, but wet hands and electricity are not a team-building exercise.
Step 2: Turn Off the Water Supply
Locate the hot and cold shutoff valves under the sink. Turn both valves clockwise until they stop. Then open the old faucet to release pressure and drain water from the lines. If the valves do not fully stop the water, turn off the main water supply to the home before continuing.
Old shutoff valves can be stiff, corroded, or unreliable. If a valve leaks when you turn it, pause the faucet installation and fix the valve first or call a plumber. Installing a beautiful new faucet onto failing shutoff valves is like putting new tires on a car with no brakes. Technically shiny, practically unwise.
Step 3: Take a Photo of the Existing Connections
Before disconnecting anything, take a clear photo of the plumbing under the sink. Capture the hot and cold supply lines, sprayer hose, mounting hardware, and any accessories. This quick reference can help you remember how everything was arranged, especially if your sink cabinet contains the usual maze of hoses, valves, and pipes.
Labeling the hot and cold lines with painter’s tape can also help. In most U.S. installations, hot water is on the left and cold water is on the right, but older homes and previous DIY adventures can occasionally surprise you.
Step 4: Disconnect the Supply Lines
Use an adjustable wrench to loosen the nuts connecting the supply lines to the shutoff valves. Keep your bucket underneath because water may drip out. If the lines are old, brittle, kinked, or corroded, replace them. Flexible braided stainless steel supply lines are commonly used because they are durable and easier to route in tight spaces.
Disconnect any side sprayer hose or pull-down sprayer hose according to the existing faucet design. Some sprayer connections use threaded fittings, while newer ones may use quick-connect clips. Do not yank on plastic connectors. They are small, useful, and emotionally fragile.
Step 5: Remove the Old Faucet
From underneath the sink, locate the mounting nuts or brackets holding the faucet in place. A basin wrench is helpful because it can reach into narrow spaces behind the sink basin. Loosen and remove the mounting hardware. If the nuts are corroded, apply penetrating oil and let it sit for a few minutes before trying again.
Once the hardware is removed, lift the old faucet out from above the sink. If it is stuck to the surface, gently work it loose. Avoid prying aggressively against the sink or countertop, especially with delicate materials such as porcelain, stone, or laminate.
Step 6: Clean the Sink Surface
After the old faucet is removed, clean the area around the mounting holes. Scrape away old plumber’s putty, mineral deposits, dried caulk, and grime. A plastic scraper is safer than a metal blade on surfaces that scratch easily. For stubborn buildup, a little vinegar on a cloth can help loosen mineral residue.
This step matters because the new faucet needs a flat, clean surface to seal properly. Skipping it can lead to small leaks around the base of the faucet. Also, this is your rare chance to clean the area that has been hidden for years. It may not be glamorous, but it is deeply satisfying in a “why was there so much gunk there?” kind of way.
Step 7: Install the Gasket or Deck Plate
Most new kitchen faucets include a rubber or foam gasket that sits between the faucet base and the sink. If your faucet uses a gasket, place it according to the manufacturer’s instructions. If you are covering unused sink holes, position the deck plate over the holes before inserting the faucet.
Some faucets require plumber’s putty or silicone sealant under the deck plate, while others specifically say not to use it because the included gasket provides the seal. Follow the manual. When the manufacturer says “do not use putty,” believe them. They have met more leaking faucets than any of us care to imagine.
Step 8: Feed the Faucet Lines Through the Mounting Hole
From above the sink, feed the faucet supply lines, threaded shank, and sprayer hose through the mounting hole. Make sure the faucet body is facing the correct direction and sits flat on the sink or countertop. If your faucet has a handle on the side, confirm the handle has enough clearance to move fully.
For pull-down or pull-out faucets, guide the spray hose carefully so it does not twist around the supply lines. A twisted hose can affect sprayer movement later. The sprayer should glide smoothly, not fight its way back into place like it has a personal grudge.
Step 9: Secure the Faucet From Underneath
Under the sink, install the mounting washer, bracket, and nut according to the faucet instructions. Tighten the hardware by hand first, then use the included tool, basin wrench, or screwdriver as directed. Alternate between checking the faucet position above the sink and tightening below until the faucet is straight and secure.
Do not overtighten. A faucet should not wobble, but excessive force can damage the sink, countertop, gasket, or mounting hardware. Tighten until snug and stable. If you have a thin stainless steel sink, some manufacturers recommend adding support underneath to reduce flexing.
Step 10: Connect the Hot and Cold Water Supply Lines
Connect the hot supply line to the hot shutoff valve and the cold supply line to the cold shutoff valve. Start each connection by hand to avoid cross-threading. Once the nut turns smoothly, tighten it with an adjustable wrench. Usually, a snug connection is enough; crushing the fitting with heroic force can cause damage.
If your faucet has separate supply lines that attach to the faucet body first, connect them before or during mounting as directed by the manual. Some lines are marked red for hot and blue for cold. Others rely on length or labeling. Read carefully so you do not accidentally create a faucet where “cold” means “surprise soup temperature.”
Step 11: Attach the Pull-Down or Pull-Out Sprayer Hose
If your faucet includes a pull-down or pull-out sprayer, connect the sprayer hose to the faucet outlet. Many modern faucets use a quick-connect fitting that clicks into place. Push the connector firmly until it locks, then tug gently to confirm it is secure.
Attach the hose weight at the location recommended by the manufacturer. The weight helps the sprayer retract smoothly. Before tightening it, pull the sprayer out and let it return a few times. Make sure the weight does not hit the shutoff valves, drainpipe, garbage disposal, or cabinet wall. If it bumps into everything like a shopping cart with one bad wheel, reposition it.
Step 12: Flush the Lines Before Final Use
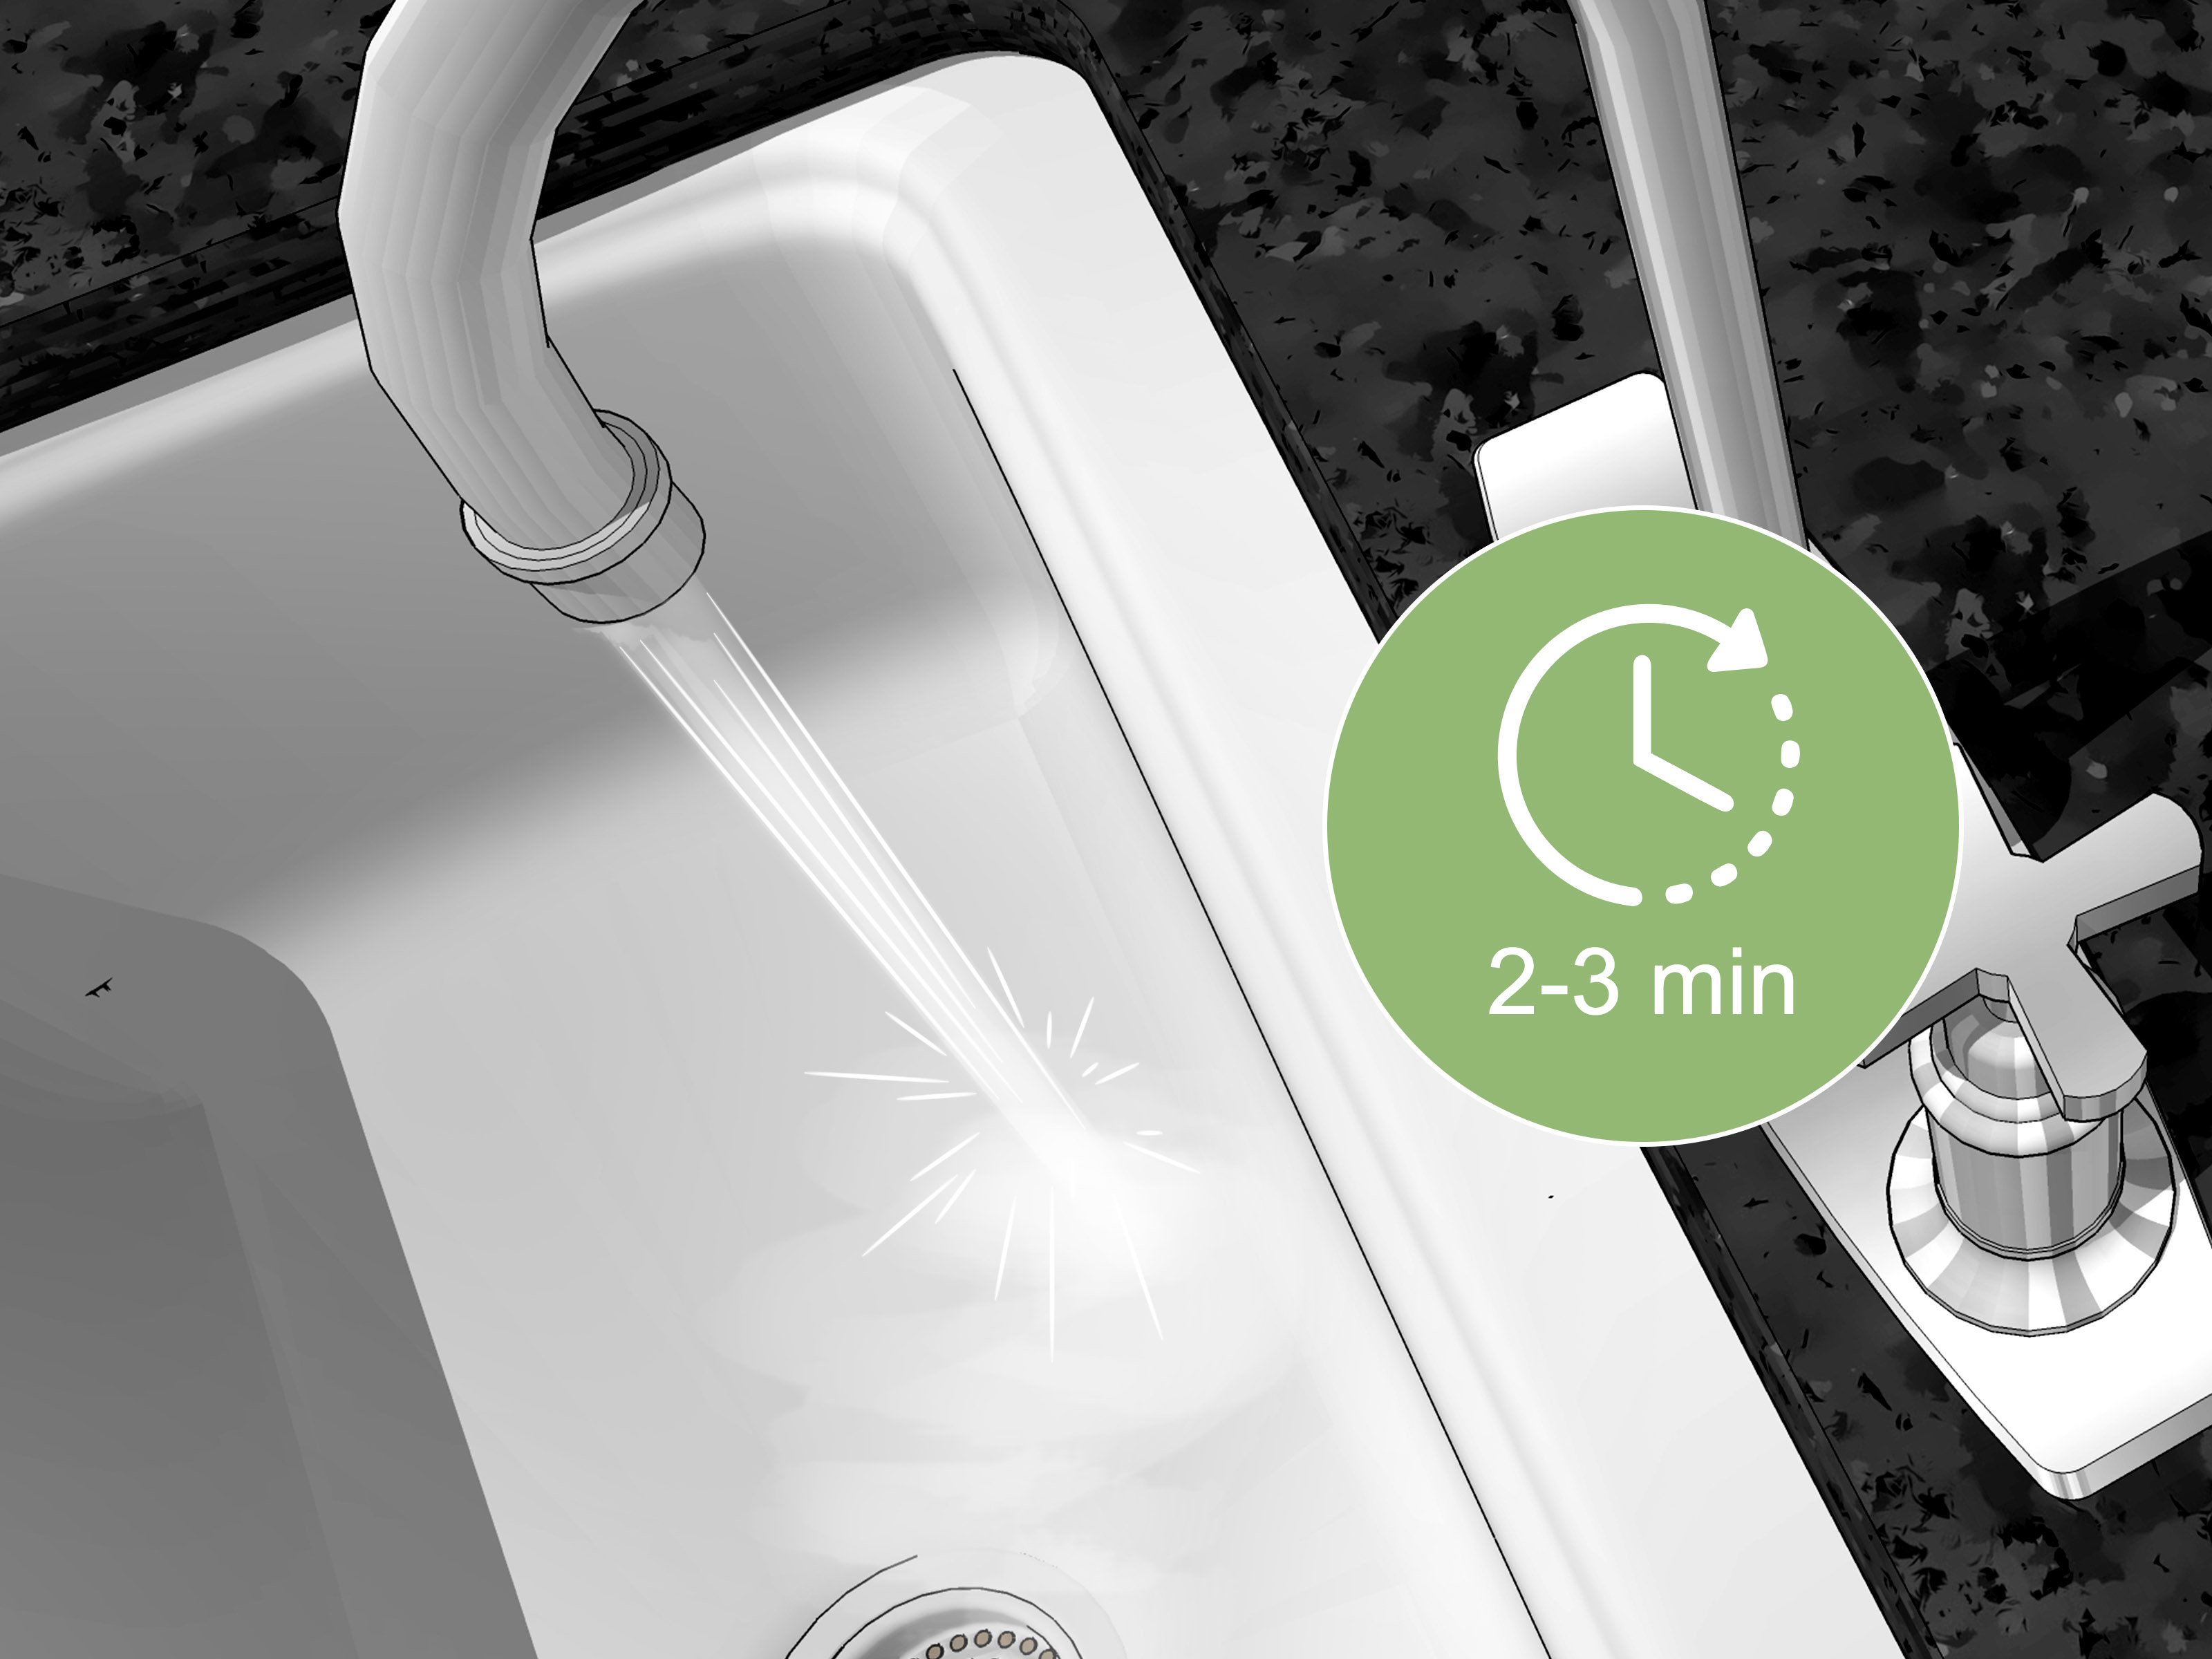
Before reinstalling the aerator or using the faucet normally, flush the lines. Some manufacturers recommend removing the aerator or spray head, turning on the water, and letting both hot and cold water run briefly to clear debris. This prevents sediment from clogging the aerator or damaging internal faucet parts.
Place the sprayer hose or spout where water will safely drain into the sink. Turn the shutoff valves back on slowly. Then open the faucet and let water run until it flows clear. Reinstall the aerator or spray head once the lines are flushed.
Step 13: Check Carefully for Leaks
With the water running, inspect every connection under the sink. Use a dry paper towel around each fitting to spot moisture. Check the hot and cold supply connections, sprayer hose connection, faucet base, and shutoff valves. Then turn the faucet off and check again after a few minutes.
If you find a small drip at a threaded connection, tighten it slightly and test again. If the leak continues, turn the water off, disconnect the fitting, inspect the washer or threads, and reconnect it. Do not ignore slow leaks. A tiny drip can become cabinet damage, mold, or a very annoying future version of yourself saying, “I knew I should have fixed that.”
Step 14: Test Faucet Function
Run hot and cold water. Move the handle through its full range. Test the sprayer, pause button, spray patterns, and docking mechanism if your faucet has them. Make sure the spout swivels properly and does not hit the backsplash. Check that the sprayer hose retracts fully without snagging below the sink.
If your faucet includes touchless or touch-activated features, install batteries or connect the power module according to the instructions. Keep electronic components away from areas where water may collect. For smart faucets, follow the setup steps carefully and confirm manual operation still works.
Common Kitchen Faucet Installation Mistakes to Avoid
Buying the Wrong Faucet for the Sink
The most common mistake is choosing a faucet that does not match the sink hole layout or available clearance. Always check the number of holes, spacing, deck thickness, backsplash clearance, and accessory needs before purchasing.
Forgetting to Flush the Supply Lines
Small particles can enter the lines during installation. Flushing helps protect the aerator, spray head, and cartridge. It is a simple step that saves frustration later.
Overtightening Connections
More force does not always mean a better seal. Overtightening can crack plastic fittings, deform washers, strip threads, or damage the sink. Tighten carefully, test, and adjust only if needed.
Skipping the Leak Check
Never assume a dry-looking connection is perfect. Use a paper towel and check more than once. Some leaks appear only when water pressure builds or when the sprayer hose moves.
When to Call a Professional Plumber
Installing a kitchen faucet is a realistic DIY project for many homeowners, but there are times when calling a plumber is the smarter move. Get help if the shutoff valves are leaking, the supply pipes are corroded, the sink holes need drilling through stone or solid surface material, or the faucet requires complex electrical or filtration connections. You should also call a professional if you turn the water back on and cannot stop a leak quickly.
There is no shame in bringing in a pro. The goal is a working faucet, not a dramatic plumbing subplot. A plumber can also replace old shutoff valves, correct improper connections, and make sure the installation meets local plumbing standards.
Maintenance Tips After Installing a Kitchen Faucet
After installation, keep your new faucet in good shape with simple maintenance. Wipe the finish with a soft cloth and mild soap. Avoid harsh abrasive cleaners, which can damage protective coatings. Clean the aerator if water flow becomes uneven. Once or twice a year, open and close the shutoff valves to help prevent them from seizing.
Look under the sink occasionally during the first week after installation. Pull the sprayer out and let it retract while watching the hose below. Make sure nothing rubs, kinks, or drips. A five-minute check can prevent a surprise puddle from becoming a cabinet renovation you did not request.
Real-World Experience: What Installing a Kitchen Faucet Actually Feels Like
In theory, installing a kitchen faucet is a clean sequence: remove the old faucet, install the new one, connect the lines, test for leaks. In real life, the project often begins with optimism and ends with you lying on your back under the sink, holding a flashlight in your mouth, wondering why cabinet floors are always exactly where your elbows need to be. That is normal. The job is not usually technically difficult, but it can be physically awkward.
One of the biggest lessons from real faucet installations is that removing the old faucet can take longer than installing the new one. Old mounting nuts may be rusty, hard to reach, or frozen in place by years of mineral buildup. A basin wrench earns its place here. Without it, you may spend half an hour trying to turn a nut one-sixteenth of an inch at a time while inventing new forms of kitchen poetry. Penetrating oil, patience, and better lighting can make the difference between a smooth removal and a battle with plumbing archaeology.
Another practical experience: always test-fit the new faucet before final tightening. It is easy to secure the mounting nut and then realize the faucet is slightly crooked from above. Even a tiny angle can bother you every time you wash a dish. Have someone stand above the sink and hold the faucet straight while you tighten it underneath. If you are working alone, tighten it lightly, climb out, check alignment, climb back in, adjust, and repeat. It is not glamorous, but neither is staring at a crooked faucet for the next decade.
Pull-down sprayer weights are another place where experience matters. The hose may look fine while the cabinet is empty, but once your trash bags, cleaners, and dish tabs return to their natural habitat, the weight can hit something and stop the sprayer from retracting. Before you celebrate, put the under-sink items back and test the sprayer again. If the hose catches, rearrange the cabinet or move the weight to a better position according to the manual.
Supply line connections also teach a useful lesson: hand-thread first, wrench second. If a connection does not start smoothly by hand, stop and realign it. Cross-threading a fitting can ruin your day and possibly your new faucet line. Once connected, tighten gently. Then turn the water on slowly and watch. A tiny bead of water around a connection is your cue to adjust before closing the cabinet and pretending everything is fine.
Finally, give yourself more working time than the box suggests. Some faucet installations really do take under an hour, especially when the old faucet cooperates and the new one has quick-connect fittings. But older sinks, cramped cabinets, stubborn hardware, and surprise valve issues can stretch the job. The best mindset is calm and methodical. Keep towels nearby, read the instructions twice, and do not skip the leak check. When the water runs smoothly and the cabinet stays dry, the reward is immediate. You get a better-looking kitchen, a more useful sink, and the quiet satisfaction of knowing you defeated the under-sink cave.
Conclusion
Learning how to install a kitchen faucet is a practical DIY skill that can refresh your kitchen without a full remodel. The process comes down to careful preparation, correct fit, secure mounting, clean supply connections, and patient leak testing. Start by confirming your sink hole layout and faucet type. Remove the old faucet carefully, clean the mounting surface, install the gasket or deck plate, secure the faucet body, connect the water lines, attach the sprayer hose, flush the system, and check every fitting before calling the job done.
A new faucet can improve daily kitchen tasks, from rinsing vegetables to filling pots to attacking that one pan everyone “left to soak.” With the right tools and a steady approach, many homeowners can complete this project confidently. And if your plumbing looks damaged, outdated, or suspiciously creative, a professional plumber is a wise investment.
Note: This article was written in original standard American English for web publishing and synthesizes practical guidance from reputable U.S. home improvement, plumbing, and faucet manufacturer resources without including source links in the article body.