A bad graphics card can turn a perfectly normal PC into a dramatic little theater production. One minute you are gaming, editing video, or just opening a browser tab. The next minute your screen flickers, the driver crashes, the display goes black, or your PC acts like it has never heard of a GPU before. Lovely.
The good news is that many graphics card problems are not actually “the GPU is dead.” They are often caused by loose cables, driver corruption, bad power delivery, overheating, unstable tuning settings, or BIOS confusion. That means there is a real chance you can fix the problem without replacing the card.
This guide walks through 12 practical methods to troubleshoot and fix a graphics card the smart way. It focuses on real-world, lower-risk steps that match current support guidance from major hardware and software companies. In other words, this is the version without folklore, panic, or the internet’s favorite terrible idea: putting expensive electronics in the oven.
Before You Start: Figure Out What Kind of GPU Problem You Have
Before you try random fixes, identify the symptom. That saves time and helps you choose the right method.
- No display at all: The monitor says “No Signal,” stays black, or never wakes up.
- Artifacts: Strange colored blocks, lines, sparkles, checkerboards, or flickering textures appear on screen.
- Driver crashes: Games close suddenly, the screen flashes black, or Windows reports a driver timeout.
- Stability problems: Your PC restarts, freezes, or crashes under load.
- Detection issues: The GPU does not appear correctly in Device Manager, or it shows a warning symbol.
- Thermal trouble: Fans roar, performance drops, or the system shuts down when the card heats up.
Also pay attention to when the problem happens. If the issue appears before Windows even loads, the cause is usually more likely to be hardware, power, seating, or BIOS related. If it starts only after Windows loads, software and driver issues move much higher on the suspect list.
Method 1: Check the Easy Stuff First: Monitor, Cable, and Video Port
This sounds obvious, but obvious is undefeated in PC troubleshooting. A loose DisplayPort or HDMI cable, a bad adapter, the wrong input selected on the monitor, or using the motherboard video output instead of the graphics card can all make a healthy GPU look dead.
Shut the PC down, reconnect the display cable firmly, and make sure the monitor is plugged into the graphics card’s rear ports, not the motherboard’s display output. Then try a different cable and, if possible, a different monitor. If your system has more than one GPU output, test another port on the card.
If the problem disappears after swapping the cable or monitor, congratulations: your graphics card was innocent the whole time.
Method 2: Reset the Graphics Stack and Boot into Safe Mode
If Windows is loading but the display is glitchy or black, try a fast reset first. In Windows, the keyboard shortcut Win + Ctrl + Shift + B can reset the graphics driver. It is not magic, but it is surprisingly useful for a display pipeline that has gone sideways.
If the screen is still blank, boot into Safe Mode with Networking. Safe Mode loads a simpler driver environment, which helps you get into the system when the normal graphics driver is crashing on startup. Once there, you can update, uninstall, or roll back the driver without the GPU throwing another fit.
Method 3: Roll Back a Bad Driver Update
Sometimes the “fix” was the thing that broke it. If the trouble started right after a driver update or Windows update, roll the driver back. This is one of the cleanest fixes for sudden flickering, crashing, scrambling, or black-screen behavior that did not exist the day before.
Open Device Manager, expand Display adapters, right-click your GPU, open Properties, and look for the Roll Back Driver option under the Driver tab. Restart after the rollback.
If the button is unavailable, Windows may not have a previous version stored. In that case, move to a clean reinstall.
Method 4: Perform a Clean Reinstall of the GPU Driver
A corrupted display driver can cause artifacts, timeouts, crashing, low performance, or a GPU that behaves like it is half awake and half cursed. A normal update is not always enough. Sometimes you need a truly clean reinstall.
For AMD cards, a clean install can be done with the vendor’s reset or cleanup options. Intel also provides clean installation guidance. More generally, you can uninstall the display adapter from Device Manager, reboot, and then install the correct fresh driver for your exact graphics card and operating system.
Download the proper driver before you remove the old one. Then install only what you need. If the issue began with a brand-new driver, you can also test a slightly older stable version from the manufacturer.
Method 5: Check Device Manager for Errors Like Code 43
If the graphics card appears in Device Manager with a yellow warning symbol, Windows is telling you something important. One common example is Error Code 43, which can point to a driver failure or a hardware problem.
In Device Manager, right-click the GPU and check its properties. If there is an error code, start with the software path: update the driver, roll it back if the issue began after an update, or uninstall and reinstall the device. This is especially useful when the card is visible to Windows but not functioning correctly.
Think of this step as the PC equivalent of checking whether the smoke alarm is chirping because of low batteries or because the kitchen is actually on fire.
Method 6: Reseat the Graphics Card in the PCIe Slot
If your desktop has a discrete GPU, power the system off completely, switch off the PSU if it has a rear switch, unplug the power cord, and wait a moment before opening the case. If you are comfortable working inside the PC, remove the graphics card and reseat it carefully in the PCIe x16 slot.
A partially seated card can cause no display, fan spin with no image, random crashes, or intermittent detection. Make sure the retention clip locks, the card sits straight, and the bracket is secured so the card does not sag or wiggle loose over time.
Do not force anything. If the card does not slide in smoothly, stop and realign it. Hardware repairs should never sound like snapping celery.
Method 7: Verify PCIe Power Cables and Use the Correct Ones
Many “dead GPU” stories are actually “not enough power” stories. If your graphics card requires external power, make sure every required connector is attached fully and clicks into place. Check both the GPU end and the PSU end if you are using a modular power supply.
Use actual PCIe power cables, not CPU/EPS cables that only look similar from a distance. If your card uses multiple power connectors, use the proper cable setup recommended by your PSU and GPU makers. A loose or poorly seated PCIe connector can cause instability, no display, shutdowns under load, or even connector damage.
If available, test a different PCIe power cable from the PSU. A bad cable can mimic a bad graphics card with rude efficiency.
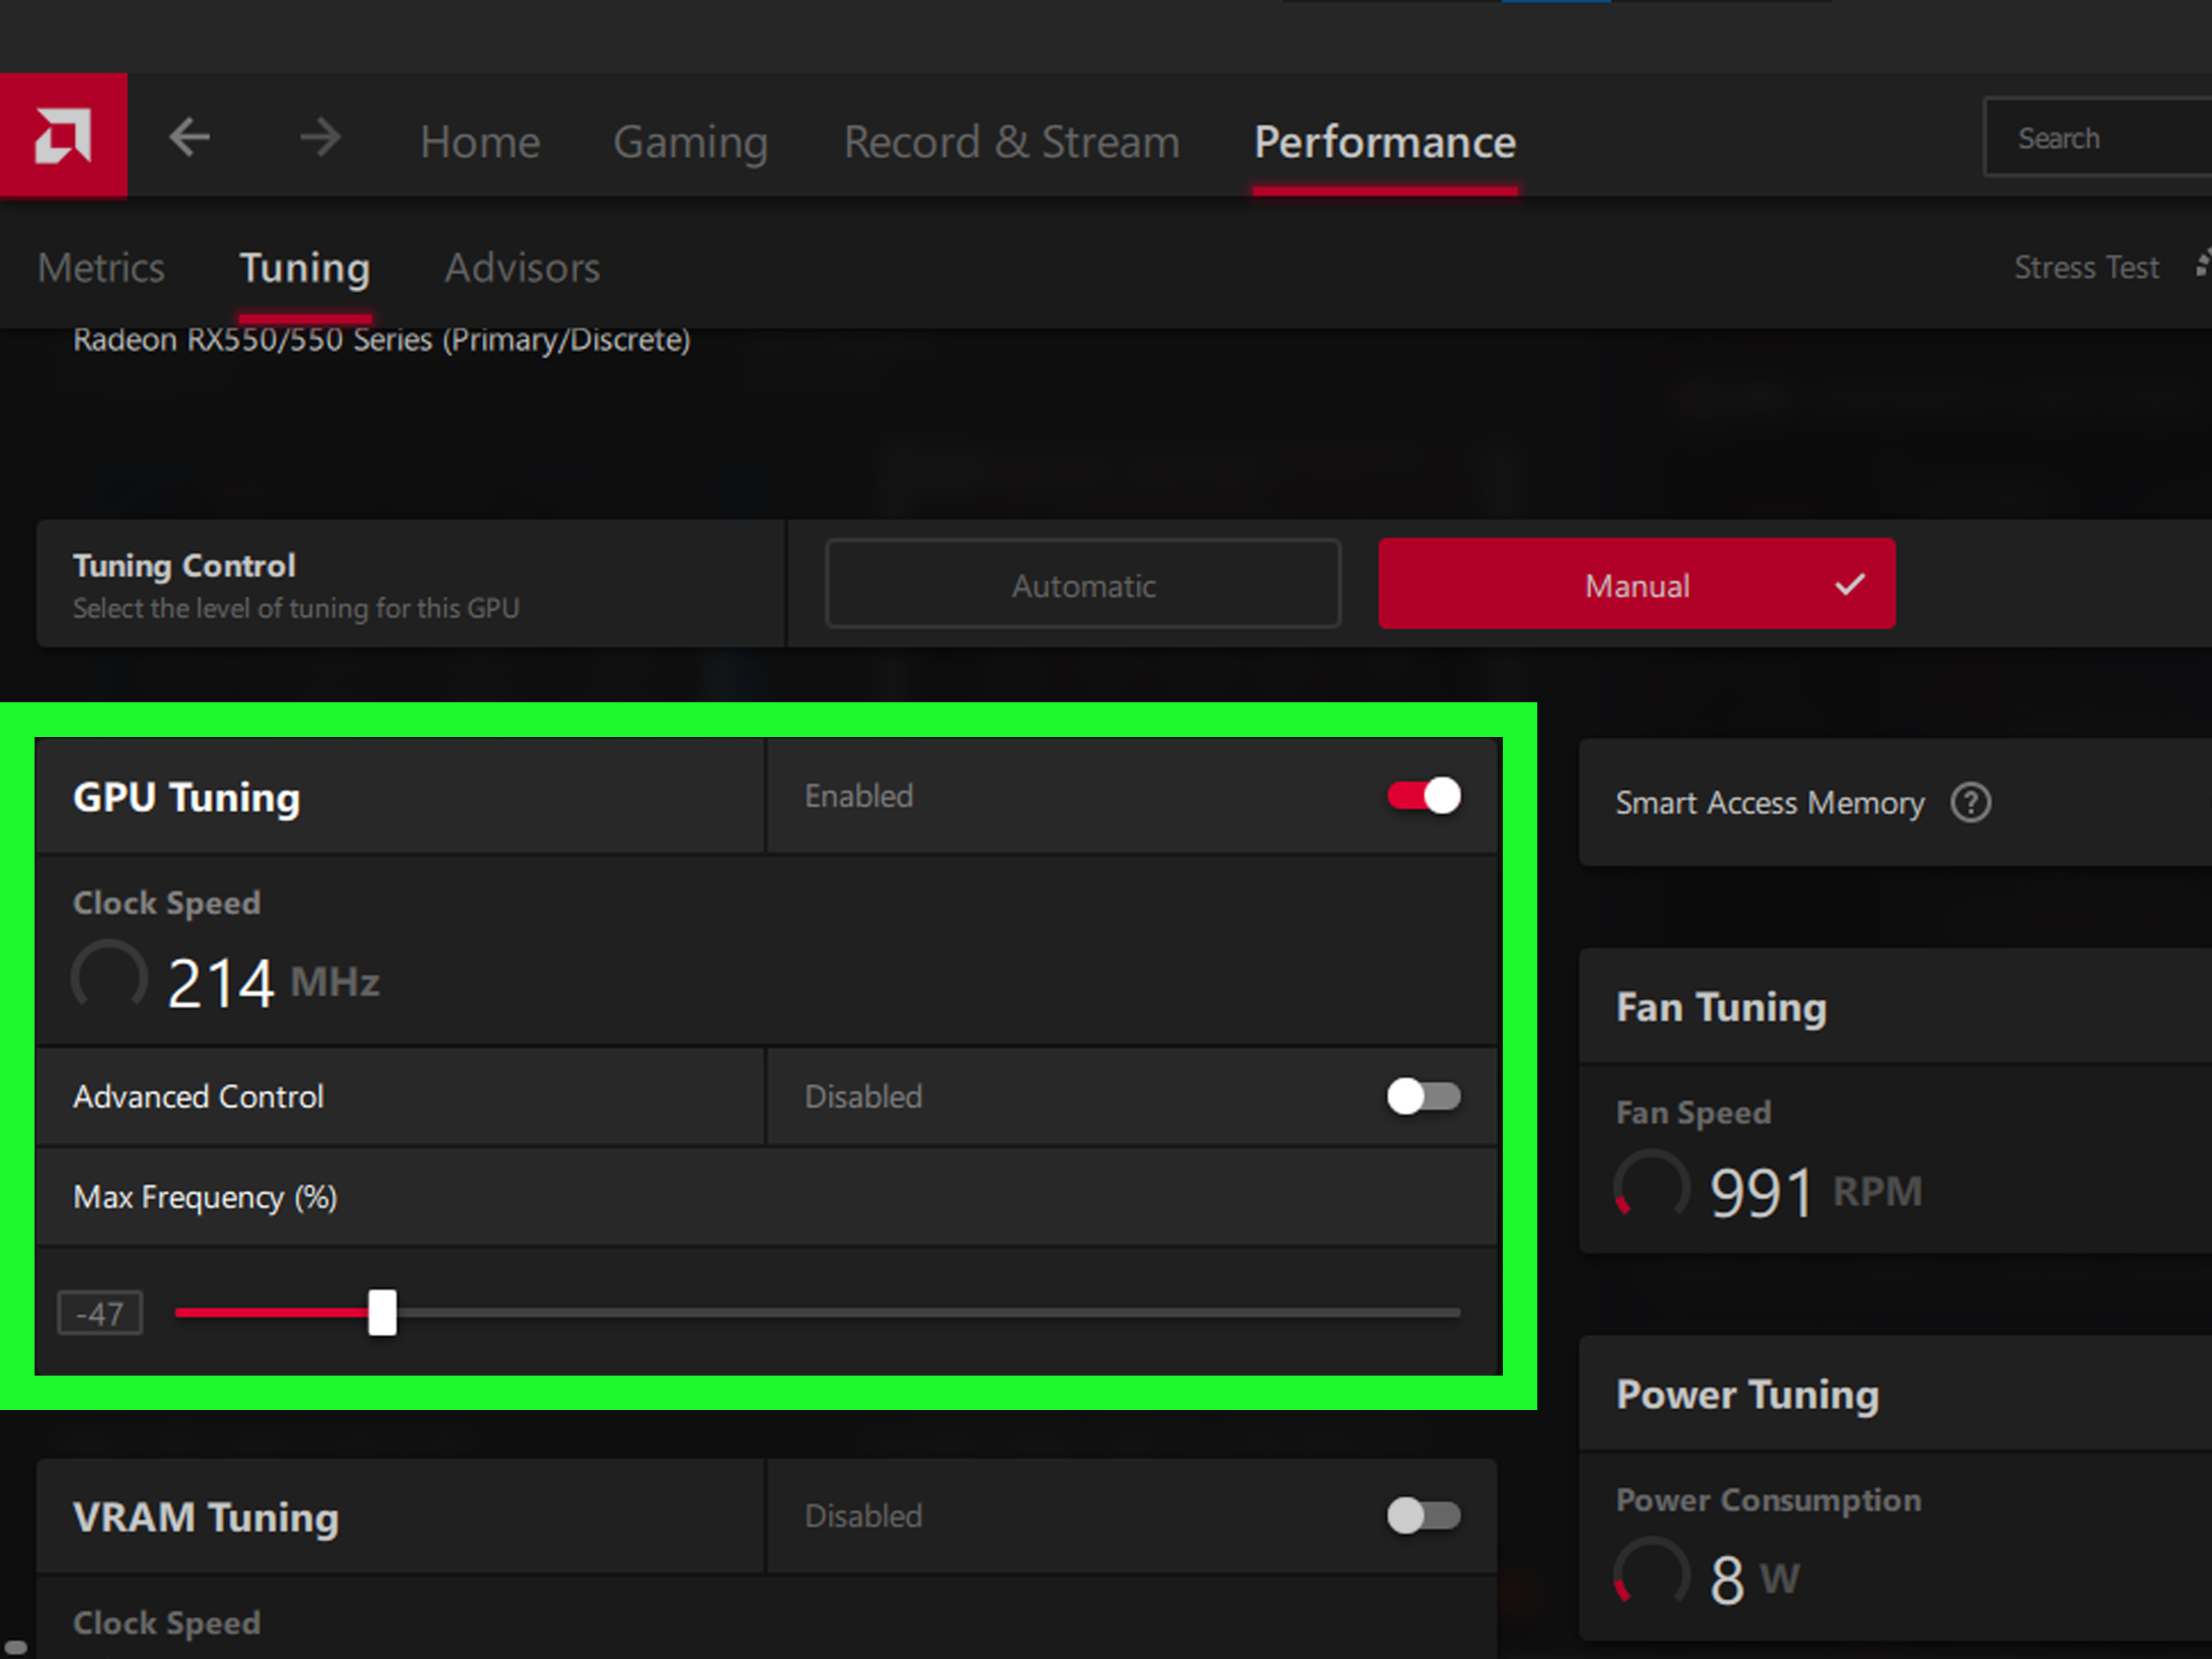
Method 8: Remove Overclocking, Undervolting, and Custom Tuning
If you changed clock speeds, voltage, fan curves, or memory settings, go back to stock values. Unstable GPU tuning is one of the most common reasons a card works on the desktop but crashes the second a game starts rendering something ambitious.
Reset settings in your GPU software, motherboard BIOS, or tuning utility. AMD provides factory reset options for its software settings, and Intel support guidance also recommends disabling overclocking and returning the BIOS to default values when troubleshooting graphics problems.
If the system suddenly becomes stable at stock settings, you did not “fix” the card so much as uncover the real villain: an overly optimistic overclock.
Method 9: Fix Overheating and Airflow Problems
Heat is the silent troublemaker of GPU stability. When a PC overheats, you may see loud fans, performance drops, restarts, shutdowns, driver crashes, or a display that becomes unreliable under load. Dust-clogged vents, blocked airflow, weak case fans, and a GPU cooler full of fuzz can all contribute.
Start with a visual check. Are the GPU fans spinning properly? Are case vents packed with dust? Is a cable bundle blocking airflow directly in front of the card? Clean dust gently, improve cable management, and make sure the case has a clear intake and exhaust path.
If you can boot into the system, monitor GPU temperature under load. If the card behaves badly only when hot, thermals deserve serious attention. Persistent overheating after airflow fixes can point to a failing fan, worn thermal interface, or aging cooler assembly. At that stage, replacement or professional service is usually the smarter move.
Method 10: Update Windows, BIOS, and Related System Firmware
Graphics problems are not always caused by the graphics card alone. Motherboard firmware, BIOS settings, chipset behavior, and OS-level updates all affect GPU detection and stability.
If the card is not being recognized properly, or the issue started after a hardware upgrade, update Windows and then check for a motherboard or system BIOS update from the PC or board manufacturer. BIOS updates can improve hardware compatibility, including graphics card detection and stability.
This step matters especially on newer platforms, after major hardware changes, or when a GPU works physically but behaves like the system is only half acknowledging its existence.
Method 11: Restore BIOS Defaults, Clear CMOS, and Rescan for Hardware
If the GPU is still missing, restore BIOS defaults. A bad firmware setting, display priority conflict, or unstable custom configuration can prevent a graphics card from initializing correctly.
After restoring defaults, boot back into Windows and use Device Manager > Action > Scan for hardware changes. This can help Windows recognize the card again. Some manufacturers also recommend a CMOS reset or EC/RTC reset when a graphics card is not being detected.
This is a strong move when the GPU vanished after BIOS tinkering, a firmware update, or a failed overclock. It is basically the system equivalent of telling your PC, “Take a deep breath and start over.”
Method 12: Test the GPU in Another PC, or Test Another GPU in Yours
This is one of the best ways to separate a bad card from a bad system. If your graphics card works in another compatible PC, the issue is probably your motherboard, BIOS, PSU, slot, or software environment. If a known-good GPU fails in your system too, the graphics card was probably not the main problem.
Likewise, if your card fails in a second system with the same symptoms, that is strong evidence the card itself is faulty. By this point, replacement or authorized service is usually the right answer.
Also pay attention to what happens in BIOS. If the card remains undetected even there after defaults are restored, manufacturers commonly treat that as a likely hardware issue rather than a simple driver problem.
What Not to Do
When a graphics card starts acting up, the internet sometimes gets a little too creative. Skip these “fixes”:
- Do not bake the GPU in an oven.
- Do not attack the board with a heat gun unless you are qualified for board-level repair.
- Do not flash random VBIOS files because a forum post sounded confident.
- Do not keep stress testing a card that shows physical damage, burning smell, or power connector discoloration.
- Do not ignore PSU quality if the card crashes only under load.
Those methods may create a brief illusion of success while increasing the odds of permanent damage. A card that is worth saving is worth diagnosing correctly.
Conclusion
Fixing a graphics card is less about one dramatic trick and more about methodical troubleshooting. Start with the display chain. Move to Safe Mode and drivers. Check Device Manager. Reseat the GPU. Verify power. Remove unstable tuning. Improve cooling. Update firmware. Reset BIOS defaults. Then confirm the diagnosis by testing in another system.
That order matters. It helps you rule out the cheap, common causes before you assume the card is toast. And if the card really is failing, you will know you reached that conclusion honestly, not because a cable was loose and your patience ran out first.
Extra : Real-World Experiences and Lessons From Fixing Graphics Cards
One of the most common experiences people have when fixing a graphics card is realizing that the symptom and the cause are rarely the same thing. A black screen feels like a dead GPU. Artifacts feel like dying VRAM. Random reboots feel like “something major.” But in practice, many cases end up being much more ordinary: a bad cable, a driver issue after an update, a modular PSU cable not fully seated, or a card that shifted slightly after a PC was moved from one desk to another.
Another very real pattern is that problems often show up only under pressure. A PC may boot normally, browse normally, and even play lightweight games normally. Then the moment a demanding game, benchmark, or editing task loads the GPU hard, everything falls apart. That usually points people toward the wrong conclusion at first. They assume the card is broken because the crash happens only during heavy work. In reality, heavy load is exactly when power delivery weaknesses, marginal overclocks, overheating, and unstable memory settings reveal themselves.
There is also the emotional part of GPU troubleshooting, which nobody talks about enough. A graphics card issue is annoying because it interrupts the most visible part of the PC. When storage acts up, many users still have a screen. When audio breaks, the machine still feels alive. But when the display goes black, the whole system feels gone. That pressure leads people to make rushed decisions, such as reinstalling everything at once, swapping five settings without documenting them, or assuming a recent update must be the only cause. Good troubleshooting is calmer than that. It works best when you change one variable at a time.
Experienced builders also learn that “works once” is not the same as “fixed.” A card that boots after reseating is promising, but not proven. A fresh driver that stops one crash is encouraging, but not final. The smart move is to test the system in stages: desktop use, then video playback, then a game, then a longer session under load. Stability is not a screenshot. It is a pattern.
Finally, one of the most useful lessons is knowing when to stop. If the GPU shows physical burn marks, damaged connectors, persistent artifacts across systems, or instability that survives clean drivers, BIOS defaults, proper power, and thermal checks, it is probably time for replacement or authorized repair. That is not failure. That is good diagnosis. The best graphics card fix is not always reviving the old card. Sometimes it is avoiding wasted hours, protecting the rest of the system, and making the correct call with confidence.