Growing in containers is the gardening equivalent of moving into a studio apartment: less space, more rules, and somehow you still end up with way too many plants. The good news? Container gardening can produce serious flowers, herbs, and vegetableswithout a yard, without perfect soil, and without committing to a lifelong relationship with a weeding hoe.
This guide breaks down what actually matters: choosing the right pot, using the right growing medium, watering like a pro (not a sprinkler-happy raccoon), feeding plants without overdoing it, and setting up containers that look great and grow even better.
Why growing in containers works (and when it doesn’t)
Containers shine when you want control. You choose the soil, you choose the location, and you get to dodge problem groundlike heavy clay, contaminated soil, or a yard that’s mostly shade and regret. Containers also make gardening accessible: patios, balconies, driveways, stoops, sunny windows, you name it.
The trade-off is that containers are less forgiving. They dry out faster, nutrients wash out faster, and roots have zero ability to “wander off” and find what they need. The payoff is worth itif you build your container system the right way from day one.
Step 1: Choose a container that helps you win
Go bigger than you think
A small pot is basically a plant treadmill: it forces constant effort (from you) and still doesn’t lead to good results. Bigger containers hold more moisture, buffer temperature swings, and give roots room to do their job. For many outdoor plantings, a container around 10–12 inches wide (or larger) is a friendlier starting point than tiny “cute” pots.
Drainage isn’t optional
Your container needs a way for excess water to escape. Without drainage, soil pores fill with water, oxygen disappears, and roots start to fail. If you love a decorative pot that has no hole, use it as a “cachepot”: keep the plant in a plastic nursery pot with holes and set that inside the prettier container.
Pick the right material for your conditions
- Plastic/resin: Lightweight, budget-friendly, holds moisture well. Can get brittle over time in strong sun.
- Terracotta/clay: Classic look, breathes well, but dries out fastergreat if you tend to overwater.
- Ceramic (glazed): Attractive and moisture-stable, but heavy and breakable.
- Wood: Insulates roots better than metal; choose rot-resistant woods (and avoid questionable treatments for edible crops).
- Metal: Stylish, but can heat up fast in full sunoften needs a liner or a shadier spot.
- Fabric grow bags: Excellent aeration and root pruning, light to move, but dry out quickly in hot weather.
Quick size guide (practical, not precious)
| Plant type | Suggested container size | Why it matters |
|---|---|---|
| Herbs (most) | 4–6 inch pot for singles; larger for mixed herb bowls | Enough root room without turning basil into a swamp |
| Leafy greens (lettuce, scallions, radishes) | 6–8 inches deep minimum | Shallow roots, faster cycles |
| Carrots (and other deeper roots) | 10–12 inches deep | Prevents “cute little carrot nubs” syndrome |
| Peppers, eggplant, cucumbers (one plant) | 8–10 gallons (roughly 12–16 inches deep) | Stability + consistent moisture for flowering/fruiting |
| Tomatoes (one plant) | At least 5 gallons; bigger is easier | Reduces stress and watering drama |
Step 2: Use the right potting mix (not “dirt from somewhere”)
Container growing media needs to do two things at once: hold moisture and drain well. Garden soil is usually too dense in a pot, which means poor aeration, slow drainage, and sad roots. Use a quality potting mix (often soilless) designed for containers.
What to look for in a potting mix
- Structure: Light and fluffy, not heavy and muddy.
- Moisture balance: Holds water without staying soggy.
- Ingredients that help: Compost for nutrients, peat moss or coconut coir for water-holding, perlite/vermiculite for aeration and balance.
Should you add rocks at the bottom?
This is one of gardening’s greatest myths. A thick layer of rocks or gravel at the bottom can reduce usable soil volume and create drainage problems rather than solving them. If you’re worried about soil washing out of holes, use a small piece of mesh/screen, a coffee filter, or a shard of broken pot placed lightly over the holethink “cover,” not “landfill.”
Step 3: Plant like you’re planning for August (not like it’s April)
Most container mistakes start with optimism: “This basil looks tinysurely it won’t take over the pot!” Plot twist: basil is basically a green octopus. Plan for a plant’s full size, and keep plant combinations compatible.
Spacing rules that save your sanity
- One big fruiting vegetable per pot is often the easiest route (tomato, pepper, eggplant, cucumber).
- Leafy greens can share because they’re shallow-rooted and often harvested young.
- Mix plants with matching needs (sun + water + feeding). A sun-loving rosemary doesn’t want to live with a thirsty impatiens.
Ornamental containers: the “thriller, filler, spiller” trick
For decorative pots, a classic approach is: thriller (something tall), filler (something bushy), and spiller (something that cascades). It’s an easy formula for containers that look intentionaleven if you assembled them while holding an iced coffee in one hand.
Step 4: Wateringwhere container gardens live or die
Improper watering (too much or too little) is the #1 reason container gardens fail. Containers can dry out quickly in sun, wind, and heatsometimes needing daily watering, and during extreme hot/windy weather, even more than once per day for small or porous pots.
A watering routine that works in real life
- Check moisture by sticking a finger 1–2 inches into the mix. If it’s dry, water. If it’s moist, wait.
- Water deeply until water runs out the drainage holes. This encourages roots to grow through the container instead of camping near the surface.
- Water earlier in the day when possibleless evaporation, less stress.
- Adjust for weather: heat + wind = faster drying; shade + cool temps = slower drying.
Make watering easier (without buying a small irrigation factory)
- Mulch the top with shredded leaves, straw, or fine bark (especially for veggies).
- Cluster containers to reduce wind exposure and slow evaporation.
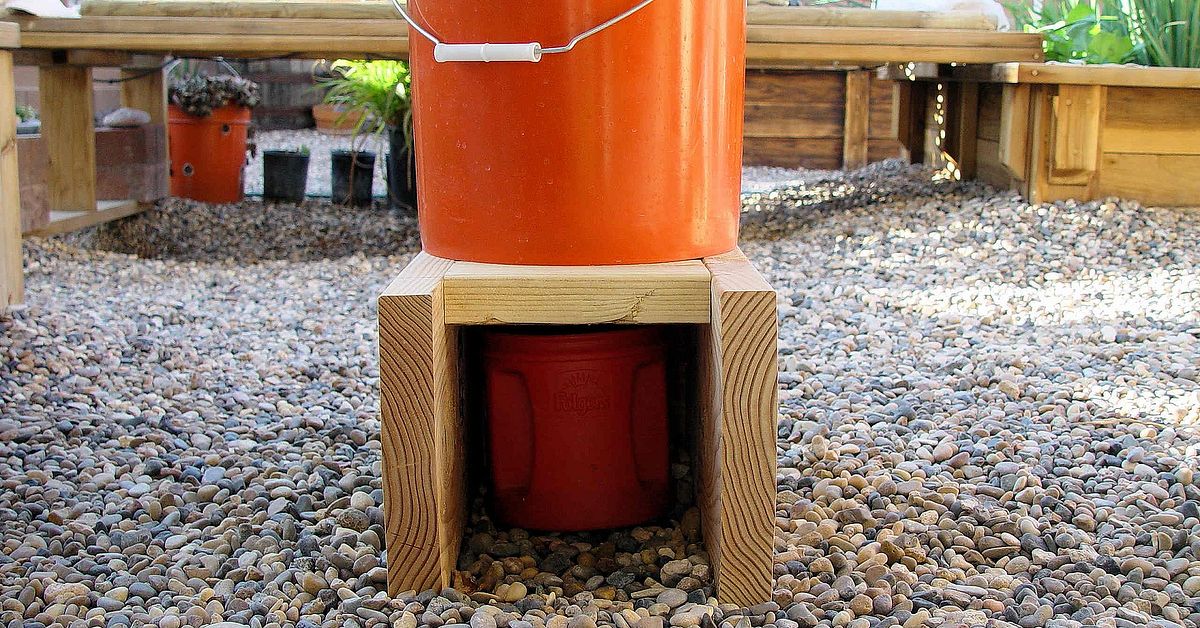
- Elevate pots with bottom holes so water can escape freely (pot feet, bricks, scraps of wood).
- Consider self-watering containers for thirsty crops or busy schedules.
Step 5: Fertilizingbecause water steals your nutrients
In containers, nutrients don’t stick around forever. Frequent watering flushes out fertilizer, especially nitrogen. Many potting mixes include a starter fertilizer charge, but it won’t last all season for long-term crops.
A simple feeding plan
- At planting: Mix in a slow-release fertilizer if your potting mix doesn’t already include one (or if you want longer coverage).
- After establishment: Start regular feeding after a few weeks (often 2–6 weeks after planting, depending on the mix and growth rate).
- During peak growth/fruiting: Use a water-soluble fertilizer every 1–3 weeks (follow label directions) and watch plant performance.
- Pro tip: Apply fertilizer to moist media, not bone-dry soil, to reduce the chance of root stress.
How to tell your container is hungry
- Pale leaves or slow growth (often nitrogen-related)
- Fewer blooms/fruit or blossoms dropping under stress
- Older leaves yellowing first while new growth looks weak
Light, heat, and wind: the “location” part everyone underestimates
A container garden is portableuse that superpower. Most vegetables perform best with 6–8 hours of direct sun, but containers in full sun can also overheat, especially dark-colored pots on reflective surfaces.
- Too hot? Move pots off hot concrete, use lighter-colored containers, or give afternoon shade in peak summer.
- Too windy? Use windbreaks, cluster pots, and stake tall plants early.
- Not enough sun? Grow leafy greens, herbs, and shade-tolerant ornamentals instead of fruiting vegetables.
Common container problems (and quick fixes)
1) Wilting at noon
Midday wilting can happen even when soil is moist (heat stress). Check the mix before watering again. If the soil is damp, provide temporary shade or move the container to reduce afternoon heat.
2) Soggy soil and sad roots
Usually caused by poor drainage, overly dense media, or a pot without holes. Fix by repotting into a container mix designed for drainage and ensuring the pot can drain freely.
3) “My plant is huge but fruit is tiny”
Often a mix of inconsistent watering, insufficient light, or nutrient imbalance. Stabilize watering, confirm sun exposure, and feed appropriatelyespecially once plants start flowering and setting fruit.
4) Fungus gnats
Overly wet potting mix invites them. Let the surface dry slightly between waterings, improve airflow, and consider top-dressing with coarse sand or small gravel. The goal is to make the top layer less “gnat-friendly,” not to build a rock reef at the bottom.
Three easy container “recipes” to copy
1) The Salad Bowl Container (fast, forgiving)
- Container: Wide pot, 10–14 inches, at least 6–8 inches deep
- Plants: Leaf lettuce + scallions + radishes
- Why it works: Similar water needs, quick harvest, and you can replant multiple rounds
2) The Salsa Pot (sun-loving, high reward)
- Container: 10+ gallons if combining; or separate 5–10 gallon pots for tomato and pepper
- Plants: 1 compact tomato + 1 pepper + cilantro (in its own smaller pot nearby, because cilantro bolts when it gets hot)
- Why it works: Keeps heavy feeders in adequate root space and avoids overcrowding
3) Pollinator Party (ornamental + useful)
- Container: 12–16 inches wide with drainage
- Plants: “Thriller” salvia or ornamental grass + “filler” zinnia or lantana + “spiller” sweet potato vine
- Why it works: Looks great, attracts beneficial insects, and tolerates summer heat well (with consistent watering)
Seasonal care: keep your containers going longer
Summer
- Expect more frequent watering during heat waves.
- Feed regularly; containers lose nutrients fast.
- Deadhead flowers and prune leggy growth to keep plants productive.
Fall
- Cool-season crops (lettuce, spinach, radishes) can return for an encore in many regions.
- Reduce feeding as growth slows, but don’t let containers dry out completely.
Winter
- Perennials and shrubs in containers may need protection from freeze-thaw cycles.
- Larger, frost-resistant containers insulate roots better than small pots.
- Mulching the surface helps buffer root temperatures.
Conclusion: the container gardening mindset
Growing in containers is less about having a “green thumb” and more about building a good system: drainage, a quality potting mix, a realistic pot size, and a watering-and-feeding routine that matches your weather. Start simple, size up your containers, and treat consistency like the secret ingredientbecause it is.
If you do nothing else, remember this: containers don’t forgive neglect, but they absolutely reward smart setup. Set the foundation once, and your pots will produce all seasonno backyard required.
Real-world experiences and lessons from container gardeners (extra )
After a season of growing in containers, many gardeners end up with the same three realizations: (1) pots dry out faster than expected, (2) plants get bigger than expected, and (3) “I’ll remember to fertilize” is not a planit’s a wish. The good news is that the learning curve is friendly once you know where the common traps are.
Lesson 1: The “cute pot” tax is real
Small containers are adorable and also wildly demanding. They heat up quickly, lose moisture quickly, and leave little margin for error. Gardeners often notice that a plant in a 5-gallon container looks calmer and more productive than the same plant in a smaller poteven when both get watered. Bigger containers act like a battery: they store more moisture and nutrients and release them more steadily. If your container garden keeps feeling high-maintenance, upsizing is the easiest way to buy yourself time.
Lesson 2: Your “watering schedule” will lose to weather
New container gardeners often try to water on a fixed timetable. Experienced growers check the soil instead. A breezy, hot day can turn yesterday’s perfectly moist pot into today’s crispy emergencyespecially for terracotta, fabric grow bags, and small planters. Many gardeners rely on quick cues: lift the pot (light means dry), feel the top couple inches, and watch how quickly the surface dries after watering. Over time, you’ll build an instinct for your container types and their “thirst personalities.”
Lesson 3: Drainage is more than “has holes”
Plenty of containers technically have drainage holes but still drain poorly because the pot sits flat on the ground. When the hole is blocked, the container behaves like it has no hole at all. Gardeners often fix chronic sogginess with one small change: lifting pots slightly using pot feet, bricks, or wood strips so water can exit freely. Another real-world fix is avoiding a thick layer of rocks in the bottom (which reduces root space and can worsen drainage issues). A simple mesh cover over the hole is usually enough to keep soil in place while letting water out.
Lesson 4: Feeding is easiest when it’s automatic-ish
Because nutrients leach out of containers, gardeners who get the best results tend to combine approaches: a slow-release fertilizer at planting plus occasional water-soluble feeding during the heavy growth phase. This reduces the chances of both extremesstarving plants that stall midseason and overfeeding plants that get stressed. Many gardeners also learn to “listen” to leaves: pale, slow growth often means it’s time to feed; lush leaves with few flowers can mean the plant needs better light or a more balanced nutrient routine.
Lesson 5: Containers are portableuse that superpower
One of the most underrated container tricks is moving plants as conditions change. If a patio becomes a wind tunnel, shift containers into a protected corner. If midsummer sun turns pots into little ovens, give afternoon shade. If a plant isn’t performing, don’t blame yourself firsttry a better location. Gardeners who treat containers like adjustable “mini-gardens” usually get stronger growth, fewer pests, and less stress. The whole point is flexibility, so lean into it.