Important (and slightly un-fun) disclaimer: This article is for general information, not medical advice. Also, garlic is delicious. Garlic is not automatically gentle. If you’ve ever chopped a clove and then rubbed your eye… you already know the vibe.
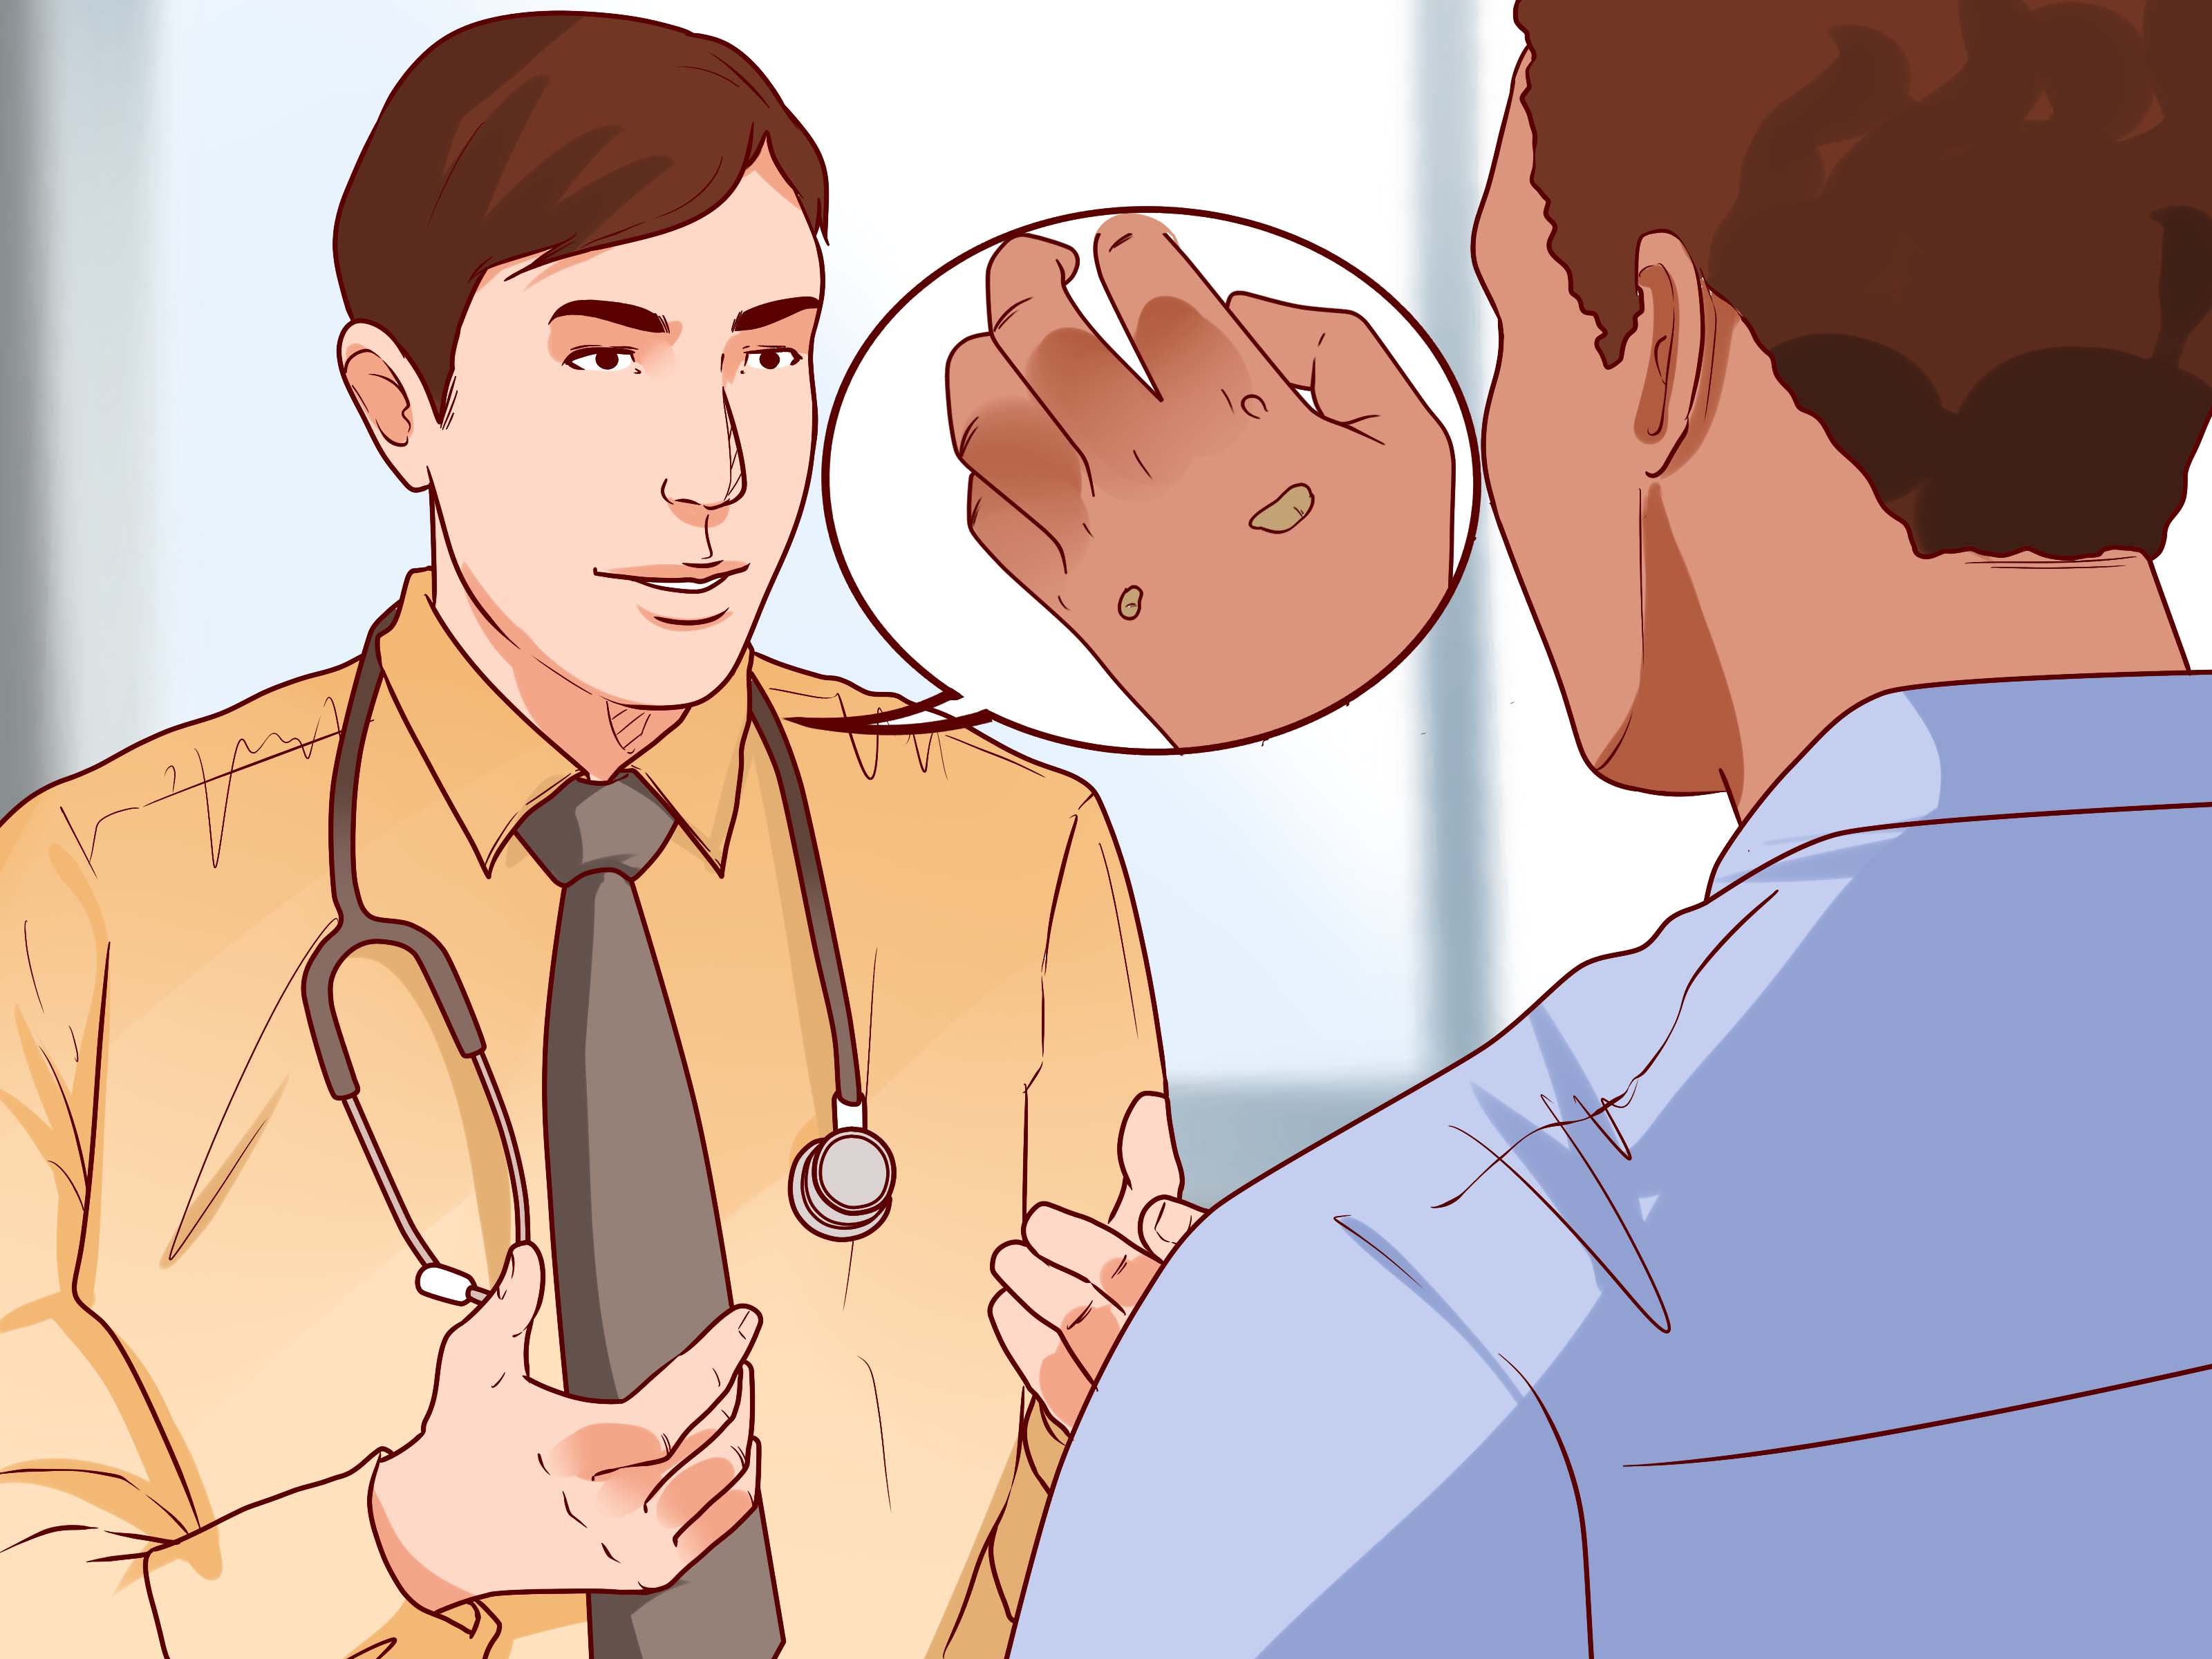
Warts are one of life’s weird little souvenirscommon, contagious, and annoyingly confident. If you’re staring at a stubborn bump on your finger or foot and thinking, “What if I just… garlic it into submission?” you’re not alone.
Garlic has a long history in folk remedies, and modern research suggests it contains biologically active compounds (like allicin) with antimicrobial effects. But here’s the catch: fresh raw garlic can also irritate skin and even cause chemical burns if used the wrong way. So this guide is all about using garlic strategicallywith safety, realistic expectations, and five practical methods you can try at home.
First, a quick reality check: what warts are (and why they’re so stubborn)
Most non-genital warts are caused by certain types of human papillomavirus (HPV). The virus triggers extra growth in the top layers of skin, and the result is that rough, raised bump that refuses to mind its business.
Two reassuring facts:
- Many warts go away on their own as your immune system clears the virusoften within months, sometimes longer.
- Even when you treat a wart, you’re usually not “killing the virus” so much as removing infected skin and/or nudging your immune system to notice the problem.
Garlic fits into that second category. It may help by irritating the wart enough to spark an immune response and by exposing the area to compounds that have shown antimicrobial activity in lab settings. But the science is limited and mixed for common skin wartsso think of garlic as a “maybe helpful” natural approach, not a guaranteed one.
Before you try garlic: a safety checklist (seriously, read this)
If you want to use garlic on a wart, use this checklist like your pre-flight safety briefing. (Because yes, garlic can absolutely crash the plane if you overdo it.)
Do NOT use garlic on:
- Genital warts or anything in the groin area
- Warts on your face (especially near eyes)
- Skin that is open, cracked, bleeding, infected, or already irritated
- Any growth you’re not 100% sure is a wart (especially if it’s changing color, bleeding easily, or looks irregular)
Be extra cautious (or skip DIY) if you:
- Have diabetes or poor circulation (feet are higher-risk)
- Are immunocompromised (warts can be more persistent and infections riskier)
- Have a history of eczema, sensitive skin, contact dermatitis, or garlic allergy
- Are treating a child (kids’ skin is more reactiveand they’re less likely to announce “it burns” before it’s too late)
Patch test rule:
Even if you’re only treating a wart, patch test diluted/low-contact garlic on a small area of skin first. If you get strong redness, stinging, blistering, or swelling, garlic is not your wart-fighting hero.
Your garlic “wart kit”
You don’t need a laboratory. You need a few basics to keep this from turning into a regrettable science fair project:
- Fresh garlic or garlic-infused oil (store-bought is fine)
- Petroleum jelly (or a thick barrier ointment)
- Bandages or gauze + medical tape
- Cotton swabs
- Soap and water
- A disposable emery board (or a dedicated pumice stone you don’t share)
- Optional: aloe vera gel for soothing afterward
Way #1: The “10-Minute Garlic Juice Dab” (short-contact method)
Best for: Common warts on hands/fingers when you want the lowest drama option.
Why it might help: You’re exposing the wart to fresh garlic compounds without leaving them on long enough to scorch your skin.
How to do it
- Wash the area with soap and water; pat dry.
- Lightly apply a thin ring of petroleum jelly around the wart (not on top). This protects surrounding skin.
- Crush a small piece of garlic clove. Let it sit for a minute (this helps form allicin).
- Use a cotton swab to pick up the juice and dab it only on the wart.
- Leave it on for 5–10 minutes, then rinse thoroughly and pat dry.
- Apply a bland moisturizer or aloe gel afterward if your skin feels warm or tight.
Schedule
Try once daily for 1–2 weeks. If skin stays calm, you can continue up to 4–6 weeks. If you get burning, intense redness, blistering, or peeling beyond the wart itselfstop.
Way #2: Buffered Garlic Paste Under a Bandage (the “controlled contact” approach)
Best for: Thicker common warts that seem unimpressed by gentle dabbing.
Why it might help: A paste increases contact, but buffering and limiting time reduces the risk of a chemical burn.
How to do it
- Clean and dry the area.
- Protect surrounding skin with petroleum jelly.
- Make a tiny paste: crushed garlic mixed with a small amount of petroleum jelly (think: “spicy hummus,” but please don’t eat it).
- Apply the paste only to the wart.
- Cover with a small bandage or gauze.
- Leave on for 20–30 minutes the first time.
- Remove, rinse well, and dry.
Schedule
Every other day for the first week. If your skin tolerates it, you can move to once dailystill keeping contact time under 30–45 minutes. More time is not “more effective”; it’s often just “more burn.”
Pro tip
If the wart is on a fingertip and you’re tempted to wrap it tightly: don’t. Tight occlusion + raw garlic is where many DIY stories take a sharp turn into “urgent care.”
Way #3: Garlic-Infused Oil Spot Treatment (the “less spicy, more steady” method)
Best for: Sensitive skin, or anyone who tried raw garlic and realized their skin has strong opinions.
Why it might help: Infused oil is typically less irritating than raw crushed garlic while still delivering garlic compounds over time.
How to do it
- Wash and dry the wart area.
- Apply a protective ring of petroleum jelly around the wart.
- Dip a cotton swab into garlic-infused oil and dab a thin layer onto the wart.
- Let it sit for 15 minutes, then wipe off excess. (You can also leave a very thin layer on if your skin tolerates it.)
- Cover with a breathable bandage if the wart is in a high-friction area.
Schedule
Once daily for 4–6 weeks. This is the tortoise approach. It’s not flashy, but it tends to be kinder.
Way #4: Garlic + “Daytime Duct Tape” (gentle occlusion without going nuclear)
Best for: Warts that get rubbed constantly (hands, feet) and need protection from friction and picking.
Why it might help: Occlusion can soften the wart and may help your body’s immune response. Using garlic underneath is a folk-remedy twistbut the key is short duration to avoid irritation.
How to do it
- Start with either the short dab method (Way #1) or a buffered paste (Way #2).
- After rinsing and drying, place a small piece of duct tape over the wart.
- Leave it on for 3–6 hours (not overnight at first).
- Remove tape, wash gently, and let the skin breathe.
Schedule
3–4 days per week for 3–6 weeks. If your skin is calm, you can increase frequency. If you get irritation from tape adhesive, switch to a different bandage or medical tape.
Way #5: Diluted Garlic Soak + Gentle Filing (for plantar warts that feel like stepping on LEGO)
Best for: Plantar warts on feetespecially if the skin is thick and hard.
Why it might help: Soaking softens thick skin, and gentle filing removes dead layers so any topical approach can reach the wart better. Diluted garlic reduces burn risk compared to raw paste.
How to do it
- Fill a basin with warm (not hot) water.
- Add a small amount of crushed garlic (1–2 cloves) and stir. You’re making a mild soak, not garlic soup.
- Soak the foot for 10 minutes.
- Pat dry.
- Gently file the wart surface with a disposable emery board (do not share tools; do not file until bleeding).
- Finish with either garlic-infused oil (Way #3) or a very short dab (Way #1).
Schedule
2–3 times per week. Plantar warts often take patiencethink weeks, not days.
How long does garlic take to work on warts?
With evidence-backed OTC treatments like salicylic acid, many people treat daily for weeks. Garlic isn’t as standardized, so timelines vary. In general:
- You may see subtle changes (whitening, softening, rough layers shedding) in 1–2 weeks.
- Meaningful shrinking often takes 3–6+ weeks.
- If nothing changes after 6 weeksor irritation keeps happeningit’s reasonable to stop and switch strategies.
What “progress” looks like
- The wart surface looks less rough
- Black dots (tiny clotted vessels) become more visible, then reduce
- The wart flattens gradually
- Skin lines start to return (especially on hands)
When to stop DIY and see a clinician
Garlic is a kitchen ingredient, not a dermatology license. Consider professional evaluation if:
- The wart is on your face or genitals
- It’s painful, bleeding, or rapidly changing
- You’re not sure it’s a wart (some skin cancers can mimic warts)
- It spreads quickly or multiplies
- You’ve tried consistent at-home treatment for 6–8 weeks with no improvement
- You have immune suppression, diabetes, or poor circulation
Clinicians can offer options like cryotherapy, stronger topicals, or other targeted therapiesoften with faster and more predictable results than DIY.
How to keep warts from spreading (to you or your household)
HPV that causes common and plantar warts can spread via direct contact and shared surfaces. If you’re treating a wart, also do these practical things:
- Don’t pick at the wart (that’s basically inviting it to move to a new neighborhood).
- Keep it covered in communal spaces (gym, pool, shared showers).
- Use a separate towel for the area if possible; don’t share razors or nail tools.
- If you file a wart, use disposable tools or clean thoroughlyand wash hands after.
- Wash hands after any treatment and avoid touching other skin areas immediately.
If garlic isn’t your thing: at-home options with stronger evidence
If you want “home treatment” but also want the kind of option your future self won’t side-eye, these are commonly recommended approaches:
- Salicylic acid (OTC liquids, gels, pads): used consistently, often daily, for weeks.
- Occlusion (duct tape) sometimes used alone or with OTC medication.
- OTC freezing kits: may help for some common warts, though clinic freezing is typically more effective.
Garlic can be an “adjunct” experiment, but if you’re getting irritation, these more standardized options are usually safer.
Conclusion: Garlic can helpif you treat it like a strong ingredient, not a cute hack
Garlic is powerful stuff. That’s why it can be tempting for wart removaland also why it can backfire if you slap raw crushed cloves on your skin and walk away like it’s a spa mask.
If you’re going to try garlic, keep it controlled: short contact times, protect surrounding skin, and watch closely for irritation. Give it a fair window (a few weeks), and don’t hesitate to switch to evidence-backed OTC treatments or professional care if the wart doesn’t budge.
Because the real goal isn’t “win at DIY.” The goal is: wart gone, skin intact, dignity preserved.
Experiences from the garlic-wart trenches (what people learn the hard way)
Talk to enough people about wart removal and you’ll notice a pattern: almost everyone has a story. Not always a proud story. Sometimes it’s more of a “listen, I made choices” story.
Experience #1: The optimism phase. This usually starts at about 9:47 p.m. when someone discovers a wart while mindlessly scratching their hand and decides they will absolutely handle this “naturally.” They open the fridge. They see garlic. They feel powerful. Five minutes later, they’ve got a clove taped to their finger like it’s a tiny, aromatic hat.
Experience #2: The smell negotiation. Garlic has many talents, but subtlety isn’t one of them. People often describe the first few days as a “kitchen hands” situationespecially if they’re using fresh garlic. The workaround that comes up again and again is using short contact (Way #1) instead of leaving garlic on for hours, plus washing well and using a fresh bandage. Garlic-infused oil also tends to keep the scent from turning into a full-time personality trait.
Experience #3: The impatience trap. Warts are slow. Garlic is not a magic eraser. A common mistake is escalating too fast: longer contact time, tighter wrapping, “just one more layer of tape,” and thensurpriseirritated skin around the wart. When the surrounding skin gets inflamed, the wart can actually feel more painful and look bigger, which makes people panic and apply even more garlic. That’s the DIY doom loop. The people who report the smoothest experience are the ones who treat garlic like hot sauce: a little goes a long way, and you can always add more later, but you can’t un-burn your skin.
Experience #4: The “it turned whitedid I win?” moment. Many people notice whitening or softening of the wart surface after a week or two. That can be normal, especially if you’re doing any soaking, occlusion, or gentle filing. The key is what happens next. If the wart slowly flattens and the rough texture starts shedding in layers, that’s a decent sign you’re making progress. If the skin around it is turning white, wrinkled, or tender, that’s your cue to reduce contact time or switch to a gentler method (like infused oil) and give your skin a break.
Experience #5: The “bandage logistics” reality. Warts love high-friction spotsfingers, soles, edges of toes. People often find the treatment itself is easy, but keeping a bandage on is the real boss battle. For fingers, smaller bandages changed more frequently tend to work better than bulky wraps. For feet, breathable coverage during the day is often more comfortable than aggressive overnight occlusionespecially if you’re experimenting with garlic.
Experience #6: The relief of a plan. The biggest emotional shift people describe is moving from random experiments (“garlic today, vinegar tomorrow, possibly interpretive dance on Thursday”) to a simple routine they can actually stick with. Consistency matters more than intensity. A realistic planlike short garlic dabs daily for two weeks, reassess, then continue or switchfeels calmer and often works better than going full chaotic.
Experience #7: Knowing when to quit is a skill. Some people do everything “right” and the wart still refuses to leave. That’s not a moral failing. Warts vary by type, location, immune response, and how long they’ve been around. Plenty of people eventually choose an evidence-based OTC treatment or a quick clinic visitand feel a deep peace they didn’t know was possible until the wart was gone. The most common “I wish I’d done this sooner” moment is realizing that professional treatment isn’t “giving up.” It’s just choosing the option that doesn’t involve smelling like pasta sauce while you wait for your immune system to get motivated.
If you take one lesson from these shared experiences, let it be this: use garlic in a controlled way, track your skin’s reaction, and prioritize safety over bravado. The best DIY outcome is boring: the wart fades, your skin stays calm, and you never have to tell the story at a party.