An old lawn has a special talent: it can look tired, patchy, and vaguely offended no matter how much water, fertilizer, or motivational staring you throw at it. One week it is “rustic.” The next week it is a weed convention with a little grass mixed in for nostalgia. The good news is that replacing an old lawn is absolutely doable if you approach it like a project instead of a panic attack.
The real secret is not just tossing down seed and hoping for a green miracle. A successful lawn replacement starts with figuring out why the lawn failed in the first place, fixing the soil and site problems, choosing the right grass for your region, and then following through with watering and mowing at the right time. Do that, and your yard can go from scruffy to solidly respectable.
This guide walks through the full process of replacing an old lawn, whether you plan to seed, sod, or do a mix of both. It also covers common mistakes, real-life lessons homeowners learn the hard way, and the practical steps that make the difference between a fresh new lawn and a second round of disappointment.
Why Old Lawns Fail in the First Place
Before you replace an old lawn, pause for one minute and ask the obvious question: why did this lawn go downhill? If you skip that step, you can end up installing a beautiful new lawn directly on top of the same old problems. That is the landscaping version of buying a new phone because the charger is broken.
Most struggling lawns decline for a handful of familiar reasons: compacted soil, poor drainage, too much shade, bad mowing habits, inconsistent watering, excessive thatch, nutrient imbalance, insect or disease issues, or simply the wrong grass for the site. Sometimes the lawn is not truly “dead” so much as chronically annoyed.
If your yard stays soggy after rain, has hard soil that feels like brick, or receives very limited sunlight, those issues need attention during renovation. If weeds have taken over because the turf is thin, replacing the lawn without improving density and care practices will only invite the weeds back to the grand reopening.
The Best Time to Replace an Old Lawn
Timing matters more than most people expect. Replace the lawn when your chosen grass has the best chance to establish roots quickly.
For cool-season lawns
If you live in a region where cool-season grasses dominate, such as fescue, bluegrass, or ryegrass areas, late summer to early fall is usually the best window. Soil is still warm, air temperatures are starting to ease up, and weed pressure is often lower than in spring. That combination gives seedlings a better shot at rooting before harsh weather shows up.
For warm-season lawns
If your lawn will be bermudagrass, zoysia, or another warm-season type, late spring through early summer is typically the better choice. These grasses establish best when soil and air temperatures are consistently warm and active growth is underway.
Spring can work for some lawn projects, but it is often a compromise. You are competing with weeds, racing summer heat, and relying on perfect follow-up care. If you have a choice, do not make your grass fight uphill on day one.
Step 1: Test the Soil Before You Do Anything Dramatic
If you want one grown-up move that instantly improves your odds, it is this: get a soil test. A soil test tells you what is going on with pH and key nutrients so you are not guessing your way through the repair. It can also help you avoid over-applying fertilizer, especially phosphorus, which may be unnecessary or restricted by local rules unless a soil test shows a need.
Think of soil testing as lawn renovation with receipts. Instead of buying random bags with impressive labels and a suspicious amount of exclamation points, you can make targeted decisions about lime, fertilizer, and soil amendments. That saves money and gives your new lawn a more stable start.
Step 2: Decide Whether to Renovate or Start Completely Over
Not every bad lawn needs a full wipeout. Some yards can be improved by overseeding, dethatching, aerating, and correcting maintenance problems. But when the lawn has widespread weeds, major bare areas, severe thatch, drainage issues, or the wrong grass entirely, full replacement is often the cleaner and more effective route.
A simple way to think about it is this: if the lawn still has a strong backbone of desirable grass, renovation may be enough. If it looks like a failed experiment in green confetti, starting over may save time in the long run.
Step 3: Remove the Old Lawn and Control Weeds
Once you decide to replace the lawn, clear the site. That may mean stripping old sod, physically removing dead turf, smothering unwanted vegetation, or using other approved methods based on the condition of the yard and your local guidelines. If weeds are a major problem, handle them before seeding or sodding. New grass should not have to elbow its way through established competition.
Some homeowners try to rush this step and end up laying seed over debris, thatch, weed roots, or compacted soil. That is how you create a lawn that looks “pretty good from the upstairs window” and nowhere else. Clean removal gives you a real starting line.
Step 4: Fix Grading, Drainage, and Compaction
This is the unglamorous part, which is probably why it matters so much. If water collects in low spots, if the yard slopes toward the house, or if the soil is so compacted that roots struggle to penetrate, fix those issues now. Once the lawn is in, major corrections become expensive and annoying.
Rake the area smooth and establish the final grade before planting. Fill low spots, break up compacted zones, and core-aerate if the soil is tight. If thatch is excessive, remove it before proceeding. A thick thatch layer can block air, water, and seed-to-soil contact, which is terrible news for new turf.
Your goal is a surface that is smooth, firm, and ready to support roots. Not lumpy, not swampy, and not one good rain away from becoming a topographic map.
Step 5: Prepare the Soil Properly
Good lawns begin below ground. Incorporate soil amendments only if your test indicates they are needed. If lime, nutrients, or organic matter are recommended, mix them into the upper soil layer during preparation. This is also the time to remove rocks, construction debris, and the mysterious buried objects that every yard seems to be hiding.
After amendments are worked in, rake the surface smooth. The seedbed or sod bed should be even and settled enough that you are not leaving deep footprints everywhere. A properly prepared site improves seed germination, sod rooting, drainage, and long-term uniformity.
Step 6: Choose the Right Grass for Your Yard
The best grass is not the one that looked amazing in somebody else’s neighborhood two states away. It is the one that fits your climate, sunlight, maintenance goals, and how you actually use the yard.
If your lawn gets full sun
You have more options. Many cool-season and warm-season species perform well in sunny sites when the climate matches. Sun gives you flexibility, which is nature’s way of apologizing for mosquitoes.
If your lawn gets shade
Be realistic. Shade is one of the biggest reasons lawn replacement struggles. Choose a more shade-tolerant grass where appropriate, reduce expectations for ultra-dense turf, and consider whether some areas are better suited for groundcovers, mulch, or garden beds instead of forcing a lawn where a lawn clearly does not want to live.
If you want fast results
Sod gives instant coverage and helps on slopes or areas prone to erosion. Seed is less expensive and offers more cultivar choices, but it demands closer watering and more patience. Hydroseeding can land somewhere in the middle depending on the site and budget.
Step 7: Seed or Sod the New Lawn
How to seed a new lawn
Spread seed evenly, usually in two passes at right angles to each other for better coverage. Lightly rake so the seed is covered just enough to improve seed-to-soil contact without burying it too deeply. A very light mulch layer can help reduce moisture loss, especially in warm or windy conditions.
Do not just fling seed onto hard ground and hope for a miracle. Grass seed needs contact with the soil and steady moisture to germinate well. If you skip either one, you are basically feeding birds with extra steps.
How to install sod
Moisten the prepared soil lightly before laying sod. Stagger the seams like bricks, press the pieces snugly together, and use a light roller to improve root contact with the soil. Fresh sod should be kept moist but not waterlogged while it roots in. After about 10 to 14 days, a gentle tug test can tell you whether it has anchored.
Step 8: Water Like You Mean It, Not Like You Are Guessing
New lawns fail most often in the follow-through stage. With seed, the surface must stay consistently moist during germination and early establishment. That usually means light, frequent watering rather than deep, infrequent soakings at first. The goal is moisture, not puddles, runoff, or accidental mud farming.
With sod, keep the root zone moist while the sod knits into the soil, then gradually reduce frequency as rooting improves. Wet enough to support rooting, not so wet that the lawn turns squishy and oxygen-starved.
As the lawn matures, shift toward deeper, less frequent irrigation. Baby the lawn forever and it may stay shallow-rooted and needy. Nobody wants high-maintenance grass with a diva complex.
Step 9: Mow and Feed at the Right Time
Do not mow too early. Seeded lawns should be allowed to germinate and establish before the first mow, and sod should be rooted well enough that it resists lifting. Use a sharp mower blade and follow the one-third rule: do not remove more than one-third of the blade height in a single mowing.
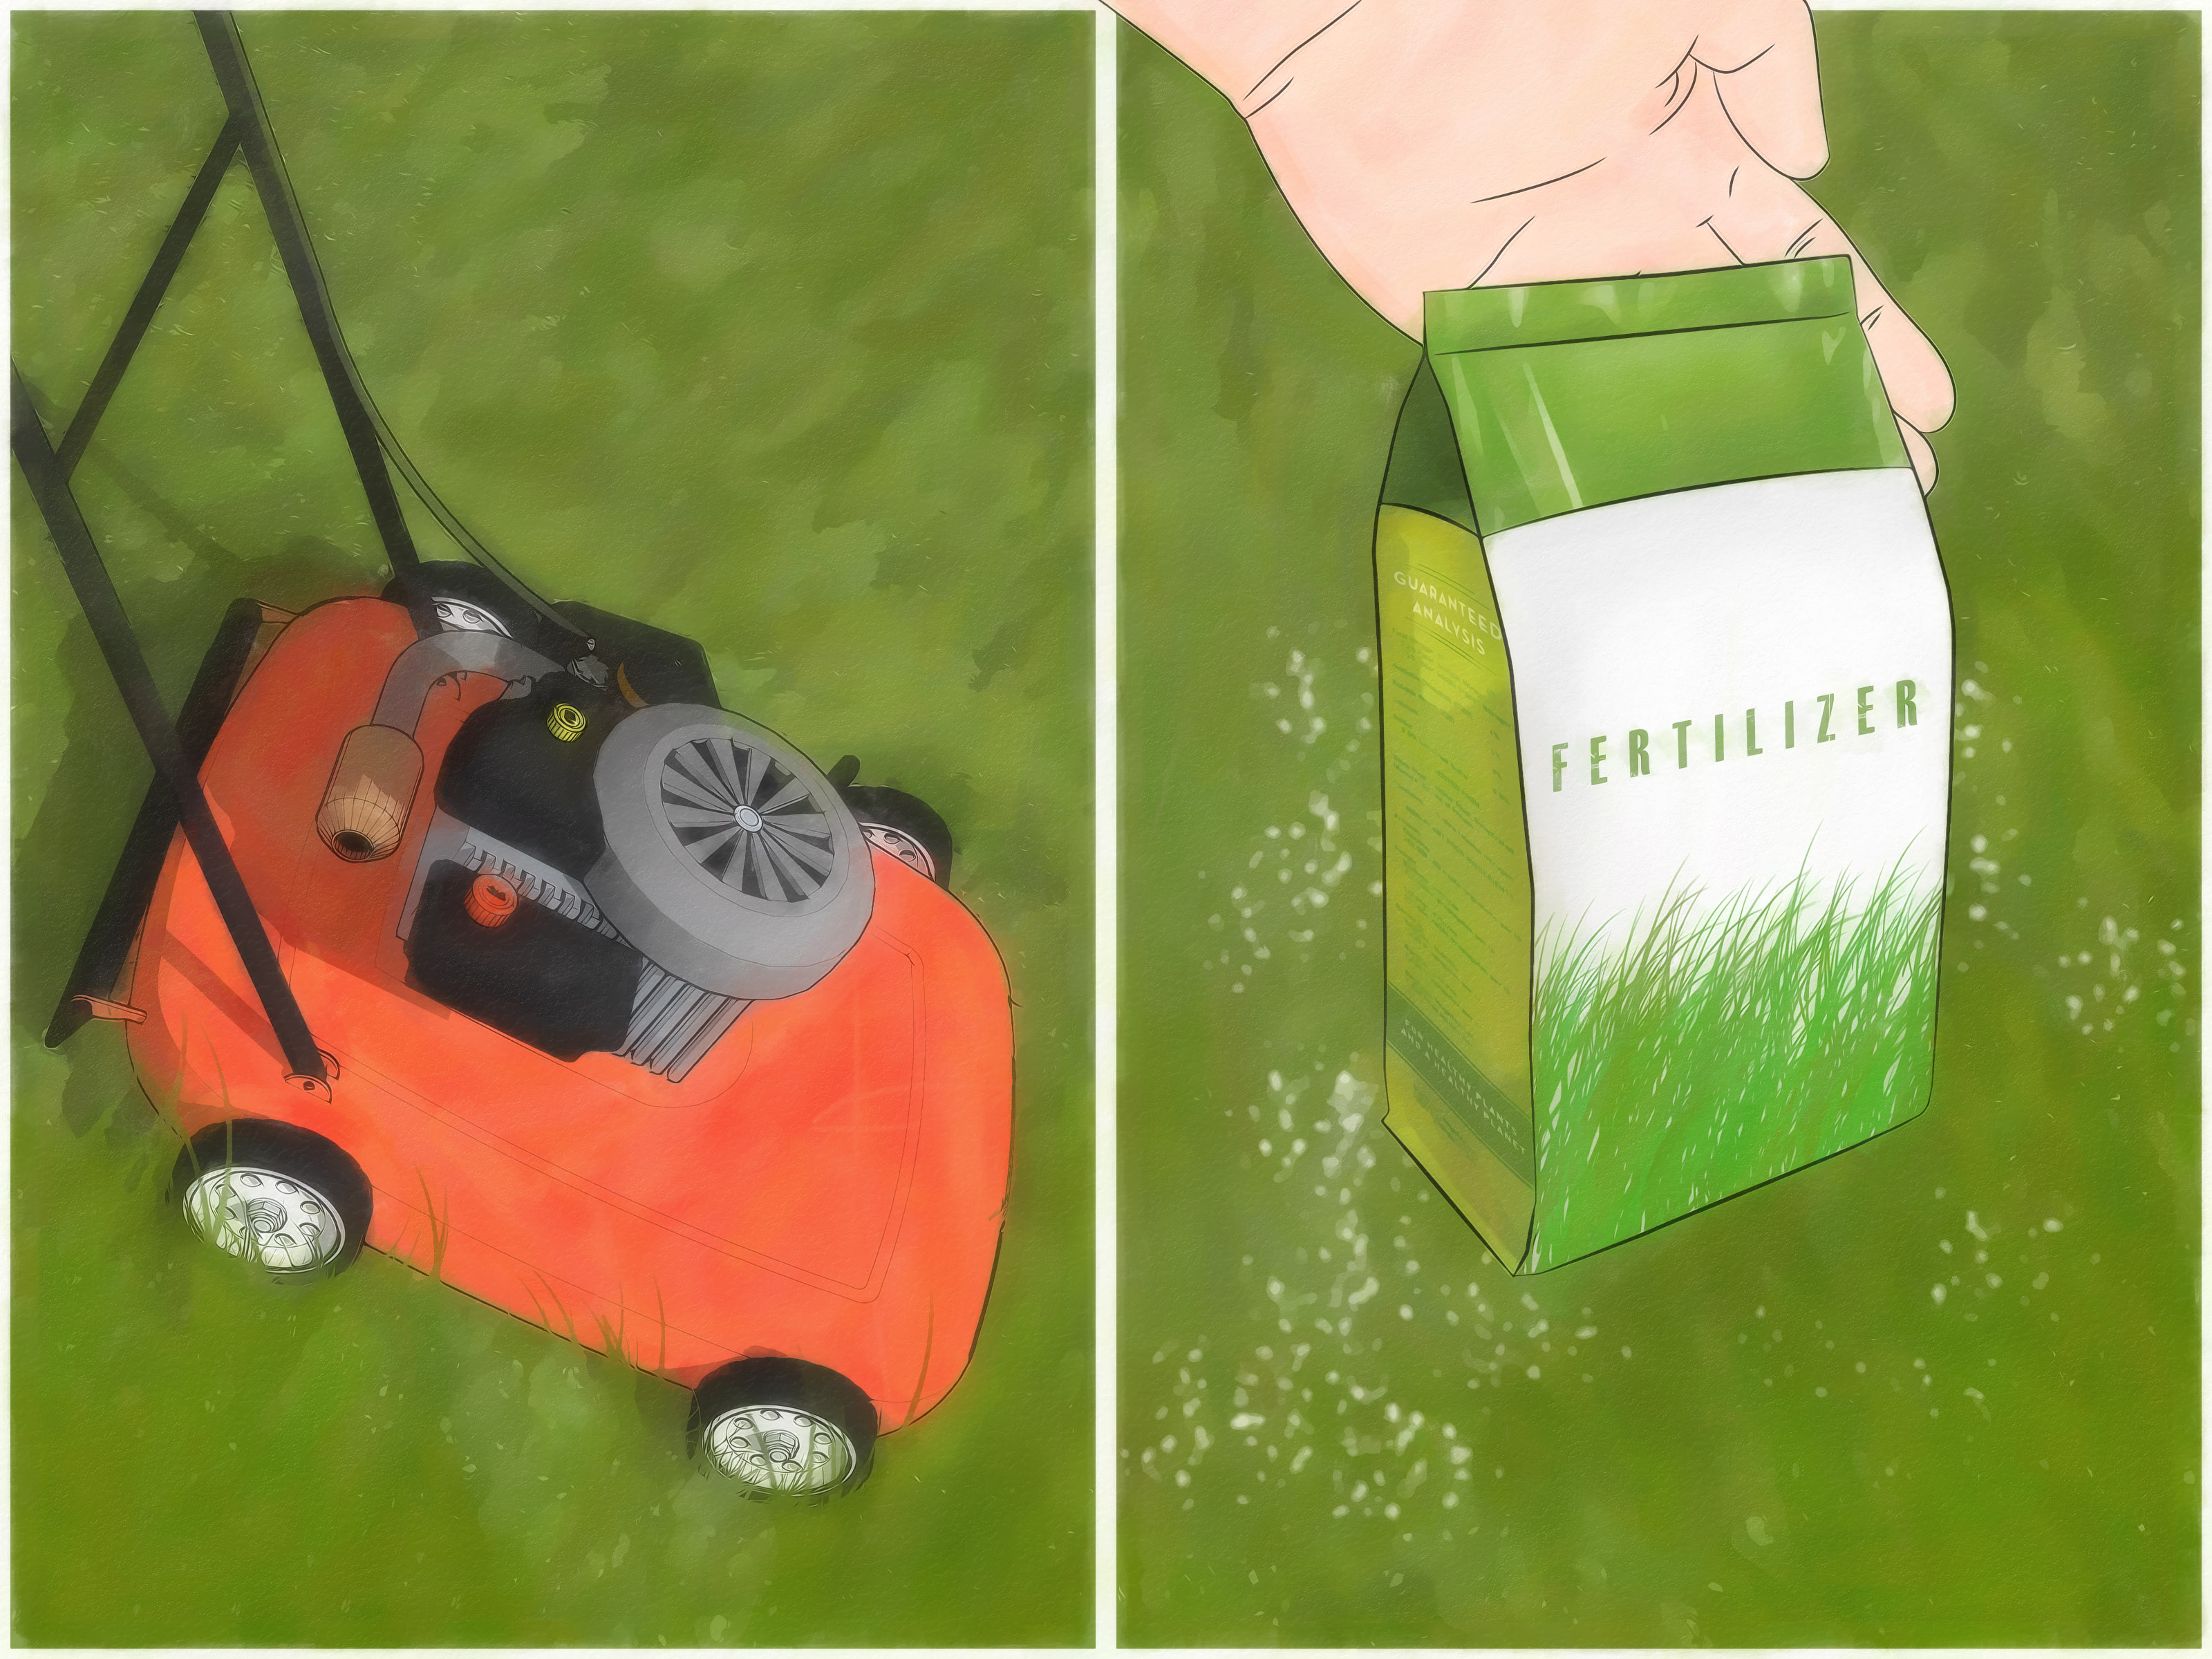
As for fertilizer, use your soil test as the guide. Starter fertilizer may make sense during establishment where allowed and where the soil test supports it, but do not assume more fertilizer equals better grass. Too much can create lush top growth without strong roots, or cause environmental problems you definitely do not want washing into storm drains.
Common Mistakes That Ruin a Lawn Replacement
- Skipping the soil test and treating the yard like a mystery box.
- Replacing the lawn without fixing shade, drainage, or compaction problems.
- Planting at the wrong time of year for the grass type.
- Leaving too much thatch or debris between seed and soil.
- Using pre-emergent weed control right before seeding.
- Watering too little during germination or too much after establishment begins.
- Mowing too soon or mowing too short.
- Choosing a grass based on wishful thinking instead of site conditions.
Seed vs. Sod: Which One Is Better?
Seed is usually the budget-friendly option and offers flexibility in grass selection. It is excellent for large areas and full-lawn replacement if you can commit to careful watering. Sod costs more, but it provides instant visual payoff and is often better for steep slopes, erosion-prone areas, or homeowners who want the yard to look finished faster.
Neither option is magic. Seed is not lazy-man’s sod, and sod is not cheat-code grass. Both work when installed correctly on a well-prepared site. Both struggle when slapped onto bad soil and ignored.
How Long Does It Take to Replace an Old Lawn?
The physical work may take a weekend or several weekends depending on yard size, but the lawn itself needs time to establish. Seeded lawns require patience during germination and early growth, while sodded lawns need time to root in before they truly behave like an established lawn. In other words, you can finish the project before the lawn finishes becoming itself.
Plan for a season of monitoring rather than a one-day transformation. The best lawns are usually the result of good prep followed by boring consistency, which is not thrilling advice, but it is honest.
Real-World Experiences and Lessons From Replacing an Old Lawn
One of the most common homeowner experiences is discovering that the old lawn was not “randomly bad.” It usually failed in patterns. The grass near the driveway baked in reflected heat. The back corner stayed wet for days after rain. The area under the maple tree never thickened because the shade was too dense. Once people start noticing those patterns, the replacement plan gets smarter. Instead of treating the whole yard like one identical surface, they begin matching solutions to conditions. That is when the project stops being a guessing game.
Another common lesson is that soil preparation feels slow until you compare it with the misery of skipping it. Homeowners who rush often say the same thing later: they wish they had spent one extra day removing debris, smoothing the grade, and loosening compacted areas. The lawn might still come in, but uneven settling, thin patches, and drainage headaches show up quickly. By contrast, people who take time to prep the site usually describe the rest of the process as much easier, even if the up-front work felt tedious.
Watering is where confidence tends to wobble. Many first-timers either underwater because they do not want to “overdo it,” or overwater because they are terrified of losing seed. The experience most people report is that checking the soil matters more than following a rigid schedule. If the surface is drying during germination, water sooner. If the ground is staying soggy, back off. New lawns reward attention, not panic. A sprinkler timer can help, but your eyes and your hand in the soil are still useful tools.
People also learn quickly that lawn replacement is not only about installing grass; it is about changing habits. The homeowner who scalped the old lawn too short often gets a second chance with the new one and discovers that mowing higher improves shade over the soil, helps roots, and reduces weed pressure. The person who watered every evening “because it felt right” may switch to a more thoughtful routine. The yard becomes better partly because the maintenance gets better.
There is also an emotional side to replacing an old lawn that nobody mentions in the garden center. A rough yard can make the entire property feel neglected, even if the house is in good shape. When the lawn finally fills in, people often say the whole place looks cleaner, brighter, and more cared for. It changes how they use the space. Kids go outside more. Patio furniture comes out. Neighbors suddenly have opinions. Even a modest, practical lawn can make the yard feel finished again.
Perhaps the biggest real-world takeaway is this: the best results usually come from realistic expectations. Not every yard can support a flawless golf-course look, and that is perfectly fine. A durable, healthy lawn that fits the site is a much better goal than a fragile showpiece that needs constant rescue. Homeowners who accept that tend to be happier with the outcome and spend less time fighting nature. That is a pretty good trade.
Conclusion
Replacing an old lawn is not just about getting rid of ugly grass. It is about correcting the underlying issues, preparing the site properly, and giving new turf the best possible start. Test the soil, fix drainage and compaction, choose the right grass, install it carefully, and follow through with smart watering and mowing. Do those things, and the new lawn has a real chance to thrive instead of merely surviving.
And remember: a lawn does not need to be perfect to be successful. It just needs to be healthy, appropriate for the site, and good enough that you stop apologizing for it every time someone walks past your front yard.