A miniature resin pond is one of those tiny projects that can make a whole scene feel bigger, moodier, and strangely magical. Add one to a fairy garden, tabletop diorama, model railroad corner, dollhouse landscape, or fantasy build, and suddenly your tiny world has atmosphere. It says, “Yes, little frogs probably live here, and yes, someone definitely skipped a very small stone across this water at sunset.”
The good news is that making a miniature resin pond is not reserved for professional model makers with sixteen drawers of specialty tools and a suspiciously calm attitude. With the right prep, a little patience, and a firm refusal to rush the curing stage, you can create a pond that looks glossy, deep, and realistic. The trick is not pouring a giant blob of resin and hoping for cinematic results. The trick is building the illusion: depth through paint, realism through texture, and clarity through careful layering.
This guide walks you through 14 practical steps for making a miniature resin pond that actually looks like water instead of a craft accident. Along the way, you will learn how to shape the pond bed, seal porous materials, avoid bubbles, add color without making the water look like neon sports drink, and finish the banks so the scene feels believable from every angle.
What You Need Before You Start
- Two-part epoxy resin or clear casting resin suitable for small crafts
- Nitrile gloves, eye protection, and good ventilation
- Disposable mixing cups and stir sticks
- Mini pond base, foam board, clay, plaster, wood, or a premade diorama base
- Acrylic paints in dark brown, black, olive, green, gray, and tan
- Small rocks, sand, gravel, twigs, moss, static grass, or miniature plants
- Clear acrylic sealer or craft sealer for porous surfaces
- Craft glue for scenery details
- Tweezers, hobby knife, and small brushes
- Heat gun, small torch, or toothpick for bubble removal
- Level surface and a dust cover such as a storage bin or box
How to Create a Miniature Resin Pond in 14 Steps
Step 1: Decide What Kind of Pond You Want
Start with the story before the supplies. Is this a peaceful garden pond with lily pads? A murky woodland pool hidden behind roots and moss? A fantasy shrine pond with glowing blue water? The look you want affects your color palette, bank shape, and the amount of surface texture you will add later. A koi pond tends to have cleaner edges and clearer water. A forest pond looks better with darker tones, uneven banks, and bits of debris tucked into the shallows.
Step 2: Sketch the Shape and Scale
Draw the pond shape directly onto your base. Organic shapes usually look more convincing than perfect circles unless you are making a formal man-made pond. Keep the scale in mind. A pond that looks dramatic in your hand may look like a sinkhole once it is placed beside tiny benches, figures, or trees. For most miniature scenes, slightly irregular oval or kidney shapes feel more natural and easier to landscape.
Step 3: Carve or Build the Pond Basin
Create a shallow depression where the resin will sit. You can carve into foam, build up edges with air-dry clay, or shape a basin with plaster. Do not make it too deep unless your resin is specifically designed for deeper pours. In many miniatures, the illusion of depth matters more than actual depth. A shallow cavity with smart paintwork often looks better than a deep pour that overheats, clouds, or traps bubbles like it is collecting tiny panic attacks.
Step 4: Seal Every Porous Surface
This step is boring, unglamorous, and absolutely essential. Foam, plaster, bare wood, sand, paper, and many natural materials can release air into resin or absorb it unevenly. That leads to bubbles, cloudiness, or weird cure issues. Brush or spray on a clear acrylic sealer and let it dry completely. If you are using paper details, painted pieces, or soft landscaping materials near the waterline, give them more than one coat if needed. Sealing first saves you from staring into your pond later and wondering why it looks like carbonated swamp water.
Step 5: Paint the Pond Bottom for Depth
Before any resin goes in, paint the inside of the basin. This is where realism starts. Use the darkest color in the center or deepest section, then blend outward into softer browns, greens, and muddy tans near the shore. A little black mixed into brown works beautifully in the middle. Olive, mossy green, and earth tones along the edges make the pond feel natural. You can even dry-brush a few lighter patches to suggest silt, stone, or shallow shelves beneath the water.
Step 6: Add Rocks, Sand, and Shoreline Details
Glue down larger rocks first, then add finer gravel, twigs, broken bark, roots, or coarse sand around the edge. Keep the underwater area restrained. A few details go a long way. If every square inch of the pond floor is packed with stuff, the eye stops reading it as water and starts reading it as “someone dropped the contents of a craft drawer.” Place details where nature would: more debris near edges, fewer pieces in the deeper center, and a little asymmetry everywhere.
Step 7: Let Every Glue Layer Dry Completely
Resin and impatience are terrible roommates. If your glue is still damp, the resin can turn cloudy or react badly around the scenery. Let glued materials dry all the way through, not just “looks fine from across the room” dry. If you added moss, static grass, or tiny plants at the bank, make sure those are stable too. A miniature pond should feel intentional, not like it was assembled during a dramatic weather emergency.
Step 8: Run a Small Resin Test Batch
Before pouring the real pond, mix a tiny test batch according to your product instructions. This confirms your resin is behaving normally, your workspace is warm enough, and your mixing method is solid. Most beginner resin problems come from incorrect measuring, under-mixing, or working in a cold room. Mix slowly but thoroughly, scraping the sides and bottom of the cup. A careful stir is good. Whisking like you are beating eggs for breakfast is not.
Step 9: Pour a Thin First Coat
The first pour should be thin. Think of it as a sealing coat for the pond interior and submerged details. This layer helps lock in small materials and lets trapped air escape more easily. Pour slowly into one area and allow the resin to spread outward instead of flooding the entire cavity at once. If your product has a recommended maximum pour depth, respect it. Resin does not reward bravado. It rewards people who read labels and do not improvise with chemistry.
Step 10: Remove Bubbles Right Away
Once the first layer is in, inspect the surface closely. Pop visible bubbles with a toothpick, or pass a heat gun or torch lightly over the top if your resin instructions allow it. Keep the heat moving. You are encouraging bubbles to leave, not auditioning for dragon trainer school. You can also gently tap the base to help trapped air rise. If you are embedding small rocks or branches, check around them carefully, because bubbles love to hide in crevices like tiny transparent introverts.
Step 11: Build Depth with Additional Layers
After the first layer cures as directed, add more resin in thin pours until you reach the look you want. This is also the stage for subtle tinting. Use transparent resin dye or the tiniest amount of compatible colorant if you want greenish, tea-stained, or blue fantasy water. Go slowly. A little tint creates depth. Too much makes the pond look like melted hard candy. If you want very clear water, skip the tint and let your painted base do the heavy lifting.
Step 12: Add Midwater or Floating Elements Carefully
If you want lily pads, leaves, petals, koi, reeds, or a half-submerged branch, layer them with intention. For floating details, let a lower layer partially cure before placing them so they do not sink. For submerged details, place them between cured or semi-cured layers. This creates convincing dimension. A dragonfly wing resting near the edge, a few leaf fragments in the shallows, or one half-sunken twig can make the pond feel more alive than a dozen random accessories ever will.
Step 13: Create Surface Texture Only if the Scene Needs It
Not every pond should have dramatic ripples. A still pond often looks more realistic in miniature because scale naturally softens movement. But if your scene needs a breeze, a splash zone, or a small waterfall feed, add texture sparingly on top of a fully cured resin surface using a clear water-effect gel or similar product. Use a brush or sculpting tool to pull tiny ripples outward. Less is more. Giant waves on a fairy pond look less “nature” and more “tiny offshore storm warning.”
Step 14: Finish the Banks and Let the Whole Piece Cure Undisturbed
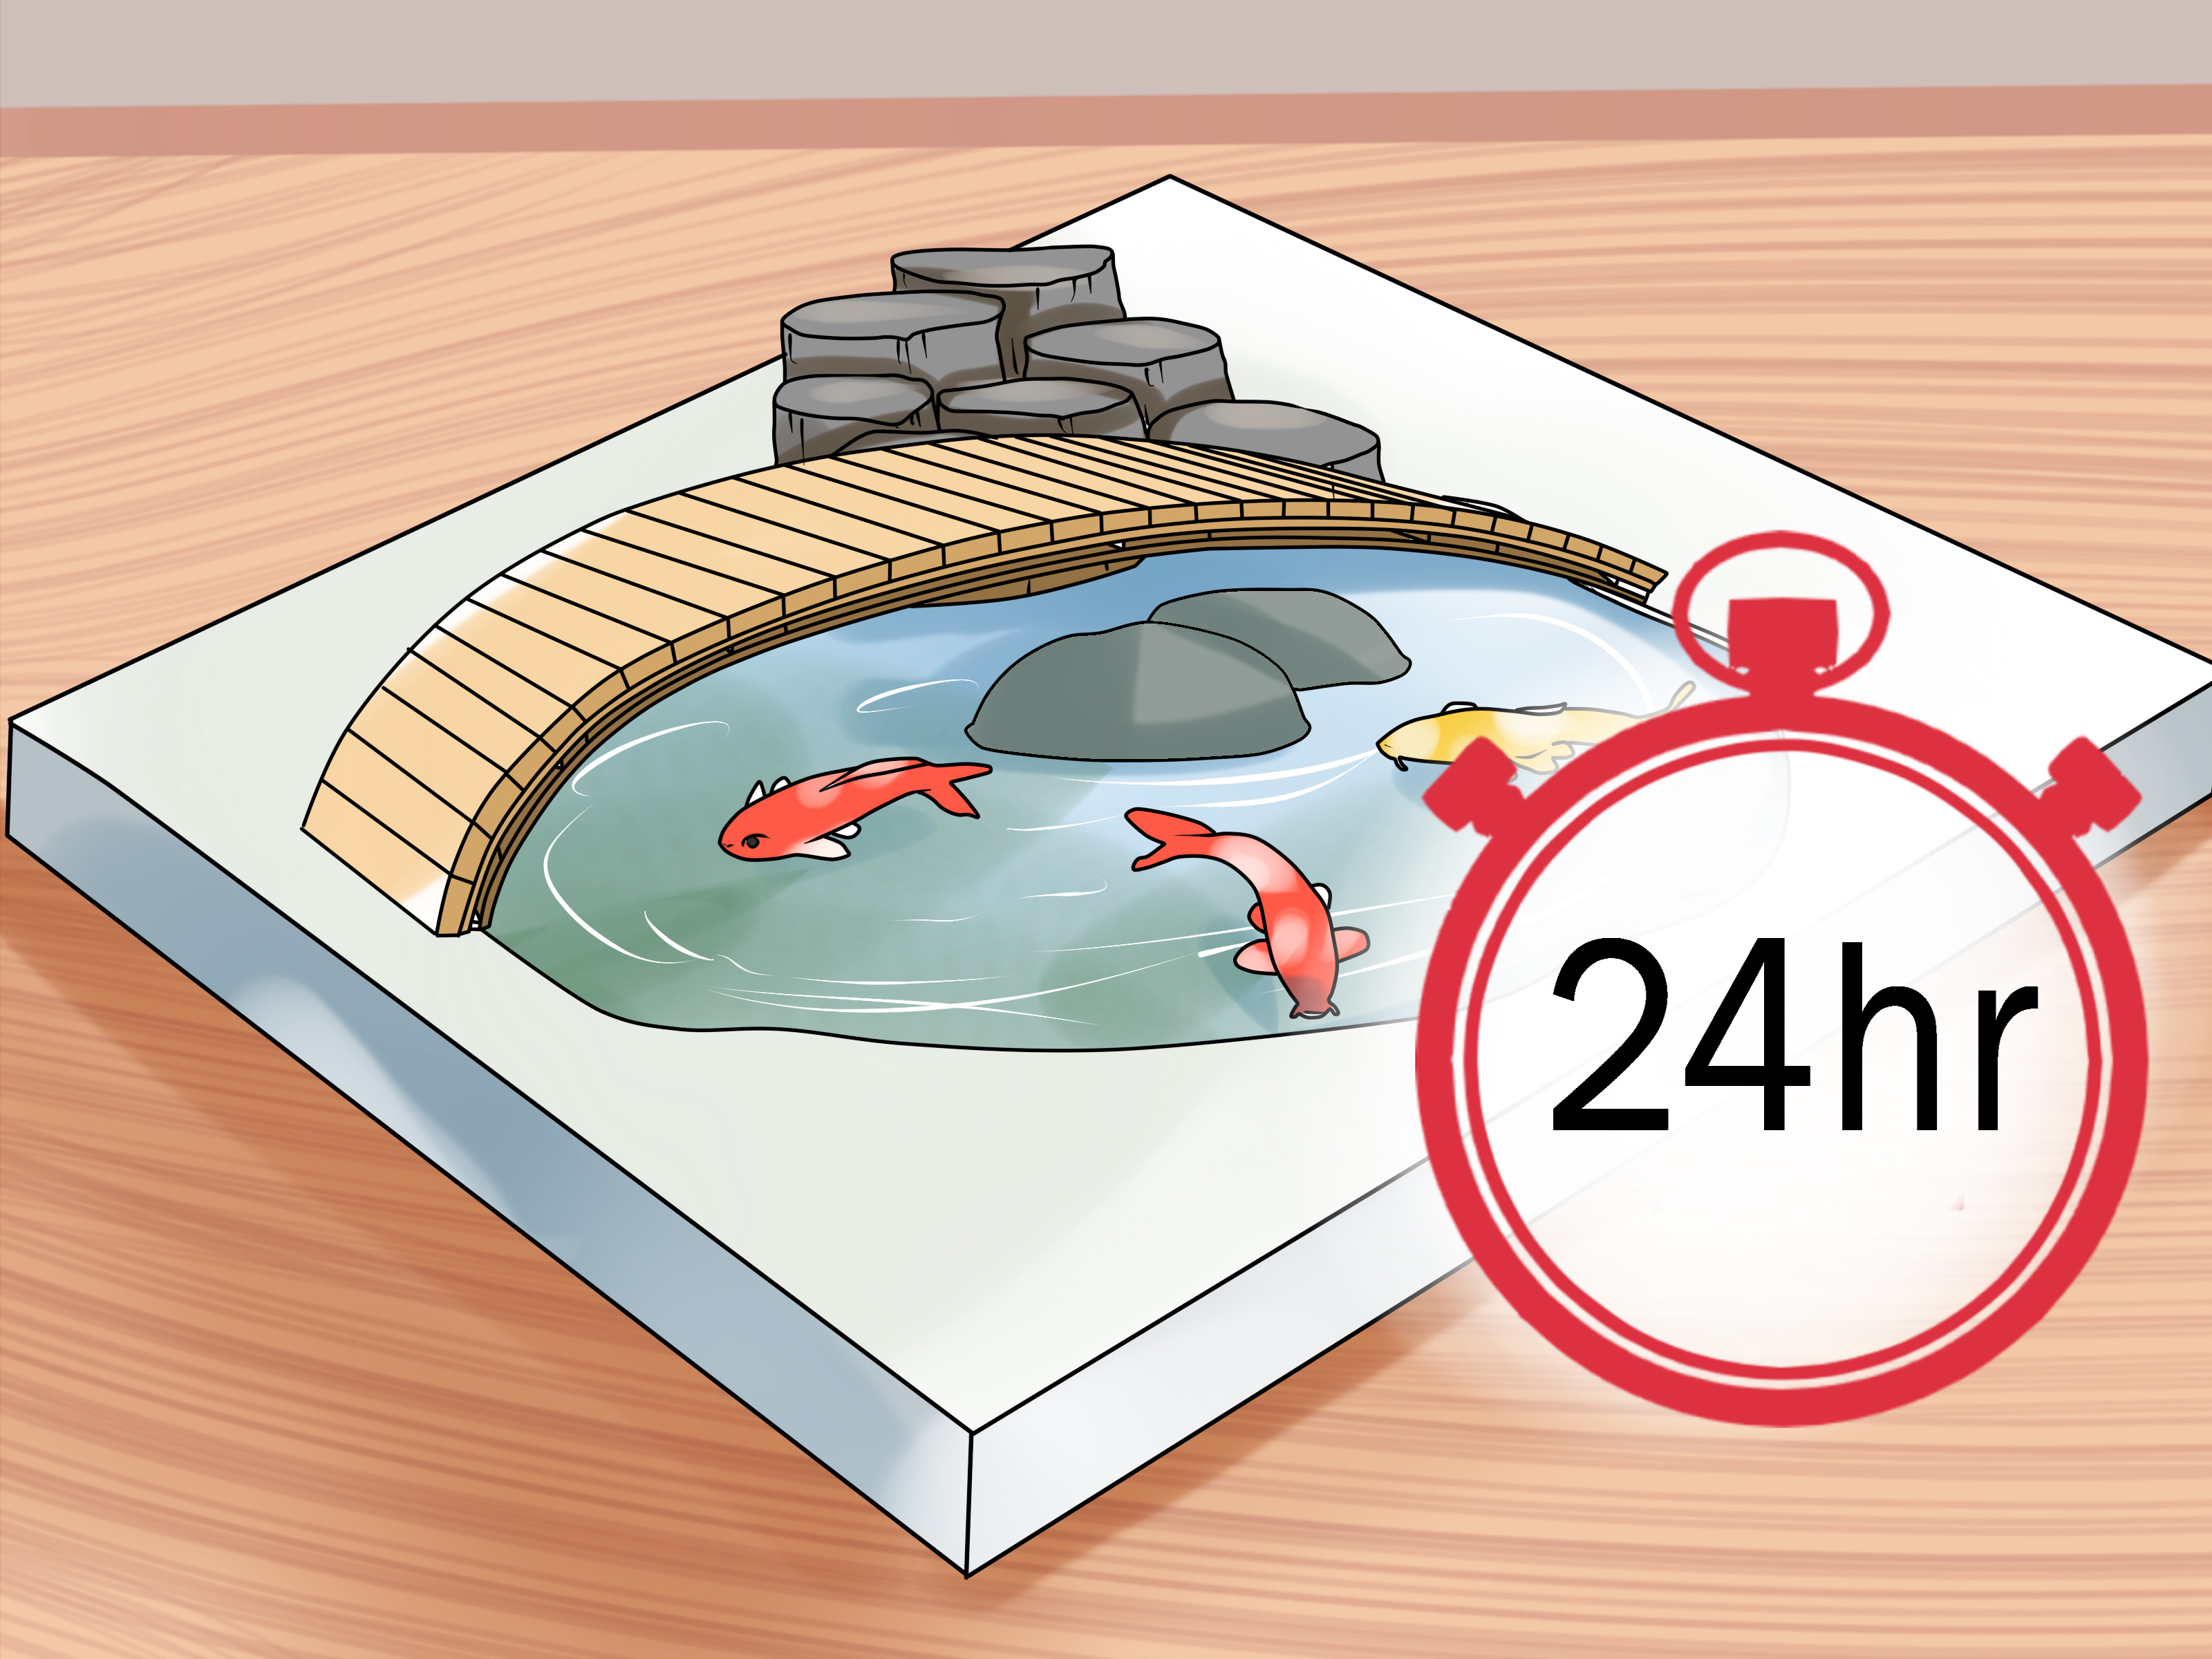
Once the water is done, blend the pond into the scene. Add grass tufts, fine turf, tiny flowers, reeds, flat stones, or weathered wood around the perimeter. This transition zone matters. Clean pond edges can work for a formal garden, but most natural ponds need irregular banks so the water feels nestled into the landscape. Then cover the whole piece to protect it from dust and let it cure fully. Do not poke it. Do not “just check one corner.” Resin remembers everything.
Common Mistakes That Ruin a Miniature Resin Pond
Skipping the sealer: This is the fastest route to bubbles and cloudy patches.
Pouring too thick: Deep pours can overheat, yellow, crack, or cure unevenly if the resin is not designed for them.
Using too much pigment: Heavily tinted resin can hide the beautiful depth work you painted underneath.
Working in a cold room: Cold resin traps bubbles and may cure slowly or poorly.
Adding scenery too early: Damp glue, wet paint, or uncured sealers can interfere with clarity.
Overdecorating the pond floor: A few strong details feel real; clutter feels staged.
Miniature Resin Pond Ideas to Try
- Fairy garden pond: soft green tint, pebbled edge, miniature mushrooms, and a tiny bridge
- Woodland pool: dark center, muddy banks, roots, moss, and fallen leaves
- Japanese-style garden pond: smooth stones, neat edge planting, and clear reflective water
- Fantasy pond: glowing pigments, crystals, oversized lily leaves, and magical blue tones
- Rain puddle diorama: shallow basin, mirror-like finish, and wet-looking mud around the edge
Final Thoughts
Creating a miniature resin pond is really a lesson in illusion, restraint, and patience. The best ponds are not always the deepest or flashiest. They are the ones that quietly make the whole scene believable. When the shore looks natural, the bottom looks deep, the surface catches the light just right, and the tiny plants seem to lean toward the water, the pond stops feeling like a craft element and starts feeling like a place.
So take your time, seal everything, pour in layers, and let the details do the storytelling. Miniature water is one of the most satisfying effects in model making when it works well. And when it works really well, people lean in closer, squint a little, and say the greatest compliment in all of crafting: “Wait… is that real water?”
Workbench Notes: What Experience Teaches You About Miniature Resin Ponds
If you make more than one miniature resin pond, you start noticing a pattern: the project is never really about the resin alone. It is about everything that happens before the resin touches the scene. Beginners often imagine the water effect is the star of the show, but experienced makers learn that the real magic happens in the groundwork. The carved shape, the painted depth, the sealed surfaces, the dry-fit rocks, and the careful waiting all matter more than people expect. In other words, the glamorous part is the pour, but the realistic part is the prep.
One of the most useful lessons is that shallow ponds often look better than deep ones. That sounds backward until you see it in practice. In miniatures, a well-painted shallow basin can look surprisingly deep once the clear resin goes over it. The eye reads the dark center and glossy finish as depth, even when the actual cavity is modest. This is wonderful news because it means fewer problems with overheating, fewer trapped bubbles, and less money poured into a tiny pond no squirrel will ever drink from.
Another common experience is learning to respect drying time. Nearly every hobbyist has tried to rush a pond at least once. Maybe the glue under the pebbles seemed dry enough. Maybe the paint was probably fine. Maybe the room was a little chilly, but how much could that matter? Quite a lot, as it turns out. Cloudiness, weird soft spots, drifting debris, and stubborn bubbles all love a rushed project. The makers who get the clearest ponds are not always the most talented; they are often just the most patient.
There is also a strong temptation to overdo the details. The first time you build a pond, every pebble feels precious. You want reeds, lily pads, fish, leaves, moss, a tiny frog, a half-sunken log, and perhaps a dramatic heron if your scale allows. But experience teaches restraint. A pond becomes more believable when there is breathing room. A single branch near the shore can tell a stronger story than ten random decorations. Real water usually has focal points, not visual traffic jams.
Makers also discover that resin behaves differently depending on the season, the room, and even the brand. A method that worked perfectly in July may act grumpy in January. A product that cures crystal clear in one space may produce more bubbles in another if the room is cooler. That is why seasoned crafters test small batches, warm materials gently when needed, and follow the specific instructions on the resin label rather than relying on one-size-fits-all advice from the internet. Resin is helpful, but it does have opinions.
Perhaps the best part of making miniature ponds is the moment the surface finally cures and starts catching the light. Suddenly the painted bottom deepens, the stones look wet, and the whole scene feels stitched together. It is one of the rare miniature effects that changes not just one feature, but the mood of the entire build. The area around the pond becomes more interesting because water naturally draws the eye. Even a simple scene looks richer once it has a reflective focal point.
So if your first pond is not perfect, welcome to the club. Every small mistake teaches something useful: how little pigment you really need, how much sealer is enough, how slowly to mix, and how much better the bank looks after one extra pass with fine turf. That is the beauty of miniature work. The projects are small, but the lessons are big, and every pond makes the next one better.