Saving spaghetti squash seeds is one of those gardening projects that feels almost too easylike the squash is trying to hand you next year’s garden in a neat little spoonful of pulp. You slice open a mature spaghetti squash, scoop out the seeds, rinse them, dry them, store them, and suddenly you are not just a gardener anymore. You are a tiny seed-bank manager with dirt under your fingernails and big plans for spring.
Still, there is a right way and a “why did my seeds turn fuzzy in the jar?” way to do it. Spaghetti squash seeds need to come from the right kind of fruit, be cleaned properly, dried thoroughly, labeled clearly, and stored in the right conditions. If you want the plants you grow next season to look, taste, and behave like the spaghetti squash you loved this year, you also need to understand pollination, hybrids, and why squash plants are basically the social butterflies of the vegetable garden.
This guide explains how to save spaghetti squash seeds step by step, how to avoid common mistakes, how long the seeds last, and what real-life experience teaches you after a few seasons of trial, error, and discovering that “dry enough” is not the same as actually dry.
Can You Save Seeds from Spaghetti Squash?
Yes, you can save seeds from spaghetti squash. The process is simple, but the results depend on where the squash came from and how it was grown. Spaghetti squash belongs to the Cucurbita pepo group, the same broad species that includes many zucchini, summer squash, acorn squash, and some pumpkins. That matters because varieties within the same species can cross-pollinate.
Cross-pollination will not change the squash you are eating right now. Your current spaghetti squash will still taste and look like spaghetti squash. The surprise appears next season, when seeds from a cross-pollinated fruit may grow into plants with unexpected traits. You might get something edible and interesting, or you might grow a squash that looks like it had a confusing family reunion.
Best Seeds to Save
For the most predictable results, save seeds from an open-pollinated or heirloom spaghetti squash variety. These plants are more likely to produce offspring that resemble the parent plant, especially if they were isolated from other compatible squash varieties.
If the squash came from a grocery store, you can still save and plant the seeds, but the outcome is less certain. Store-bought squash may come from hybrid plants, and you probably do not know what other squash varieties were growing nearby. The seeds may sprout, but the fruit may not match the original perfectly. Think of grocery-store seed saving as a fun experiment, not a guaranteed copy machine.
Why Save Spaghetti Squash Seeds?
There are plenty of good reasons to save spaghetti squash seeds. First, it saves money. A single mature squash can contain dozens of seeds, which means one fruit may provide enough seeds for your next planting and a few extras to share with gardening friends.
Second, seed saving helps you build a garden that adapts to your local conditions. When you save seeds from the healthiest, most productive plants in your own garden, you gradually select for traits that work well in your climate, soil, and growing style. Over time, your saved seed may become better suited to your backyard than a packet that has never met your weather drama.
Third, it is satisfying. There is something deeply rewarding about growing a plant, harvesting a squash, saving its seeds, and planting them again. It turns gardening into a full-circle habit instead of a one-season transaction.
When to Harvest Spaghetti Squash for Seed Saving
The best seeds come from fully mature fruit. For spaghetti squash, that usually means the rind is hard, the color has developed fully, and the squash has been allowed to remain on the vine as long as practical before frost or serious weather damage.
A mature spaghetti squash typically has a firm shell that resists pressure from your fingernail. If the rind is still soft or easily scratched, the seeds inside may not be fully developed. Immature seeds are often thin, pale, soft, and less likely to germinate well.
Let the Squash Cure First
If possible, let the harvested squash cure before removing the seeds. Curing allows the rind to harden and gives the fruit time to finish maturing internally. Place the squash in a warm, dry, well-ventilated area for several days to a couple of weeks. Avoid storing damaged or bruised fruit for seed saving, because rot can move fast and seeds from unhealthy fruit are not ideal.
If frost is coming, harvest mature squash before freezing temperatures hit. A light brush with chilly weather may not ruin everything, but hard freezing can damage the fruit and reduce storage quality. Seeds are living things, not tiny pebbles, so treat them with a little respect.
Step-by-Step Guide: How to Save Spaghetti Squash Seeds
Step 1: Choose the Best Squash
Start with a mature, healthy spaghetti squash from a strong plant. If you grew several plants, choose fruit from the vine that performed best. Look for qualities you want next year: good size, strong growth, disease resistance, attractive color, thick flesh, and excellent flavor.
Do not save seeds from a squash that came from a weak, diseased, or poorly producing plant unless you enjoy giving problems a second invitation. Seed saving is selection. Every seed you keep is a tiny vote for next year’s garden.
Step 2: Cut the Squash Open
Wash the outside of the squash first so dirt does not get dragged into the seed cavity. Then cut the squash lengthwise with a sturdy knife on a stable cutting board. Spaghetti squash can be surprisingly tough, so go slowly and keep your fingers out of the danger zone.
Inside, you will find the seed cavity surrounded by stringy pulp. That messy center is exactly what you want. It may not look glamorous, but it contains the future.
Step 3: Scoop Out the Seeds and Pulp
Use a spoon to scoop the seeds and pulp into a bowl. Do not worry about getting everything perfectly clean at this stage. The goal is simply to separate the seed mass from the edible flesh.
If you are cooking the squash, set the flesh aside and proceed with your recipe. Seed saving and dinner can happen on the same day, which is one of the nicer efficiencies in life.
Step 4: Separate the Seeds from the Pulp
Add water to the bowl and rub the seeds gently between your fingers to loosen the pulp. Mature, viable seeds often feel plump and firm. Remove large pieces of stringy flesh by hand. You can also place the seeds in a fine mesh strainer and rinse them under cool running water.
Some gardeners use a short soak to help loosen stubborn pulp. If you do this, keep it brief. Spaghetti squash seeds do not require the same fermentation process commonly used for tomato seeds. Long soaking can invite unwanted odors, mold, and general kitchen weirdness.
Step 5: Sort the Seeds
After rinsing, inspect the seeds. Keep the plump, firm seeds and discard seeds that are flat, cracked, damaged, or unusually small. This simple sorting step improves your chances of storing high-quality seed.
A good spaghetti squash seed is usually broad, smooth, and solid. If it bends too easily or feels hollow, it may not be worth saving. Gardening already comes with enough mystery; no need to store the obviously suspicious seeds.
Step 6: Dry the Seeds Thoroughly
Spread the cleaned seeds in a single layer on a paper towel, coffee filter, paper plate, screen, or parchment paper. Place them in a warm, dry, well-ventilated area away from direct sunlight. Stir or flip the seeds once a day so they dry evenly.
Drying usually takes about one to two weeks, depending on humidity and airflow. In a dry room with good ventilation, seeds may dry faster. In a humid kitchen, they may take longer. Do not rush this step. Seeds stored with internal moisture can mold, rot, or lose viability.
How to Tell When Seeds Are Dry Enough
Dry spaghetti squash seeds should feel hard, not rubbery. They should snap or crack rather than bend when pressed firmly. They should not feel cool and damp against your skin. If you place them in a sealed jar too soon and see condensation, they are not dry enough. Take them out and dry them longer.
Step 7: Label the Seeds
Labeling is not optional unless you enjoy playing “mystery squash roulette” next spring. Write down the variety, date saved, source, and any notes about the parent plant. For example: “Spaghetti Squash, saved October 2026, from largest fruit on healthiest vine.”
If there is any chance the plant crossed with zucchini, acorn squash, or another Cucurbita pepo variety, write that down too. Future you will appreciate the honesty.
Step 8: Store the Seeds Properly
Once fully dry, place the seeds in a paper envelope, small coin envelope, glass jar, or airtight container. The key is low moisture. Many gardeners put the envelope inside a sealed jar for extra protection. A small food-safe desiccant packet can help reduce humidity, especially in damp climates.
Store the seeds in a cool, dry, dark place. A closet, pantry, basement shelf, refrigerator, or freezer can work if the seeds are completely dry and sealed against moisture. Avoid warm garages, sunny windowsills, and anywhere temperatures swing dramatically.
How Long Do Spaghetti Squash Seeds Last?
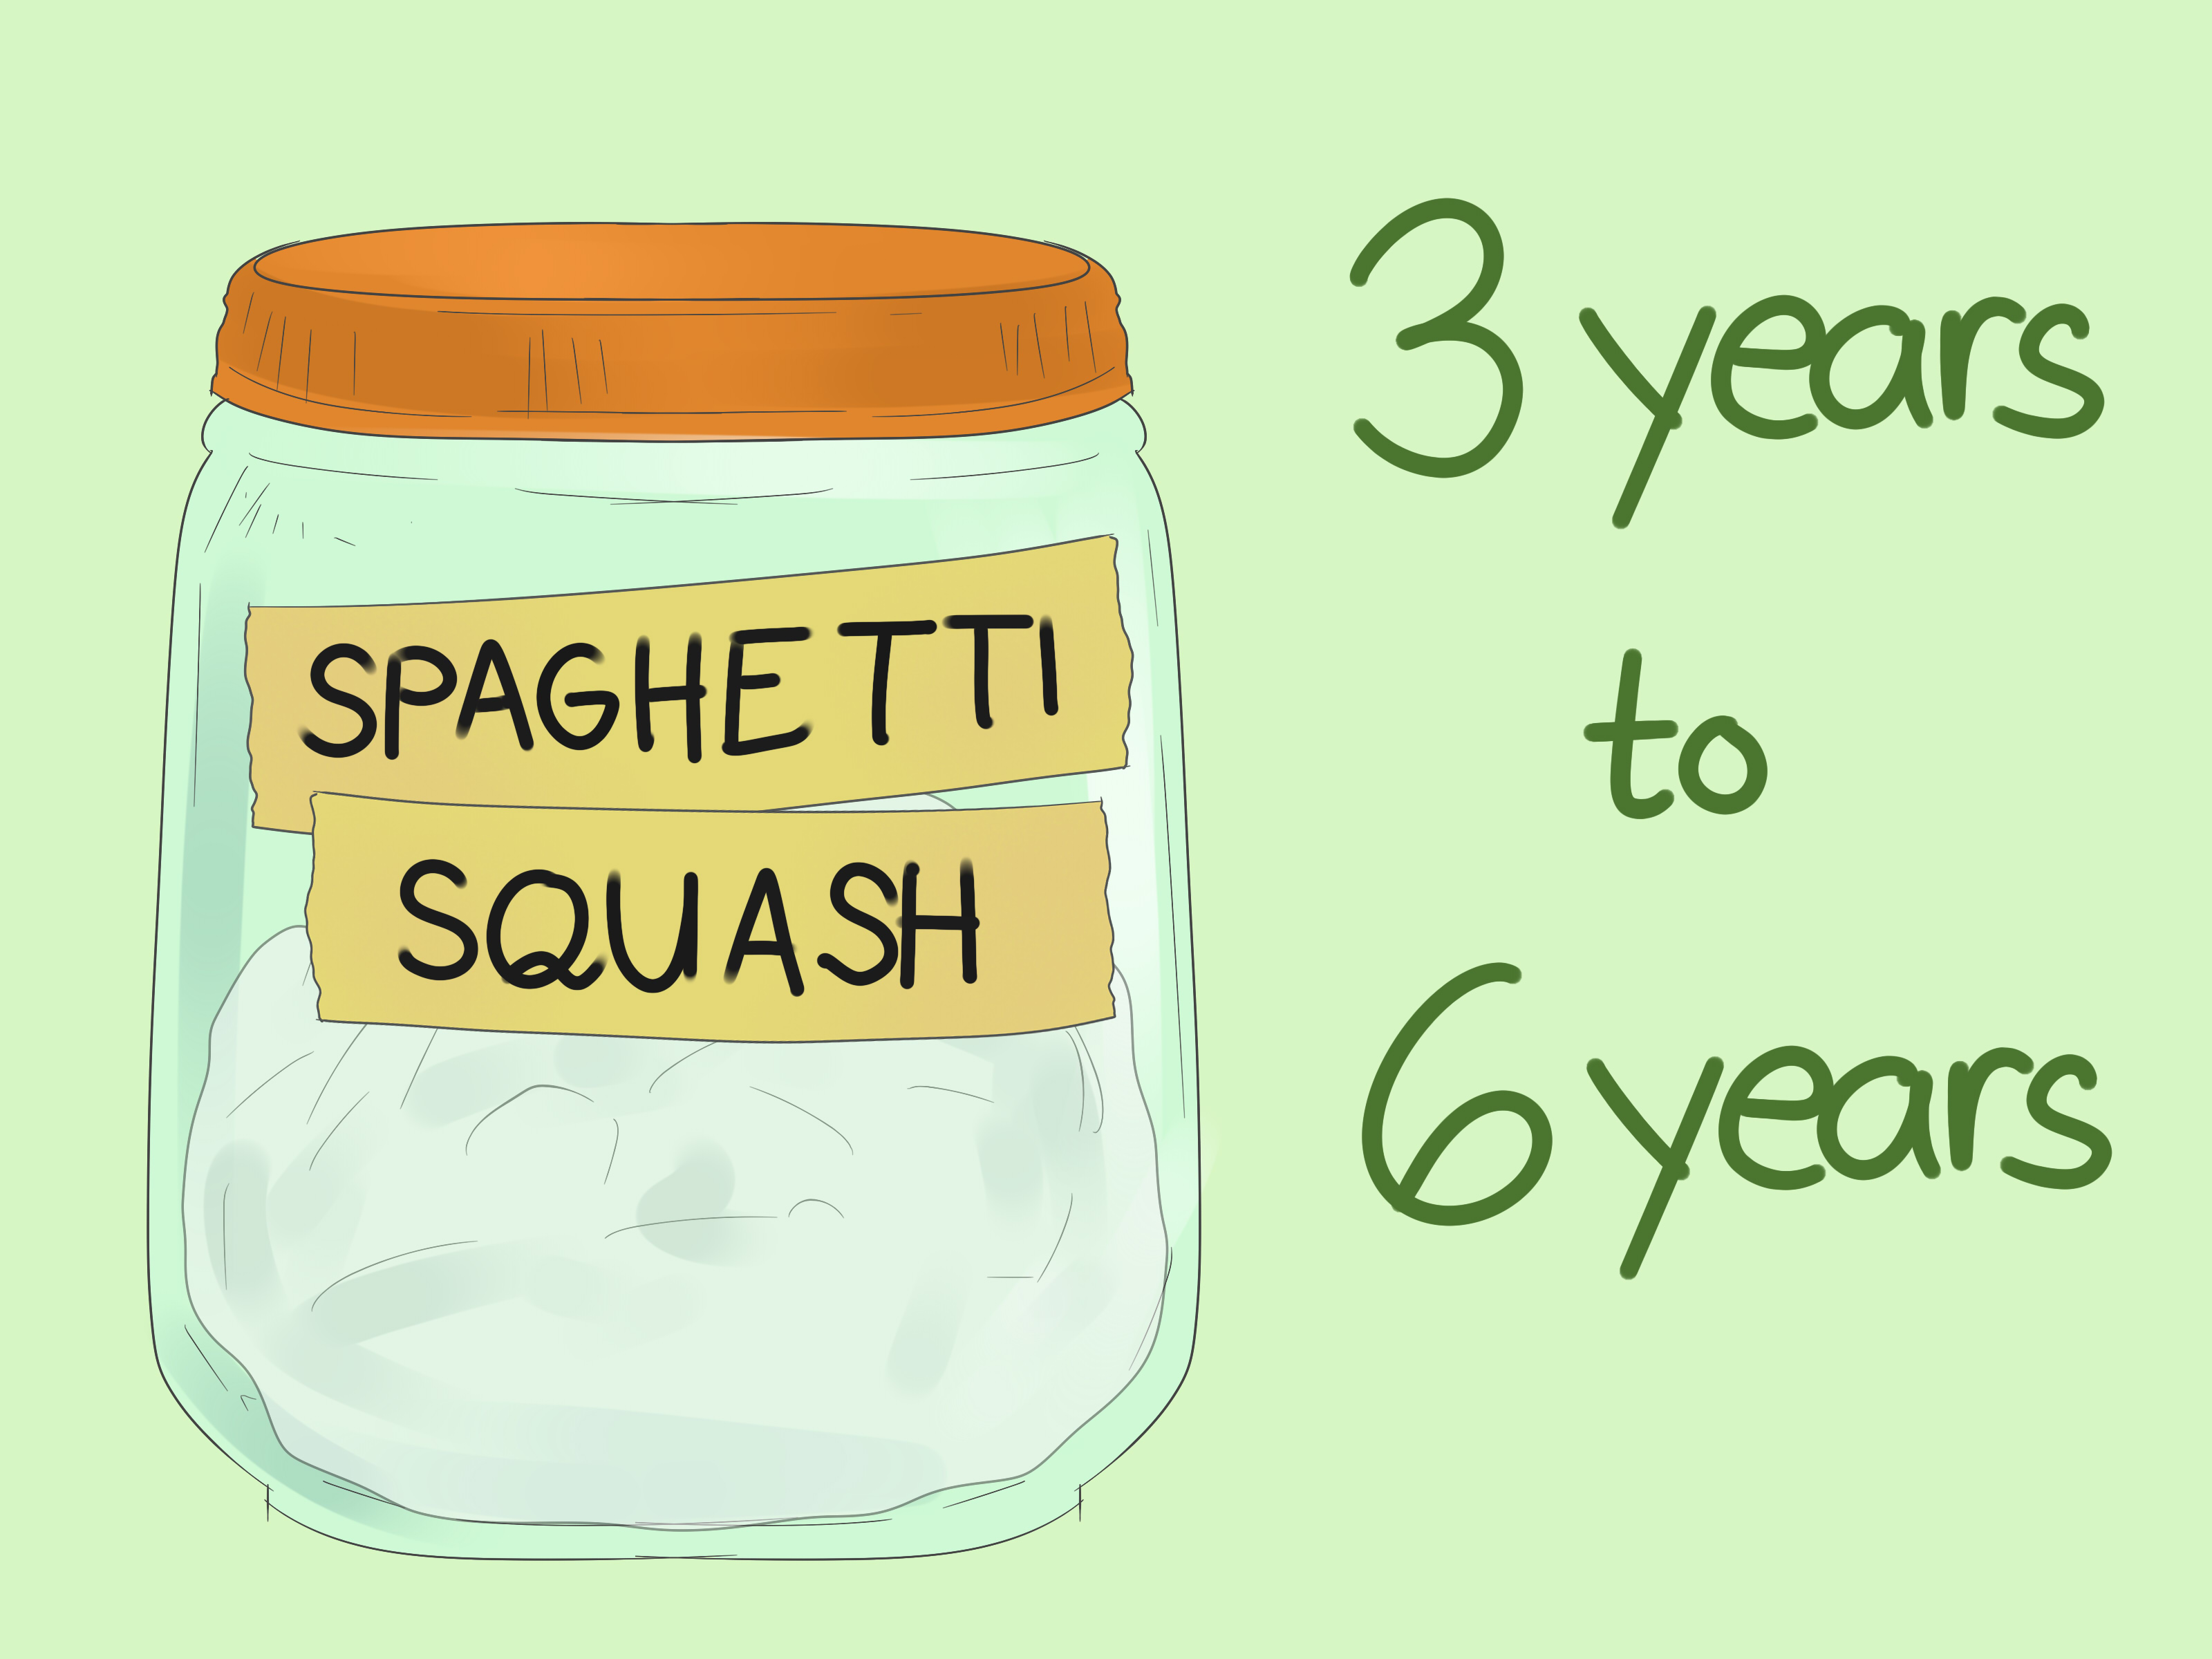
When stored well, squash seeds can remain viable for several years. Many gardeners get good germination from properly dried and stored squash seeds for around four to six years. However, germination rates usually decline over time. Fresh seed is often stronger, faster, and more reliable.
If your seeds are more than a year or two old, test a few before planting. Place ten seeds on a damp paper towel, fold it, put it in a loosely sealed plastic bag, and keep it warm. Check daily. If eight out of ten sprout, your germination rate is about 80 percent. If only three sprout, plant extra or refresh your seed supply.
Preventing Cross-Pollination in Spaghetti Squash
Spaghetti squash is insect-pollinated, and bees are wonderfully helpful but not known for reading garden labels. If you grow spaghetti squash near zucchini, acorn squash, delicata squash, or other compatible varieties, insects may move pollen between flowers.
To keep seeds true to type, grow only one variety of Cucurbita pepo in your garden, isolate varieties by distance, or use hand pollination. Isolation can be difficult in neighborhoods where nearby gardeners are also growing squash. Bees do not stop at property lines just because the fence looks official.
Simple Hand-Pollination Method
For serious seed saving, hand-pollination gives you more control. In the evening, identify male and female flowers that will open the next morning. Cover them with breathable fabric, tape, or blossom bags. The next morning, remove a male flower, peel back its petals, and gently brush pollen onto the stigma of the female flower. Then cover the female flower again until it closes.
Mark the hand-pollinated fruit with string or a plant tag. Save seeds only from that fruit. This method takes a little effort, but it prevents your spaghetti squash from secretly becoming part zucchini in the next generation.
Can You Save Seeds from Store-Bought Spaghetti Squash?
You can, and many gardeners do. Store-bought spaghetti squash seeds often sprout if the fruit was mature and the seeds were healthy. The main issue is predictability. Commercial squash may be hybrid, cross-pollinated, treated after harvest, or grown under conditions you do not know.
If you save seeds from grocery-store spaghetti squash, label them as experimental. Plant them in a spot where surprise is welcome. You may get perfectly good spaghetti squash, or you may get a plant that produces fruit with different shape, texture, color, or timing. The garden has a sense of humor, and it is not always subtle.
Common Mistakes When Saving Spaghetti Squash Seeds
Mistake 1: Saving Seeds from Immature Fruit
Seeds from immature squash may look acceptable at first, but they often have poor germination. Always choose fully mature fruit with a hardened rind.
Mistake 2: Not Drying Seeds Long Enough
This is the classic beginner mistake. Seeds can feel dry on the outside while still holding moisture inside. Give them enough time, especially in humid weather.
Mistake 3: Storing Seeds in Plastic Too Soon
Plastic bags trap moisture. If seeds are not completely dry, that moisture becomes mold’s dream vacation resort. Use paper envelopes first, or only seal seeds after they are fully dry.
Mistake 4: Forgetting to Label
Unlabeled seeds are not charmingly rustic. They are chaos in an envelope. Label every batch immediately.
Mistake 5: Ignoring Cross-Pollination
If you want reliable spaghetti squash next year, pay attention to what grew nearby. If you do not care about surprises, carry on and enjoy the adventure.
How to Plant Saved Spaghetti Squash Seeds Next Season
Plant saved spaghetti squash seeds after the danger of frost has passed and the soil has warmed. Squash seeds dislike cold, wet soil and may rot before sprouting if planted too early. In many U.S. gardens, spaghetti squash can be direct-seeded outdoors in late spring, or started indoors a few weeks before transplanting.
Plant seeds about one inch deep in rich, well-drained soil with full sun. Give the vines plenty of room. Spaghetti squash is not a polite little windowsill herb; it likes to sprawl. Space plants according to the needs of the variety, and provide consistent water during flowering and fruit development.
If using saved seed with unknown germination, plant a few extra seeds and thin to the strongest seedlings. This gives you a better chance of ending up with vigorous plants.
Should You Roast or Save Spaghetti Squash Seeds?
Good news: you can do both if the squash contains enough seeds. Separate the best, plumpest seeds for saving and roast the smaller extras for snacking. Roasted spaghetti squash seeds are tasty with oil, salt, garlic powder, smoked paprika, or cinnamon sugar.
Just do not roast the seeds you plan to plant. Heat kills seed viability. Once a seed has gone through the oven, its gardening career is over and its snack career has begun.
Personal Experience: What Saving Spaghetti Squash Seeds Teaches You
The first time you save spaghetti squash seeds, the process feels almost suspiciously easy. You scoop the seeds into a bowl, rinse them, spread them out, and think, “That’s it?” And yes, mostly, that is it. But the small details make a big difference.
One of the biggest lessons is patience. Seeds often look dry before they are truly dry. I have learned to give squash seeds more drying time than I think they need, especially when the weather is humid. A seed that feels slightly bendy gets more time. A seed that clings to the paper towel gets more time. A seed that makes me wonder, “Is this dry enough?” definitely gets more time. Doubt is usually moisture wearing a tiny disguise.
Another useful lesson is to dry seeds on something that allows easy removal. Paper towels work, but seeds can stick to them. Coffee filters, parchment paper, paper plates, and fine screens are often easier. If you use paper towels, move the seeds around during the first day so they do not glue themselves down like they signed a lease.
Labeling also becomes more important than you expect. At the moment you save the seeds, you are absolutely certain you will remember the variety. You will not. By spring, every envelope of pale squash seeds looks like every other envelope of pale squash seeds. A simple label saves you from planting spaghetti squash where you meant to plant zucchini, or giving your neighbor “probably squash” with unnecessary confidence.
Cross-pollination is another experience-based teacher. If you grow only spaghetti squash, saved seeds are fairly straightforward. But if your garden is a squash party with zucchini, pattypan, acorn squash, and pumpkins nearby, the next generation may become unpredictable. Sometimes that is fun. Sometimes it produces fruit that looks exciting but tastes like disappointment wearing a rind. For dependable results, isolation or hand-pollination matters.
Seed saving also changes how you choose fruit. Instead of eating the first squash that looks ready, you start noticing plant performance. Which vine stayed healthiest? Which fruit had the best shape? Which plant produced well without sulking through a hot spell? Saving seeds turns you into a more observant gardener. You are no longer just harvesting dinner; you are choosing genetics for next year’s dinner.
One practical habit is to save more seeds than you think you need, but not every seed you see. A spaghetti squash may produce plenty, yet not all seeds are equal. I prefer to keep the fattest, firmest seeds and discard the thin or damaged ones. This small act of sorting feels almost too simple, but it improves the quality of the seed batch.
Storage teaches its own lessons. Cool, dry, and dark sounds basic, but it is the whole game. Seeds stored in a warm kitchen drawer near the oven may not last as long as seeds kept in a sealed jar in a cooler location. Moisture is the enemy. Heat is not helpful. Sunlight is unnecessary. Seeds are happiest when their storage life is boring.
The most satisfying part comes the following spring. You plant seeds that came from a squash you grew, cooked, and enjoyed. When the seedlings emerge, they feel more personal than store-bought seeds. It is not just a plant; it is a continuation. And when those vines eventually produce their own golden squash, you realize seed saving is not just a gardening trick. It is a quiet way of making the garden remember.
Conclusion
Learning how to save spaghetti squash seeds is simple, practical, and surprisingly rewarding. Choose a mature, healthy squash, scoop out the seeds, rinse away the pulp, sort for the best seeds, dry them completely, label them clearly, and store them in a cool, dry, dark place. For the most reliable results, save seeds from open-pollinated plants and pay attention to cross-pollination with other squash varieties.
Whether you are preserving a favorite garden variety, experimenting with store-bought squash, or just trying to stretch your gardening budget, spaghetti squash seed saving is a skill worth keeping. It costs almost nothing, teaches you to observe your plants more closely, and gives you the deeply satisfying pleasure of growing next year’s harvest from this year’s dinner.