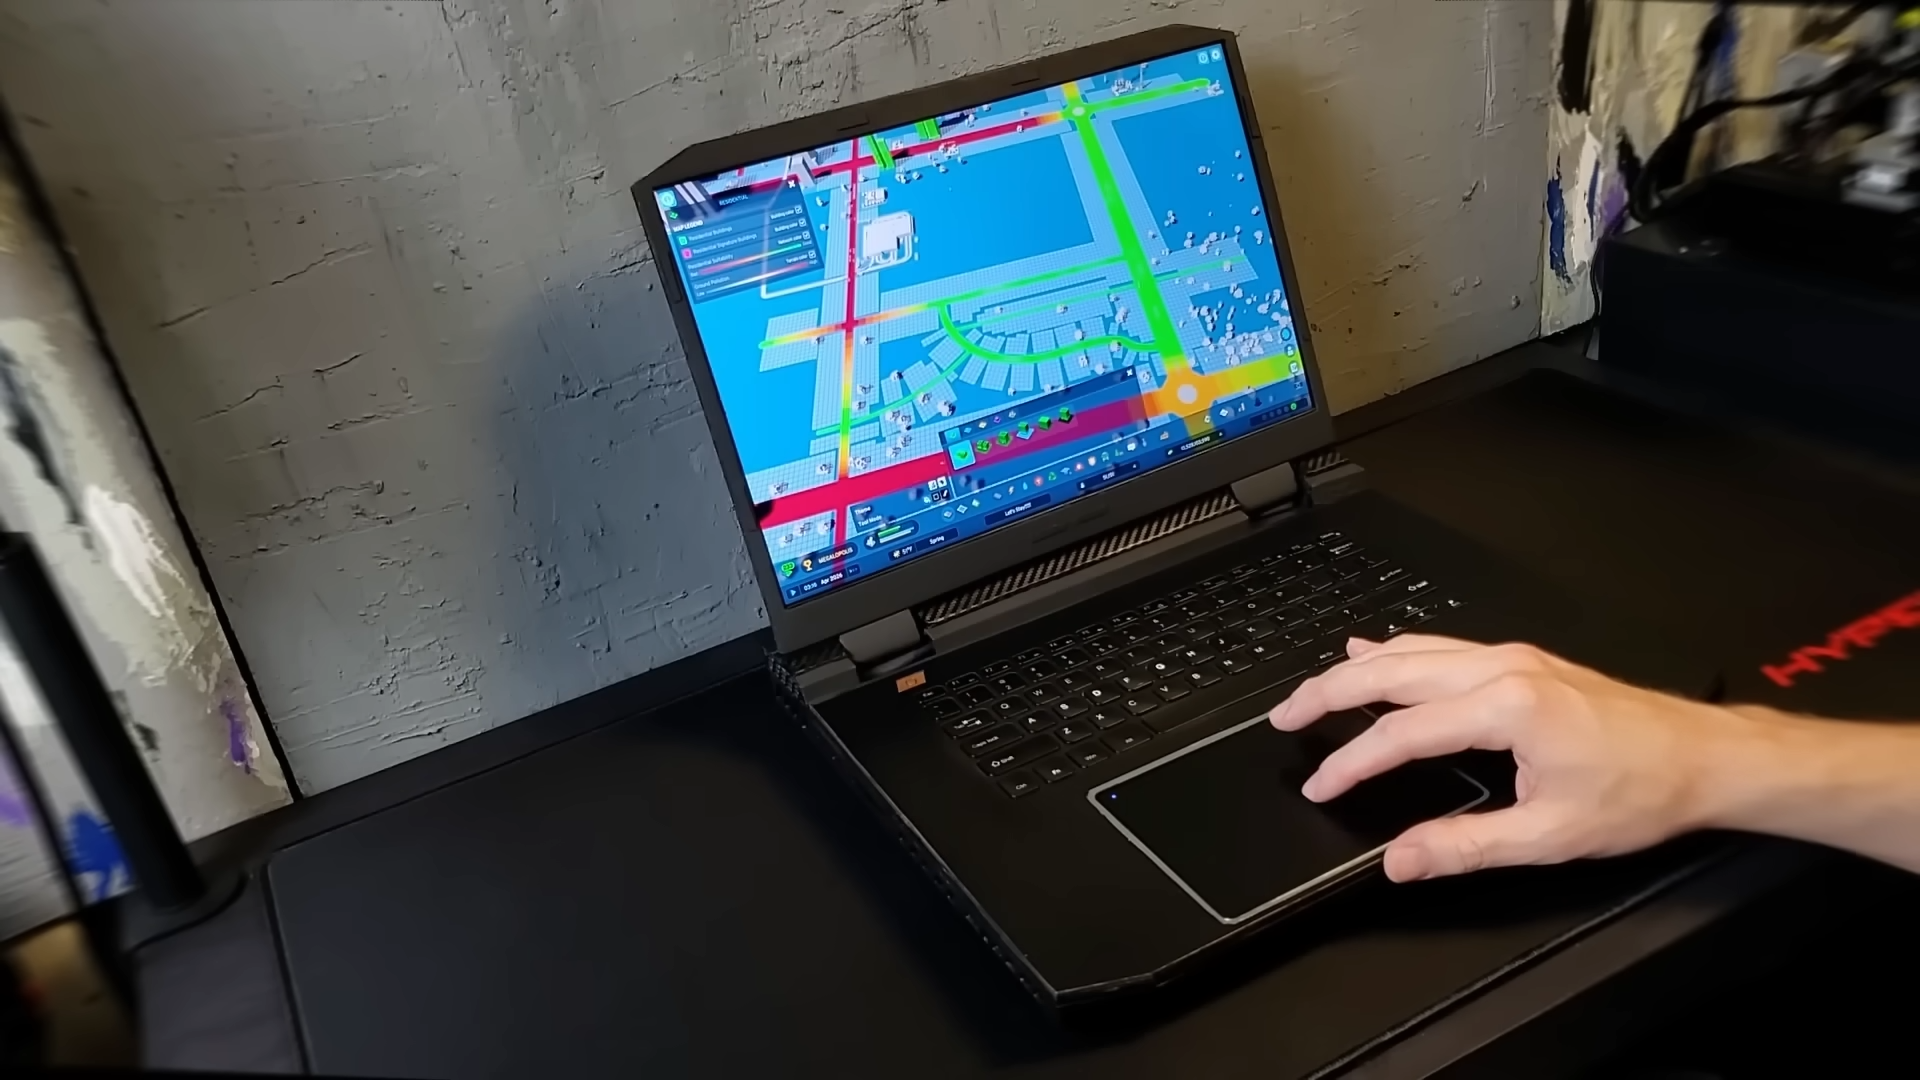
Some people see a gaming laptop and think, “Nice.” Others see one and think, “But what if I shoved a desktop PC inside a suitcase-sized laptop shell and made the laws of thermodynamics file a complaint?” That second group is where the magic happens. A DIY gaming laptop built entirely with desktop parts is not the most practical computer project in the world, but it may be one of the most fascinating. It combines the raw muscle of a desktop gaming PC with the reckless charm of a portable machine that technically counts as a laptop, provided your definition of “lap” includes “reinforced table.”
The idea is simple enough: instead of buying a sealed gaming laptop with soldered parts, custom cooling, and limited upgrade options, a builder uses regular desktop components such as a mini-ITX motherboard, a socketed desktop CPU, full desktop RAM, an M.2 SSD, a discrete desktop graphics card, fans, a compact power supply solution, and a custom chassis. The result is a homemade gaming machine that opens like a laptop, runs like a desktop, and looks like something that escaped from a very ambitious engineering garage.
This kind of build matters because it highlights a frustration many PC gamers know well. Gaming laptops are convenient, but they often trade upgradeability, cooling headroom, repairability, and sustained performance for thin designs. Desktop PCs, meanwhile, are powerful and easy to upgrade, but dragging a tower, monitor, keyboard, cables, and emotional baggage to a LAN party is not exactly elegant. A desktop-parts gaming laptop sits in the strange and wonderful middle: portable, powerful, repairable, and gloriously unreasonable.
What Is a Desktop-Parts DIY Gaming Laptop?
A desktop-parts DIY gaming laptop is a custom portable computer built using standard desktop PC hardware rather than traditional laptop components. In a normal laptop, the motherboard, CPU, GPU, battery, display connections, cooling system, keyboard, and body are designed as one tightly integrated package. In a DIY desktop-parts build, the creator has to become the laptop manufacturer, case designer, thermal engineer, cable-management therapist, and occasionally magician.
The core usually starts with a mini-ITX motherboard because full ATX would be less “laptop” and more “folding coffee table.” A desktop CPU goes into the socket, desktop RAM slots into place, and a standard graphics card connects through the PCIe slot, sometimes using a riser cable to reposition it. Storage is typically easy because modern M.2 NVMe SSDs are tiny, fast, and far less dramatic than trying to mount a 3.5-inch hard drive inside a portable system.
The hard parts come next: power, cooling, display integration, enclosure design, keyboard mounting, hinge strength, cable routing, and airflow. A desktop CPU and GPU are not shy about heat. They do not politely sip electricity. They feast. That means the builder must design a cooling system with enough intake and exhaust airflow to prevent the machine from turning into a portable waffle iron.
Why Build One Instead of Buying a Gaming Laptop?
The first reason is performance. Desktop parts often have higher power limits and more cooling potential than their mobile counterparts. A desktop graphics card can be physically larger, draw more power, and maintain higher clocks when properly cooled. A desktop CPU can also be replaced later, which is a beautiful phrase in a world where many laptops treat upgradeability like a forbidden spell.
The second reason is repairability. If the motherboard, GPU, RAM, SSD, fan, or power system is based on common desktop standards, the owner has a better chance of replacing parts without hunting for rare laptop-specific boards from a seller named “LaptopPartsDragon88” who may or may not ship from a cave. Standardized parts make maintenance easier and can extend the useful life of the machine.
The third reason is fun. Not sensible fun, like making cookies. More like “I built a portable desktop and now I must explain to airport security why my laptop has a PCIe riser cable.” For makers, hardware enthusiasts, and PC builders who enjoy solving weird problems, the challenge is the point. A DIY gaming laptop is not just a computer. It is a proof of concept with fans.
The Main Components in a Desktop-Part Gaming Laptop
Mini-ITX Motherboard
A mini-ITX motherboard is the obvious foundation because it gives the builder desktop features in a compact square layout. It can support a socketed CPU, full-speed storage, standard memory, and a PCIe x16 slot for a graphics card. The tradeoff is limited expansion. With one PCIe slot and tight spacing, every millimeter matters. The motherboard choice affects the entire build, including CPU compatibility, cooler clearance, rear I/O position, and power delivery.
Desktop CPU
A desktop processor gives the build its personality. A midrange chip is often smarter than a flagship furnace. For example, a 65W-class CPU can deliver strong gaming performance without demanding ridiculous cooling. A high-end unlocked processor may sound exciting, but in a custom portable chassis, it can become a tiny space heater with frame-rate ambitions. The best CPU is usually the one that balances performance, efficiency, and heat.
Desktop GPU
The graphics card is the star and the troublemaker. A desktop GPU can deliver excellent gaming performance, but it is also physically large, power-hungry, and heat-intensive. Builders often choose shorter dual-fan cards or lower-power GPUs because massive triple-slot monsters are difficult to fit. A compact card like a midrange Radeon or GeForce model makes more sense than trying to install a gigantic flagship GPU and then wondering why the “laptop” needs its own zip code.
Display Panel
A DIY laptop needs a screen, and this is where things get interesting. Builders may use a laptop display panel with a controller board or a portable monitor panel integrated into the lid. The challenge is making the display reliable, thin enough, and properly powered. The hinge must support the screen without wobbling like a nervous flamingo. Cable routing between the base and display also needs protection because repeated opening and closing can wear down fragile connections.
Keyboard and Trackpad
A normal laptop keyboard is thin and integrated. A DIY machine may use a compact mechanical keyboard, a low-profile keyboard module, or a custom layout. Some builds skip the trackpad or use a separate pointing device because gaming with a trackpad is an activity best reserved for people who enjoy suffering. The keyboard must be mounted securely, positioned comfortably, and connected cleanly to the system.
Power System
Power is one of the biggest headaches. Desktop parts expect desktop-style power delivery. Some builders use a compact internal PSU, a DC-ATX power board, or an external power brick setup. True battery operation is possible but difficult because a gaming desktop GPU and CPU can drain batteries quickly. Many DIY desktop-part laptops are more “portable all-in-one gaming PC” than “play Cyberpunk for four hours on battery.” That is not a failure. It is physics wearing sunglasses and saying, “Nice try.”
The Cooling Problem: Where Dreams Meet Heat
Cooling is the defining battle of any DIY gaming laptop built with desktop parts. A normal gaming laptop uses heat pipes, vapor chambers, blower fans, and carefully engineered vents. A desktop-part build has to create that cooling logic from scratch. The builder must move fresh air into the chassis, push hot air out, and avoid recycling heat around the CPU and GPU.
Low-profile CPU coolers are useful because they fit into smaller spaces, but they still need airflow. A cooler with a short heatsink and slim fan can work well for efficient processors, especially if the chassis has direct ventilation above or beside the fan. The GPU needs its own breathing room. If the graphics card is pressed too close to a solid panel, it will choke, throttle, and make fan noise like a tiny jet preparing for emotional takeoff.
Good airflow design usually means giving intake fans access to cool outside air and creating a clear exhaust path. Mesh panels, vent slots, and separated thermal zones can help. Cable management also matters. In a normal desktop, ugly cables are mostly a visual crime. In a compact DIY laptop, messy cables can block airflow and raise temperatures. Every wire has to earn its rent.
Performance: Can It Actually Game?
Yes, a well-built desktop-part gaming laptop can absolutely game. With a capable desktop CPU and GPU, it can run modern titles at 1080p or 1440p depending on the hardware. The advantage is sustained performance. If the cooling system is strong enough, desktop components can hold higher clocks longer than many thin gaming laptops. That means fewer sudden drops, smoother frame pacing, and a machine that feels more like a compact desktop than a portable compromise.
However, performance depends on the build. A poorly ventilated chassis can turn powerful components into throttled components. A weak power solution can cause instability. A bad display controller can limit refresh rate or color quality. This is not a plug-and-play project. It is a system-level engineering challenge. When everything works together, the result is impressive. When it does not, the result is a very expensive box of warm regret.
How It Compares With a Regular Gaming Laptop
A regular gaming laptop wins on convenience. It is thinner, lighter, professionally assembled, battery-friendly, and usually covered by a warranty. It is also easier to travel with. Nobody has to explain why it has exposed screws, custom vents, or a power brick that looks like it could jump-start a lawn mower.
The DIY desktop-parts laptop wins on upgradeability and personality. You can choose the motherboard, CPU, GPU, storage, fans, display, keyboard, and chassis layout. If a part fails, you may be able to replace it with an off-the-shelf desktop component. If you want to upgrade the graphics card later, the possibility exists, assuming the new card fits, the power system can handle it, and the cooling does not file for divorce.
For most buyers, a standard gaming laptop is the sensible choice. For builders who want control, repairability, and the thrill of making something manufacturers rarely attempt, the DIY route is far more exciting.
How It Compares With a Small Form Factor Gaming PC
A small form factor gaming PC is the closest practical cousin. It uses desktop parts, fits in a compact case, and can be carried more easily than a tower. The difference is that an SFF PC still needs a separate monitor, keyboard, and mouse. A DIY gaming laptop integrates the display and input system into one folding or portable unit.
That integration is both the charm and the curse. Adding a screen and keyboard makes the machine easier to move as one piece, but it also makes the build more complex. Hinges, display cables, lid weight, panel protection, and ergonomic typing angle become part of the project. An SFF PC is easier. A desktop-parts laptop is cooler in the “I cannot believe this exists” sense.
Real-World Lessons From Desktop-Part Laptop Projects
The biggest lesson is that component selection matters more than bragging rights. A balanced midrange build often works better than an extreme build. A CPU with reasonable power draw, a compact GPU, efficient storage, and quiet fans can create a much better experience than a maxed-out system that constantly overheats. The goal is not just high benchmark numbers. The goal is stable gaming in a portable form.
The second lesson is that the chassis is the project. Anyone can assemble desktop parts on a table. Turning them into a laptop-shaped machine requires structure, airflow, service access, display mounting, and cable safety. Builders often use 3D printing, CNC-cut panels, acrylic, aluminum, wood prototypes, or a combination of materials. The case must be strong enough to protect the hardware while still allowing maintenance.
The third lesson is that battery life is not the main event. A desktop-parts gaming laptop can be portable without being unplugged for long. Think of it as a gaming workstation you can carry from desk to desk. It is perfect for LAN parties, dorm rooms, workshops, hotel setups, and anyone who wants a transportable gaming rig without packing a separate monitor.
Who Should Try Building One?
This project is best for experienced PC builders, electronics hobbyists, makers, engineering students, and patient people with access to tools. If you have never built a desktop PC before, start there. Learn cable management, thermal paste application, BIOS setup, fan curves, GPU installation, and troubleshooting. A DIY laptop made from desktop parts adds several layers of complexity on top of those basics.
You should also be comfortable with measuring, cutting, drilling, soldering or crimping cables, designing brackets, and testing power safely. The project rewards patience. It punishes guessing. Measure once, measure again, question your life choices, then measure a third time.
Common Mistakes to Avoid
Choosing Parts That Are Too Hot
High-end components sound exciting until they are trapped in a compact enclosure. Efficient midrange parts often deliver better real-world results because they can maintain performance without constant throttling.
Ignoring Serviceability
If you have to disassemble the entire machine to replace an SSD or fan, future you will be deeply unimpressed. Design access panels, removable brackets, and sensible cable routes.
Underestimating Power Needs
The power system must support CPU and GPU load, startup spikes, fans, display, storage, and peripherals. An unstable power setup can cause crashes that look like software problems but are really hardware drama.
Building the Case Too Thin
Thin is not always better. Enough internal volume for airflow, cooler clearance, and cable routing can make the difference between a usable machine and a thermal disaster with RGB lighting.
The Future of DIY Portable Gaming PCs
The rise of handheld gaming PCs, modular laptops, compact GPUs, efficient CPUs, and powerful integrated graphics shows that the market is moving toward more flexible portable performance. Commercial laptops are getting better, but many are still difficult to repair or upgrade. At the same time, companies experimenting with modular designs prove that users want devices that last longer and can evolve.
A desktop-parts DIY gaming laptop is not likely to become mainstream. It is too complex, too bulky, and too specialized. But as a maker project, it points toward a more repairable and customizable future. It asks a useful question: why should portable performance always mean sealed hardware? Even if the answer is not “everyone should build one,” the experiment is valuable.
Extra Experiences: What It Feels Like to Build and Use a DIY Desktop-Parts Gaming Laptop
Building a DIY gaming laptop with desktop parts feels less like assembling a normal PC and more like negotiating a peace treaty between incompatible objects. The motherboard wants space. The graphics card wants air. The screen wants delicate wiring. The power supply wants respect. The chassis wants to remind you that rectangles are simple only until you try to hinge one.
The first experience is planning paralysis. You start by sketching a simple design, then realize the GPU is taller than expected. Then the CPU cooler blocks the RAM. Then the display cable exits on the wrong side. Then the power button needs a mount. Then you discover that the keyboard you love is three millimeters too thick, which in normal life is nothing, but in a DIY laptop is basically the Grand Canyon.
The second experience is learning that airflow is not optional. On paper, a fan is a fan. In practice, fan placement decides whether your machine runs smoothly or sounds like it is trying to vacuum the moon. Intake vents need clean paths. Exhaust vents need somewhere to send heat. Components should not fight each other for the same tiny pocket of air. A great DIY build feels calm under load. A bad one smells faintly like panic and warm plastic.
The third experience is the first successful boot. This moment is pure joy. The screen lights up, the BIOS appears, the fans spin, and suddenly the strange metal-and-plastic creature on your desk becomes a computer. It is not perfect. The lid may be too heavy. The keyboard deck may flex. One USB cable may be doing something suspicious. But it works, and that feeling is hard to beat.
Gaming on the machine is equally satisfying because every frame feels earned. You are not just playing a game; you are testing your own design. When the GPU temperature stays under control, you feel like a genius. When the CPU boosts properly, you nod like a professional. When the fans ramp up during a boss fight, it feels dramatic, as if the laptop itself has joined the battle.
The daily experience is more practical than people might expect, as long as expectations are realistic. This is not the computer you casually balance on your knees during a flight. It is better suited for a desk, a dorm, a workshop, or a gaming night where you want one carryable machine instead of a tower-and-monitor circus. It is portable in the same way a sewing machine is portable: yes, you can move it, but you will not forget that you moved it.
The best part is the confidence it builds. After designing a chassis, solving heat problems, managing power, mounting a display, and troubleshooting the system, ordinary PC building feels easy. You also gain a deeper respect for laptop engineers. Cramming performance into a portable body is brutally difficult. Doing it at home makes every commercial gaming laptop seem slightly more miraculous, even the loud ones that cook your fingertips.
In the end, a DIY gaming laptop built entirely with desktop parts is not about beating every store-bought machine. It is about freedom. It is about proving that a computer does not have to follow the usual categories. Desktop, laptop, portable workstation, LAN-party beast this kind of build is all of them at once. It is heavy, strange, powerful, personal, and wonderfully unnecessary. In other words, it is exactly the kind of project PC enthusiasts secretly love.
Conclusion
A DIY gaming laptop built entirely with desktop parts is a beautiful contradiction: portable but powerful, homemade but serious, awkward but brilliant. It is not the easiest way to get a gaming machine, and it is definitely not the lightest. But for builders who care about upgradeability, repairability, and full control over their hardware, it offers something ordinary gaming laptops rarely provide: the freedom to build without asking permission from a manufacturer’s design team.
The smartest version of this project focuses on balance. Use efficient desktop hardware, plan airflow carefully, avoid oversized parts, and design the chassis for maintenance. Do that, and the result can be more than a novelty. It can be a genuinely capable portable gaming system with desktop DNA. It may not fit every lap, but it absolutely earns a place in the hall of wonderfully ambitious PC builds.