Somewhere in a closet, basement, attic, or mysterious plastic storage bin labeled “misc,” there may be a stack of VHS tapes holding birthdays, weddings, graduations, school plays, family vacations, and that one Christmas morning when everyone had bangs. The problem is simple: VHS tapes are not getting younger, VCRs are becoming harder to find, and modern TVs are not exactly begging for a chunky black cassette from 1994.
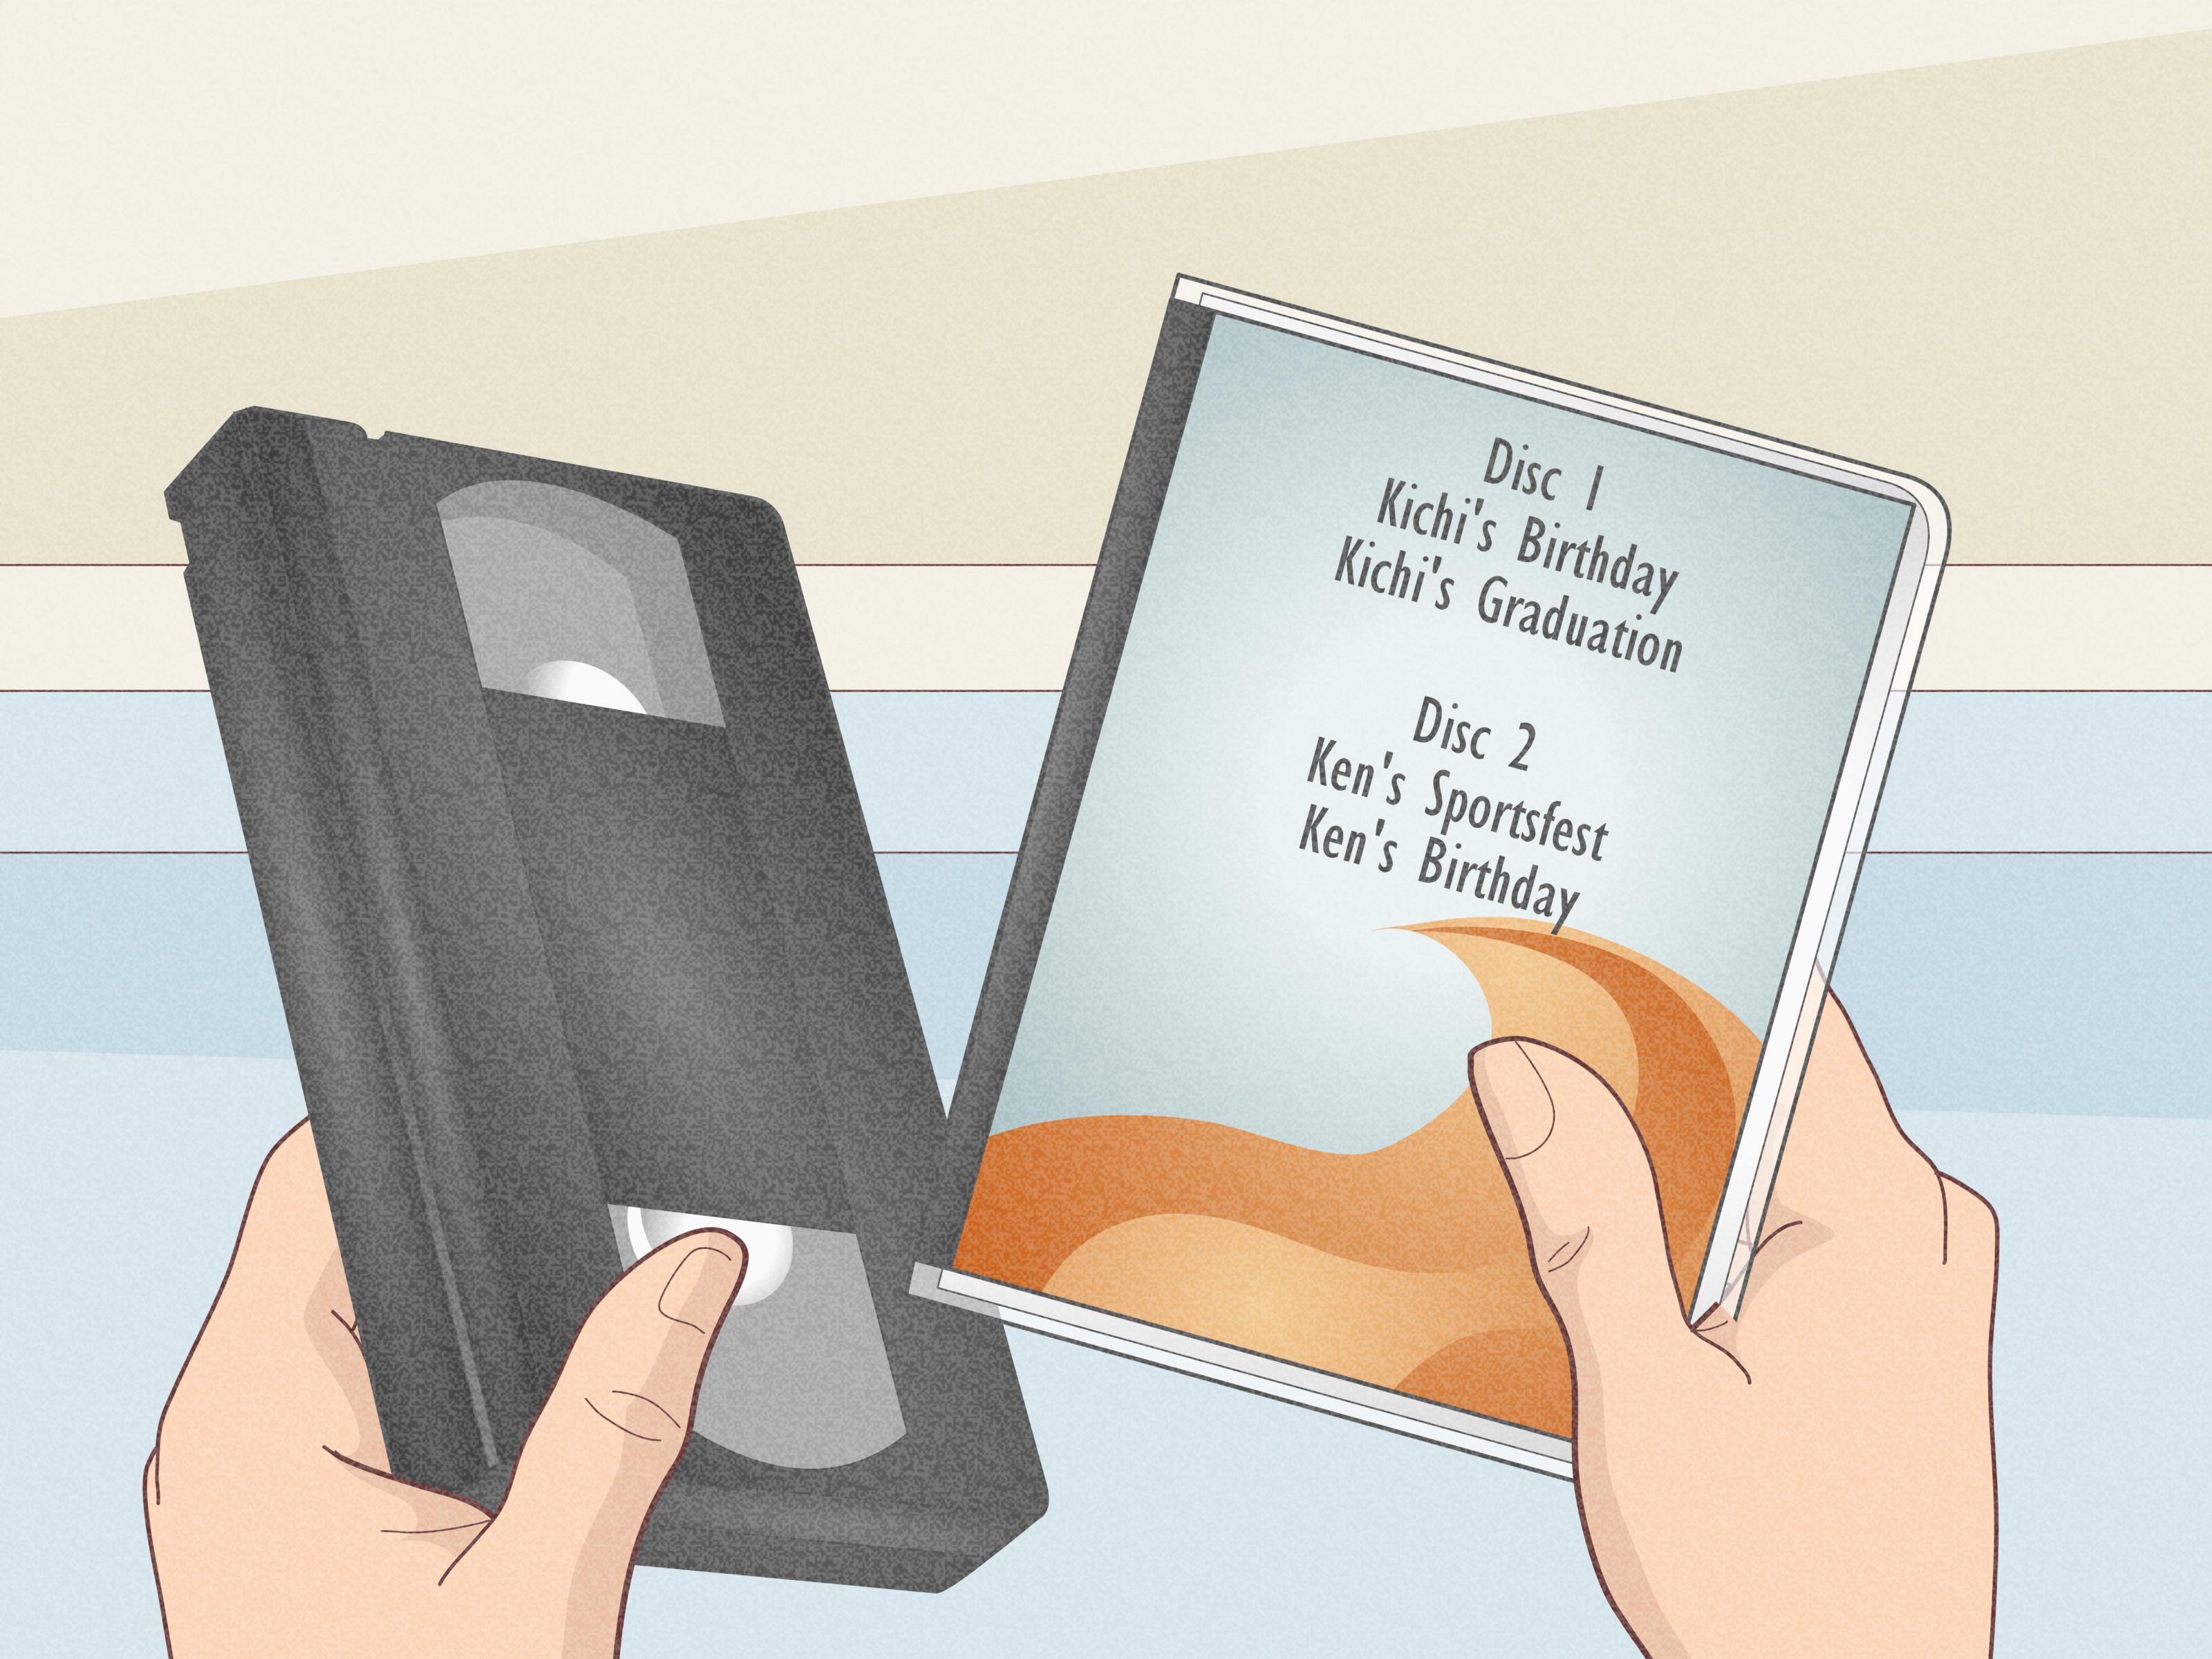
That is why learning how to transfer VHS tapes to DVD or digital formats is one of the smartest little preservation projects you can do. It is part technology upgrade, part family-history rescue mission, and part emotional ambush. You start by testing a tape, and suddenly you are watching your uncle dance at a barbecue like he invented rhythm. Beautiful. Slightly alarming. Worth saving.
The good news is that there are several practical ways to convert VHS to DVD, MP4, USB, cloud storage, or another digital format. The best method depends on your budget, your patience, your comfort with cables, and how important video quality is to you. Below are three reliable options: using a professional transfer service, doing it yourself with a computer and capture device, or using a DVD recorder or VHS/DVD combo deck.
Why You Should Transfer VHS Tapes Now
VHS was never designed to be a forever format. Videotape is magnetic media, and magnetic media can degrade over time. Heat, humidity, dust, mold, repeated playback, and poor storage can all make tapes harder to play. Even if the tape itself survives, the bigger headache may be finding a working VCR that does not chew the tape like an angry office shredder.
Digitizing VHS tapes gives you easier access and better backup options. A DVD can be played on older home entertainment systems, while an MP4 file can live on a computer, external hard drive, USB drive, phone, tablet, smart TV, or cloud storage account. For most families, the smartest approach is to create a digital file first and then make DVD copies only if someone specifically wants them.
Before You Start: Check Your VHS Tapes
Before choosing a transfer method, inspect your tapes. Look for cracked cases, broken cassette doors, loose labels, mold, or a musty smell. If a tape looks moldy, do not put it in a VCR. Mold can spread inside the machine and damage other tapes. If a tape is rare, fragile, or emotionally priceless, consider sending it to a professional service rather than experimenting at home.
Also make a quick list of what you have. Write down tape labels, estimated length, and priority level. A tape labeled “Wedding 1998” deserves a different level of care than one labeled “TV commercials maybe???” Organization saves time, money, and possibly your sanity.
Method 1: Use a Professional VHS Transfer Service
The easiest way to transfer VHS tapes to DVD or digital formats is to use a professional digitizing service. This is the “please handle the spaghetti cables for me” option. Retail and mail-in services commonly accept VHS, VHS-C, Hi8, Video8, MiniDV, film reels, slides, and photos, depending on the company. Many services now offer digital downloads, cloud access, USB drives, and DVD copies.
How Professional VHS Transfer Works
The process is usually straightforward. You gather your tapes, place an order online or in a store, choose your output format, ship or drop off the media, and wait for the finished files or discs. Some services provide status updates, while others are more basic. Turnaround times vary, but several weeks is common, especially when tapes are mailed to a processing facility.
Professional services are best for people who have many tapes, no working VCR, limited technical patience, or fragile media. They are also useful if you want a clean, simple experience with fewer decisions. You will still need to compare output options carefully. A DVD is convenient for playback, but an MP4 file is usually better for long-term sharing and backup.
Pros of Professional Transfer
The biggest advantage is convenience. You do not need to buy a capture card, install software, troubleshoot drivers, or stare at a frozen preview window wondering whether the computer hates you personally. Professional services also have equipment designed for repeated transfers, and some offer basic enhancements, tracking, labeling, and cloud delivery.
Another benefit is scalability. If you have 20, 50, or 100 tapes, a service can save an enormous amount of time. VHS transfers happen in real time, meaning a two-hour tape takes about two hours to capture. Multiply that by a box of tapes, and suddenly your weekend has become a documentary about cables.
Cons of Professional Transfer
The downside is cost. Paying per tape can add up quickly. You also have to trust someone else with your original tapes, which can feel uncomfortable when the content is irreplaceable. Shipping adds another small risk. For rare or very important tapes, look for services with clear handling policies, tracking, and customer support.
Professional transfer is also not magic. If the original tape is blurry, shaky, overexposed, or full of camcorder zoom chaos, conversion will not turn it into a Hollywood restoration. Good transfer services can preserve what is there, but they cannot make Uncle Dave’s 1992 camcorder suddenly behave like an IMAX camera.
Method 2: Convert VHS to Digital Yourself With a Computer
The most flexible DIY method is to connect a VCR to a computer using a USB video capture device. This lets you record the VHS playback as a digital file, usually in MP4, MOV, or another common video format. You can then edit the footage, store it on a hard drive, upload it to cloud storage, burn it to DVD, or share clips with family.
What You Need
For this method, you need a working VCR, the VHS tapes, a USB video capture device, RCA composite cables or S-Video cables, and capture software. Many capture devices include their own software. Some users prefer programs such as OBS Studio or other video capture applications, but beginners may find bundled software easier.
Composite video uses the familiar yellow cable for video and red-and-white cables for audio. S-Video can provide a cleaner picture if your VCR and capture device both support it. Audio still needs separate red-and-white cables. Do not overthink this too much: VHS is a standard-definition format, so the goal is a stable, clean capture rather than fake high-definition sparkle.
Step-by-Step DIY VHS Capture
First, connect the VCR output to the capture device input. Then plug the capture device into your computer. Install the software, select the correct video and audio input, and test with a short section of tape. Make sure you can see video and hear audio before recording the whole thing.
Next, rewind the tape and start recording in the software before pressing play on the VCR. Capture the tape in real time. When the tape ends, stop the recording, save the file, and name it clearly. A good file name might be “1997-Thanksgiving-Grandma-House.mp4” instead of “video0003_final_FINAL_reallyfinal.mp4,” which is how chaos gets invited into the archive.
After capture, trim blank sections, remove long stretches of static, and export a clean copy. Keep one high-quality master file and create smaller sharing copies if needed. Save backups in at least two places, such as an external hard drive and cloud storage.
Pros of DIY Computer Capture
This method gives you control. You decide file names, settings, editing, storage, and backups. It can also be cost-effective if you have many tapes and already own a working VCR. Once the setup works, you can capture tape after tape without paying per cassette.
DIY capture is also ideal if you want digital files rather than DVDs. MP4 files are easier to share, duplicate, and store than discs. You can create folders by year, person, event, or side of the family. This may sound nerdy until someone asks for “that clip of Grandpa singing karaoke,” and you find it in 30 seconds like a digital wizard.
Cons of DIY Computer Capture
The main disadvantage is troubleshooting. Capture devices can be picky. Software may need the correct input settings. Older VCRs may have tracking issues. Audio can drift out of sync if the setup is unstable. You may need to experiment with short test captures before committing to a full tape.
Time is another factor. DIY transfer is not fast. A two-hour tape takes two hours to capture, plus setup, editing, exporting, and backup time. If you enjoy careful projects, this can be satisfying. If you want everything done by dinner, choose a professional service and protect your blood pressure.
Method 3: Transfer VHS Directly to DVD With a DVD Recorder
The third method is to use a standalone DVD recorder or a VHS/DVD combo deck. This approach records VHS playback directly onto a blank DVD. It is a good option for people who want a physical disc and do not want to capture video on a computer.
How DVD Recorder Transfer Works
If you have a separate VCR and DVD recorder, connect the VCR output to the DVD recorder input using RCA or S-Video cables. Insert the VHS tape into the VCR, insert a blank recordable DVD into the DVD recorder, choose the correct input, and record while the tape plays. After recording, finalize the DVD so it can play in other DVD players.
A VHS/DVD combo recorder can be even simpler. Some units allow dubbing from VHS to DVD inside one machine. However, these machines are no longer as common as they once were, and used units can be expensive or unreliable. Always test with a less important tape first.
Pros of DVD Recorder Transfer
This method is simple and familiar. It creates a disc that can be labeled, stored, mailed, or given to relatives who still love their DVD player with the devotion of a sports fan. It does not require a powerful computer, editing software, or large hard drive space.
DVDs also feel tangible. For some families, handing someone a labeled disc is more satisfying than sending a cloud link that may trigger three password resets and a phone call beginning with, “It says I need to sign in. What is signing in?”
Cons of DVD Recorder Transfer
DVD is not the best long-term master format. Discs can scratch, degrade, or become inconvenient as fewer computers include DVD drives. A DVD is useful for playback, but a digital file is easier to copy, back up, and migrate to future storage systems. If you use this method, consider later ripping the DVD to an MP4 file for backup.
Another limitation is editing. DVD recorders are less flexible than computer capture. You may be able to create chapters or menus, but detailed editing is easier on a computer. Also, blank DVDs have recording limits, so longer tapes may need quality adjustments or multiple discs.
DVD, USB, Cloud, or MP4: Which Format Should You Choose?
For most people, MP4 is the most practical everyday format. It works on many devices, is easy to share, and offers a good balance between quality and file size. USB drives are convenient for delivery and storage, but they should not be your only backup. Cloud storage is excellent for access and sharing, especially when family members live in different places.
DVDs are still useful if you want a physical copy for older players, gifts, or family members who prefer discs. However, DVD should be treated as an access copy, not the only archive. A smart preservation plan includes at least one digital file, one local backup, and one off-site or cloud backup.
Quality Tips for Better VHS Transfers
Start with the best VCR you can reasonably access. A clean, stable playback machine matters more than fancy software. If your VCR has tracking controls, adjust them when the picture rolls, tears, or shows heavy noise. Use S-Video when available, because it can produce a cleaner image than composite video.
Capture a short test first. Check the picture, sound, aspect ratio, and file size before recording the entire tape. Avoid stretching 4:3 VHS footage into widescreen. People in old home movies already survived shoulder pads; they do not need to be stretched into human pancakes.
Do not expect true HD from VHS. Standard VHS has limited resolution compared with modern video. Upscaling can make files fit modern screens, but it cannot create detail that was never recorded. The goal is faithful preservation, not turning a 1988 birthday party into a superhero trailer.
Common Mistakes to Avoid
One common mistake is waiting too long. Every year makes old tapes and working VCRs a little harder to trust. Another mistake is keeping only one copy. A single DVD, USB drive, or hard drive is not a backup strategy; it is a dare.
Do not throw away original tapes immediately after digitizing. Keep them until you have checked the transferred files from beginning to end and created backups. Store tapes upright in a cool, dry, stable place away from direct sunlight, moisture, and magnetic sources.
Also avoid vague file names. Future you will not remember what “Tape 7” means. Use dates, names, places, and events. A little organization now prevents a digital junk drawer later.
Which VHS Transfer Method Is Best?
Choose a professional service if you want convenience, have many tapes, or do not own a VCR. Choose DIY computer capture if you want control, digital files, and the ability to edit. Choose a DVD recorder if your main goal is a simple disc copy and you already have the equipment.
The best overall strategy is often a hybrid approach. Send fragile or highly important tapes to a professional service. Use DIY capture for everyday tapes. Make DVD copies only for relatives who want them, while keeping MP4 files as your main digital archive.
Real-World Experience: What It Feels Like to Transfer VHS Tapes
Transferring VHS tapes sounds like a technical job, but once you begin, it quickly becomes a memory project. The first surprise is how slow it feels. Modern life trains us to expect instant downloads, instant uploads, instant everything. VHS does not care. VHS moves at VHS speed. If the tape is two hours long, you are sitting with it for two hours. In a strange way, that slowness becomes part of the charm.
One practical experience many people have is discovering that tape labels are unreliable. A cassette labeled “Birthday” might include ten minutes of birthday, forty minutes of local news, a soap opera, and then a surprise family picnic. This is why previewing and naming files carefully matters. During a transfer project, keep a notebook or spreadsheet open. Write down what is actually on each tape, not just what the label claims. VHS labels lie. Not maliciously, but with the confidence of a toddler holding a marker.
Another common experience is realizing that audio is just as valuable as video. The picture may be blurry, but the voices can hit hard: a grandparent laughing, a child mispronouncing words, a parent giving directions from behind the camera. When testing transfers, do not only look at the image. Listen for hum, distortion, missing channels, or audio that is too quiet. A technically imperfect video can still be emotionally perfect if the sound is preserved clearly.
Expect a few hiccups. Some tapes may start with static. Some may need tracking adjustments. Some may have blank gaps where someone paused the camcorder. If you are doing DIY capture, create short test files before recording the full tape. Watch those tests on a different device if possible. A file that looks fine in the capture window might reveal audio sync problems later. Finding that out after two hours is annoying; finding it out after twenty tapes is a character-building event nobody requested.
There is also an emotional sorting process. Not every tape needs the same treatment. A wedding, a baby’s first steps, or a final recording of a loved one deserves careful transfer and multiple backups. A tape of random television recordings may not. Prioritizing is not disrespectful; it is realistic. Start with the tapes that would hurt the most to lose.
Finally, the most satisfying moment is sharing the finished files. Families who never ask about storage formats suddenly become very interested when you send a clip from 30 years ago. A cloud folder, USB drive, or private family link can turn forgotten tapes into living memories again. The goal is not simply to convert VHS to DVD or digital. The goal is to make those moments easy to watch, easy to share, and hard to lose.
Conclusion
Learning how to transfer VHS tapes to DVD or other digital formats is one of those projects that feels small until you realize what is at stake. These tapes may hold the only moving images of certain people, places, voices, and moments. Whether you use a professional transfer service, a DIY video capture device, or a DVD recorder, the important thing is to start.
For the best long-term results, think beyond one disc or one drive. Create digital files, name them clearly, back them up in multiple places, and keep the original tapes until you are sure the transfers are complete. Your future family historian will thank you. They may still make fun of the haircuts, but they will thank you.