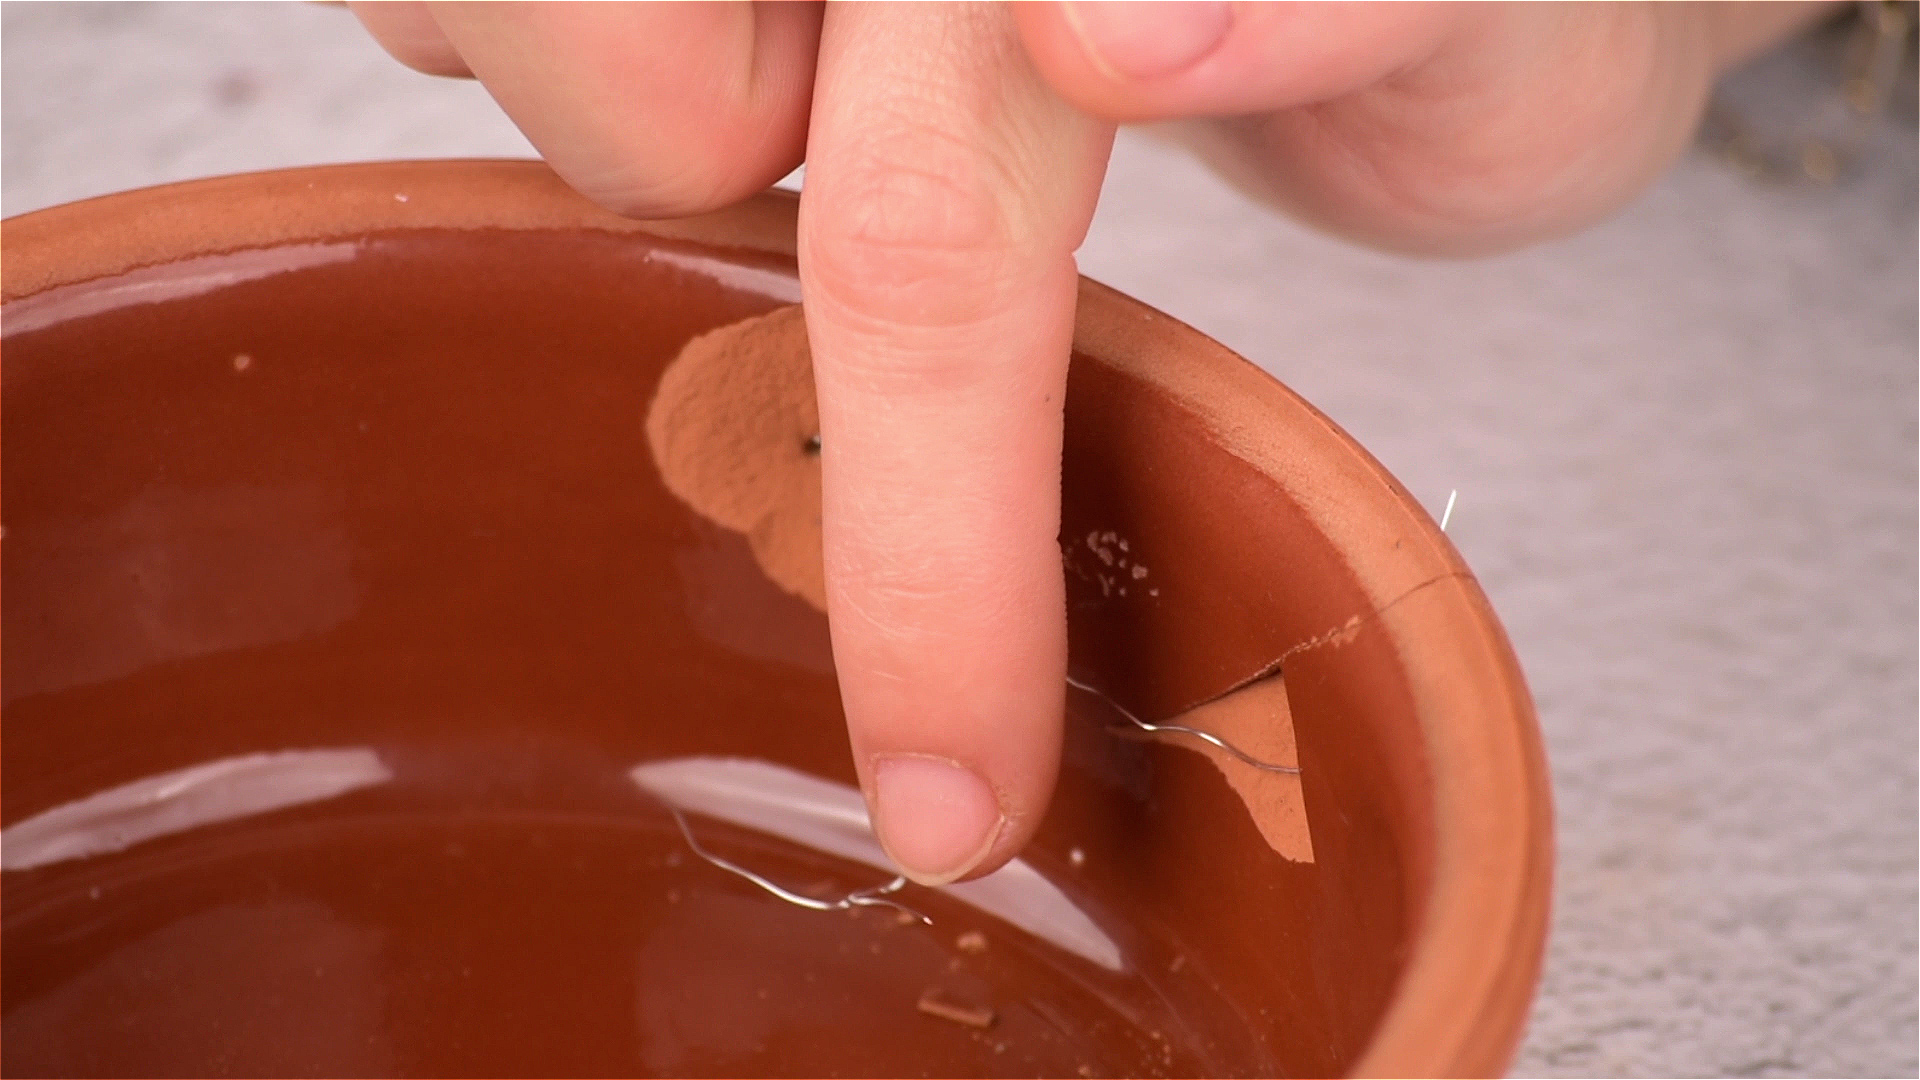
Terracotta pots are the blue jeans of the gardening world: practical, good-looking, breathable, and somehow better with age. They make herbs look Mediterranean, succulents look expensive, and even a slightly dramatic basil plant look like it has its life together. But terracotta also has one tiny personality flaw: it breaks. A bump from a lawn chair, one enthusiastic dog tail, a winter freeze, or a “whoops, I thought I had it” moment can turn your favorite clay planter into a sad little archaeological exhibit.
The good news? A cracked or broken terracotta pot does not always need to retire to the compost-adjacent pile of shame. In many cases, you can repair a terracotta pot quickly with supplies from a hardware store and a little patience. This guide covers two quick and easy ways to fix terracotta pots: using two-part epoxy adhesive for clean breaks and using epoxy putty or sealant support for cracks, chips, and small gaps.
Before we start, one honest gardener-to-gardener note: a repaired clay pot may not be as strong as a brand-new one, especially if it is large, heavily planted, or exposed to freezing weather. But for small to medium planters, decorative pots, indoor herbs, succulents, and sentimental garden pieces, these fixes can give your pot a sturdy second act. Think of it as garden CPR, but with less panic and more glue.
Why Terracotta Pots Crack in the First Place
Terracotta is made from fired clay, and one of its best qualities is also its biggest weakness. It is porous. That means it allows air and moisture to move through the walls of the pot. Plants that dislike soggy roots often love this because the soil dries more evenly than it would in a plastic container. Unfortunately, porous clay can also absorb water. When temperatures drop and that trapped moisture freezes, it expands. Over time, the pot can crack, flake, chip, or split.
Breakage can also happen from simple impact. A terracotta pot may look tough, but it is still ceramic. Drop it on concrete, knock it off a shelf, or let a heavy root ball press against an already weak wall, and the pot can snap along a stress line. Older pots may be more fragile because repeated watering, mineral buildup, root pressure, sun exposure, and seasonal temperature changes can slowly weaken the clay.
Can Every Terracotta Pot Be Repaired?
Not every pot is worth repairing, and that is not negativity; that is gardening realism wearing practical shoes. A clean break with large pieces is usually very repairable. A hairline crack can often be stabilized. A missing chip can be filled. But if the pot has shattered into dozens of tiny pieces, crumbles when touched, or has cracks running across the base and drainage hole, replacement may be safer.
You should also be cautious with very large outdoor planters. Once filled with wet soil and plants, a big pot can become surprisingly heavy. If the repair fails, the pot may collapse and damage the plant. For expensive antique pots, heirloom ceramics, or decorative pieces with real value, consider a professional ceramic repair specialist. For the average garden pot, though, a careful DIY repair can work beautifully.
Before You Repair: Clean, Dry, and Test-Fit the Pot
The secret to repairing terracotta is not magic glue. It is preparation. Adhesive sticks best to clean, dry surfaces. Terracotta absorbs water, so if the pot is damp inside the clay, the repair may fail even if the outside feels dry. Empty the pot, remove soil, brush away dust, and wash the broken edges with mild soap and water. Rinse well and let everything dry completely.
If the pot had diseased plants, pests, or old mineral crust, clean it more thoroughly before repairing. Avoid rushing this step. A pot that still contains moisture is like a friend who says, “I’m fine,” while clearly not fine. Give it time. Overnight drying is good; a full day or two in a warm, airy spot is better.
Basic Supplies You May Need
- Two-part epoxy adhesive for clean breaks
- Epoxy putty or waterproof ceramic-safe sealant for cracks and gaps
- Disposable gloves
- Small craft stick, toothpick, or putty knife
- Painter’s tape, rubber bands, or clamps
- Fine-grit sandpaper
- Soft brush or cloth
- Newspaper, cardboard, or a protected work surface
Always read the adhesive label before using it. Choose a product that works on ceramic, clay, masonry, or porous surfaces and is suitable for indoor or outdoor use if the pot will live outside. Waterproof or water-resistant adhesives are better for planters because watering is, unfortunately, part of the whole plant situation.
Method 1: Repair a Broken Terracotta Pot with Two-Part Epoxy
This is the best method when your pot has broken into a few large pieces that fit back together cleanly. Two-part epoxy is strong because it combines resin and hardener. Once mixed, it cures into a tough bond that can hold ceramic materials well. It is ideal for broken rims, side pieces, and pots that split into two or three sections.
Step 1: Arrange the Broken Pieces
Lay the pieces on your work surface and assemble the pot without glue first. This dry fit helps you understand the order of repair. If there are several pieces, start with the largest sections. Small chips can be added later or filled if they are missing. Do not skip the test fit unless you enjoy holding sticky clay pieces while whispering “wait, where does this go?”
Step 2: Mix the Epoxy
Put on gloves and mix the epoxy according to the product directions. Most two-part epoxies require equal amounts of resin and hardener, blended until uniform. Mix only what you can use within the working time listed on the package. Some formulas set quickly, which is helpful unless you are still looking for the missing rim piece under the table.
Step 3: Apply a Thin Layer
Using a craft stick or toothpick, apply a thin layer of epoxy to one broken edge. Avoid using too much. Excess adhesive can squeeze out and create bulky ridges. Terracotta is porous, so the surface may absorb a little adhesive, but the goal is still a close, neat bond, not a glue landslide.
Step 4: Press and Hold the Pieces Together
Press the broken pieces together firmly and align the edges as closely as possible. Use painter’s tape, rubber bands, or gentle clamps to hold the pot in place while the epoxy cures. If the pot is round and awkward, wrap tape around the outside like a temporary belt. It may look silly, but gardens are full of weird solutions that work.
Step 5: Remove Excess Adhesive
Wipe away squeeze-out before it hardens, following the product instructions. A toothpick can help remove adhesive from visible seams. If some epoxy remains after curing, you can carefully sand it later with fine-grit sandpaper. Go gently; terracotta scratches and flakes more easily than stoneware.
Step 6: Let It Cure Fully
Do not refill the pot immediately. Even if the adhesive feels dry, it may not have reached full strength. Follow the curing time on the label, usually several hours to a full day or more depending on the product. Once cured, check the repair by gently handling the pot. If the seam feels stable, you can repot with a lightweight soil mix and a plant that does not require constant soaking.
Method 2: Fix Cracks and Chips with Epoxy Putty or Waterproof Sealant
The second quick repair method is better for hairline cracks, small gaps, missing chips, and spots where the pot needs reinforcement rather than full reconstruction. Epoxy putty is useful because it can be pressed into gaps and shaped. Waterproof ceramic-safe sealant can help stabilize small cracks and reduce water entry. For a pot with a visible crack but no missing pieces, this method may be faster than taking the whole pot apart.
Step 1: Empty and Dry the Pot
Yes, this step is back, because terracotta repair has one main rule: dry clay behaves better. Remove the plant and soil if possible. If you absolutely cannot remove the plant, repair success becomes less predictable because moisture from the soil can interfere with the bond. For the best result, work on an empty, dry pot.
Step 2: Open the Crack Slightly If Needed
If the crack is packed with dust or old soil, clean it gently with a dry brush. Do not force the crack wider. The goal is simply to remove debris so the filler can contact the clay. If the crack goes all the way through the wall, apply support from both the inside and outside when possible.
Step 3: Press Putty into the Crack or Chip
For epoxy putty, cut or pinch off the amount you need and knead it according to the package directions. Press it into the crack, missing chip, or weak area. Smooth the surface with a gloved finger or small putty knife. Some terracotta-colored putties blend surprisingly well with clay pots. Others look like the pot got a beige bandage. That is still better than a broken pot.
Step 4: Add Interior Reinforcement
For cracks that run down the side, apply a thin reinforcing layer on the inside of the pot. This hidden support helps the outer crack stay closed while keeping the visible exterior cleaner. Do not block the drainage hole. Drainage is not optional in a planter; it is the difference between “happy roots” and “tiny swamp tragedy.”
Step 5: Use Sealant for Hairline Cracks
For very thin cracks, a waterproof sealant rated for ceramic or masonry may be easier than putty. Apply a small bead along the crack, then smooth it into the line. Use as little as necessary. A neat repair is stronger and better-looking than a thick smear. Allow the sealant to cure completely before watering the plant.
Step 6: Sand and Blend the Repair
After the putty or sealant cures, lightly sand any rough areas. If appearance matters, you can dust the repair with a little terracotta-colored outdoor craft paint or mineral pigment, but keep paint away from the inside surface if you are concerned about plant contact. Many gardeners simply turn the repaired side toward the wall and call it “rustic charm.” This is not laziness. This is design strategy.
Which Method Should You Choose?
Use two-part epoxy adhesive when the pot has broken into separate pieces that fit together like a puzzle. It creates a strong bond along clean edges and is usually the best option for reconstructing a pot. Use epoxy putty or waterproof sealant when the pot is cracked, chipped, or missing a small section but still mostly intact.
For serious breaks, you can combine both methods. First, glue the main pieces with epoxy. After it cures, reinforce the inside seam with a thin layer of epoxy putty. This two-step repair is especially helpful for pots that will hold soil outdoors. The outside stays relatively neat, while the inside gets extra strength where nobody sees it except you and one judgmental earthworm.
Common Mistakes to Avoid
Repairing a Damp Pot
Moisture is one of the biggest reasons terracotta repairs fail. A pot can feel dry on the surface while still holding water inside its pores. Let it dry longer than you think it needs.
Using the Wrong Glue
School glue, basic craft glue, and ordinary tape are not good long-term fixes for terracotta planters. They may work for a decorative piece kept indoors, but they usually cannot handle watering, soil pressure, outdoor humidity, and temperature changes.
Overloading the Repaired Pot
A repaired pot should not be treated like an indestructible garden bucket. Avoid filling it with very heavy soil, large shrubs, or thirsty plants that require constant watering. Lightweight potting mix and moderate watering are better choices.
Skipping Drainage
Never seal the drainage hole unless the pot is being turned into a decorative cachepot that will not hold soil directly. Good drainage helps protect both the plant and the pot. Standing water increases stress on the clay and can make cracks worse.
How to Make a Repaired Terracotta Pot Last Longer
Once your pot is repaired, treat it with a little extra care. Place it where it will not be kicked, bumped, or knocked over by wind. Use pot feet, bricks, or a plant stand to lift outdoor pots off the ground so water can drain freely. If your area gets freezing weather, bring repaired terracotta pots indoors or store them in a dry, sheltered place before winter.
You can also use a plastic nursery pot inside the repaired terracotta pot. This method, called double potting, lets the terracotta act as a decorative outer container while the plastic pot holds the soil and most of the moisture. It reduces stress on the repaired clay and makes watering easier to control. Just remember to empty any water that collects in the outer pot.
Creative Ideas for Pots That Cannot Be Fully Repaired
If the pot is too damaged to hold soil, do not toss it immediately. Broken terracotta can still be useful in the garden. Large curved pieces can become plant markers, edging, fairy garden walls, succulent displays, or decorative mulch accents. A half-broken pot can be laid on its side and planted like a miniature spilled garden. Broken pieces can also cover drainage holes to keep soil from washing out, as long as they do not block water flow.
This is the charming thing about terracotta: even when it breaks, it still looks like it belongs in a garden. Plastic pots crack and look tired. Terracotta cracks and suddenly thinks it is an Italian courtyard ruin. Very dramatic. Very useful.
Real-Life Experience: What Repairing Terracotta Pots Teaches You
The first time you repair a terracotta pot, you may expect the project to feel like a serious restoration job. In reality, it often feels more like solving a dusty little puzzle while trying not to glue your glove to a flowerpot. The experience is simple, but it teaches a few useful lessons about gardening, materials, and patience.
One of the biggest lessons is that clean breaks are much easier to fix than messy ones. If a pot splits into two or three large pieces, epoxy can make the repair feel almost surprisingly satisfying. The edges line up, the tape holds everything in place, and suddenly the pot looks like it survived a dramatic event and came back wiser. But when a pot breaks into many small shards, the repair becomes slower and less reliable. That is when it may be better to turn the pieces into garden labels or drainage covers instead of forcing a full reconstruction.
Another experience many gardeners share is learning that drying time matters more than enthusiasm. It is tempting to wash the pot, towel it off, and start gluing right away. The repair may even look fine at first. Then, a few weeks later, watering begins, the clay expands slightly, and the seam starts to loosen. Letting the pot dry completely before repair feels boring, but boring steps are often the ones that save the project.
You also learn to respect the weight of wet soil. A repaired six-inch herb pot may last for years on a kitchen windowsill. A repaired twenty-inch outdoor planter filled with saturated soil is a different beast. Soil gets heavy, roots push outward, and water adds pressure. For larger repaired pots, double potting is often the smarter move. Put the plant in a plastic nursery pot, then place that inside the terracotta shell. You still get the warm clay look without asking the repair seam to do all the heavy lifting.
Appearance is another part of the experience. Many repairs are visible, and that is okay. Terracotta already has a handmade, weathered, earthy personality. A neat seam does not ruin it. In fact, it can add character. Some gardeners even highlight the crack with a decorative kintsugi-inspired line using outdoor paint after the adhesive cures. Others rotate the pot so the repair faces the fence. Both methods are valid. Gardening is not a courtroom; nobody is cross-examining your planter.
The most useful practical habit is inspecting pots before each new planting season. Tap the sides gently, check for cracks around the rim and base, and look for flaking caused by moisture damage. A tiny crack is easier to stabilize than a full split. Think of it like noticing a loose button before your shirt makes a public announcement.
Repairing terracotta also changes how you store pots. After fixing one broken planter, you become much more careful about leaving clay pots outside in freezing weather. Emptying, cleaning, drying, and stacking them in a sheltered spot suddenly feels less like a chore and more like protecting future you from springtime disappointment.
In the end, the best experience-related advice is simple: repair the pots you love, repurpose the ones you cannot save, and do not be embarrassed by a visible mend. A repaired terracotta pot still holds plants, still warms up beautifully in the sun, and still brings that classic garden look. It just has a story nowand honestly, that makes it more interesting than the perfect pot sitting next to it.
Conclusion
Learning how to repair a terracotta pot is a handy skill for any gardener, plant collector, or person who has ever said, “I’ll just move this quickly,” moments before disaster. For clean breaks, two-part epoxy adhesive is usually the quickest and strongest fix. For cracks, chips, and gaps, epoxy putty or waterproof ceramic-safe sealant can stabilize the damage and extend the life of the pot.
The key steps are simple: clean the clay, dry it thoroughly, choose the right adhesive, hold the repair in place, and let it cure fully before replanting. With a little patience, many broken terracotta pots can return to service instead of heading to the trash. And if the repair is not perfect? That is fine. A little imperfection is part of the terracotta charm. Besides, once the basil grows over the rim, nobody will be inspecting the seam.
Note: Use repaired terracotta pots for plants and decoration only. Do not use adhesive-repaired pottery for food, drinking water, cooking, or pet bowls unless the repair product specifically states that it is safe for that purpose.