Fall has many unofficial alarms: the first cool morning, the first leaf stuck to your windshield, and the first neighbor who casually says, “I made cider this weekend,” as if they did not just unlock peak autumn living. An apple cider press is just in time for fall because it turns one of the season’s best ritualsapple pickinginto something delicious, practical, and suspiciously fun. You start with crisp apples, add a little muscle, and end with a jug of fresh cider that tastes like an orchard decided to write you a thank-you note.
Of course, an apple cider press is not just a charming backyard gadget. It is a tool that helps you make homemade apple cider, reduce apple waste, host memorable fall gatherings, and understand exactly what goes into your drink. Whether you are pressing apples from a backyard tree, a local orchard haul, or a farmers market bargain box, the process gives you control over flavor, sweetness, safety, and freshness.
This guide walks through why a cider press belongs in the fall spotlight, how it works, what apples to use, how to press safely, and how to make the experience feel less like a chore and more like the coziest Saturday of the year.
Why an Apple Cider Press Feels Perfect for Fall
There is a reason cider pressing feels like a fall tradition rather than a random kitchen project. Apples are at their seasonal best in autumn, especially in cooler regions where late-season varieties develop fuller flavor, deeper sweetness, and that bright snap that makes fresh cider taste alive. Fall also brings the kind of weather that practically begs for warm mugs, cinnamon sticks, flannel shirts, and outdoor projects that end with snacks.
A cider press turns apples into juice through two simple stages: grinding and pressing. First, apples are crushed into a coarse mash called pomace. Then pressure squeezes juice from that mash. The result is sweet apple cider, usually cloudy because it is not filtered like commercial apple juice. That cloudiness is part of the charm. It carries flavor, aroma, and the feeling that this drink came from actual fruit instead of a mystery aisle at the grocery store.
For families, homesteaders, gardeners, and fall-party enthusiasts, the apple cider press offers something many modern appliances do not: participation. People can wash apples, crank the grinder, collect cider, taste-test batches, and debate whether the finished drink needs cinnamon. Spoiler: someone will always say yes.
What Is an Apple Cider Press?
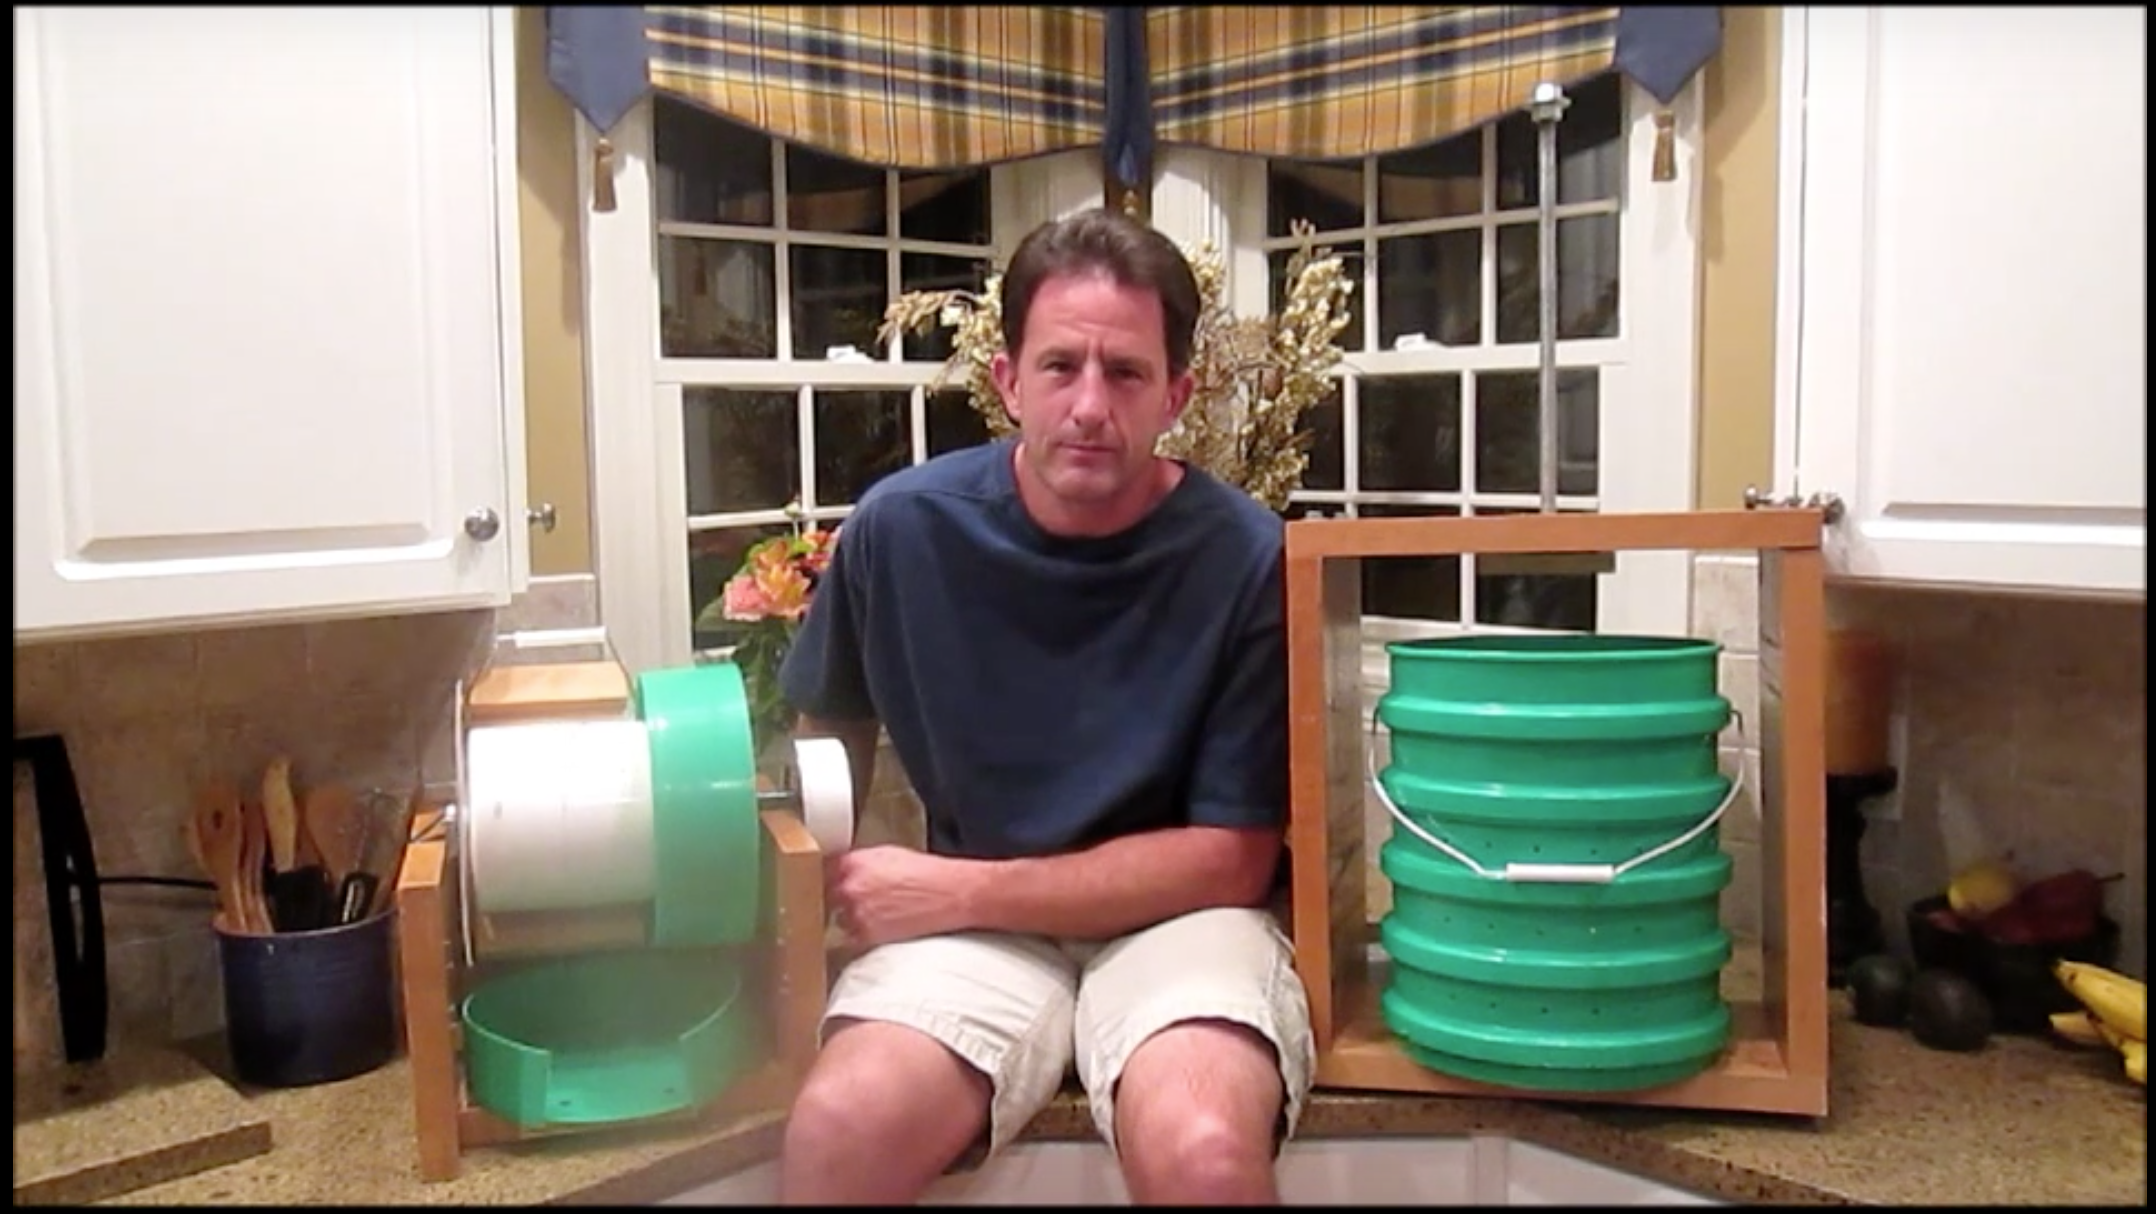
An apple cider press is a fruit-processing tool designed to extract juice from apples. Traditional models often use a wooden basket, a screw mechanism, and a pressing plate. Modern versions may use stainless steel components, food-grade plastic parts, or hydraulic pressure. Some presses are small enough for a backyard table, while larger models can handle big orchard batches.
The Main Parts of a Cider Press
Most cider pressing setups include a few key pieces. The apple grinder or crusher breaks apples into small bits so the juice can escape more easily. The pressing basket holds the apple pulp. The pressing plate pushes down on the pulp. A tray or spout channels the cider into a clean container. Many people learn quickly that the grinder matters as much as the press. Pressing whole apples or large chunks is like asking a couch cushion to make orange juice. Technically dramatic, but not effective.
Some home cider makers buy a complete press-and-grinder combo. Others use a separate fruit crusher with a basket press. If you only make cider once a year, renting or borrowing a cider press may be smarter than buying. If you have apple trees, a large garden, or a deep emotional commitment to autumn beverages, owning one can feel like a seasonal superpower.
How to Choose Apples for Homemade Cider
The best cider usually comes from a blend of apples, not one lonely variety doing all the work. Think of cider like a band. Sweet apples bring the melody, tart apples add sparkle, aromatic apples provide personality, and tannic apples bring depth. A batch made only with very sweet apples can taste flat. A batch made only with tart apples can make your face fold like a lawn chair.
Good Apple Types for Cider
For a balanced homemade cider, mix sweet, tart, and aromatic varieties. Sweet choices may include Fuji, Gala, Golden Delicious, Red Delicious, and Honeycrisp. Tart options include Granny Smith, Jonathan, McIntosh, and Northern Spy. Traditional cider makers also value apples with tannin, such as bittersweet or bittersharp cider apples, because they add body and complexity.
If you are buying apples from an orchard, ask what they recommend for cider. Many orchards sell “utility” or “seconds” apples at a lower price. These may have cosmetic flaws but are still usable if they are firm, fresh, and free from rot. Surface blemishes are usually fine. Mold, decay, animal damage, or fruit that has been sitting on the ground is not fine. Your cider should taste like fall, not like questionable compost.
Food Safety: The Part That Keeps the Fun Fun
Fresh cider tastes magical, but safe cider matters even more. Unpasteurized apple cider can carry harmful bacteria if fruit or equipment is contaminated. Children, older adults, pregnant people, and anyone with a weakened immune system are at higher risk from untreated juice. That does not mean homemade cider is off the table. It means the process deserves clean habits and a little respect.
Use Clean, Sound Apples
Choose apples picked from the tree or purchased from a trusted orchard or market. Avoid windfall apples, also called drops or grounders, especially for raw cider. Fruit that has touched the ground may come into contact with soil, animal waste, or other contaminants. Also discard apples that are moldy, rotten, heavily bruised, or damaged by birds or insects. Cutting away a bad spot may work for a pie, but cider extracts juice from the whole fruit, so quality matters.
Wash and Sanitize Everything
Before pressing, wash apples under cold running water and gently rub away dirt. Do not soak them in a sink full of water, where dirt and microbes can move around like they paid rent. Clean the press, grinder, collection containers, knives, cutting boards, and work surfaces with warm soapy water. Rinse well, then sanitize food-contact surfaces according to safe home food-handling guidance. Use only clean, food-grade containers for collecting cider.
Consider Pasteurizing Fresh Cider
For safer homemade cider, heat-treating is a smart step. Many home-preservation resources recommend heating cider to kill harmful microorganisms before refrigeration, freezing, or canning. The goal is to make cider safer without boiling away its fresh flavor. Use a food thermometer, heat the cider carefully, stir to distribute heat evenly, and cool it quickly before refrigerating. If serving people in higher-risk groups, pasteurized cider is the better choice.
How to Use an Apple Cider Press
Using an apple cider press is simple, but simple does not mean “wing it while holding a doughnut.” A little setup makes pressing smoother, cleaner, and more productive.
Step 1: Gather Your Apples and Supplies
You will need apples, clean water, a cider press, an apple grinder or crusher, food-safe collection containers, a straining bag or press cloth if your setup uses one, a thermometer if you plan to pasteurize, and bottles or jars for storage. Keep towels nearby. Cider pressing has a way of making everything slightly sticky, including people who claim they are “just watching.”
Step 2: Wash, Sort, and Cut
Wash the apples and remove stems, leaves, and visibly damaged fruit. Depending on your grinder, you may need to halve or quarter larger apples. Remove rotten areas entirely by discarding the fruit, not by performing tiny apple surgery. Your cider flavor improves when you begin with sound apples.
Step 3: Grind the Apples
Grinding is what turns apples into pomace. This step increases yield because it breaks the fruit cells and exposes more surface area. A good apple grinder makes pressing faster and more efficient. Without grinding, you may end up with sore arms and a sad trickle of juice.
Step 4: Press the Pomace
Load the pomace into the pressing basket, fold the press cloth if using one, and apply pressure gradually. Do not rush. Let the juice flow. Some cider makers pause during pressing to allow the pulp to settle before applying more pressure. The cider will run into your collection vessel, usually looking cloudy, golden, and wildly tempting.
Step 5: Strain, Pasteurize, Chill, or Preserve
If you prefer a cleaner texture, strain the cider through a fine mesh strainer or several layers of clean cheesecloth. For fresh drinking, refrigerate cider promptly and use it within a few days. For longer storage, freeze it in food-safe containers with headspace for expansion. For shelf-stable storage, follow tested home-canning guidance for apple juice or cider. Guesswork and canning are not friends.
How Much Cider Can You Get from Apples?
Cider yield depends on apple variety, ripeness, moisture content, grinder quality, and press design. As a practical estimate, a bushel of apples may produce around three gallons of cider. Very juicy apples and efficient grinding can increase yield, while dry or mealy apples may disappoint everyone involved.
Letting crushed apples rest briefly before pressing can help release more juice. However, do not leave pomace sitting around for hours in warm weather. Freshness matters. Press promptly, keep everything clean, and chill the cider as soon as possible.
Apple Cider Press Buying Tips
If you are shopping for a fruit press, choose one based on batch size, materials, cleaning requirements, storage space, and how often you plan to use it. A small tabletop press works for occasional batches. A larger basket press makes sense for families with several apple trees or anyone who views fall as a competitive beverage season.
Manual vs. Motorized Options
Manual presses are affordable, satisfying, and charmingly old-fashioned. They also require effort. Motorized grinders can save time and energy if you process large quantities. For many home users, the best compromise is a sturdy manual press paired with an efficient grinder. That way, the hardest partcrushing applesis handled properly.
Wood vs. Stainless Steel
Wooden presses are classic and beautiful, but they require careful cleaning and drying. Stainless steel models are often easier to sanitize and maintain. Whatever you choose, prioritize food-safe materials, sturdy construction, and parts that can be taken apart for cleaning. A cider press should not contain mystery crevices where last October goes to retire.
Ways to Enjoy Fresh Apple Cider
Fresh cider is excellent cold, but it also loves a little kitchen drama. Warm it with cinnamon sticks, cloves, orange slices, and a touch of nutmeg for a classic mulled cider. Use it in marinades for pork or chicken. Add it to pancake batter, oatmeal, quick bread, or fall cocktails. Reduce it into an apple cider syrup for waffles or roasted vegetables. Freeze some in ice cube trays and use the cubes in sparkling water for a crisp autumn drink.
Pressed cider also opens the door to apple jelly, apple butter, cider vinegar, and hard cider for those who follow proper fermentation guidance. Even the leftover pomace can be useful. Compost it, feed it to livestock where appropriate, or use small amounts in garden compost systems. One pressing day can become a full fall food project.
Common Apple Cider Press Mistakes to Avoid
The first mistake is using poor-quality fruit. Cider concentrates flavor, so bad apples do not magically become charming. The second mistake is skipping the grinder. Pressing chopped apples wastes time and leaves juice behind. The third mistake is ignoring sanitation. Clean equipment is not glamorous, but neither is a ruined batch.
Another common mistake is making too much cider without a storage plan. Fresh cider is perishable. Before you press five gallons, know how much you will drink, refrigerate, freeze, share, or preserve. Your future self will appreciate not discovering a fizzy science experiment in the back of the fridge.
Fall Experience: What Pressing Cider Really Feels Like
The first time you use an apple cider press, you may imagine a postcard scene: golden leaves, smiling friends, sunlight on baskets of apples, and maybe a dog wearing a bandana. That can happen. But the more honest version includes wet sleeves, sticky shoes, someone asking where the funnel went, and at least one apple rolling under a table like it is making a break for freedom.
That is part of the fun. Cider pressing is not a silent, polished kitchen task. It is a hands-on fall experience. You hear the crunch of apples going through the grinder. You smell fresh juice before you even see it. The first stream of cider usually makes everyone lean in. It looks almost too simple: apples go in, cider comes out, and suddenly the whole group behaves like they personally invented autumn.
A good pressing day starts with preparation. Set up outdoors or in a garage with washable floors. Put the press on a stable surface. Keep clean apples on one side and finished cider on the other, so the workflow does not turn into a traffic jam. Have extra containers ready. Cider always seems to appear slowly at first, then all at once, like it remembered an appointment.
Flavor testing is the best part. A batch made with mostly sweet apples tastes smooth and mellow. Add tart apples and the cider wakes up. Add aromatic varieties and suddenly the drink has layers: floral, spicy, honeyed, bright. You begin to understand why cider makers talk about apples the way coffee people talk about beans. Every variety brings something different.
The social side matters too. Kids can help wash apples. Adults can take turns cranking the grinder. Someone can manage the bottles. Someone else can supervise snacks, an underrated but essential role. By the end, everyone has contributed, even the person who mostly stood near the cider and said, “Wow, that smells amazing.”
After pressing, the cleanup feels less magical but equally important. Rinse equipment before pulp dries. Scrub the basket, grinder, tray, and collection containers. Dry everything thoroughly before storing it. A well-maintained apple cider press becomes easier to use every year, and the ritual gets smoother with practice.
The reward is more than cider. It is the memory of making something seasonal with your hands. It is the satisfaction of turning apples into a drink you can serve warm on a cold evening. It is the pleasure of handing someone a glass and saying, “We pressed this today,” which is a small sentence with an impressive amount of cozy bragging power.
Conclusion: A Cider Press Makes Fall Taste Better
An apple cider press is just in time for fall because it captures what people love most about the season: fresh apples, cool air, shared work, warm drinks, and simple traditions that feel better than anything rushed or packaged. With the right apples, clean equipment, safe handling, and a little patience, you can make homemade apple cider that tastes fresher than store-bought and feels far more personal.
Whether you buy a press, borrow one, rent one from a local orchard group, or make cider at a community pressing event, the experience is worth it. Fall only comes once a year. You might as well squeeze every drop out of it.