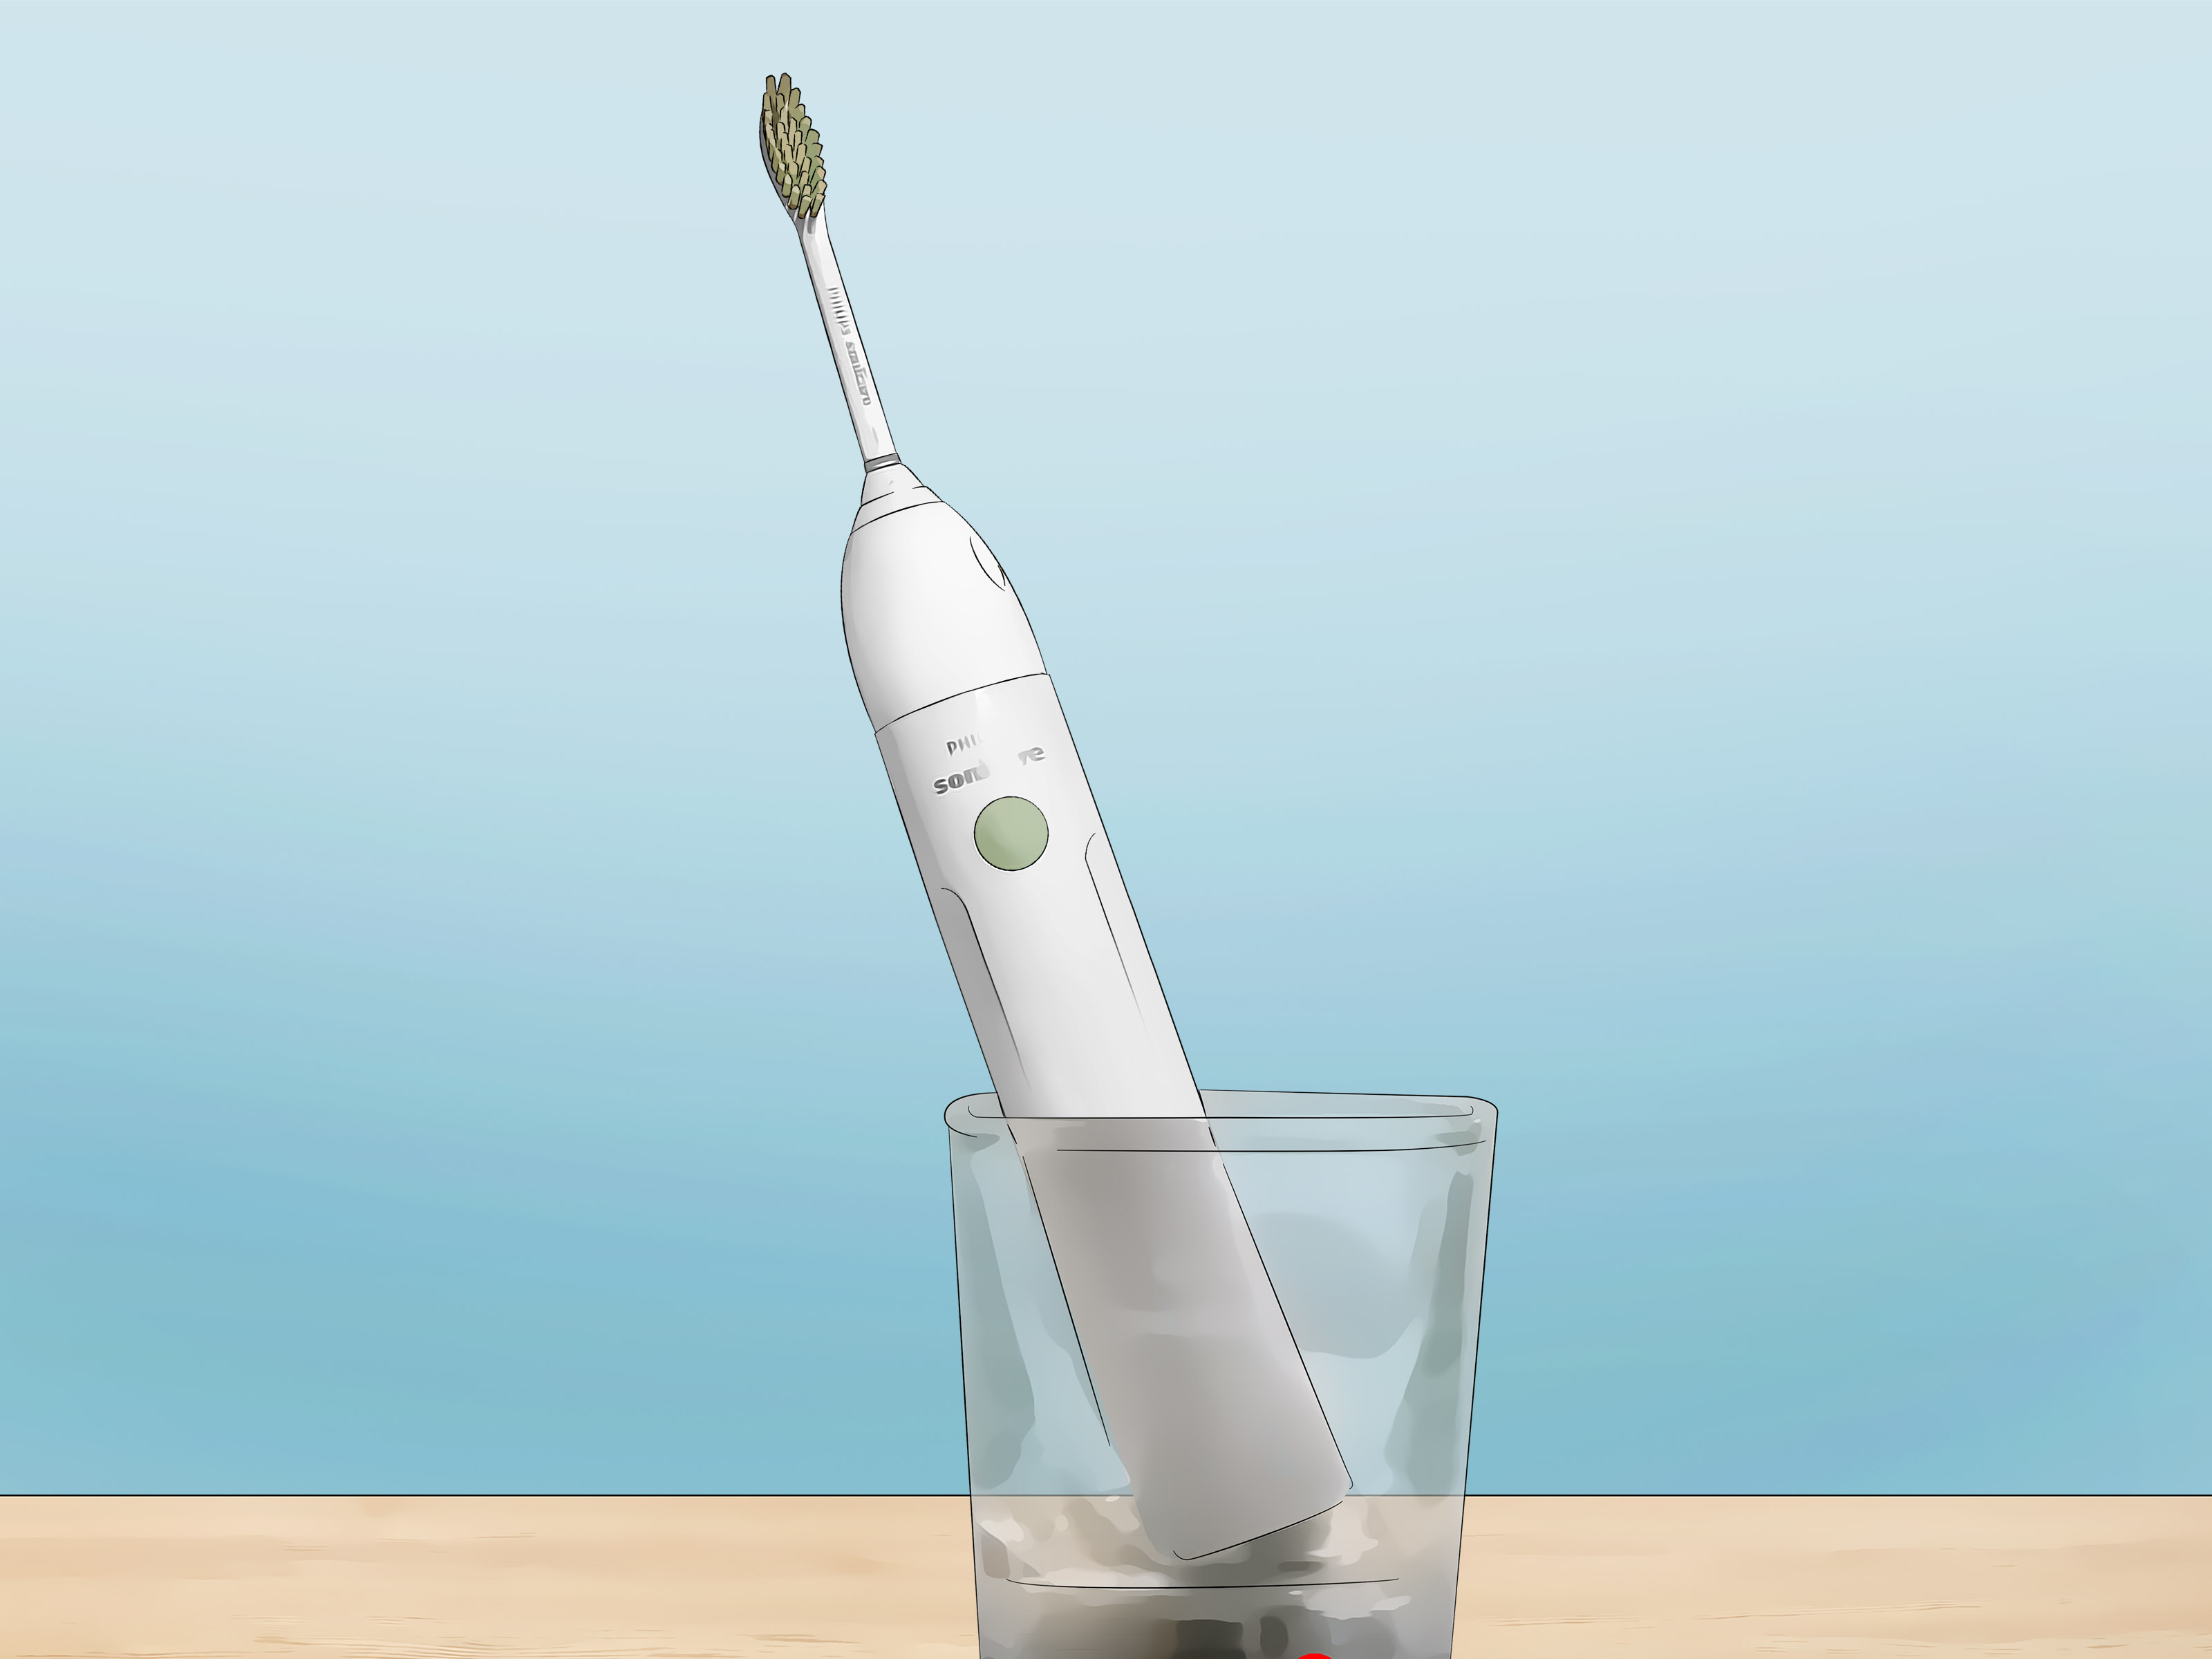
Note: This guide is for routine cleaning and prevention. If your toothbrush is damaged, smells strongly even after cleaning, has visible growth inside sealed areas, or causes irritation, replace the brush head or contact Philips support. Your mouth deserves better than a tiny bathroom swamp.
Why Does Black Gunk Build Up on a Philips Sonicare?
If you have ever pulled the brush head off your Philips Sonicare and found a mysterious black ring around the metal shaft, welcome to the club nobody wanted to join. That black gunk is usually a mixture of dried toothpaste, saliva, water minerals, bathroom moisture, and microbial buildup. In some cases, it may include mildew or mold-like residue, especially when the brush head stays attached while wet.
The problem is not that your Sonicare is “dirty by design.” Electric toothbrushes have small spaces: the gap under the brush head, the rubber seal around the metal shaft, the base of the handle, and the charger contact area. Moisture loves those spaces. Toothpaste foam slides into them. Then the brush sits in a warm bathroom, possibly next to a steamy shower, and the gunk throws itself a tiny house party.
The good news: keeping a Philips Sonicare clean is not complicated. You do not need a laboratory, a hazmat suit, or a toothbrush for your toothbrush. You need a simple routine, a soft cloth, warm water, and the discipline to remove the brush head more often than “when it looks haunted.”
Before You Start: What You Need
- A clean, soft cloth or paper towel
- Warm running water
- A cotton swab or soft-bristled cleaning brush
- A dry towel for the counter
- Optional: mild dish soap for exterior surfaces only
- Optional for brush heads only: 3% hydrogen peroxide or antibacterial mouthwash
Avoid the big three troublemakers on the handle: bleach, vinegar, and rubbing alcohol. They may sound like cleaning superheroes, but on many Sonicare handles they can discolor or damage surfaces. Also skip the dishwasher. Your toothbrush is not a coffee mug, and the dishwasher is not a spa day for electronics.
How to Keep Your Philips Sonicare Clean of Black Gunk: 10 Steps
Step 1: Remove the Brush Head After Brushing
The simplest way to stop black gunk is to stop trapping moisture. After you brush, gently pull the brush head straight off the handle. Do not twist aggressively or yank it like you are starting a lawn mower. Once removed, you can see the metal shaft, rubber seal, and top of the handlethe exact area where residue loves to hide.
Leaving the brush head attached all day creates a damp pocket. That pocket collects toothpaste foam and saliva. Removing the head lets both pieces dry faster and makes cleaning much easier.
Step 2: Rinse the Brush Head Thoroughly
Hold the brush head under warm running water. Rinse the bristles from several angles, then rinse the bottom opening where the brush head connects to the handle. This lower connection area is a common black-gunk headquarters because toothpaste and water travel downward while brushing.
Shake off excess water. If you see white paste crust, dark residue, or a slimy ring, keep rinsing until it loosens. For stubborn buildup, use a cotton swab around the base. Be gentle. You are cleaning a precision oral-care tool, not scrubbing a grill grate.
Step 3: Rinse the Metal Shaft Area With Warm Water
With the brush head removed, angle the handle so warm water can rinse the metal shaft and the top area around it. The goal is to remove leftover toothpaste before it dries into a stubborn black-gray film.
Do not submerge the entire handle. Do not force water into buttons, seams, or charging areas. A Philips Sonicare handle is made for bathroom use, but that does not mean it wants to become a submarine.
Step 4: Wipe Around the Rubber Seal Carefully
The rubber seal around the metal shaft is one of the most important areas to clean. Use a damp cloth or cotton swab to wipe around the seal. If you see a dark ring, work slowly in circles until the residue lifts.
Never use a needle, knife, pin, toothpick, or other sharp object to scrape the seal. Damaging the seal can create more places for moisture to enter, which is exactly how a small cleaning problem becomes a bigger device problem. Soft pressure wins here.
Step 5: Wipe the Entire Handle
Use a damp cloth to wipe the handle from top to bottom. Pay attention to the power button, mode button, grooves, and the bottom edge. Toothpaste splatter has an impressive talent for appearing in places toothpaste has no business being.
If the handle feels sticky, use a tiny amount of mild dish soap on the cloth, then wipe again with a clean damp cloth. Do not soak the handle, and do not use harsh disinfectants on it. Finish by drying the handle with a clean towel.
Step 6: Clean the Charger Base Separately
Unplug the charger before cleaning it. Wipe the surface with a damp cloth, especially the circular area where the handle sits. Then dry it completely before plugging it back in.
The charger base often collects water rings, dried toothpaste, dust, and bathroom grime. If your handle is clean but the charger is sticky, the bottom of the handle will get dirty again. Think of it like putting clean socks into muddy shoes. Technically possible, emotionally disappointing.
Step 7: Deep-Clean the Brush Head Weekly
Once a week, give the brush head extra attention. Remove it from the handle, rinse the bristles and connection area with warm water, and inspect the inside opening. If residue remains, use a cotton swab to clean the lower rim.
If you want to sanitize the brush head, you can soak only the brush headnot the handlein 3% hydrogen peroxide or antibacterial mouthwash for a short period, then rinse it thoroughly and let it air-dry. Do not leave it soaking indefinitely. A quick cleaning routine is helpful; turning your brush head into a science experiment is not.
Step 8: Dry Everything Before Reassembling
Drying is the secret weapon against black gunk. After rinsing, shake off excess water from the brush head. Pat the handle and shaft area dry with a towel. Let both pieces air-dry separately before putting the head back on.
If you are in a hurry, at least leave a small gap between the brush head and handle or store them apart. The goal is airflow. Moisture control matters because mold and mildew-like buildup thrive where surfaces stay damp.
Step 9: Store Your Sonicare Upright in Open Air
Store your Philips Sonicare upright in a clean, open area where it can dry. Avoid closed cabinets immediately after brushing, sealed travel cases, dirty cups, and drawers with poor airflow. A toothbrush cover may look tidy, but if it traps moisture, it can make the problem worse.
Also consider bathroom placement. If your toothbrush sits right beside the shower, it may be exposed to extra humidity every day. Move it to a drier part of the counter if possible. Your Sonicare does not need to attend every shower.
Step 10: Replace the Brush Head Every 3 Monthsor Sooner
Even with excellent cleaning, brush heads wear out. Replace your Philips Sonicare brush head about every three months, or sooner if the bristles are frayed, bent, discolored, smelly, or difficult to clean. A worn brush head is less effective and more likely to hold residue.
If black gunk keeps returning inside the brush head connection after careful cleaning, replacement is the smarter move. Brush heads are replaceable for a reason. Do not get emotionally attached to a tiny plastic part that has been through 180 brushing sessions.
Common Mistakes That Make Black Gunk Worse
Leaving the Brush Head Attached 24/7
This is the most common mistake. The connection between the brush head and handle needs airflow. Leaving everything snapped together while wet creates the perfect hiding spot for residue.
Using Too Much Toothpaste
A pea-sized amount of toothpaste is usually enough for adults. A huge ribbon of toothpaste may feel satisfying, but it creates more foam, more splatter, and more buildup under the brush head. Your Sonicare is powerful; it does not need a toothpaste mountain.
Cleaning With Harsh Chemicals
Bleach, vinegar, and rubbing alcohol may seem like quick fixes, but they can damage or discolor the handle. Save stronger products for appropriate household surfaces, not your electric toothbrush handle.
Putting Parts in the Dishwasher
Do not clean your Sonicare handle, brush head, charger, or travel case in the dishwasher. High heat can damage plastic, seals, and electronics. The dishwasher is excellent for plates. It is a questionable life choice for a toothbrush.
Storing It Wet in a Travel Case
Travel cases are useful when you are actually traveling. They are not ideal for daily storage after brushing. If you must pack your Sonicare, dry the brush head and handle first. A sealed wet case can become a portable gunk incubator.
How Often Should You Clean a Philips Sonicare?
For best results, use a three-level routine:
- After every use: Remove the brush head, rinse the bristles, rinse the connection area, and shake off water.
- Daily: Wipe the top of the handle and let the handle and head air-dry separately.
- Weekly: Clean around the metal shaft, rubber seal, buttons, handle base, charger, and inside the brush head connection.
This routine takes less time than scrolling through three social media posts, and it can save you from the unpleasant surprise of finding black gunk where your clean-mouth tool is supposed to be.
What If the Black Gunk Will Not Come Off?
If dark stains remain after cleaning, ask three questions. First, is it on the brush head? If yes, replace the brush head. Second, is it on the exterior surface of the handle? Try wiping with warm water and a soft cloth again, but avoid abrasive scrubbing. Third, is it inside a seam, under a damaged seal, or returning quickly after cleaning? That may signal wear, trapped moisture, or damage.
When in doubt, stop using a questionable brush head. If the handle appears damaged, contact Philips support or replace the device. Oral hygiene tools should make your mouth cleaner, not make you negotiate with mysterious bathroom biology.
Extra Experience: What Actually Works in Real Life
After dealing with black gunk on electric toothbrushes, the biggest lesson is surprisingly simple: prevention beats rescue cleaning. Once the black ring forms around the Sonicare shaft, cleaning becomes annoying. It is not impossible, but it takes more time, more wiping, and more dramatic sighing at the bathroom sink. The better strategy is to stop the residue before it gets comfortable.
One practical habit is to remove the brush head every single night. Not once a week. Not “when I remember.” Every night. After brushing, pull off the head, rinse the underside, rinse the metal shaft, shake both pieces, and set them upright with airflow. The whole routine takes about 20 seconds. At first, it may feel like an extra chore. After a week, it becomes automaticlike turning off the faucet or wondering why toothpaste always lands on the mirror.
Another real-world trick is to keep a small cleaning cloth near the sink. If the cloth is in another room, you will not use it. If it is right next to the toothbrush, you will wipe the handle more often. A quick wipe around the top seal after brushing prevents the sticky toothpaste film from drying into a dark ring. This is especially useful for whitening toothpastes or thicker formulas, which can leave more residue behind.
Families may need a stricter system. When several people store electric toothbrushes in one holder, moisture and splatter increase fast. Give each brush enough space so the heads do not touch. If one brush is always wet because it sits in a cup with poor drainage, switch to an open holder. The holder itself should also be washed regularly. A clean Sonicare sitting in a grimy holder is like parking a freshly washed car under a bird convention.
Travel is another sneaky cause of black gunk. Many people brush, rinse quickly, throw the damp brush into a travel case, zip the bag, and forget about it until the next stop. That sealed moisture is exactly what buildup loves. When traveling, dry the brush head and handle as much as possible before packing. If you arrive at a hotel, open the case and let the parts air out. This small step can prevent that stale, musty smell that makes you question every decision since breakfast.
Finally, do not try to make one brush head last forever. Some people stretch a brush head for six months because “it still vibrates.” The handle vibrates; the worn bristles are just along for the ride. Old bristles bend, hold residue, and clean less effectively. Replacing the brush head every three months feels minor, but it makes the entire toothbrush easier to keep clean. A fresh brush head snaps on cleanly, dries better, and does not carry the baggage of last season’s toothpaste.
The best Sonicare cleaning routine is not intense. It is consistent. Rinse, separate, wipe, dry, store upright, replace on schedule. That is the whole magic trick. No drama, no black gunk, no bathroom horror scene before coffee.
Conclusion
Keeping your Philips Sonicare clean of black gunk comes down to moisture control and simple maintenance. Remove the brush head after brushing, rinse both connection points, wipe the handle gently, clean the charger, and let everything air-dry. Avoid harsh chemicals, sharp tools, closed wet storage, and dishwasher cleaning. Replace the brush head every three months or sooner if it looks worn, smells odd, or refuses to come clean.
Your Sonicare works hard for your smile. Give it a little post-brushing care, and it will stay cleaner, fresher, and far less likely to grow a creepy black ring under the brush head. In other words: clean the cleaner. Your teeth will thank you, and your bathroom counter will look a lot less suspicious.