Your balcony should be a mini-vacation spot, not a splash zone for every storm cloud that drifts by.
The good news: you do not need a full renovation to make your outdoor space rain-friendly.
With the right cover design, materials, drainage plan, and maintenance routine, you can keep your balcony drier, safer, and far more usable year-round.
This guide breaks the process into seven practical steps, with real-world details on awnings, polycarbonate panels, pergola-style roofs, and waterproofing layers.
It also includes budget ranges, common mistakes, and field-tested lessons from typical homeowner projects.
If your balcony currently doubles as a weather experiment, this is your plan to take back control.
Quick Overview: The 7 Steps
- Inspect your balcony and check local rules first.
- Choose the right cover type for your layout and climate.
- Design the water path: slope, drip edge, and runoff direction.
- Select durable materials for frame, roof, and hardware.
- Install with structure-first logic and code-safe anchoring.
- Waterproof the balcony surface and moisture-prone joints.
- Create a simple maintenance routine that prevents expensive surprises.
Step 1: Inspect Your Balcony and Check the Rules First
Before buying a single bracket or panel, do a fast “balcony reality check.”
Measure width, projection (how far out you want the cover), ceiling clearance, and nearby obstructions like lights, AC units, or railings.
Then inspect the existing structure for cracks, loose tiles, rusting metal, soft wood, or signs of chronic pooling.
What to verify before design
- Structure: Is your wall/slab strong enough for mounted loads?
- Drainage: Where does water currently run after a storm?
- Permissions: HOA/condo board approval requirements.
- Permit status: Whether your city requires plan review.
Why this matters: the best-looking rain cover still fails if it is unpermitted, badly anchored, or installed over an already wet, damaged substrate.
Start with compliance and structural integrity, then style.
Think of this step as the “measure twice, drill once” phasewith less regret and fewer patch jobs.
Step 2: Choose the Right Balcony Rain Cover Type
Not all covers handle rain the same way. Some solutions are great for shade but weak in heavy rain. Others are rain champions but cost more and need stronger support.
Popular options and where they work best
-
Retractable awning: Great flexibility and clean look.
Best for light-to-moderate rain and sun control.
Not ideal when left extended during wind or water pooling conditions. - Fixed awning/canopy: Better rain reliability than most retractables, with consistent coverage.
-
Pergola with solid top: Strong visual upgrade and long-term durability.
Works well if properly pitched and flashed. - Polycarbonate panel roof: A favorite for many balconieslightweight, durable, and lets in daylight while blocking weather.
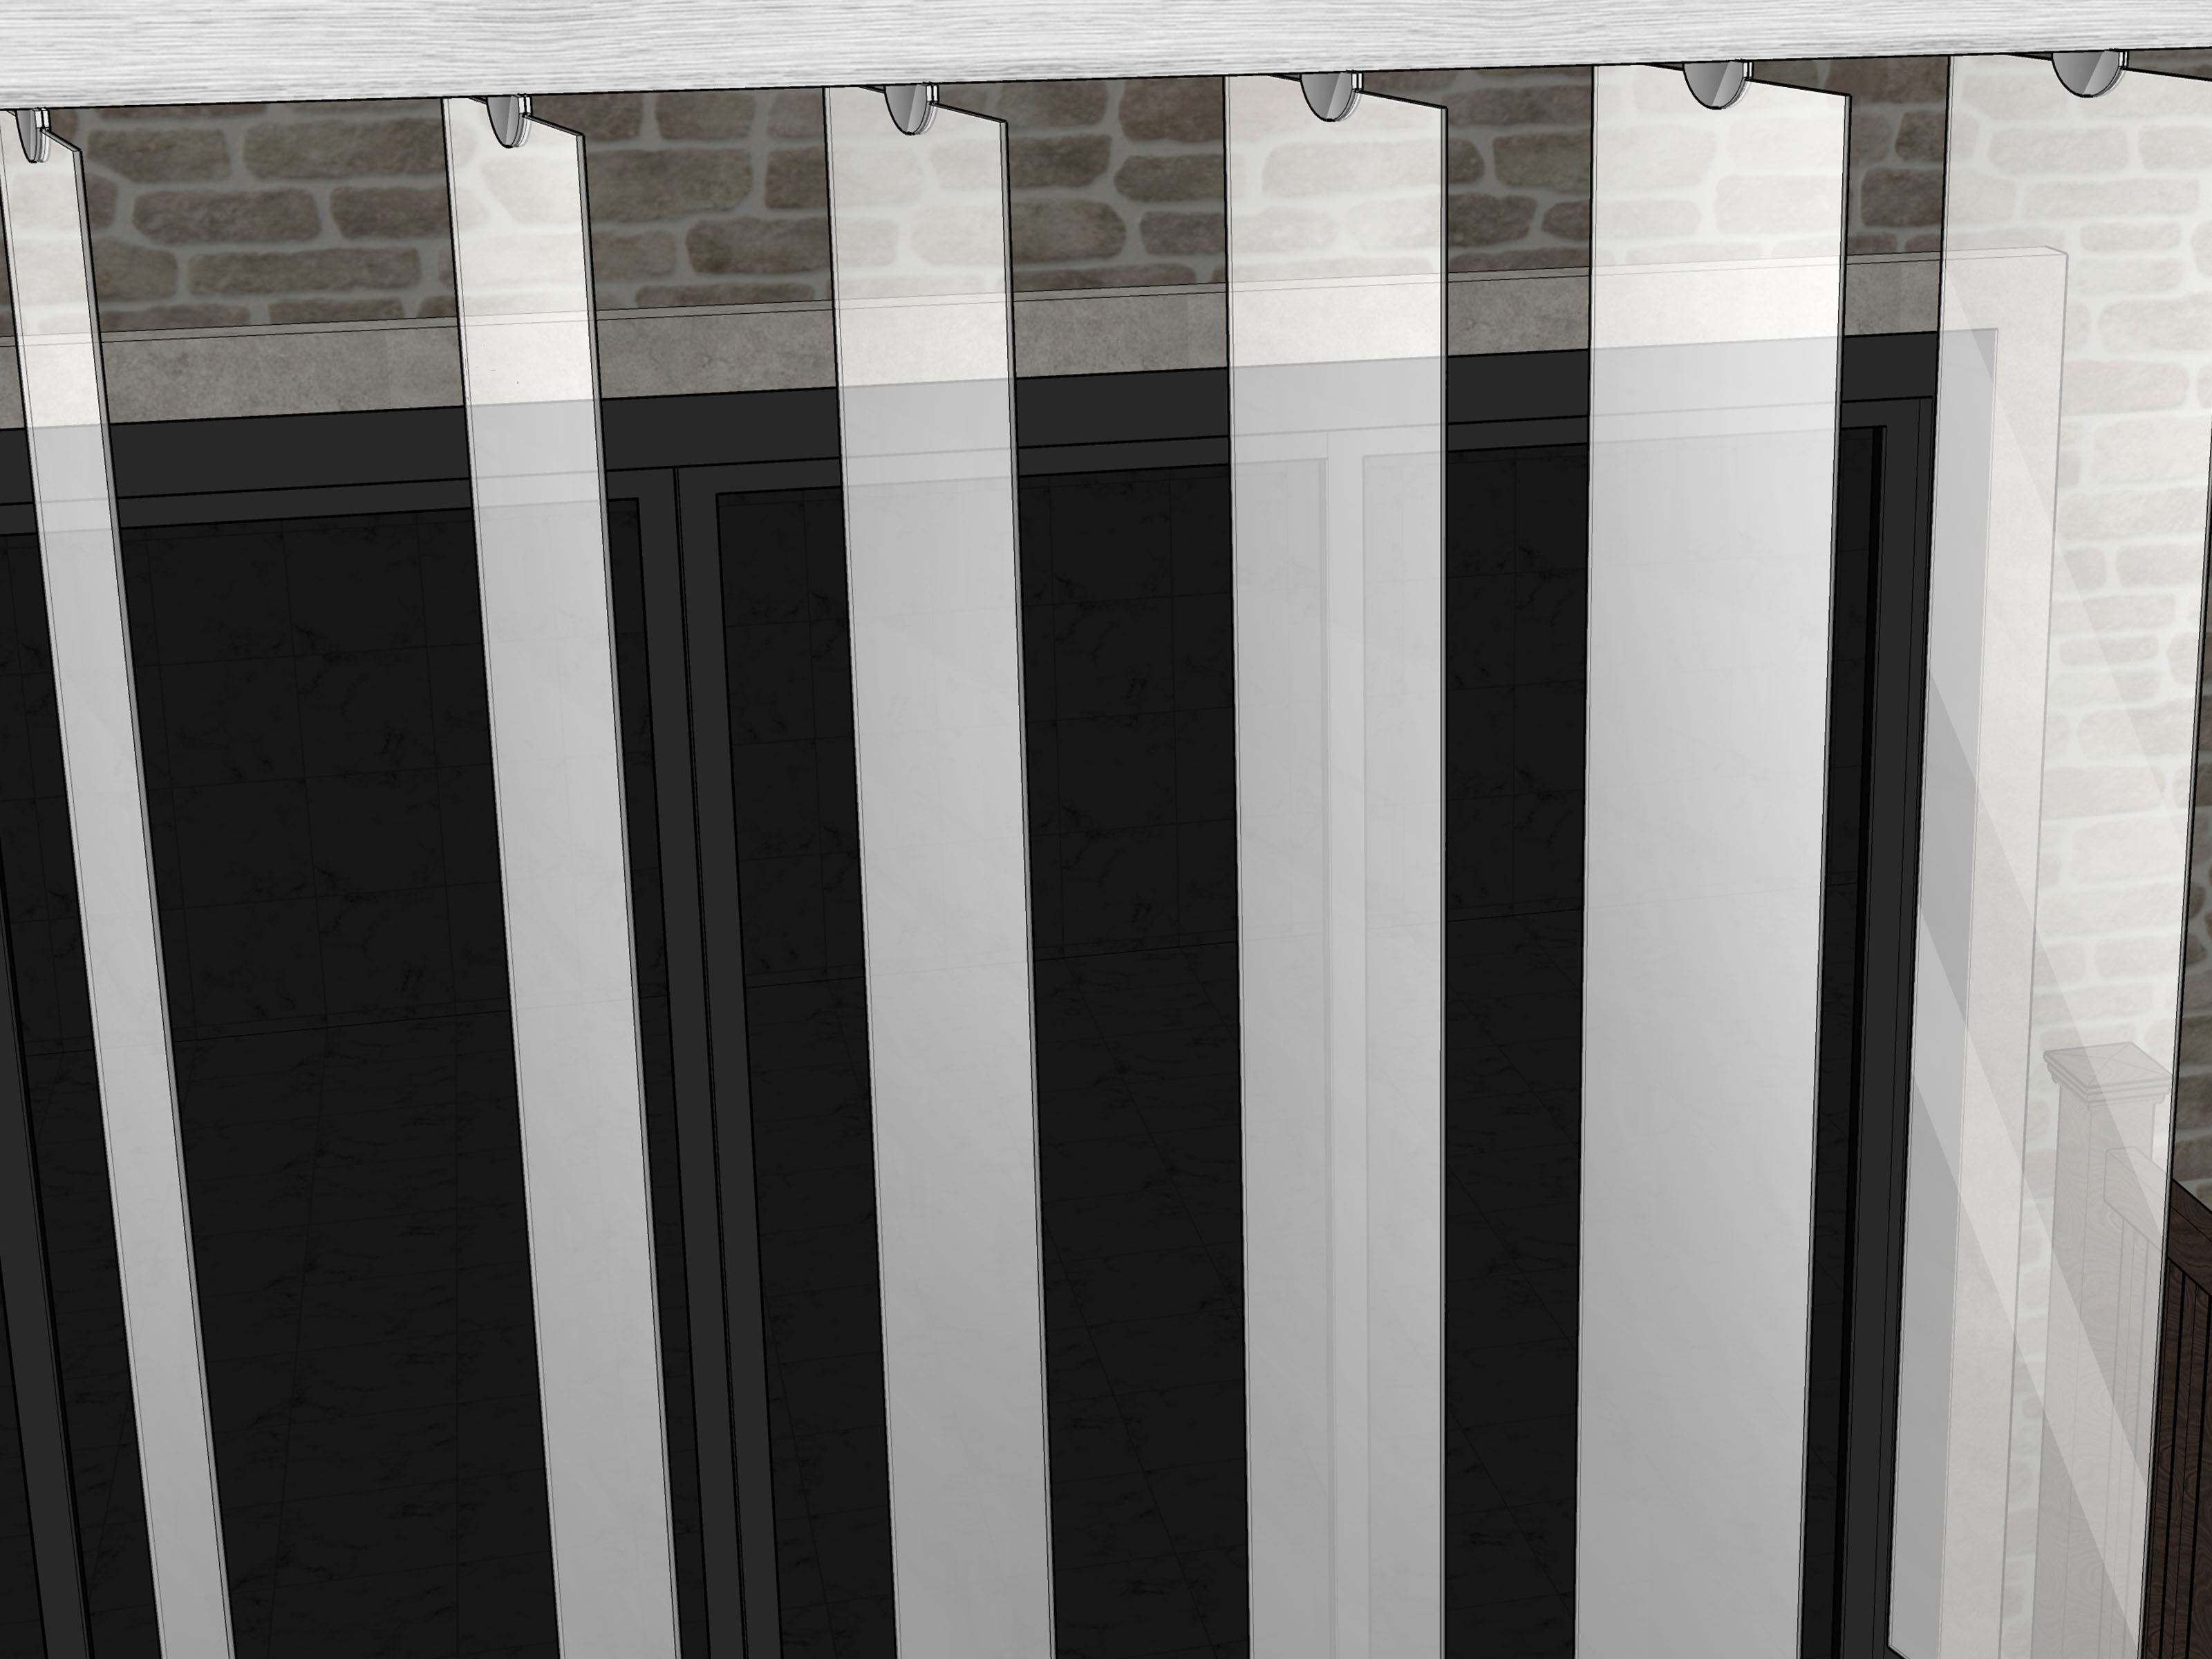
- Louvered roof systems: Premium option with adjustable slats; great control, higher budget.
If your primary goal is true rain protection, prioritize fixed systems or rigid panel roofs.
If your goal is flexibility and seasonal control, retractable systems are attractive but require disciplined use and proper pitch settings.
Decision shortcut
- Need maximum rain blocking: fixed roof, polycarbonate, or solid pergola top.
- Need sun + occasional rain: retractable awning with wind/rain operating rules.
- Need design-forward upgrade: louvered or architectural pergola system.
Step 3: Design the Water Path Like an Engineer
Rain management is where most balcony covers succeed or fail.
A pretty roof without runoff planning becomes a waterfall in the wrong places.
Key drainage principles
- Create positive slope: Water must flow away from the building face.
- Use drip edges or front channels: Direct runoff where you want it.
- Add gutters/downspouts when needed: Especially for larger rigid covers.
- Avoid splash-back zones: Keep water from bouncing onto doors and thresholds.
- Preserve existing drains: Do not block balcony floor drains or scuppers.
One practical example: a 10-foot-wide polycarbonate cover can shed a lot of water in a short burst.
Without a front gutter, runoff may dump directly onto the balcony edge and blow back onto the door.
With a gutter and directed downspout, the same storm is mostly a non-event.
In short: your cover should act like a rain traffic controller.
Every drop needs a route, not a mystery.
Step 4: Pick Materials That Match Real Weather, Not Just Showroom Lighting
Material choice determines lifespan, maintenance burden, and storm performance.
The goal is not “fanciest”; the goal is “long-lasting with minimal drama.”
Frame materials
- Powder-coated aluminum: Lightweight, corrosion resistant, low maintenance.
- Steel: Strong, but must be protected against corrosion.
- Treated wood: Warm look, but needs sealing and periodic maintenance.
Cover materials
- Polycarbonate panels: High impact resistance, strong weather performance, daylight-friendly.
- Acrylic/polyester awning fabric: Good shade and curb appeal; water resistance varies by product.
- Metal roofing panels: Durable and rain-capable; can be noisier during heavy rainfall.
Hardware and accessories
- Use exterior-grade fasteners and corrosion-resistant brackets.
- Add seal washers and compatible sealants for penetrations.
- Consider wind sensors for motorized retractable systems.
Bonus comfort angle: exterior shading systems can also reduce heat gain, which can make adjacent indoor rooms more comfortable and lower cooling load in warm months.
Step 5: Install with Structure-First Logic (and Respect the Load Path)
Even a small cover adds dead load, live load (rain/wind), and dynamic force to your wall or posts.
Installation quality is everything.
Installation sequence that works
- Mark anchor points based on framing/structural supportnot just cosmetic alignment.
- Install brackets or support posts plumb and square.
- Set pitch and verify runoff direction before final tightening.
- Install panels/fabric system according to manufacturer spacing and overlap details.
- Seal penetrations, flashing points, and side transitions.
- Test with controlled water flow (hose simulation) before final handover.
For retractable awnings, never assume “motorized” means “storm-proof.”
Many systems are designed for shade first and require retraction during heavy wind or rain pooling.
For rigid covers, anchoring and bracing decisions should reflect your local wind/snow design context and code requirements.
Step 6: Waterproof the Balcony Surface and Moisture-Prone Joints
Covering the top is only half the job.
Rain still finds paths through floor joints, wall intersections, and tiny cracks that look harmless until they become expensive.
High-priority waterproofing zones
- Door threshold and lower wall junction.
- Tile grout lines and slab hairline cracks.
- Penetrations for brackets, posts, and electrical lines.
- Drain outlets and scupper transitions.
Use compatible exterior sealants and membrane/coating systems based on your balcony substrate (concrete, tile, wood deck, etc.).
If you already have seepage below, fix root causes first.
Surface cosmetics without water control is like putting cologne on a leak.
Moisture control also means speed: after leaks or spills, dry affected areas quickly and address source issues immediately to reduce mold risk.
Step 7: Maintain It Like a Pro (Without Making It a Second Job)
Good maintenance is less about effort and more about rhythm.
Fifteen minutes every month can prevent weekend-eating repairs later.
Simple maintenance cadence
- Monthly: Remove debris, check gutters/channels, inspect fasteners.
- After storms: Look for shifted brackets, new drips, or unusual noise.
- Quarterly: Clean panels/fabric with manufacturer-safe methods.
- Seasonally: Recheck seals, flashing edges, and drainage performance.
- Annually: Full inspection of anchors, corrosion points, and coatings.
For retractables, habit matters: retract when weather turns rough, and do not ignore pooling water.
For rigid systems, keep runoff paths clear and sealants healthy.
Common Mistakes That Cause Leaks, Rust, and Regret
- Choosing by looks only: Beautiful fabric, wrong rain performance.
- No slope strategy: Flat-ish setups that trap water.
- Skipping permit/HOA checks: Leads to costly rework or forced removal.
- Weak anchors: Mounted into non-structural surfaces.
- Mismatched sealants: Chemical incompatibility and early failure.
- No maintenance plan: Debris + standing water = avoidable damage.
Budget and Planning Reality Check
Costs vary by size, materials, structural complexity, and labor market.
In many U.S. markets, professionally installed patio covers commonly land in the mid-thousands.
Retractable awnings can start lower but climb with motorization, wind sensors, and custom sizes.
A practical planning approach:
- Set a total budget range (project + contingency).
- Compare two rain-capable systems and one flexible system.
- Price drainage upgrades and waterproofing as separate line items.
- Reserve contingency for substrate repair (hidden cracks, rust, or rot).
If budget is tight, phase the project: structural cover first, finish upgrades later.
Dry and safe beats stylish and soggy.
Conclusion
If you want a balcony that works in real weather, think beyond “add a roof.”
The winning formula is simple: code check, right cover type, intentional drainage, durable materials, proper installation, and consistent maintenance.
Follow these seven steps, and your balcony can go from storm casualty to reliable outdoor roomwhere coffee stays in the mug and cushions stop auditioning for lifeguard duty.
Extended Practical Experiences: What Homeowners Usually Learn the Hard Way (500+ Words)
Across real balcony upgrade patterns in U.S. homes and multifamily buildings, the first lesson is almost always the same: people underestimate water behavior.
Many projects start with “I just need a little top cover,” but after the first serious rain, the owner notices side spray, edge drip, and rebound splash from railings or floors.
The cover did reduce direct rain, but the balcony still got wet in all the annoying places.
The fix was rarely a total redo; it was usually a smarter runoff detailfront gutter, drip edge extension, or better side overlap.
A second common experience involves retractable systems.
Homeowners love the flexibility and clean look, and for fair weather they are excellent.
But many people assume retractable means “all-weather roof.”
In practice, long-term success depends on operating habits and weather awareness.
Owners who treat the awning like a responsive shade tool tend to be happy.
Owners who leave it extended through every storm usually deal with sagging fabric stress, pooling water behavior, and avoidable wear.
This is less a product flaw and more an expectation mismatch.
Third, permit and approval conversations are usually easier when done early.
In condos and HOAs, the best outcomes come from submitting clear drawings, color/material samples, and an installation method that shows respect for the building envelope.
Projects stall when owners buy hardware first and ask permission later.
A little pre-approval patience can save weeks of back-and-forth and spare you the soul-crushing phrase “remove and restore at owner expense.”
Fourth, many homeowners report that moisture problems were already present before the new cover.
Once they covered the balcony, leaks did not disappear because the true path was in old grout, failed sealant at thresholds, or a tiny crack near a drain.
The cover reduced rain volume, but the leak source still needed repair.
Successful projects pair top coverage with substrate waterproofing and targeted joint sealing.
Fifth, the biggest satisfaction boost often comes from small accessories rather than the roof itself: a properly routed downspout, a leaf guard on the gutter edge, a wind sensor for motorized units, or a maintenance reminder on the calendar.
These details do not look glamorous in photos, but they dramatically reduce daily friction.
Sixth, owners who balance shade and daylight tend to enjoy their balcony more.
Too opaque, and the space feels cave-like.
Too transparent, and heat and glare return in sunny months.
Polycarbonate tint selection, awning fabric color, and projection depth become comfort decisions as much as rain decisions.
The best projects test this visually before final purchasesometimes with simple temporary mockups.
Seventh, long-term performance correlates with maintenance discipline, not maintenance intensity.
The happiest homeowners are not the ones doing heroic weekend repairs; they are the ones doing brief, regular checks.
They clear leaves, inspect sealant lines, tighten what is loose, and address small drips before they become interior ceiling stains.
Finally, expectations matter.
No balcony system makes weather disappear.
Wind-driven rain can still enter from open sides, and extreme storms test every exterior assembly.
But when projects follow the seven-step method in this guide, the results are consistently better: less water intrusion, fewer repairs, better comfort, and much more usable outdoor time.
In plain terms, the balcony stops being a problem to manage and starts becoming a place you actually want to use.