Note: This article is for general educational purposes and does not replace instructions from your dentist, oral surgeon, or healthcare provider. If you recently had oral surgery, always follow the directions given by your dental office first.
Introduction: Why Folding Gauze the Right Way Actually Matters
Folding gauze for your mouth sounds like the kind of task nobody expects to Googleuntil you are standing in front of the bathroom mirror with puffy cheeks, a half-open packet of sterile gauze, and the emotional confidence of a confused squirrel. Whether you just had a tooth pulled, wisdom teeth removed, a dental implant placed, or another minor oral procedure, gauze is often used to help control light bleeding and protect the area while a blood clot begins to form.
The goal is not to stuff your mouth like a chipmunk preparing for winter. The goal is to create a clean, firm, comfortable pad that applies gentle pressure directly over the bleeding area. Proper pressure helps slow oozing, supports clot formation, and keeps you from changing gauze every five minutes like you are running a tiny laundry service inside your mouth.
This guide explains simple ways to fold gauze for your mouth in 12 practical steps, using standard dental aftercare principles. You will learn how to choose the right gauze, fold it into the correct shape, place it safely, bite down with the right amount of pressure, and know when to stop using it. We will also cover common mistakes, comfort tips, and when to contact your dentist.
Before You Start: What Mouth Gauze Is Supposed to Do
Dental gauze is usually made from sterile cotton and comes in small squares or pads. After a tooth extraction or oral surgery, your dentist may place gauze over the treated area and ask you to bite down. This pressure helps control bleeding and gives the blood clot a better chance to settle into place.
A little pink or red saliva after dental work is common. However, gauze should not be used endlessly just because you see a tiny stain. Once active bleeding has slowed and your saliva is only lightly tinted, many dental offices advise removing the gauze and leaving the area alone so healing can continue. The mouth may be dramatic, but it also knows how to heal when you stop bothering it every 90 seconds.
Simple Ways to Fold Gauze for Your Mouth: 12 Steps
Step 1: Wash Your Hands First
Before touching gauze, wash your hands with soap and water. Dry them with a clean towel. This step is simple, but it matters because the gauze will go directly into your mouth. Your hands have touched phones, doorknobs, snack bags, and possibly a remote control that has seen things no one should speak of. Clean hands reduce the chance of introducing unwanted germs near a healing area.
Step 2: Use Sterile Gauze, Not Tissue or Cotton Balls
Choose sterile dental gauze if possible. Most dental offices send patients home with extra gauze after an extraction or oral surgery. If you need more, sterile gauze pads from a pharmacy are usually a better option than facial tissue, paper towels, or cotton balls.
Tissue can fall apart when wet and leave pieces behind. Cotton balls may shed fibers. A proper gauze pad holds together better, absorbs light bleeding, and creates steady pressure without turning into mouth confetti.
Step 3: Pick the Right Size
Common gauze sizes include 2-by-2-inch and 4-by-4-inch pads. For many dental situations, a smaller folded pad works best because it can sit directly over the extraction site or sore area without filling the entire mouth.
If the gauze is too large, it may make you gag, trigger extra saliva, or cause pressure in the wrong place. If it is too small, it may not cover the area or may shift around. The perfect size is usually thick enough to bite on gently but small enough to stay where it belongs.
Step 4: Fold the Gauze Into a Small Rectangle
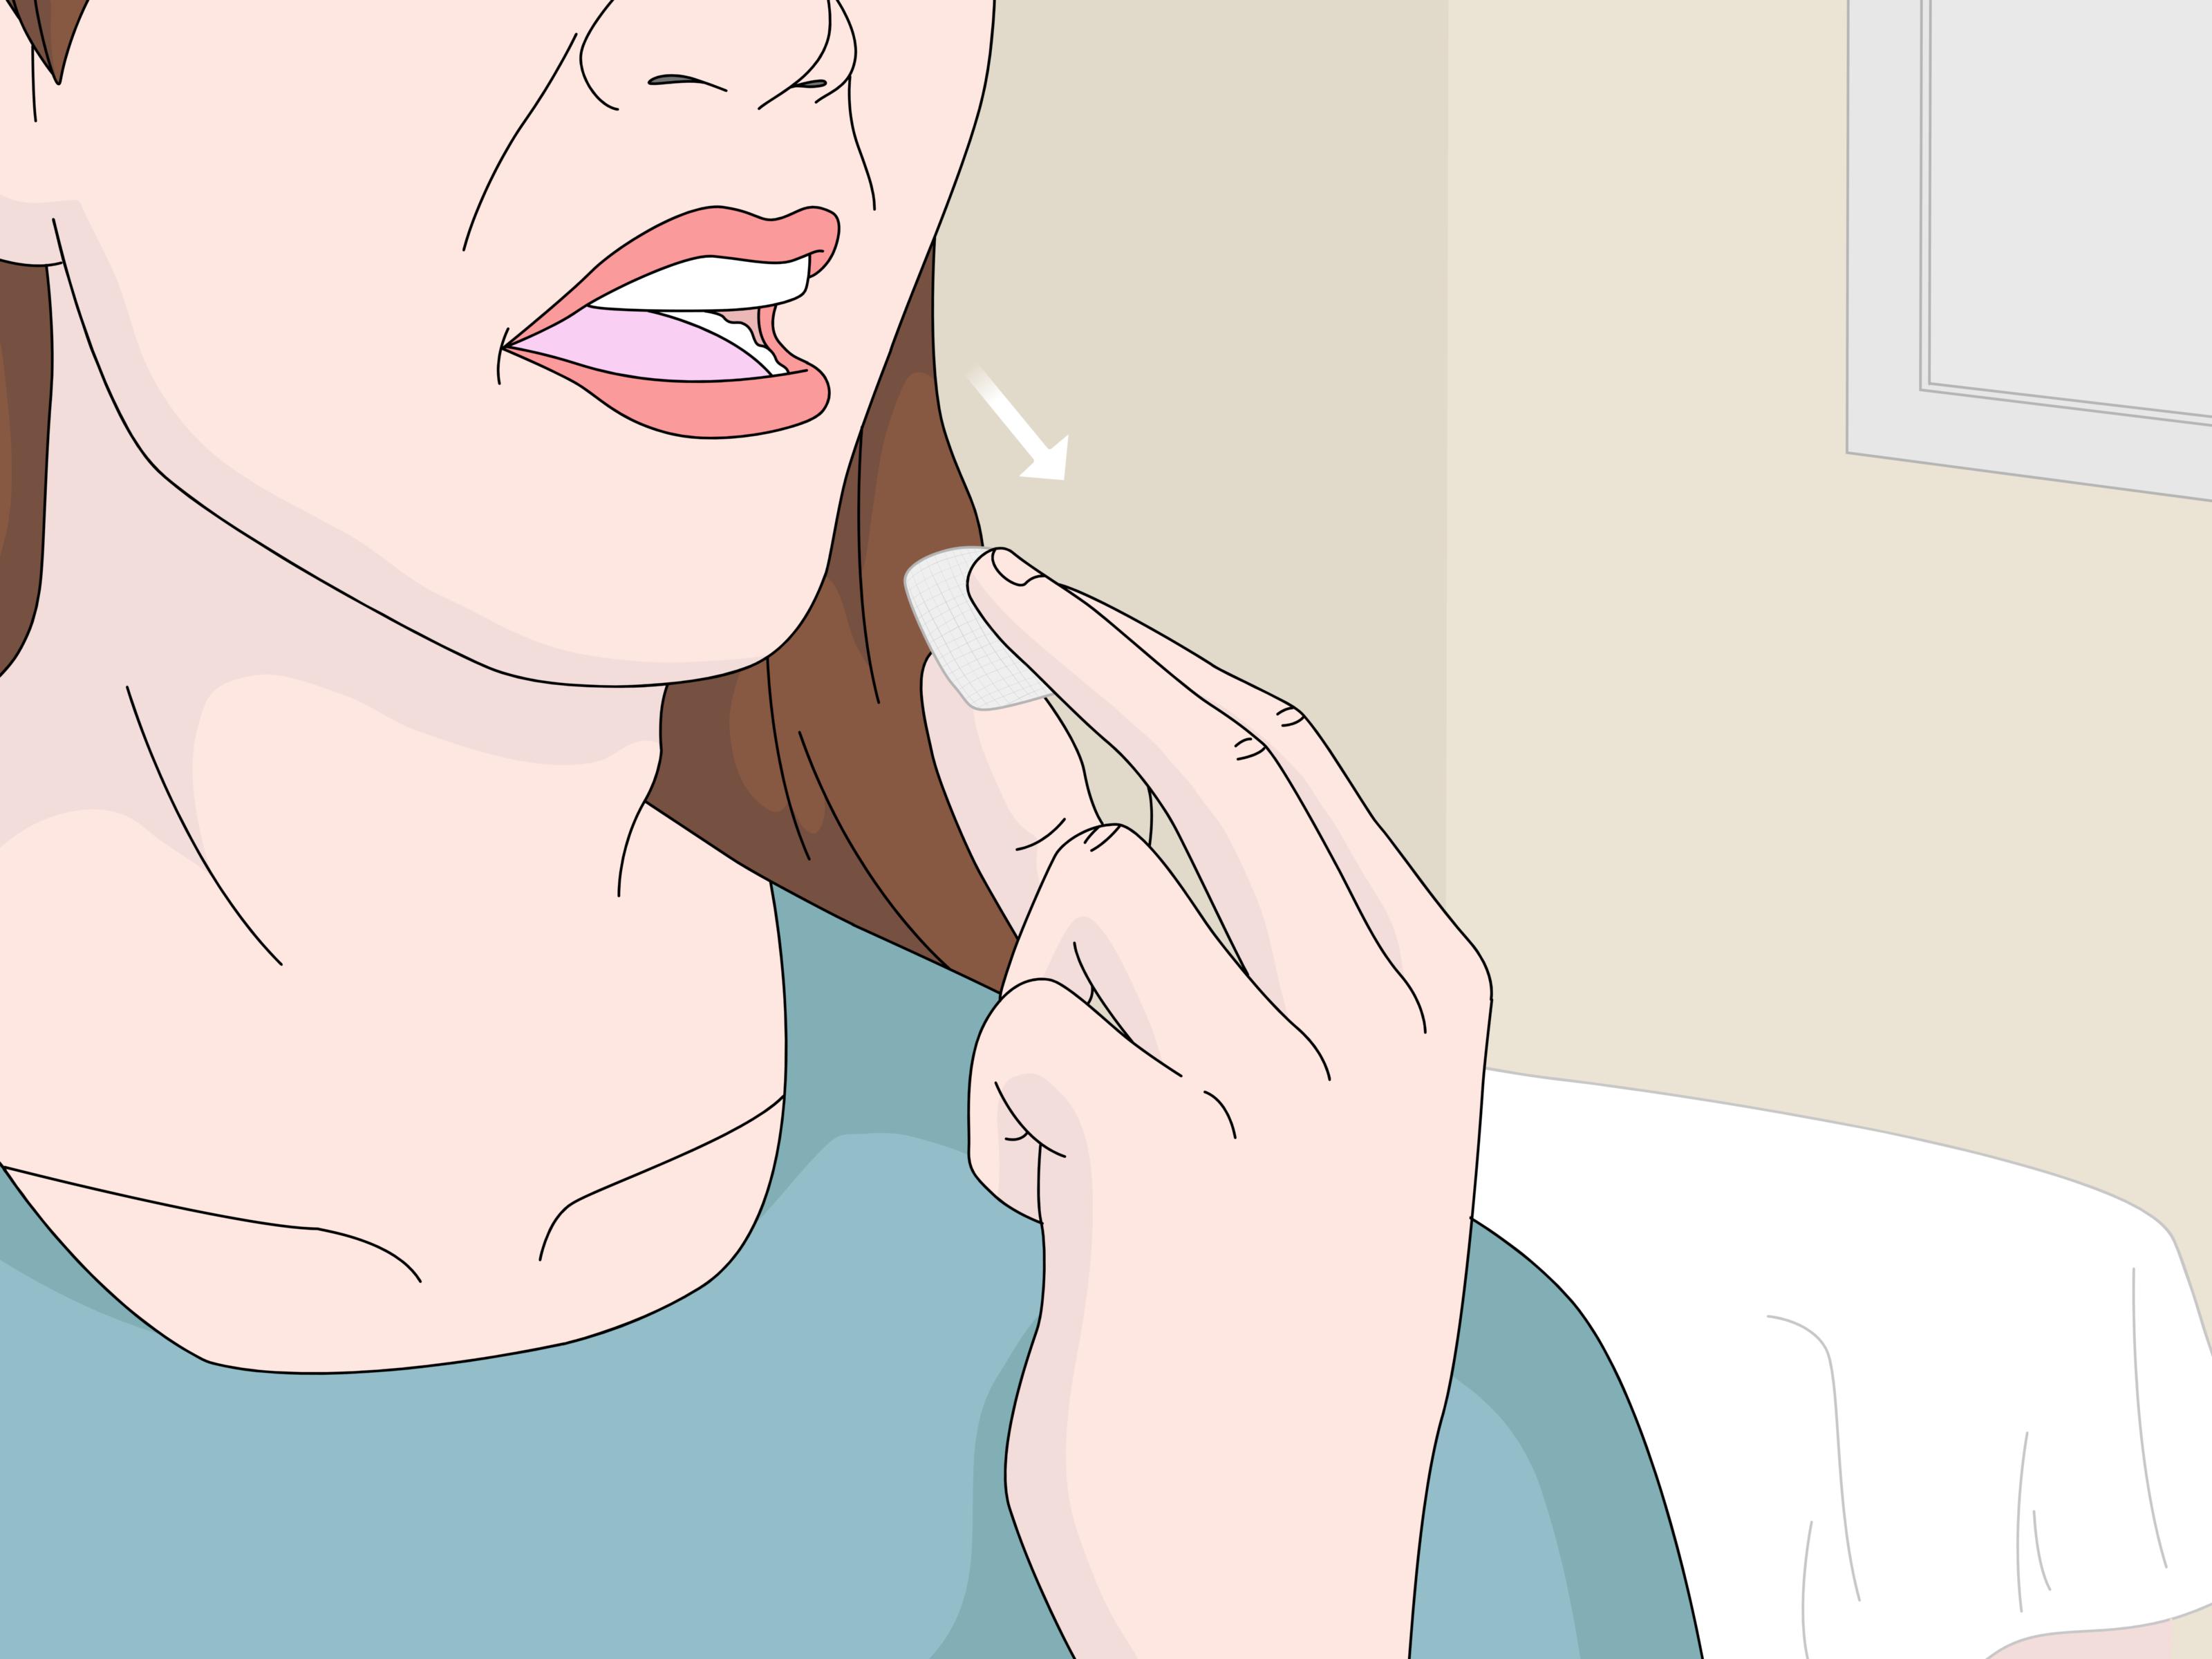
Lay the gauze flat on a clean surface or hold it carefully by the edges. Fold it in half once, then fold it again if needed. You are aiming for a small, compact rectangle that is thick enough to create pressure.
Think of it like folding a tiny pillow, not crafting a napkin swan. The finished pad should be smooth, even, and firm. Avoid twisting it into a thin string because that may not apply even pressure and could feel uncomfortable against the gum tissue.
Step 5: For Back Teeth, Make a Thicker Bite Pad
If the gauze is for a molar or wisdom tooth area, you may need a slightly thicker pad. Back teeth sit farther inside the mouth, and the gauze needs to be tall enough that your upper and lower teeth can hold it in place.
Fold the gauze into a small square or rounded rectangle. It should be thick enough that when you close your mouth, your bite presses the gauze onto the surgical areanot just between your teeth. If your teeth are clamping on the gauze but the gauze is not touching the extraction site, it is basically taking a vacation in the wrong neighborhood.
Step 6: Lightly Dampen the Gauze
Many dental aftercare instructions recommend using slightly moistened gauze. You can dampen it with clean water, then squeeze out the extra moisture. It should be damp, not dripping.
A lightly damp pad may feel more comfortable and may be less likely to stick to the forming clot when removed. Dry gauze can sometimes cling, which is not ideal when you are trying to protect a healing area. Do not soak the gauze in mouthwash, alcohol, peroxide, essential oils, or mystery liquids from the back of the cabinet. Your mouth is healing, not auditioning for a science fair.
Step 7: Place the Gauze Directly Over the Area
Open your mouth gently and place the folded gauze directly over the bleeding spot or surgical site. If your dentist removed a tooth, the gauze should sit over the socket area, not floating loosely in your cheek.
Use clean fingers if necessary, but avoid poking into the socket or pressing hard with your fingertip. You are placing a pressure pad, not digging for buried treasure. If you cannot see the site clearly, use a mirror and good lighting, or ask a trusted adult for help if appropriate.
Step 8: Bite Down Firmly but Gently
Close your mouth and bite down with steady, gentle pressure. The key phrase is firm but gentle. You should feel the gauze being held securely in place, but you should not chew it, grind it, or repeatedly open and close your mouth.
Chewing the gauze can disturb the area and restart bleeding. Talking too much can also shift it. This is one of the rare moments in life when staying quiet is medically useful. Consider it your official permission slip to avoid unnecessary conversation.
Step 9: Hold Pressure for 30 to 45 Minutes
Many dental offices recommend biting on gauze for about 30 to 45 minutes after an extraction, though your own dentist’s instructions should come first. During this time, keep your head elevated, sit upright, and avoid checking the gauze every few minutes.
Removing the gauze too soon can interrupt clot formation. Imagine trying to let glue dry while tapping it every minute to see if it is dry yet. Same energy, same problem. Give the pressure time to work.
Step 10: Remove the Gauze Slowly
After the recommended time, wash your hands again and remove the gauze slowly. If it feels stuck, do not yank it. You may take a sip of water, let the gauze moisten a little more, and gently ease it away.
Expect the gauze to have some blood on it. That does not always mean something is wrong. A small stain or light pink saliva can be normal after dental work. What matters more is whether blood is actively pooling, flowing, or quickly soaking fresh gauze.
Step 11: Replace Gauze Only If Bleeding Continues
If bleeding is still active, fold a fresh piece of sterile gauze and repeat the process: place it directly over the area and bite down steadily for another 30 minutes or as your dental office instructed.
Change gauze when it becomes heavily saturated, but avoid swapping it constantly if it is only lightly stained. Too much changing can disturb the clot. Once bleeding has slowed to mild oozing or pink saliva, many people can stop using gauze and let the mouth rest.
Step 12: Know When to Call Your Dentist
Contact your dentist or oral surgeon if bleeding remains heavy despite firm pressure, if your mouth fills quickly with blood, if gauze becomes soaked again and again, or if you feel worried about what is happening. You should also call if you have severe pain that gets worse after the first couple of days, swelling that suddenly increases, fever, a bad taste that does not improve, or any reaction that concerns you.
Seek urgent help if you have trouble breathing, trouble swallowing, or bleeding that feels uncontrolled. Dental bleeding is usually manageable, but “wait and see” is not the right strategy when something feels seriously wrong.
How to Fold Gauze for Different Mouth Areas
For a Front Tooth Extraction
For a front tooth, a flatter rectangular fold often works well. Fold the gauze into a compact rectangle that fits comfortably between the lips and the gum area. The goal is to press directly against the extraction site without forcing the lip outward too much.
For a Molar or Wisdom Tooth Area
Back teeth usually need a thicker pad. Fold the gauze into a small square or roll it lightly into a cushion shape. Place it far enough back so it sits on the surgical area, then close your teeth gently. If you feel the gauze between your teeth but not on the gum area, reposition it.
For Minor Cheek or Gum Irritation
If a dentist tells you to use gauze for a minor mouth irritation, fold a small piece into a soft pad and hold it against the area briefly. Do not pack gauze into cuts, sores, braces, or deep spaces unless a dental professional specifically tells you to do so. Mouth tissue is delicate, and aggressive pressure can make irritation worse.
Common Mistakes to Avoid
Mistake 1: Using Too Much Gauze
A giant wad of gauze can be uncomfortable and ineffective. It may press on the teeth instead of the healing area. Use enough to create pressure, but not so much that you cannot close your mouth comfortably.
Mistake 2: Chewing the Gauze
Bite and hold. Do not chew. Chewing moves the gauze around and can disturb the clot. If you are hungry, remove the gauze only when it is safe to do so and follow your dentist’s food instructions.
Mistake 3: Sleeping With Gauze in Your Mouth
Do not sleep with gauze in your mouth. It can shift and become unsafe. If you are tired after a procedure, remove the gauze once bleeding is controlled and before you nap. If bleeding has not stopped, call your dental office for guidance rather than trying to sleep through it.
Mistake 4: Spitting, Swishing, or Using a Straw Too Soon
After a tooth extraction, suction and forceful rinsing can disturb the blood clot. Avoid straws, hard swishing, and repeated spitting during the early healing period, especially within the first 24 hours unless your dentist gives different instructions.
Mistake 5: Leaving Gauze in Too Long
Gauze is usually meant for active bleeding, not all-day decoration. Once bleeding is controlled, remove it and allow the area to heal undisturbed. Keeping gauze in too long may irritate the tissue or keep you focused on the area when the best move is to let it rest.
Helpful Aftercare Tips While Using Mouth Gauze
Keep your head elevated while using gauze. Sitting upright can help reduce bleeding compared with lying flat. Avoid intense activity right after oral surgery because increased blood pressure may encourage more bleeding. Skip hot drinks at first if your dentist advised it, and choose soft foods when you are allowed to eat.
Do not smoke or vape after oral surgery, especially during the early healing period. The suction and chemicals can interfere with healing and may raise the risk of dry socket after an extraction. If your dental team gave you specific restrictions, follow those directions closely.
When brushing your teeth, be gentle around the surgical area. Good oral hygiene still matters, but the extraction site does not need a toothbrush attack. After the first day, your dentist may recommend gentle warm salt-water rinses. Let the water roll around softly and fall out of your mouth instead of forcefully spitting.
How Long Should Gauze Stay in Your Mouth?
The most common instruction is to keep the first gauze pad in place for about 30 to 45 minutes. Some situations require another fresh pad for an additional period. However, every procedure is different. A simple extraction may need less time, while a wisdom tooth removal or surgical extraction may require more careful monitoring.
The best sign that you can stop using gauze is that active bleeding has slowed. Light pink saliva can continue for a while and does not always require more gauze. If you keep replacing gauze when bleeding is already minimal, you may accidentally keep disturbing the area you are trying to protect.
Can You Use a Tea Bag Instead of Gauze?
Some dental offices suggest a moistened black tea bag if bleeding continues after using gauze. Black tea contains tannins, which may help with clotting. However, this should be used only if your dentist says it is appropriate or if your aftercare instructions mention it.
If you use one, it should be plain black tea, dampened and coolednot hot. Place it over the area and bite gently, similar to gauze. Do not use herbal teas with added flavors, spices, oils, or mystery “relaxation blends” that smell like a candle aisle. Your extraction site does not need chamomile-lavender drama.
When Gauze Is Not Enough
Gauze helps with mild to moderate oozing after dental work, but it is not a magic eraser for every problem. If bleeding is heavy, keeps restarting, or does not improve with steady pressure, contact your dental office. Also call if pain suddenly worsens after initially improving, because that may signal a complication that needs professional care.
People who take blood thinners, have bleeding disorders, or have certain medical conditions should be especially careful to follow personalized instructions. Never stop prescribed medicine unless your healthcare provider tells you to do so.
Personal Experience Tips: What People Often Learn the Hard Way
Here is the part nobody tells you clearly enough: using mouth gauze is simple, but it feels weird. Very weird. The first time someone has gauze in their mouth after a dental procedure, they often think, “Am I doing this right?” The gauze feels too big, then too small, then somehow both at the same time. Saliva increases. Talking becomes awkward. You may look in the mirror and briefly resemble a chipmunk with a secret.
One helpful experience-based tip is to prepare your supplies before you actually need them. Put clean gauze, a small cup of water, tissues for your hands, a trash bag, and any written dental instructions nearby. When your mouth is sore, your patience is not exactly operating at luxury-hotel levels. Having everything ready prevents the classic post-dental shuffle around the bathroom while drooling slightly and questioning your life choices.
Another practical lesson is that placement matters more than the size of the gauze. Many people bite down on gauze that is sitting between the teeth but not pressing the surgical site. Then they wonder why bleeding continues. The gauze needs to be directly over the area. If it is a back tooth, this may mean placing the gauze farther back than feels natural. Use a mirror, move slowly, and aim for pressure on the gum area rather than pressure only between the chewing surfaces of the teeth.
Comfort also improves when the gauze is slightly damp. Dry gauze can feel scratchy and may stick more when removed. A quick dampening with clean water, followed by squeezing out the extra, can make the experience less annoying. The gauze should not be dripping. If it feels like a tiny wet sponge trying to escape your mouth, it is too wet.
People also learn that checking too often makes things worse. It is tempting to remove the gauze every five minutes to inspect the situation like a detective in a dental mystery movie. But every check interrupts pressure. Set a timer for the period your dentist recommended, then leave the gauze alone. Your mouth does not need live commentary.
Another common experience is mistaking blood-tinged saliva for major bleeding. Saliva spreads color dramatically, so a small amount of blood can look like more than it is. Instead of judging only by color, pay attention to whether blood is actively pooling or whether the gauze becomes soaked quickly. If you are unsure, call your dental office. They would rather answer a careful question than have you panic-scroll through the internet at midnight.
Food timing is another lesson. Do not try to eat with gauze in your mouth. Wait until the gauze is removed and bleeding is controlled, then follow your dentist’s food instructions. Soft, cool foods are often easier at first. Avoid crunchy crumbs that can wander into the healing area like uninvited guests.
Finally, the biggest experience tip is to respect the clot. After an extraction, the blood clot is the body’s natural bandage. Protect it by avoiding straws, smoking, vigorous rinsing, and unnecessary poking. The less you disturb the site, the better chance your mouth has to heal smoothly. Gauze is useful, but leaving the area alone at the right time is just as important.
Conclusion
Learning how to fold gauze for your mouth is not complicated, but doing it correctly can make dental aftercare much easier. Start with clean hands and sterile gauze. Fold it into a small, firm pad. Lightly dampen it, place it directly over the bleeding area, and bite down with steady pressure for the time your dentist recommends. Replace it only when needed, avoid chewing or sleeping with gauze, and call your dental office if bleeding seems heavy or unusual.
The secret is simple: clean gauze, correct placement, gentle pressure, and patience. Your mouth does not need fancy tricks. It needs calm, careful careand maybe a little less mirror-checking.