Marble floor tile has a funny way of making a room look expensive even when the rest of the house is powered by takeout containers, mismatched socks, and one heroic houseplant. Elegant, cool underfoot, and naturally unique, marble brings instant character to bathrooms, kitchens, foyers, laundry rooms, and entryways. But here is the honest truth: marble is not the “slap it down and hope for the best” cousin of flooring. It is natural stone, which means it needs a solid base, careful layout, the right mortar, patient grouting, and proper sealing.
The good news? If you are comfortable with measuring, cutting tile, mixing mortar, and following directions like your floor’s future depends on itbecause it doesyou can learn how to install marble floor tile correctly. This guide walks through the entire process, from planning and subfloor prep to setting, grouting, sealing, and maintaining your new marble floor. Think of it as a practical roadmap with fewer headaches and more “wow, I did that” energy.
Before You Begin: Understand Marble as a Flooring Material
Marble is beautiful because it is natural, and it is tricky because it is natural. Every tile may have different veining, shading, and movement. That variation is the whole point, but it also means you should inspect and blend tiles before installation. Do not open one box, install it, then open the next and discover that half the floor looks like a dramatic storm cloud while the other half looks like vanilla ice cream.
Marble is also more porous and softer than many ceramic or porcelain tiles. It can stain, scratch, or etch if exposed to acidic cleaners, harsh chemicals, or standing spills. For that reason, marble floor installation should include sealing before or after grouting, depending on the tile and sealer instructions. Polished marble especially needs gentle handling because sanded grout, gritty tools, and careless cleanup can scratch the surface.
Tools and Materials You Will Need
Having the right tools makes this project much easier. Marble installation is not the moment to improvise with a butter knife, a prayer, and something you found in the garage labeled “probably adhesive.” Gather everything before you start.
Essential Tools
- Tape measure and pencil
- Chalk line or laser level
- Level or straightedge
- Notched trowel sized for your tile
- Margin trowel
- Rubber grout float
- Tile spacers or leveling clips
- Wet saw with a diamond blade
- Tile nippers for small cuts
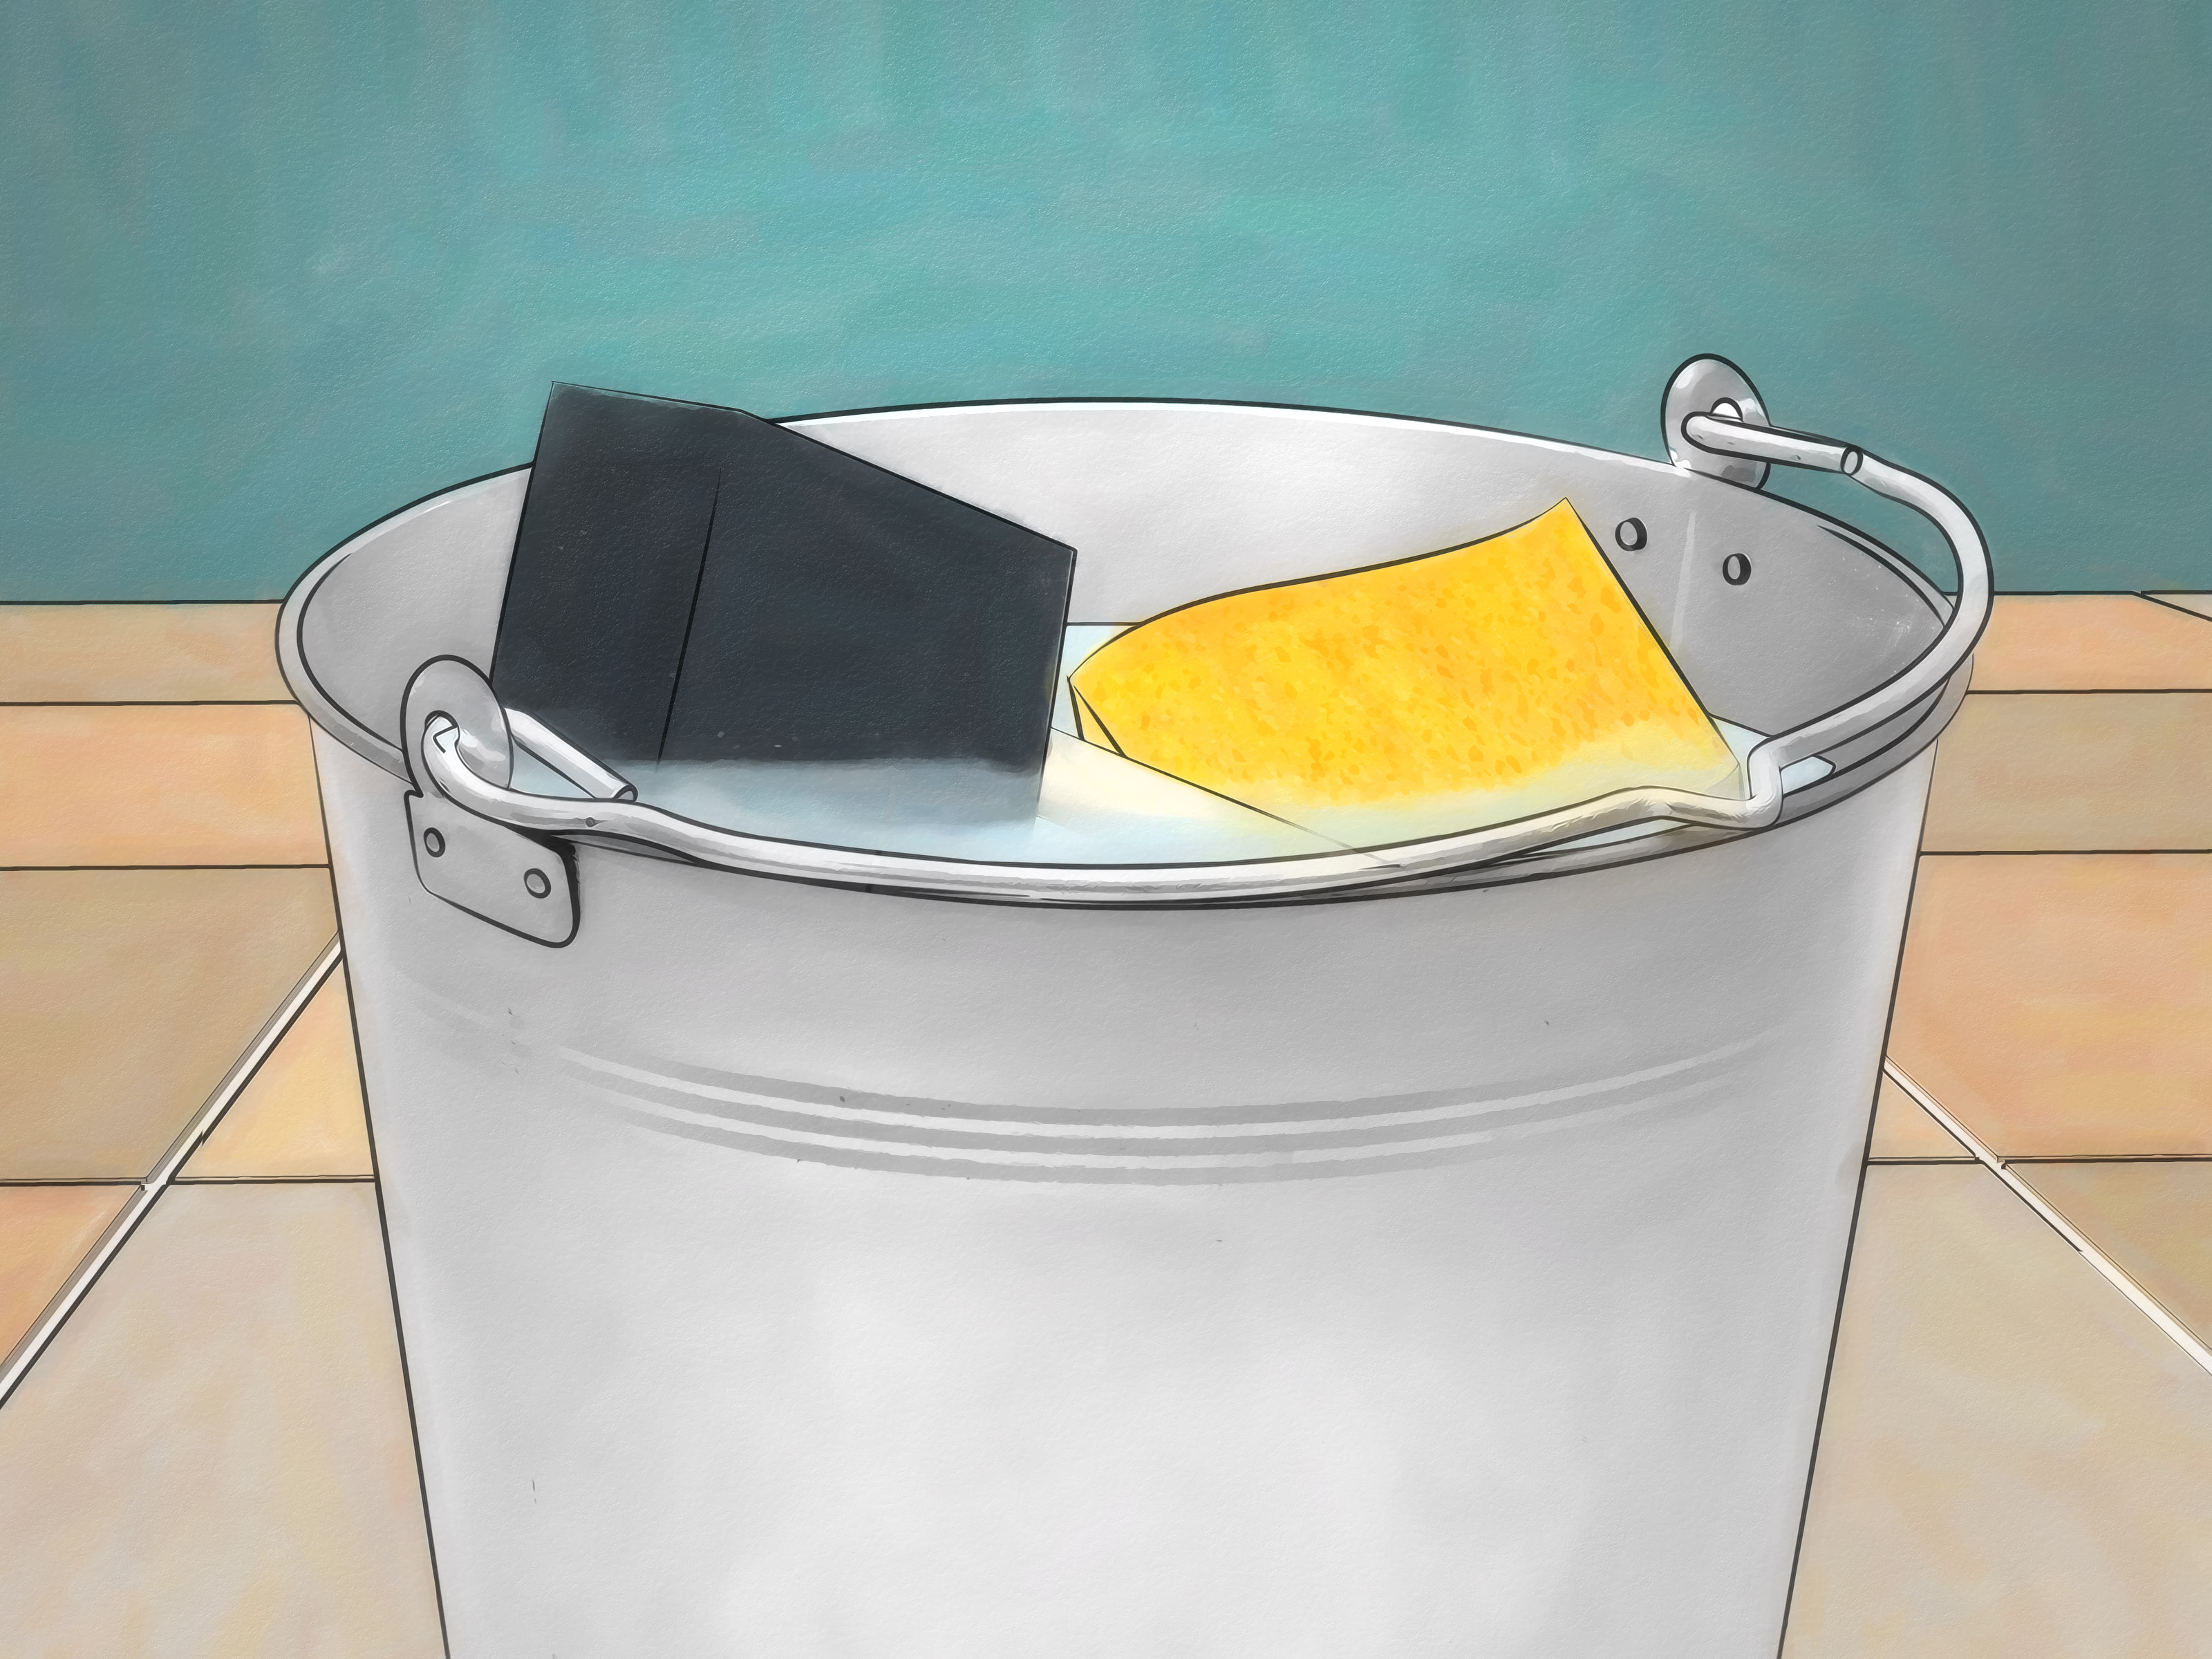
- Buckets and mixing paddle
- Sponge and microfiber cloths
- Knee pads, safety glasses, and gloves
Materials
- Marble floor tile
- White thinset mortar suitable for natural stone
- Cement backer board or uncoupling membrane, if needed
- Backer board screws or membrane mortar
- Unsanded grout for narrow joints or marble-safe grout recommended by the manufacturer
- Penetrating natural stone sealer
- Painter’s tape
- Silicone sealant for perimeter and change-of-plane joints
Step 1: Check the Floor Structure
Marble tile is less forgiving than ceramic tile. A floor that flexes too much can lead to cracks in the stone or grout. Before installing marble floor tile, make sure the floor framing is stiff enough for natural stone. In many tile-industry standards, natural stone requires a stronger floor system than ceramic tile because stone can crack under movement.
If you are installing over a wood-framed floor, check for bounce, sagging, squeaks, and weak spots. If the floor moves when you walk across it, marble will not magically make it stronger. In fact, marble will complain loudly later in the form of cracks. Reinforcing joists, adding plywood, or consulting a professional may be necessary before moving forward.
Step 2: Prepare the Subfloor
A successful marble tile floor starts with a clean, flat, and stable surface. Sweep, vacuum, and remove old adhesive, paint, dust, grease, or loose material. Tile mortar needs a reliable bond, and dust is basically the enemy wearing a tiny disguise.
Use a long level or straightedge to check flatness. Marble tiles, especially larger formats, need a very flat surface to avoid lippage, which is the uneven edge where one tile sits higher than its neighbor. Minor low spots can be filled with an appropriate floor patch or self-leveling underlayment. High spots may need sanding or grinding, depending on the substrate.
For wood floors, marble tile should not usually be installed directly over plywood unless the specific method and materials are approved for natural stone. Many installations use cement backer board, an uncoupling membrane, or a mortar bed. In bathrooms or moisture-prone rooms, waterproofing or crack-isolation membranes may be part of the system.
Step 3: Dry-Lay the Marble Tiles
Dry-laying means placing tiles on the floor without mortar to test the layout. This step is worth every minute. Marble has natural color variation, and dry-laying lets you blend tiles from different boxes so the finished floor looks intentional instead of accidentally striped.
Start by finding the center of the room. Snap chalk lines between the midpoint of opposite walls to create two crossing reference lines. Check that the lines are square. Then lay tiles along the lines with spacers to see how the cuts fall at the walls. The goal is to avoid tiny sliver cuts, especially in visible areas like doorways and long walls.
If the layout creates a narrow strip on one side, shift the starting line slightly. A balanced layout often looks more professional than one that technically begins at the exact center but ends with a sad little marble noodle by the baseboard.
Step 4: Choose the Right Mortar
Use a white thinset mortar rated for natural stone. Gray mortar can sometimes shadow through lighter marble, especially white or translucent varieties. White mortar helps preserve the stone’s natural color and avoids the gloomy “why does my marble look bruised?” moment.
Follow the mortar manufacturer’s instructions for mixing. Use clean water, mix to the recommended consistency, let it slake if required, then remix. Do not add extra water after the mortar begins to firm up unless the product instructions allow it. Overwatered mortar can weaken the bond and create future problems.
Step 5: Spread the Thinset Mortar
Work in small sections, usually only as much as you can tile within the mortar’s open time. Spread mortar with the flat side of the trowel first to key it into the substrate, then comb it with the notched side in straight, consistent lines. Straight trowel ridges help air escape when the tile is pressed into place.
For many marble floor tiles, back-buttering is recommended. This means applying a thin layer of mortar to the back of each tile before setting it. Back-buttering improves coverage and helps prevent hollow spots. Natural stone needs strong, even support because unsupported corners and edges can crack under pressure.
Periodically lift a tile to check mortar coverage. You want excellent contact between tile and mortar. If coverage is poor, adjust your trowel size, mortar consistency, or technique. The floor will not care that you were “pretty sure it was fine.” It will remember.
Step 6: Set the Marble Tiles
Place each tile into the mortar and press it down with a slight sliding motion across the trowel ridges. Use spacers to maintain consistent grout joints. Marble tile is often installed with narrow grout lines, but the exact joint width depends on tile size, edge type, variation, and manufacturer recommendations.
Use a level or straightedge frequently to check for lippage. Tile leveling clips can help, especially with larger tiles, but they are not a substitute for a flat substrate. Clean mortar from joints as you work, because dried thinset is far less charming the next day. Also wipe excess mortar from the tile face with a damp sponge before it hardens.
Continue setting tiles section by section. Avoid walking on freshly installed marble. Give the mortar time to cure according to the manufacturer’s directions, often at least 24 hours before grouting. In cooler or humid conditions, curing may take longer.
Step 7: Cut Tiles Carefully
Marble should be cut with a wet saw fitted with a diamond blade. Mark cuts clearly and support the tile during cutting to prevent chipping. For visible edges, go slowly and let the blade do the work. For curved cuts around pipes or fixtures, make relief cuts with the wet saw and refine the shape with tile nippers or a diamond hole saw.
If a cut edge will be exposed, smooth it with polishing pads or stone-safe abrasives. Marble edges can be sharp after cutting, and rough edges are not the kind of “custom detail” anyone wants to discover barefoot at midnight.
Step 8: Seal Before Grouting When Needed
Some marble tiles should be sealed before grouting to prevent grout pigment from staining the stone. This is especially helpful for porous, honed, tumbled, or light-colored marble. Use a penetrating sealer made for natural stone and test it on a spare tile first to make sure it does not change the appearance in an unwanted way.
Apply sealer according to the product instructions. Do not leave excess sealer sitting on the tile surface. Buff it off as directed. Let the sealer cure before grouting. Skipping this step can make grout cleanup harder, especially if your marble is absorbent or textured.
Step 9: Grout the Marble Floor
Choose grout carefully. Unsanded grout is commonly recommended for polished marble and narrow joints because sanded grout may scratch delicate stone surfaces. However, always follow the marble tile and grout manufacturer’s guidance. Some modern grouts are designed for a range of joint widths and may be suitable for natural stone, but testing is still smart.
Mix grout to the recommended consistency. Using a rubber grout float, spread grout diagonally across the joints, pressing it firmly into the spaces. Work in small areas so the grout does not dry before cleanup. Remove excess grout with the edge of the float, again moving diagonally so you do not pull grout out of the joints.
After the grout firms slightly, wipe the surface with a damp sponge. Rinse the sponge often and use as little water as possible. Too much water can weaken grout or create haze. Once the surface dries, buff away remaining haze with a clean microfiber cloth.
Step 10: Seal the Marble and Grout
After the grout has cured, apply a penetrating natural stone sealer to the marble and grout if recommended. Sealing does not make marble stain-proof, but it gives you more time to clean spills before they soak in. It is a protective raincoat, not a superhero cape.
Apply the sealer evenly, allow it to dwell for the recommended time, and wipe off all excess. If sealer dries on the surface, it can leave streaks or a cloudy film. Some marble floors may need a second coat. A simple water-drop test can help indicate whether the stone is absorbing moisture quickly or whether the sealer is doing its job.
Step 11: Caulk the Perimeter and Movement Joints
Do not grout the gap between the tile and walls, cabinets, tubs, or other fixed surfaces. These areas need flexible sealant, usually silicone, to allow small movement. Grout in these joints can crack as the building naturally expands and contracts.
Leave a proper perimeter gap, cover it later with baseboard or shoe molding, and use silicone where the tile meets wet-area fixtures. Movement accommodation is not glamorous, but it is one of those quiet details that keeps a beautiful floor from developing annoying cracks.
Common Mistakes to Avoid
Installing Over a Weak or Uneven Floor
Marble needs support. If the floor is bouncy, uneven, or contaminated, the tile installation may fail. Preparation is not the boring part; it is the part that saves the expensive part.
Using the Wrong Mortar Color
White marble should usually be installed with white mortar. Gray mortar may discolor or shadow through certain stones.
Skipping the Dry Layout
Dry-laying tiles helps balance cuts, blend veining, and avoid awkward patterns. It is much easier to rearrange loose tile than to argue with hardened mortar.
Using Harsh Cleaners
Acidic cleaners, vinegar, bleach, and ammonia can damage marble. Use pH-neutral stone cleaners for routine care.
How to Maintain a Marble Tile Floor
Once your marble floor is installed, protect it with good habits. Sweep or dust mop often to remove grit that can scratch the surface. Use mats at entrances, felt pads under furniture, and pH-neutral cleaners. Wipe spills quickly, especially coffee, wine, citrus juice, tomato sauce, and anything acidic.
Reseal the floor as needed. The schedule depends on the type of marble, amount of foot traffic, cleaning products used, and sealer quality. If water darkens the stone quickly instead of beading or sitting on the surface, it may be time to reseal.
Extra Experience-Based Tips for Installing Marble Floor Tile
After working through marble tile projects, one lesson becomes obvious fast: the installation is won or lost before the first tile touches mortar. The most successful projects begin with obsessive preparation. That does not sound exciting, but neither does ripping up a cracked floor because the subfloor had more bounce than a trampoline park.
One practical experience is to open every box of marble before installation. Marble from the same order can still vary. Lay out the tiles across the room and move pieces around until the veining feels balanced. Put dramatic tiles where they can shine, such as the center of a foyer or the visible stretch of a bathroom floor. Save quieter or cut pieces for edges, behind doors, or under vanities. This small design step can make a DIY marble floor look professionally planned.
Another tip is to keep your work area unusually clean. Marble shows everything. A grain of dried mortar under a tile can create unevenness. Grit on the surface can scratch polished stone during cleanup. Keep a bucket of clean water nearby, change it often, and wipe tools before they drag across the tile. The sponge that cleaned up mortar five minutes ago may now be carrying tiny particles that act like sandpaper.
When setting marble, patience matters more than speed. Work in small sections and check each tile as you go. Place a straightedge across neighboring tiles to catch lippage early. Tap gently with a rubber mallet only when needed, and avoid aggressive pounding. Marble is strong under compression but can chip at edges and corners if handled roughly.
It also helps to number tiles during the dry layout. Use painter’s tape on the face of each tile and write a simple grid code, such as A1, A2, B1, and B2. Then stack tiles in order. This sounds like something only a very organized person would enjoy, but it prevents layout confusion once mortar is mixed and the clock starts ticking.
Cutting deserves extra respect. Always cut with the finished face up unless your saw or blade instructions say otherwise. Go slowly near the end of each cut to reduce chipping. For highly visible cuts, practice on a scrap piece first. If you need to cut around a toilet flange, doorway, or floor vent, make a cardboard template before touching the tile. Marble is too pretty and too pricey for “measure once, regret twice.”
Grouting marble also rewards restraint. Do not smear grout across a huge area and then wander off for a snack. Grout haze can cling to stone, and cleanup gets harder as it dries. Work in manageable sections, use a clean sponge, and avoid flooding the floor with water. After the first cleaning pass, wait for the haze to appear, then buff gently with a soft cloth.
Finally, treat sealing as part of the installation, not an optional beauty treatment. Test the sealer, follow dwell times, and remove excess thoroughly. A well-sealed marble floor is easier to live with, especially in bathrooms, kitchens, and entryways where water, soap, and everyday spills are guaranteed to make guest appearances.
Conclusion
Installing marble floor tile is a detailed project, but it is not mysterious. The recipe is straightforward: confirm the floor is strong, prepare a flat substrate, plan the layout, use white natural-stone mortar, set each tile carefully, grout gently, seal properly, and maintain the surface with stone-safe products. The process takes patience, but the reward is a floor that feels timeless, elegant, and custom.
Marble may ask for more attention than basic tile, but it pays you back with natural beauty that no printed pattern can fully copy. Every vein, swirl, and shade variation becomes part of the room’s personality. Install it with care, and your marble floor will not just cover the roomit will elevate it.