Installing spotlights on your vehicle is one of those upgrades that sounds simple“just bolt on a light and connect a wire,” right? That is also how people end up with flickering beams, mystery battery drain, roasted switches, or a dashboard that looks like it was wired by an angry spaghetti chef. Done correctly, vehicle spotlights can improve visibility for rural roads, job sites, trails, recovery work, camping, ranch use, and off-road adventures. Done carelessly, they can annoy every driver within a zip code and possibly violate local lighting laws.
This guide explains how to install automotive spotlights in 15 practical steps, with a strong focus on safety, clean wiring, legal aiming, and long-term reliability. The main keyword here is simple: how to install spotlights on your vehicle. But the real goal is better: helping you add auxiliary lights that work when needed, stay off when they should, and do not turn your engine bay into a tiny electrical campfire.
Important note: This article is educational. Vehicle lighting laws vary by state and sometimes by local jurisdiction. Before using spotlights on public roads, check your state rules for auxiliary driving lamps, spot lamps, fog lamps, light color, mounting height, beam direction, and switch requirements. When in doubt, use spotlights off-road only or ask a qualified automotive electrician.
Before You Start: What Counts as a Vehicle Spotlight?
A vehicle spotlight is an auxiliary lamp designed to throw a focused beam farther or more precisely than standard headlights. Some are fixed driving lights mounted on a bumper, grille guard, roof rack, or A-pillar. Others are adjustable post-mounted spot lamps often seen on work trucks, police vehicles, search-and-rescue rigs, and utility vehicles. Many modern drivers also use LED pod lights or small light bars as “spotlights,” especially when the beam pattern is narrow and long-range.
For this tutorial, we are focusing on a typical 12-volt vehicle installation using two front-mounted spotlights, a wiring harness, an inline fuse, a relay, a switch, and safe chassis or battery grounding. The same principles apply to many trucks, SUVs, Jeeps, vans, farm vehicles, and off-road builds.
Tools and Materials You Will Need
- Vehicle spotlights or LED auxiliary lights
- Mounting brackets and hardware
- Wiring harness rated for your lights
- 12V automotive relay, often included with the harness
- Inline fuse holder and correct fuse size
- Dash switch or rocker switch
- Wire loom, zip ties, rubber grommets, and electrical tape
- Crimp connectors, ring terminals, and heat-shrink tubing
- Drill, drill bits, center punch, and rust-preventive paint
- Socket set, screwdrivers, pliers, wire stripper, and crimper
- Multimeter or test light
- Safety glasses and gloves
How to Install Spotlights on Your Vehicle in 15 Steps
Step 1: Choose the Right Spotlights for Your Driving Needs
Start by deciding what kind of light you actually need. A narrow spot beam is best for distance, such as seeing far down a dark ranch road. A flood beam spreads light wide, which is useful for slow trail driving or work areas. A combo beam does both, though not always perfectly. For highway-adjacent use, look for lights marked as street-legal or SAE-compliant where applicable. For off-road-only lights, be honest with yourself: “off-road only” does not become “totally fine on Main Street” just because the switch is shiny.
Step 2: Check Local Lighting Laws Before Drilling Anything
Auxiliary lighting rules vary widely. Some states limit the number of auxiliary driving lamps, specify mounting height, require separate switches, or restrict when lights can be used with low beams or high beams. Many places also restrict red, blue, flashing, or extremely bright forward-facing lights because they can be confused with emergency vehicles or blind other drivers. Check your state vehicle code before installing. This is much easier than explaining to an officer that “the internet said it looked cool.”
Step 3: Plan the Mounting Location
Common mounting spots include the front bumper, grille guard, bull bar, roof rack, ditch-light brackets near the hood, or a dedicated A-pillar spotlight mount. The best location is solid, symmetrical, protected from road debris, and clear of airbags, sensors, hood movement, radiator airflow, and windshield wipers. Avoid flimsy plastic panels unless the light is tiny and the bracket is designed for that location. A powerful spotlight vibrating like a nervous Chihuahua is not useful.
Step 4: Mock Up the Entire Installation
Before drilling, set the lights, brackets, relay, fuse holder, switch, and harness roughly where they will go. Check cable length, hood clearance, grille clearance, and switch access from the driver’s seat. Open and close the hood. Turn the steering wheel. Look for hot exhaust parts, sharp metal edges, belts, fans, and moving suspension components. The goal is to find problems while everything is still temporary, not after you have made permanent holes.
Step 5: Disconnect the Negative Battery Terminal
Any time you work on automotive wiring, disconnect the negative battery cable first. This helps prevent accidental shorts while you route power wires or attach terminals. Keep the cable tucked away so it cannot spring back to the battery post. Modern vehicles can be sensitive, so check your owner’s manual if your vehicle requires radio codes, battery registration, or special procedures after disconnecting power.
Step 6: Mark and Drill the Mounting Holes
Use painter’s tape to protect painted surfaces, then mark the bracket holes carefully. A center punch keeps the drill bit from wandering. Drill slowly, especially on curved metal. After drilling, clean the edges and apply rust-preventive paint to exposed metal. Use rubber washers, gaskets, or sealant where appropriate to keep water out. If you are mounting through a roof or A-pillar, be extra careful: drilling into hidden wiring, airbags, or structural areas can turn a simple lighting upgrade into a very expensive vocabulary lesson.
Step 7: Bolt the Spotlights Securely
Install the brackets and lights using the supplied hardware or high-quality stainless hardware of the correct grade and size. Tighten everything enough to hold position, but leave the final beam angle adjustable. Use thread locker where recommended, especially on off-road vehicles. If the lights are mounted to a bumper or rack, shake the assembly gently. If the whole setup rattles now, it will rattle more after 200 miles of potholes.
Step 8: Mount the Relay and Fuse Holder
Mount the relay in a protected area near the battery or fuse box, away from direct heat and heavy splash zones. Install the inline fuse holder as close to the battery positive connection as practical. This matters because the fuse protects the power wire from overheating during a short circuit. A long unfused power wire running through the engine bay is basically a bad idea wearing insulation.
Step 9: Route the Main Power Wire
Run the positive power wire from the battery to the fuse holder and then to the relay input, commonly terminal 30 on a standard automotive relay. Use wire gauge appropriate for the total current draw of your lights. To estimate amps, divide watts by volts. For example, two 55-watt lights equal 110 watts. On a 12-volt system, 110 divided by 12 is about 9.2 amps, so a 15-amp fuse may be appropriate if the wire and harness are rated for it. Always follow the light manufacturer’s wiring instructions.
Step 10: Connect the Relay Output to the Spotlights
The relay output, often terminal 87, sends power to the spotlights when the relay is triggered. Route this wire neatly to each light. Use split loom where wires pass through the engine bay and secure the loom with zip ties or clamps. Keep wiring away from sharp brackets, radiator fans, steering shafts, exhaust manifolds, and suspension travel. If a wire passes through metal, use a rubber grommet. Metal edges and vibration can chew through insulation faster than you think.
Step 11: Ground the Lights Properly
Each spotlight needs a solid ground. You can ground to a clean chassis point or run the negative wire back to the battery negative terminal. For chassis grounds, remove paint or corrosion at the connection point, use a star washer if appropriate, tighten the ring terminal securely, and protect the area afterward. Weak grounds cause dim lights, flickering, heat, and troubleshooting sessions that make you question every life choice since breakfast.
Step 12: Install the Switch Inside the Cabin
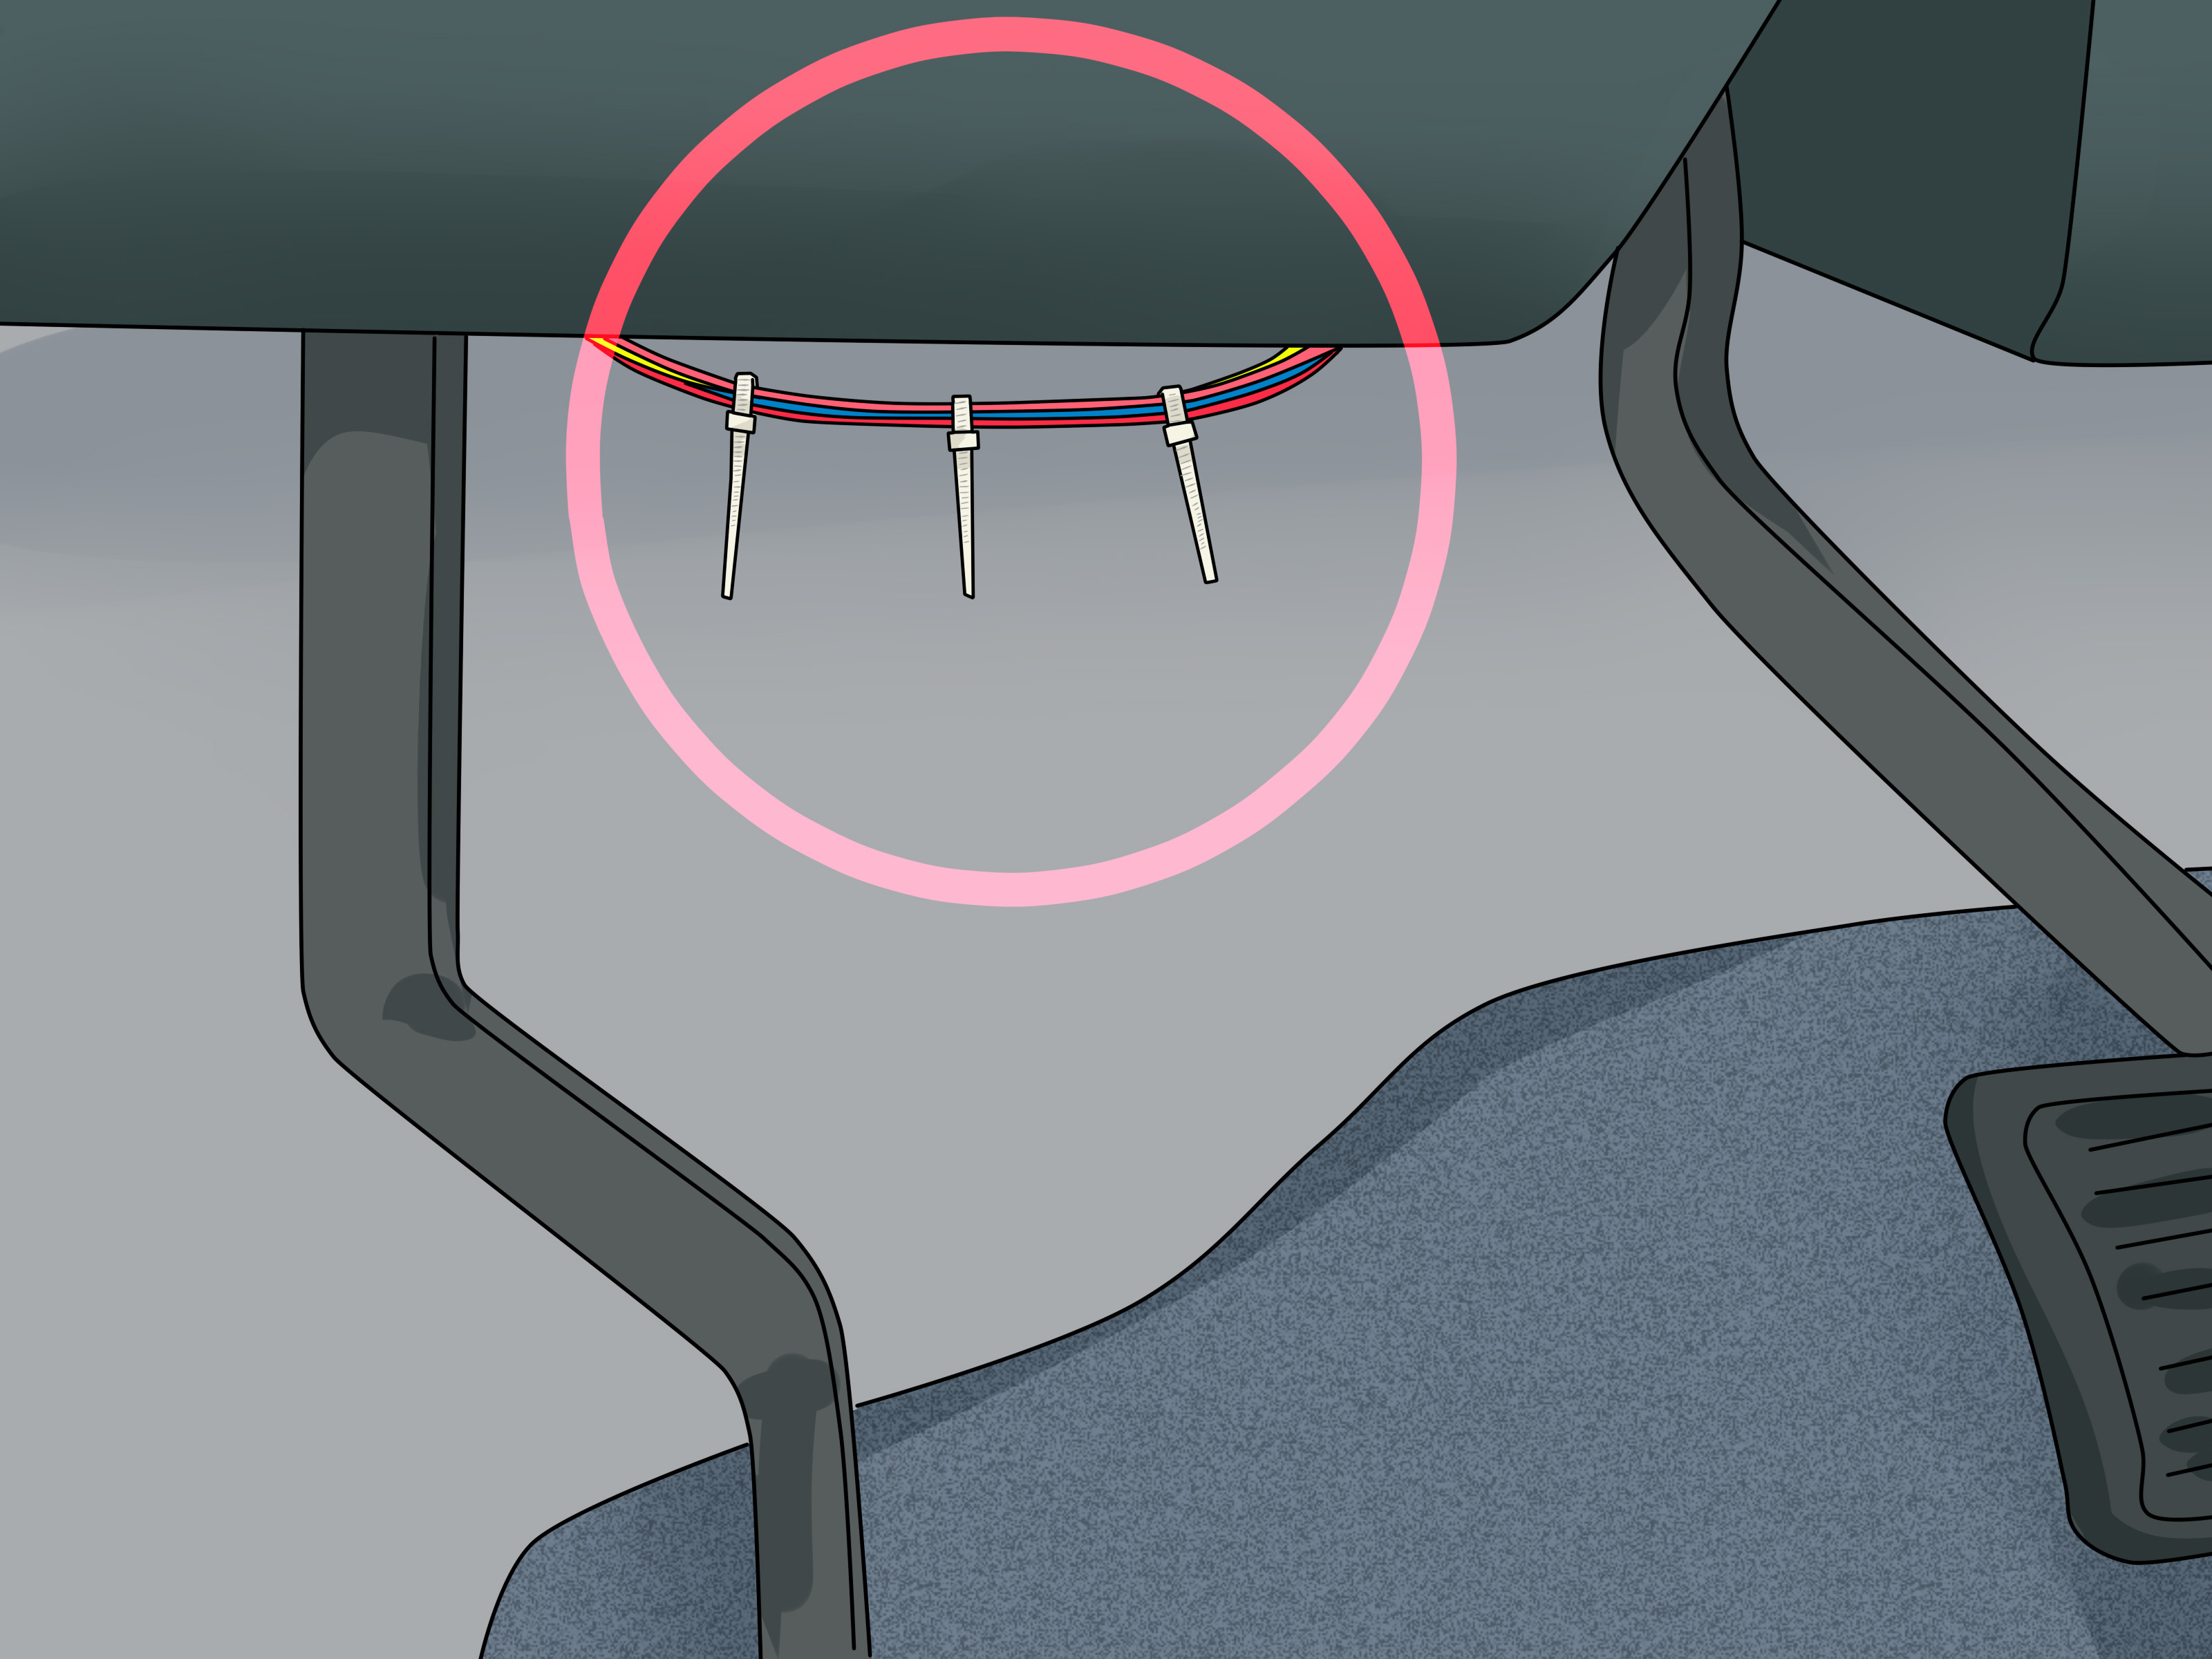
Choose a switch location that is easy to reach but not easy to bump accidentally. Many installers use a blank switch panel, lower dash area, or factory auxiliary switch bank if the vehicle has one. If you drill a switch hole, check behind the panel first. Route the switch wire through an existing firewall grommet when possible. If you must drill the firewall, protect the wire with a proper grommet and seal the opening afterward.
Step 13: Wire the Relay Trigger Circuit
The switch should trigger the relay, not carry the full spotlight current. A common setup is battery power through a fuse to relay terminal 30, relay terminal 87 to the lights, relay terminal 85 to ground, and relay terminal 86 to the switch trigger. Some drivers wire the trigger so the spotlights work only when high beams are on, often with an added “arming” switch. This is a smart approach for driving lights because it reduces the chance of accidentally blasting oncoming traffic. Use a multimeter to confirm trigger wires rather than trusting wire colors.
Step 14: Reconnect the Battery and Test the System
Before inserting the fuse, inspect every connection. Check that positive wires are protected, grounds are tight, wires are secured, and no tools are sitting in the engine bay. Reconnect the negative battery terminal. Insert the fuse. Turn the switch on and confirm both spotlights illuminate. If nothing happens, check the fuse, relay orientation, ground points, switch wiring, and battery connection. If the fuse blows immediately, stop and find the short before trying a larger fuse. Bigger fuses are not problem-solvers; they are how wiring gets promoted to smoke.
Step 15: Aim the Spotlights Responsibly
Park on level ground facing a wall, garage door, or fence. Adjust both lights evenly. For road use, the beam should not blind oncoming drivers or reflect aggressively into mirrors. For off-road use, aim based on your terrain: slightly outward for trail edges, farther ahead for open rural roads, or lower for dust, fog, or snow. Tighten the mounting hardware after aiming, then test drive in a safe area and fine-tune as needed.
Common Installation Mistakes to Avoid
Using the Switch as the Main Power Carrier
A small dash switch is not designed to carry the full current of high-output lights. Use a relay so the switch handles only a low-current trigger signal. This protects the switch, factory wiring, and your patience.
Skipping the Fuse
Every added positive power wire should be protected with the correct fuse or breaker. The fuse should be close to the power source, not halfway across the vehicle. A fuse is cheap. Replacing a melted harness is not.
Mounting Lights Too High for Public-Road Use
Roof-mounted lights can be excellent off-road, but they may be illegal or restricted on public roads in some areas. They also reflect off dust, rain, snow, and the hood. For street-oriented driving lights, bumper or grille height is usually more practical.
Ignoring Water Protection
Use heat-shrink connectors, weatherproof plugs, loom, and dielectric grease where appropriate. Engine bays get wet, dusty, hot, cold, and generally unpleasant. Your wiring should be ready for all of it.
Aiming Spotlights Like a Search Helicopter
More light is not automatically better. Poorly aimed lights create glare, reduce contrast, and irritate everyone else. Aim carefully and use spotlights only when conditions allow.
Maintenance Tips After Installation
After the first week, recheck all mounting bolts and wiring ties. Vibration can loosen fresh installs. Clean the lenses regularly because dirt can dramatically reduce usable light. Inspect the wiring after off-road trips, car washes, winter driving, or any time you smell hot plastic. Replace damaged loom, cracked connectors, or corroded terminals immediately. Keep spare fuses in the glove box, but remember: if a fuse blows repeatedly, the fuse is doing its job and your wiring needs attention.
Real-World Experience: What Installing Vehicle Spotlights Teaches You
The first thing you learn when installing spotlights is that “universal fit” is an optimistic phrase. It usually means the lights will fit your vehicle after you persuade them with brackets, patience, and at least one awkward trip to the hardware store. On paper, a spotlight installation looks clean: mount the lights, run the harness, connect the relay, add a switch, test, celebrate. In real life, the perfect bracket location may block the hood latch, the firewall grommet may be hiding behind insulation, and the switch panel may have less room behind it than a budget airline seat.
One useful experience is to spend more time planning than wiring. Lay the harness across the engine bay before committing to anything. Follow factory wiring paths when possible because automakers already solved many routing problems. If factory wires avoid an area, there is often a reason: heat, movement, service access, or water. Copying the factory path gives your aftermarket spotlight wiring a much better chance of surviving summer heat, winter slush, and the occasional enthusiastic pressure wash.
Another lesson is that grounds deserve respect. Many lighting problems blamed on “bad LEDs” or “cheap relays” are actually poor grounds. A painted bolt on a dusty bracket is not a reliable electrical connection. A good ground is clean, tight, protected, and sized for the circuit. When troubleshooting, always check the ground before launching into a dramatic speech about defective parts.
Switch placement is also more important than people think. A switch hidden under the dash may look clean, but if you cannot find it quickly, you will hate it. A switch placed too close to your knee may get bumped on accidentally. The best switch location feels natural, is visible at night, and does not require drilling into mystery plastic. If your vehicle has factory auxiliary switches, use them correctly and confirm their amp ratings. Factory switch banks are convenient, but high-draw lights should still be powered through the proper fused circuit or relay setup recommended for the vehicle.
The final experience is about restraint. After installing one set of spotlights, many drivers immediately want more: ditch lights, fog lights, reverse lights, rock lights, scene lights, maybe a small sun mounted to the roof rack. Lighting upgrades are useful, but each circuit adds complexity. Label your wires, document your fuse sizes, keep relays accessible, and avoid stacking random accessories directly on the battery terminal until it looks like a science fair volcano. A clean, documented installation is easier to repair, safer to use, and far more impressive than a chaotic nest of mystery wires.
Most of all, a proper spotlight installation teaches that good automotive electrical work is not about rushing. It is about secure mounts, protected wires, correct fusing, smart switching, responsible aiming, and using the lights only when they help rather than harm. Do it that way and your new spotlights will feel like a professional upgrade, not a weekend experiment that keeps asking for forgiveness.
Conclusion
Learning how to install spotlights on your vehicle is a rewarding project for drivers who need better visibility for off-road trails, rural roads, work sites, camping, towing, or recovery situations. The safest installation uses sturdy mounting points, a properly rated wiring harness, a relay, an inline fuse near the battery, protected wire routing, reliable grounds, and a switch that controls the relay rather than carrying the full load. Just as important, the lights must be aimed responsibly and used legally.
Think of spotlights as a tool, not a decoration. When installed well, they make night driving safer and more controlled. When installed poorly, they create glare, electrical problems, and possibly unwanted attention from law enforcement. Measure twice, drill once, fuse correctly, and aim like you share the road with other humansbecause unfortunately, you do.