If your YouTube video looks like it was filmed through a potato and then emailed to 2005, do not panic. In most cases, bad YouTube quality is not caused by one giant disaster. It usually comes from a stack of small decisions: weak lighting, fuzzy audio, over-compressed exports, the wrong playback setting, or simply expecting 360p footage to blossom into cinematic 4K through sheer optimism.
The good news is that improving video quality on YouTube is not reserved for people with a studio, a film degree, or a mysterious friend named Chad who “really knows cameras.” Whether you are a viewer trying to make videos look sharper or a creator trying to upload cleaner, more professional footage, a few practical fixes can make a dramatic difference.
This guide breaks it down in plain English. We will cover how to improve the quality of videos you watch on YouTube, how to make your own uploads look better, which export settings matter most, and which “hacks” are mostly internet folklore wearing sunglasses.
What “better YouTube quality” actually means
Before changing settings, it helps to define the problem. “Enhancing video quality on YouTube” can mean two different things:
- Playback quality: You are watching a video and want it to look sharper, smoother, and less blurry.
- Upload quality: You are a creator and want your own YouTube videos to look better after upload.
Those are not the same problem. A viewer may need to change the YouTube quality setting, improve internet stability, or use a device that supports higher-quality formats. A creator, on the other hand, needs to think about the entire chain: camera, lighting, audio, editing, export, and upload.
Think of YouTube quality like coffee. If the beans are bad, no mug can save it. But if the coffee is good and you pour it into a dirty cup, you still have a problem. Source quality and playback quality both matter.
How to improve YouTube video quality while watching
1. Change the video quality manually
If YouTube is set to Auto, it may lower quality to avoid buffering. That is useful when your connection is shaky, but it is also why a perfectly beautiful travel vlog can suddenly look like a blurry witness sketch.
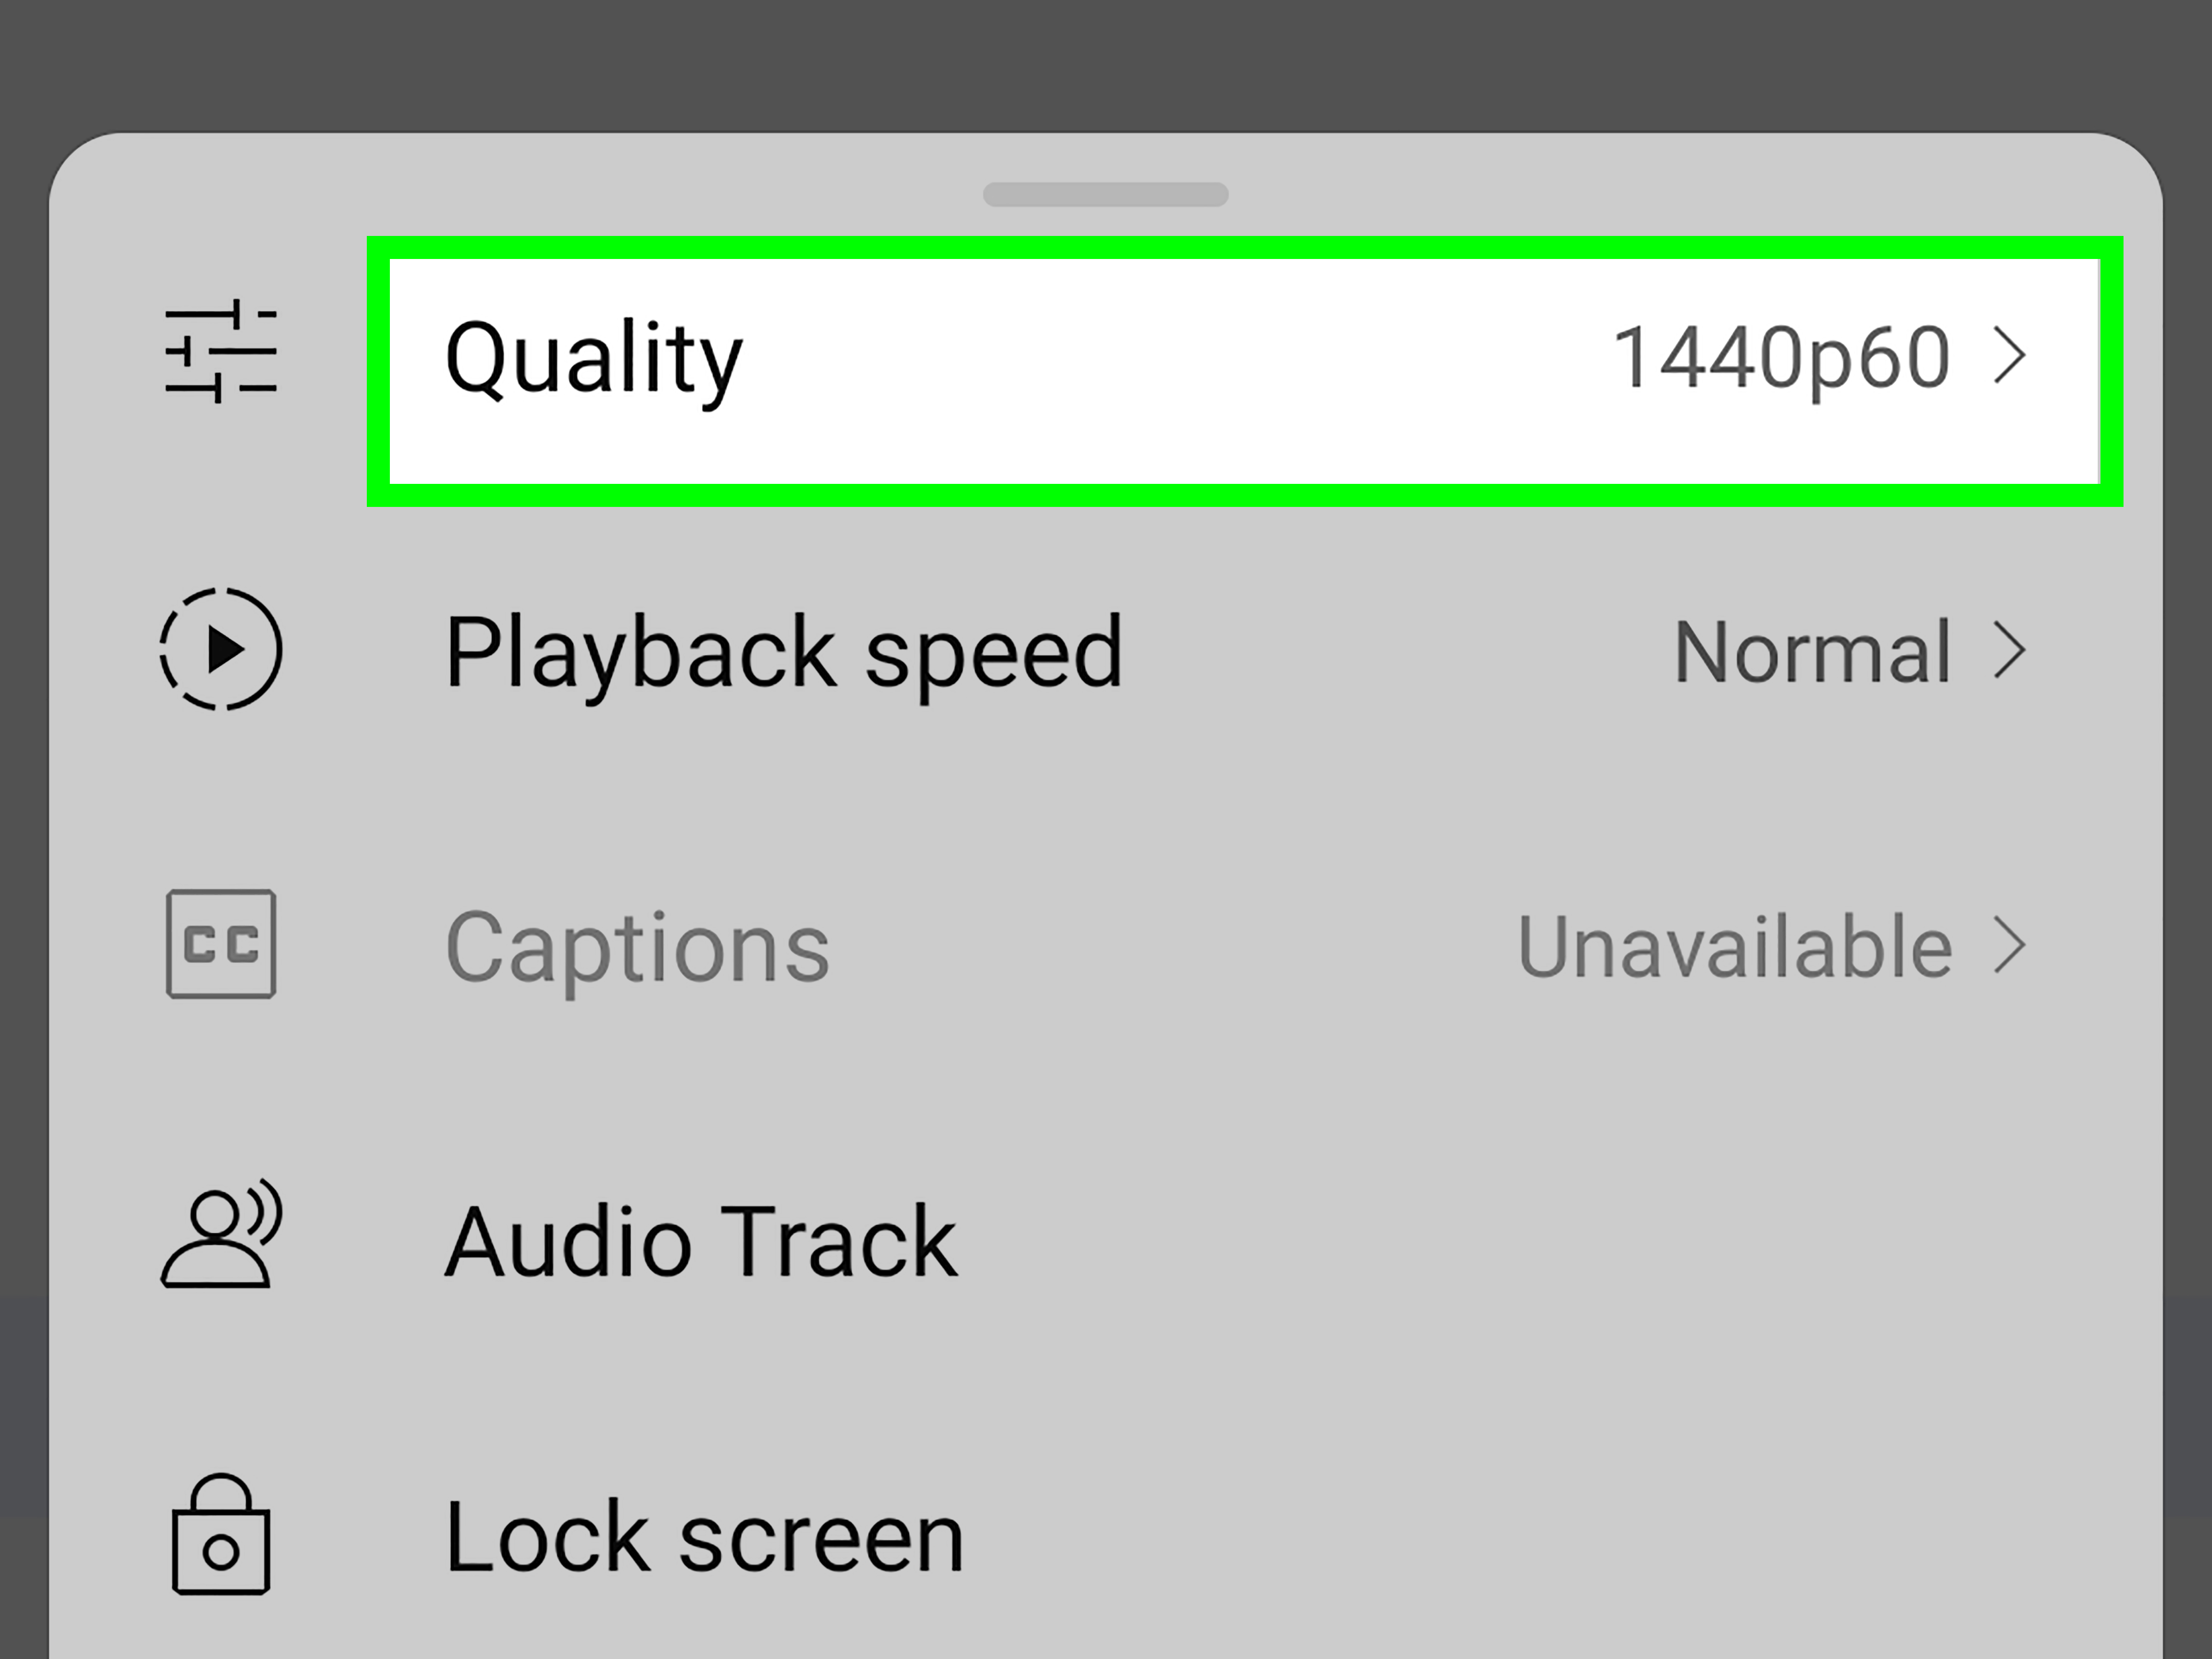
On desktop, open the video, click the settings gear, select Quality, and choose a higher option such as 720p, 1080p, or 4K if available. On mobile, go to Quality and choose Higher picture quality or use Advanced to select a specific resolution.
If the higher resolution is not listed, the issue may not be your settings at all. The original upload may not have been high resolution, or your browser or device may not support some newer quality formats.
2. Improve your connection before blaming YouTube
Sometimes the video is fine. Your internet is just having a dramatic moment.
Higher resolutions need more sustained speed. As a general rule, YouTube recommends roughly 5 Mbps for 1080p, 2.5 Mbps for 720p, and 20 Mbps for 4K playback. If you are trying to watch 4K over a weak Wi-Fi signal from three rooms away while five other devices are streaming, the result will not be glorious.
Try these quick fixes:
- Close unnecessary tabs and apps.
- Move closer to the router.
- Use a wired connection if possible.
- Pause other downloads or streams in the house.
- Refresh the page after changing quality.
3. Use a browser and device that can handle higher formats
Not every browser or device supports every modern video format equally well. That means you may see fewer high-quality options on one device than another, even for the exact same video. If a 4K or higher-quality setting is missing, try a current browser on a newer device before assuming the video is broken.
How to make your own YouTube uploads look better
If you create videos, the simplest truth is also the least glamorous: YouTube cannot restore detail that was never captured. If your original footage is soft, dark, shaky, or noisy, the platform can compress it, distribute it, and display it, but it cannot perform sorcery.
1. Start with the best source footage you can realistically capture
The best video enhancement usually starts before you hit record. Modern phones and cameras can produce excellent footage, but only if you use them well.
- Record in at least 1080p. If your setup allows it, 4K gives you more flexibility for cropping and editing.
- Use the frame rate that fits your content. 24 fps looks more cinematic, while 30 fps is common for general online video. 60 fps is especially useful for gameplay, sports, or anything with lots of motion.
- Keep the frame rate consistent from recording through export whenever possible.
- Stabilize the camera. A tripod, clamp, or even a stack of books is better than handheld wobble if you are filming a talking-head video.
For example, a software tutorial filmed at 1080p and 30 fps can look fantastic on YouTube if the screen recording is crisp and the export is clean. Meanwhile, a dimly lit handheld vlog recorded at a low bitrate may still look rough even if you export it as “4K.” Fancy labels do not create missing detail.
2. Fix lighting before you fix everything else
Lighting has an almost unfair amount of power over perceived video quality. A decent camera with good light often looks more professional than an expensive camera used in a cave.
A simple three-point lighting setup is the classic standard: a key light, a fill light, and a backlight. That sounds expensive, but the principle matters more than the budget. Even a window plus a cheap LED panel can improve quality dramatically.
Here is the simple version:
- Key light: Your main light source, usually placed slightly to one side of your face.
- Fill light: Softens harsh shadows on the opposite side.
- Backlight: Helps separate you from the background.
If you use natural light, keep it consistent. A moving sun can turn your video into a time-lapse of emotional instability. If a bright window is directly behind you, the camera may expose for the window and leave your face looking too dark.
3. Do not ignore audio
People often say viewers will forgive mediocre video before they forgive bad audio, and that is painfully true. Crisp visuals and muddy sound feel cheap together. Clear sound and decent visuals feel intentional.
At minimum, use an external microphone instead of relying on the camera’s built-in mic when speaking on camera. Even an affordable USB mic or lavalier can improve perceived production value. Set levels carefully so your voice is strong without clipping. If your audio peaks into distortion, no amount of post-production charm will fully undo it.
4. Clean up the footage in editing
Editing is where you polish, not where you rescue every bad decision from production. Still, a few adjustments can make your footage look noticeably better:
- Adjust brightness/exposure if the image is too dark.
- Use contrast carefully to add depth.
- Tweak saturation to keep colors lively without making skin tones radioactive.
- Refine temperature if your shot looks too blue or too orange.
- Apply noise reduction if low light introduced grain.
- Use sharpening lightly. Too much creates crunchy edges and regret.
- Add stabilization if the footage shakes.
AI tools can help reduce noise, artifacting, and softness, especially for webcam or low-resolution footage. That said, AI enhancement works best as cleanup, not resurrection. If the original clip is severely blurry or overly compressed, the result may improve, but it will not suddenly look like a Netflix documentary.
5. Export with YouTube-friendly settings
This is where many creators accidentally sabotage themselves. You can film beautifully, edit carefully, and then export with poor settings that squeeze the life out of the final file.
For most standard YouTube uploads, a safe and creator-friendly approach looks like this:
- Container: MP4
- Video codec: H.264
- Audio codec: AAC
- Audio sample rate: 48 kHz
- Scan type: Progressive, not interlaced
- Frame rate: Match the original footage
- Bitrate mode: Prefer variable bitrate (VBR) for better quality efficiency
If you are exporting SDR video, common reference bitrates for YouTube include:
- 1080p at 24/25/30 fps: about 8 Mbps
- 1080p at 48/50/60 fps: about 12 Mbps
- 1440p at 24/25/30 fps: about 16 Mbps
- 1440p at 48/50/60 fps: about 24 Mbps
- 4K at 24/25/30 fps: about 35 to 45 Mbps
- 4K at 48/50/60 fps: about 53 to 68 Mbps
If you are scaling footage during export, turning on settings like Use Maximum Render Quality can help preserve detail and reduce aliasing. That is especially useful when resizing or exporting screen recordings.
6. Do not fake quality by upscaling weak footage
Upscaling has its place, but it is not a magic trick. Exporting 1080p footage as 4K does not create new detail. It can increase file size and processing time without delivering a genuinely sharper image. If the source is 1080p, focus on making that 1080p look excellent through better lighting, better compression, and cleaner editing.
In other words: lipstick on a pixel is still a pixel.
7. Give YouTube time to finish processing
This part frustrates new creators all the time. You upload a video, click play immediately, and it looks soft. Then panic enters the chat.
That is normal. YouTube typically makes a lower-quality version available first, then processes higher resolutions afterward. HD and 4K can take significantly longer, especially for long videos, high frame rates, or large files. A video that looks stuck in 360p right after upload may simply still be processing.
Simple settings examples for common YouTube videos
Talking-head video
Record at 1080p, 30 fps. Use a window or soft key light in front of you, an external mic, mild color correction, and export as H.264 MP4 around 8 Mbps. This is a great setup for explainers, commentary, or educational content.
Gameplay or sports footage
Record at 1080p or 1440p, 60 fps if your system can handle it. Faster motion benefits from higher frame rates and enough bitrate to avoid smearing during action scenes. Export at the matching frame rate rather than forcing it down later.
Travel vlog or cinematic montage
Record in 4K if available, especially if you plan to crop or reframe in editing. Watch your exposure, use stabilization, and keep colors natural. Do not oversaturate everything until the ocean looks like melted sports drink.
Mistakes that quietly ruin YouTube video quality
- Recording in low light and trying to “fix it later.”
- Using the internal camera microphone for voice-heavy content.
- Exporting at a bitrate that is far too low.
- Changing frame rates between recording, editing, and export for no good reason.
- Over-sharpening or over-denoising until faces look waxy.
- Uploading and judging quality before HD processing is complete.
- Assuming YouTube compression is the only problem when the original footage is already weak.
Real-world creator experiences: what usually works and what usually backfires
Across real creator workflows, the same pattern shows up again and again: the biggest jump in YouTube video quality usually comes from boring improvements, not flashy tricks. People expect some secret export preset to save the day, but the real winners are cleaner lighting, steadier framing, stronger audio, and better source files. That is not as exciting as an “ultra HD enhancer” button, but it works.
For example, many beginner creators start by chasing camera upgrades. They assume a more expensive camera will instantly make their videos look professional. Then they shoot in a dim room with the ceiling light on, sit in front of a bright window, and record through the built-in laptop mic. The result is a sharper version of the same problem. In practice, creators often get a much better result by improving the room first: face the light, soften shadows, reduce background clutter, and use a decent microphone. Suddenly the whole video feels more polished, even if the camera did not change at all.
Another common experience comes from over-editing. A creator notices that footage looks a little flat, so they crank contrast, saturation, sharpening, and noise reduction all at once. At first glance, the preview may seem “stronger.” On YouTube, though, that heavy-handed look often falls apart after compression. Skin becomes weirdly orange, edges get crunchy, and darker areas turn muddy. The better approach is usually subtle correction: small improvements to exposure, contrast, white balance, and noise rather than trying to make every frame scream for attention.
Screen recordings reveal another pattern. Creators making tutorials often forget that text clarity matters more than cinematic vibes. They may scale recordings oddly, export at a low bitrate, or add so many transitions and zooms that the lesson becomes harder to follow. The best tutorial videos are usually the simplest. Record at a crisp resolution, keep on-screen text large enough to read, match the export settings to the source, and avoid shrinking the frame too aggressively. Clean, boring, readable video beats flashy but fuzzy video every time.
There is also the emotional roller coaster of upload day. A creator uploads a new video, checks it instantly, sees only 360p or 480p, and enters full existential crisis mode. Then, a few hours later, the HD version appears and everything is fine again. That experience is so common it might as well be a creator rite of passage. Learning to wait for processing before judging the final quality can save a lot of unnecessary troubleshooting.
Finally, creators who consistently get strong YouTube quality usually develop a repeatable system. They settle on a dependable filming setup, a small set of export presets, a reliable mic position, and a lighting arrangement that works every time. This matters because consistency is underrated. Once you stop reinventing your process for every upload, quality improves almost by accident. You spend less time wrestling settings and more time making better content. And on YouTube, better content plus solid technical quality is a much stronger combo than technical perfection attached to a boring video no one finishes.
Conclusion
If you want to enhance video quality on YouTube, keep the process simple. As a viewer, choose a higher playback setting, improve your connection, and use a browser or device that supports better formats. As a creator, focus on the full chain: better lighting, clearer audio, cleaner footage, sensible color correction, and export settings that fit YouTube instead of fighting it.
The biggest lesson is this: quality is usually built, not rescued. Record better, edit smarter, export cleanly, and let YouTube finish processing before you judge the result. Do that consistently, and your videos will look sharper, sound better, and feel far more professional without turning your workflow into a science experiment.
Note: If a newly uploaded video looks blurry at first, wait for YouTube to finish HD or 4K processing before troubleshooting. Also, remove any publishing leftovers such as contentReference[oaicite:0]{index=0} before posting the article online.