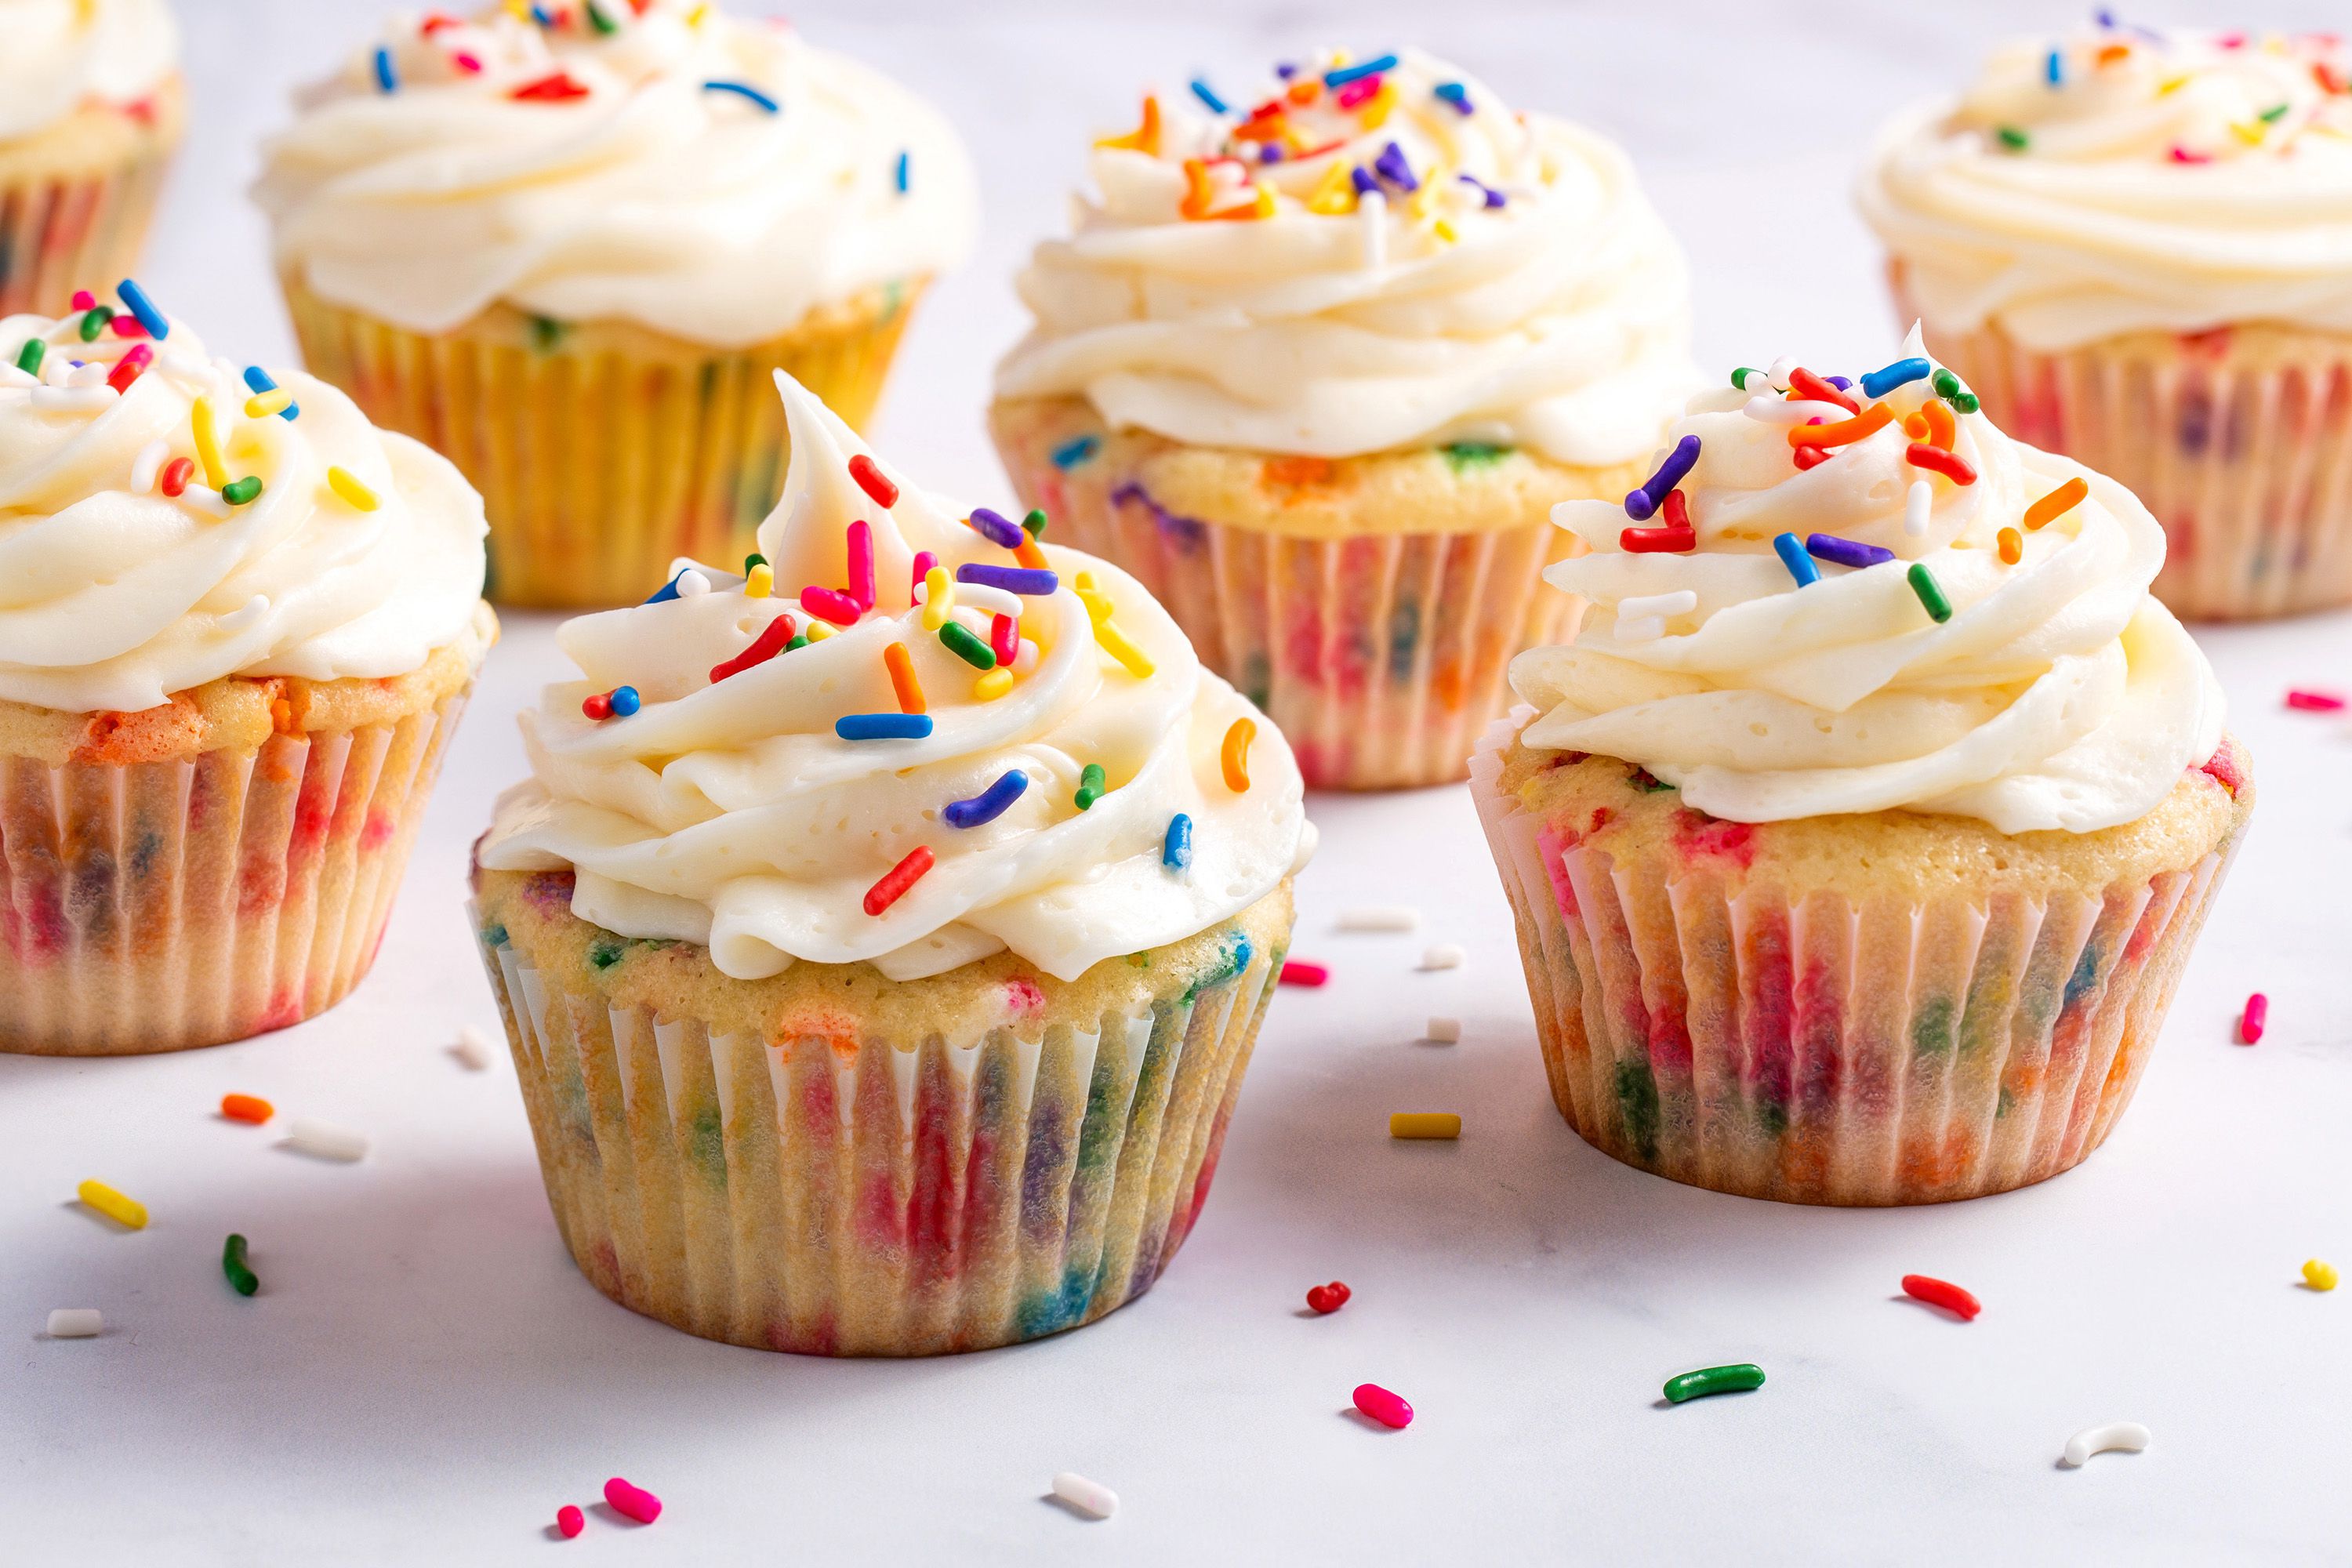
Cupcakes look easy. They’re small. They’re cute. They come with their own little paper pants. And yet… they can be weirdly dramatic: domed tops that crack like desert soil, centers that sink like your motivation on a Monday, and crumbs so dry they could file taxes.
This guide fixes all of that. You’ll get a step-by-step cupcake method that works reliably, plus the “why” behind each step so you can troubleshoot like a calm, buttery wizard. The goal: tender, moist cupcakes with even rise, fine crumb, and bakery-level resultswithout needing a culinary degree or a pep talk from Paul Hollywood.
Before You Start: The Cupcake Success Checklist
- Preheat fully (your oven needs time to stabilize).
- Use room-temperature ingredients for a smooth, stable batter.
- Measure flour correctly (too much flour is the #1 “why is this dry?” culprit).
- Don’t overmix once flour is inmix just until combined.
- Fill liners consistently (usually about 2/3 full).
- Don’t overbake (minutes matter more than your pride).
What You Need: Tools and Ingredients
Tools (Nothing Fancy, Just Functional)
- 12-cup muffin pan
- Paper liners (standard size)
- Mixing bowls + whisk
- Hand mixer or stand mixer (optional, but helpful)
- Rubber spatula
- Cookie scoop or measuring spoon for portioning
- Wire rack for cooling
- Optional but amazing: kitchen scale and oven thermometer
Ingredients (And Why They Matter)
- Flour: All-purpose flour is the standard. Cake flour gives a finer, softer crumb (great for “bakery” texture).
- Sugar: Sweetness + moisture retention + tenderness. Also helps with browning.
- Butter: Flavor and structure. Creaming it with sugar builds lift.
- Oil (optional): Adds moisture insuranceespecially helpful if you tend to overbake.
- Eggs: Structure + richness. Room temp helps emulsify smoothly.
- Milk/Buttermilk/Sour cream: Moisture + tenderness. Buttermilk adds tang and can boost lift when paired with the right leavening.
- Leavening: Baking powder (and sometimes baking soda) creates rise.
- Salt: Not negotiable. It makes everything taste more like itself.
- Vanilla: Use real extract when possible; it’s the main character in vanilla cupcakes.
The Step-By-Step Method (Works for Most Cupcake Recipes)
This method is written for classic vanilla cupcakes, but the structure applies to chocolate, funfetti, lemon, and most butter-based cupcakes.
Step 1: Preheat and Prep Like You Mean It
- Set oven to 350°F (common standard for cupcakes).
- Line your pan with paper liners.
- Set out butter, eggs, and dairy to come to room temperature (more on that next).
Step 2: Bring Ingredients to Room Temperature
Cold ingredients don’t blend evenly. That can cause a lumpy batter, uneven rise, and a texture that’s… how do we say this politely… “muffin-ish.” Room-temp ingredients mix into a smooth, stable batter that bakes evenly.
Shortcut: Place eggs in a bowl of warm water for 5–10 minutes. Cut butter into cubes and let it sit 15–20 minutes.
Step 3: Measure Flour Correctly (Your Moisture Depends on It)
If you scoop flour with the measuring cup straight from the bag, you can pack in extra flourleading to dry, heavy cupcakes.
- Best: Weigh flour with a kitchen scale.
- Next best: Fluff flour, spoon into the cup, then level it off with a knife.
Step 4: Mix Dry Ingredients Separately
Whisk together flour, baking powder (and/or baking soda), salt, and any dry spices. This spreads leavening evenly so you don’t get one cupcake that rises like Mount Everest and another that looks like a sad pancake.
Step 5: Cream Butter and Sugar Until Light and Fluffy
Beat softened butter and sugar together for about 2–3 minutes (medium speed) until it looks paler and fluffier. This step traps air, which helps cupcakes rise with a lighter texture.
Texture cue: It should look airy and creamynot greasy and collapsed.
Step 6: Add Eggs Slowly (Don’t Shock the Batter)
- Add eggs one at a time, mixing until each is incorporated.
- Scrape the bowl so everything mixes evenly.
- Add vanilla extract after the eggs.
If the batter looks curdled, your ingredients were probably too cold. Keep mixingoften it smooths out once you add some of the dry ingredients.
Step 7: Alternate Dry Ingredients and Milk
Add dry ingredients in 2–3 additions, alternating with milk/buttermilk. Mix on low and stop as soon as the flour disappears.
Important: Once flour goes in, overmixing develops glutengiving you dense cupcakes and “tunnels” inside (those big air channels that look like the cupcake tried to install plumbing).
Step 8: Portion Batter Evenly (The 2/3 Rule)
For standard cupcakes, fill liners about 2/3 full. Too much batter can overflow and sink; too little can overbake fast and end up dry.
Pro move: Use a cookie scoop so every cupcake bakes at the same pace.
Step 9: Bake Without Constant Door Drama
- Bake on the center rack.
- Start checking at 18 minutes. Many cupcakes finish around 18–22 minutes.
- A toothpick should come out clean or with a few moist crumbs (not wet batter).
- Tops should spring back lightly when pressed.
Resist opening the oven early. Sudden temperature drops can contribute to sinking centers.
Step 10: Cool Correctly (So Frosting Doesn’t Melt Into Regret)
- Cool in the pan for 5 minutes.
- Move cupcakes to a wire rack to cool completely.
- Frost only when fully coolunless you enjoy buttercream sliding off like a tiny, delicious landslide.
The “Why” Behind Perfect Cupcakes (Quick Cupcake Science)
Creaming Builds Lift
Creaming butter and sugar isn’t just mixingit’s aerating. Sugar crystals cut into butter, creating tiny air pockets that expand in the oven and give cupcakes a lighter crumb.
Baking Powder Pulls Double Duty
Most baking powders are double-acting: they bubble once when wet and again when heated. That’s one reason cupcakes can rise nicely even with minimal mixingif your leavening is fresh.
Fresh Leavening Matters More Than People Admit
If your cupcakes bake up flat and pale, your baking powder might be tired. You can quickly test it with warm/hot water: it should visibly bubble and foam. If it barely reacts, it’s time for a fresh container.
Troubleshooting: Fix the Most Common Cupcake Problems
Problem: Cupcakes Sink in the Middle
- Underbaked: Bake 1–3 minutes longer next time; check with toothpick and spring-back test.
- Overfilled liners: Keep batter around 2/3 full.
- Oven door opened too early: Don’t open before the cupcakes have set (usually after ~15 minutes).
- Too much leavening: Measure carefully; don’t “eyeball” baking powder like it’s chili flakes.
Problem: Cupcakes Are Dry
- Too much flour: Weigh it or spoon-and-level.
- Overbaked: Pull them when a few moist crumbs cling to the tester.
- Recipe balance: Add a tablespoon or two of oil, sour cream, or buttermilk for moisture in future batches.
Problem: Dense, Tough Cupcakes
- Overmixed batter: Mix just until combined after flour is added.
- Ingredients too cold: Batter won’t emulsify well; texture suffers.
- Old leavening: Test baking powder, replace if weak.
Problem: Cupcakes Stick to Liners
- Underbaked: Slightly underbaked cupcakes often cling to the liner.
- Stored warm: Warm cupcakes in sealed containers create steam, increasing stickiness. Cool fully before storing.
- High sugar/moist recipes: Some recipes are just stickiertry grease-resistant liners.
Frosting and Decorating (Without Tears)
Simple Vanilla Buttercream (Reliable and Pipeable)
Basic ratio: Beat 1 cup unsalted butter until creamy, then gradually beat in 3–4 cups powdered sugar, a pinch of salt, and 1–3 tablespoons milk/cream. Flavor with vanilla. Adjust sugar for stiffness and milk for smoothness.
- Too stiff? Add milk 1 teaspoon at a time.
- Too soft? Add powdered sugar gradually and chill briefly if needed.
Piping Tips That Make You Look Like You Know Things
- Cool cupcakes completely before piping.
- Use a large star tip for classic swirls.
- Fill your piping bag halfwayeasier to control, less hand cramp, fewer frosting-related existential crises.
Storage, Make-Ahead, and Food Safety
- Unfrosted cupcakes: Store airtight at room temperature for a couple of days. Freeze (well wrapped) for longer storage.
- Buttercream-frosted cupcakes: Often okay short-term at cool room temperature, but heat/humidity change the rules fastuse common sense and keep them cool if your kitchen runs warm.
- Cream cheese or dairy-heavy frostings: Refrigerate promptly and follow standard food-safety guidancedon’t leave perishables out for more than about 2 hours (less if it’s very hot).
Make-ahead move: Bake and freeze unfrosted cupcakes. Thaw at room temp (still wrapped), then frost fresh. This keeps texture surprisingly good.
Easy Flavor Variations (Using the Same Step-By-Step Method)
Chocolate Cupcakes
Replace a portion of flour with unsweetened cocoa powder. Cocoa is drying, so chocolate cupcake recipes often add extra moisture (oil, sour cream, or buttermilk). Use the same mixing rules: don’t overmix, portion evenly, don’t overbake.
Lemon Cupcakes
Add lemon zest to the sugar before creaming (rub it in with your fingers). Add a little lemon juice to the wet ingredients. Finish with lemon buttercream or a simple glaze.
Funfetti Cupcakes
Fold in rainbow sprinkles at the very end with a spatula. Use “jimmies” style sprinkles to reduce color bleeding.
Red Velvet-Style Cupcakes
These typically use cocoa plus an acidic ingredient (often buttermilk and/or vinegar) and may include both baking soda and baking powder. Measure leaveners carefullyred velvet can go from “velvety” to “weirdly airy and fragile” fast.
Final Thoughts: Your “Perfect Cupcake” Formula
Perfect cupcakes aren’t about secret ingredientsthey’re about repeatable technique. If you (1) measure accurately, (2) use room-temp ingredients, (3) mix gently once flour is in, and (4) bake just until done, you’ll get consistent results that taste like you bought them from a place with pendant lights and $7 lattes.
Nowgo preheat that oven. Your future self (and everyone who eats these) will thank you.
Extra: Real-World Cupcake Experiences (Lessons Home Bakers Learn the Fun Way)
Ask a group of home bakers about cupcakes and you’ll hear the same theme: cupcakes are small, but the details are big. People often start out thinking cupcakes are just “tiny cakes,” then discover they behave more like a final exam that fits in a muffin pan. Here are the most common experiences that turn cupcake beginners into cupcake grown-ups (emotionally, if not spiritually).
1) The “I filled them to the top because optimism” moment. The first time many people bake cupcakes, they treat liners like cups you’re supposed to fill. The oven disagrees. Overfilled cupcakes tend to overflow, bake unevenly, and sometimes collapse in the middle because the structure can’t support the extra height. Most bakers eventually learn the 2/3-full guideline, then suddenly every batch looks more uniformlike the cupcakes attended a finishing school.
2) The surprise of how fast cupcakes dry out. Because cupcakes are small, they bake quicklyand they overbake even quicker. A lot of bakers remember a batch that looked fine at minute 20, then turned dry after “just two more minutes to be safe.” The experience teaches a practical truth: doneness tests matter more than the clock. Checking early, pulling when the tops spring back, and letting carryover heat finish the job often leads to a noticeably softer texture.
3) The “my batter was perfect… until I mixed it into submission” lesson. Overmixing is almost always accidental. Someone turns on the mixer, gets distracted, and returns to a batter that’s glossy, overworked, and strangely elastic. The cupcakes bake up dense with tunnels. After that, many bakers switch to mixing the final flour additions on low speed and finishing with a spatulabecause once you’ve bitten into a rubbery cupcake, you start treating flour like it has feelings.
4) The room-temperature ingredient conversion story. Plenty of people ignore “room temperature” the first time. Then they see a batter that looks curdled, bakes unevenly, or rises inconsistently. Later, they try again with softened butter and room-temp eggs and notice the batter becomes smoother, the crumb more even, and the rise more reliable. It’s one of those “oh… that’s why recipes say that” moments that makes you feel like you just unlocked a new skill tree.
5) The frosting learning curve (a.k.a. the buttercream personality test). Nearly everyone has made buttercream that’s either (a) too stiff to pipe, (b) too soft to stand up, or (c) mysteriously both, depending on the weather. Home bakers learn to adjust with tiny additions: a teaspoon of milk to loosen, a bit more powdered sugar to firm, a brief chill if the kitchen is warm. Once you get comfortable adjusting texture, piping stops feeling like a high-stakes sport and starts feeling like decorating therapy.
6) The “my cupcakes stuck to the liners and I took it personally” episode. When cupcakes cling to paper, bakers often assume they “failed.” Usually it’s just one of a few fixable things: slightly underbaked centers, storing while warm (steam makes liners stick), or an extra-moist recipe. The common experience is: bake a minute longer, cool completely, store properlyand suddenly liners peel like a dream. This is also when many people discover grease-resistant liners and feel like they’ve joined a secret club.
7) The confidence jump that comes from one ‘perfect’ batch. The funniest part of cupcake growth is how quickly confidence follows a great batch. Once someone nails a consistent rise, a tender crumb, and frosting that holds its shape, they start experimenting: lemon zest in the sugar, funfetti folded in gently, a chocolate version with sour cream, a salted caramel center. The big takeaway experience is that technique creates freedom. When the method is solid, flavors become the fun partnot the stress part.
If any of these experiences sound familiar, congratulations: you’re not “bad at cupcakes.” You’re just becoming someone who understands them. And cupcakes, like cats, behave better when you respect their rules.