Connecting PEX to copper is one of those plumbing jobs that looks suspiciously easy until a fitting drips at 2 a.m. Fortunately, the transition is straightforward when you use an approved fitting, prepare both pipes correctly, and match the connection method to your tools, budget, and access conditions.
The three most practical methods are a push-to-connect coupling, a sweat-to-PEX adapter, and a press-to-PEX transition fitting. Each creates a reliable connection when installed according to its listing and the manufacturer’s instructions. The real difference is how much equipment, experience, time, and open flame the job requires.
Before Connecting PEX to Copper
Do not begin by grabbing the nearest shiny brass fitting and hoping plumbing optimism will carry the project. First, identify the pipe sizes, PEX connection system, water-line application, and local code requirements.
Confirm the Pipe Sizes
PEX and copper are commonly sold in copper tube sizes, but the outside diameters, wall thicknesses, and fitting requirements are not interchangeable in every situation. A transition fitting labeled for 1/2-inch copper and 1/2-inch PEX is designed to accommodate the correct dimensions on each end.
Read the markings on the PEX tubing and measure the copper carefully. Do not assume a pipe is 1/2 inch because it “looks about right.” Plumbing is not a carnival guessing game.
Identify the PEX Connection System
PEX tubing may be joined with copper crimp rings, stainless-steel clamps, expansion fittings, push fittings, or proprietary press systems. The letters PEX-A, PEX-B, and PEX-C describe manufacturing methods, not a universal set of connection instructions.
Check the tubing, fitting, and tool listings before mixing products. Common fitting standards include ASTM F1807 for metal insert fittings used with crimp rings, ASTM F2098 for stainless-steel clamps, and ASTM F1960 for cold-expansion connections. A fitting that physically enters a tube is not automatically an approved combination.
Check the Local Plumbing Code
Model plumbing codes generally require an approved adapter or transition fitting when two different piping materials are joined. Local jurisdictions may amend the model code, restrict concealed fittings, require permits, or specify testing procedures. Verify the rules with the local building department before closing a wall around the connection.
Shut Off and Drain the Water
Turn off the appropriate shutoff valve or the home’s main water supply. Open a faucet at a lower point to relieve pressure and drain the line. Place a bucket and towels under the work area because water remaining in horizontal pipe has excellent comedic timing.
Gather the Basic Tools
- Tubing cutter for copper
- PEX cutter
- Deburring and reaming tool
- Marker and tape measure
- Transition fitting approved for both materials
- PEX crimp, clamp, expansion, or press tool when required
- Safety glasses and work gloves
- Pressure-testing equipment or access to the shutoff valve
Method 1: Use a Push-to-Connect Coupling
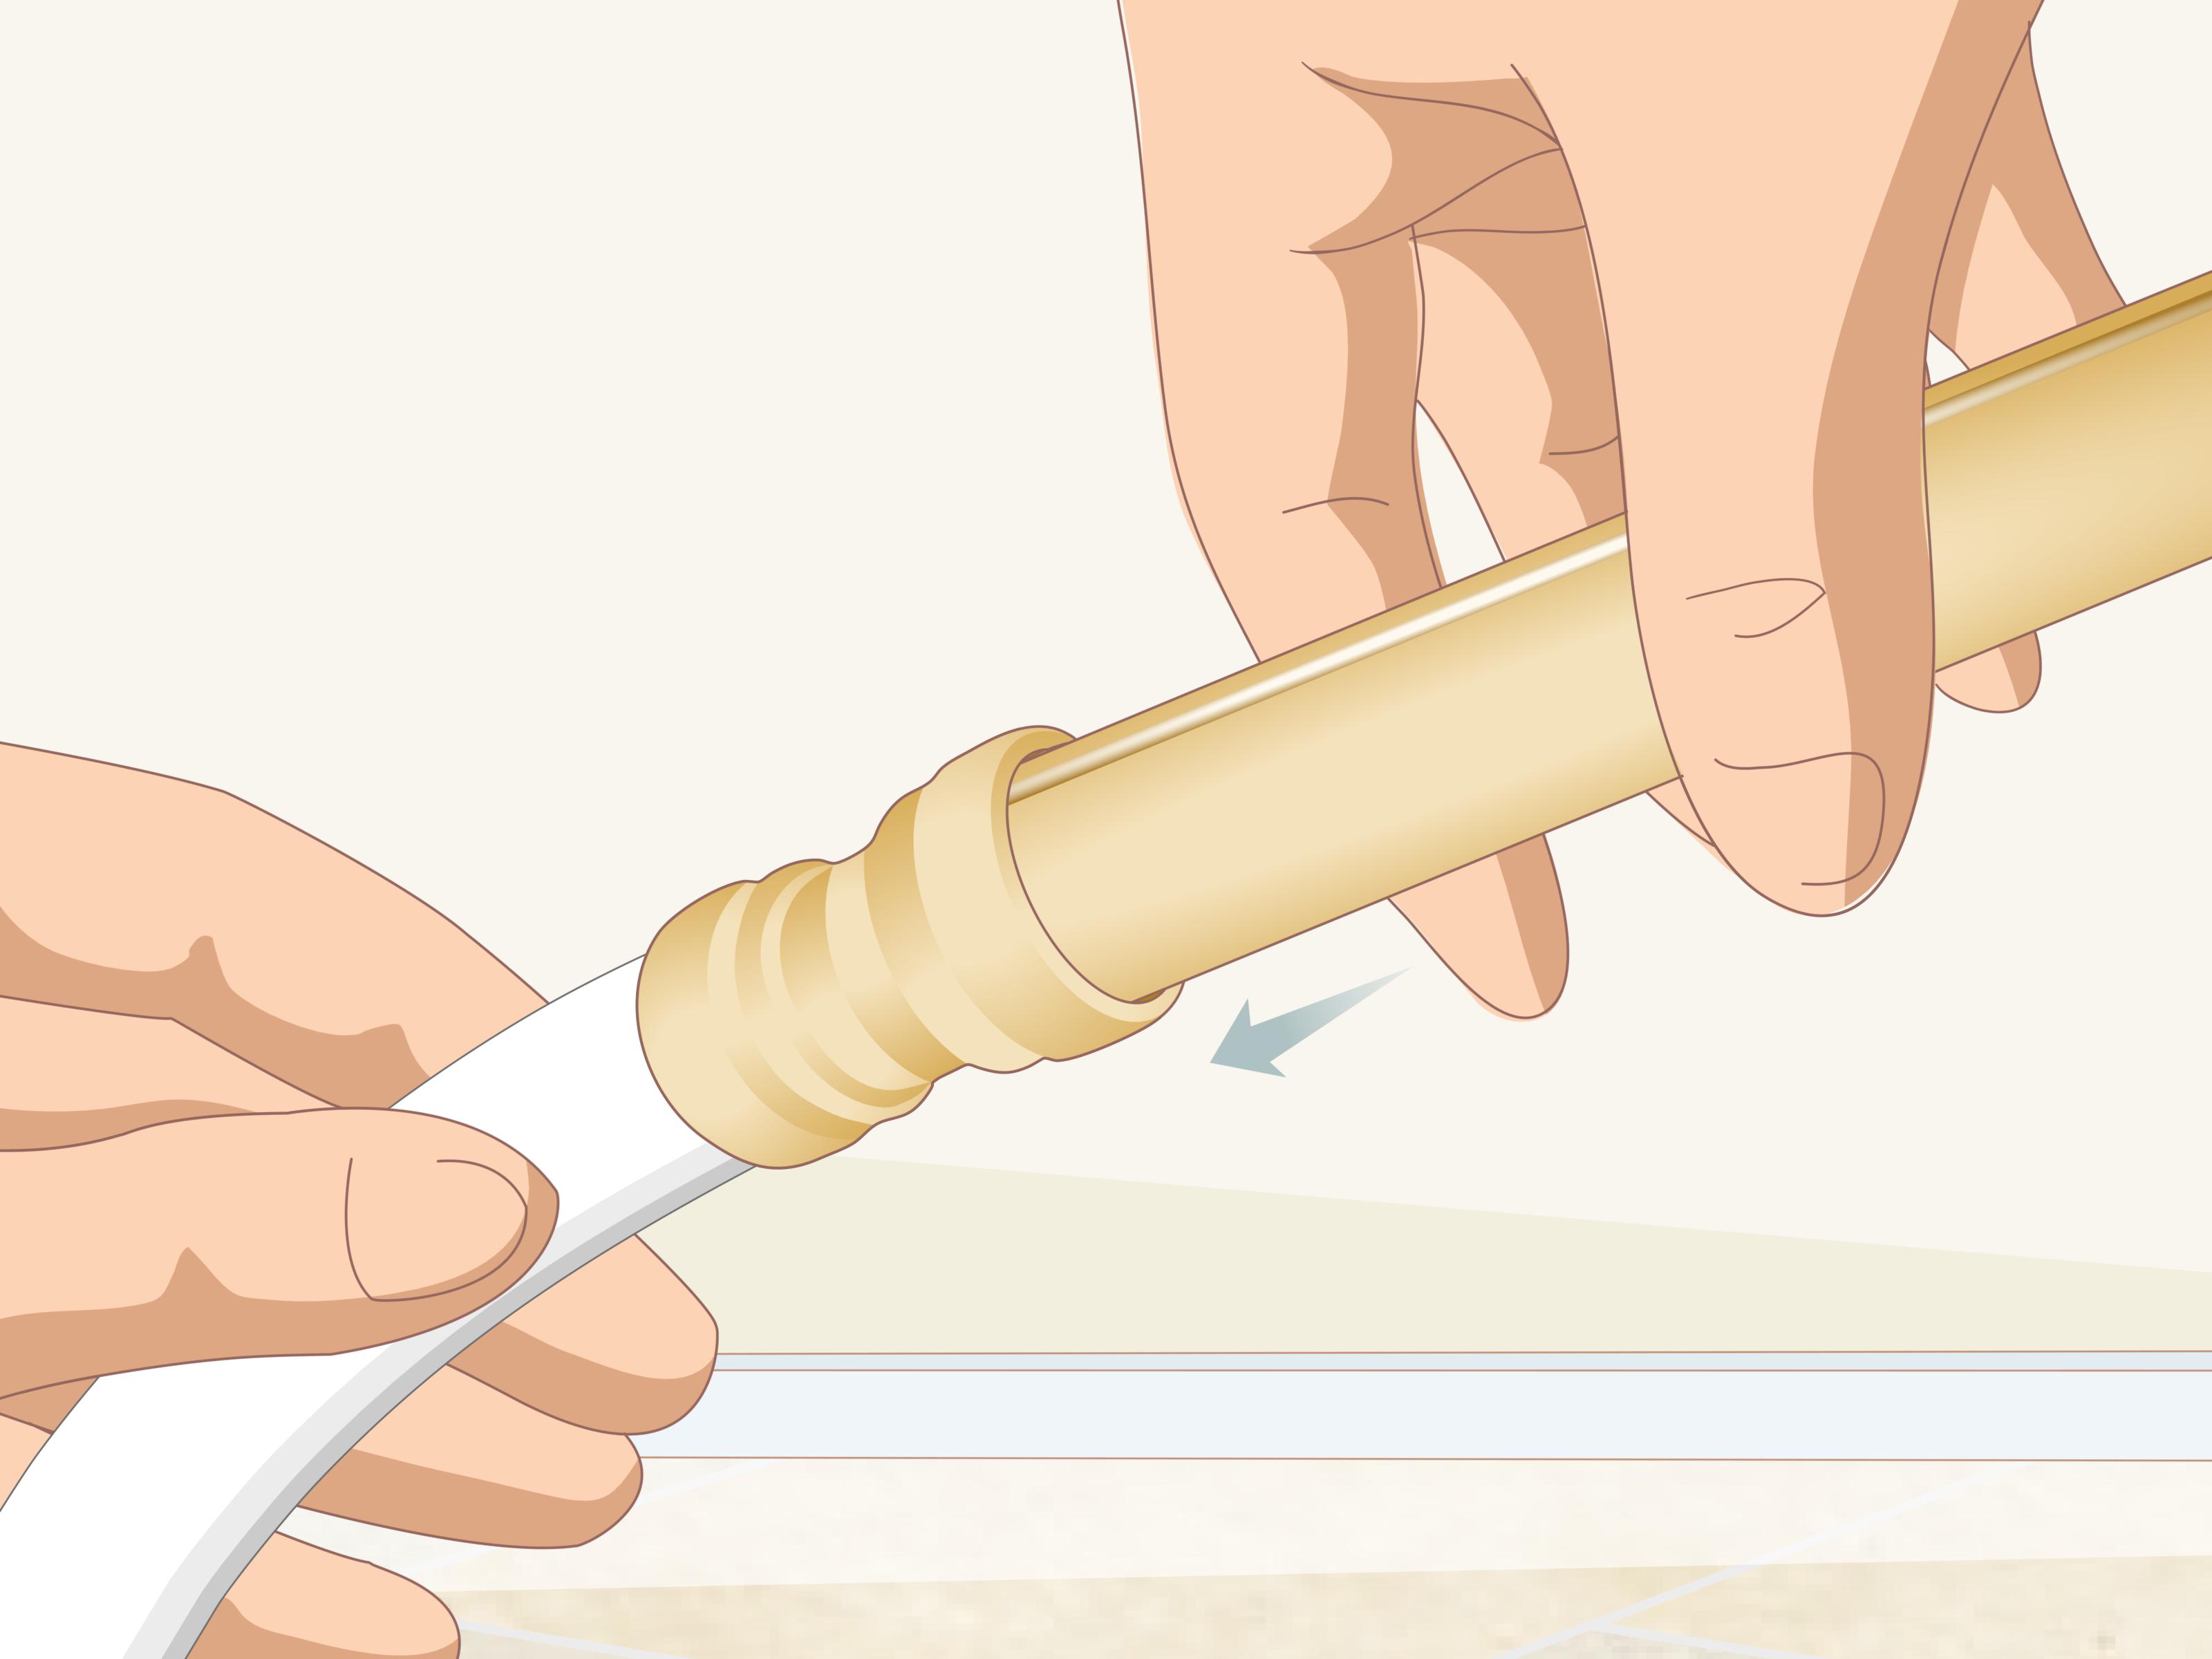
A push-to-connect coupling is usually the fastest and most approachable way to connect PEX to copper. One end accepts the copper tube, while the other accepts the PEX. Internal teeth grip each pipe, and an O-ring creates the seal.
These fittings require no solder, flame, crimp ring, or expansion tool. They are especially useful in tight spaces, emergency repairs, and locations where using a torch would be risky. Manufacturers offer listed push fittings that join PEX and copper in the same coupling, provided the pipes are properly prepared and inserted to the required depth.
How to Install a Push-to-Connect Coupling
- Cut the copper squarely. Use a tubing cutter rather than a hacksaw when possible. A crooked cut can prevent full insertion and place uneven pressure on the internal seal.
- Ream and deburr the copper. Remove the inner ridge and smooth the outside edge. A sharp copper edge can damage the O-ring as the pipe enters the fitting.
- Clean the copper surface. Remove paint, adhesive, oxidation, solder bumps, and deep scratches from the insertion area.
- Cut the PEX squarely. Use a sharp PEX cutter. Replace tubing that is gouged, flattened, kinked, or visibly damaged near the connection.
- Mark insertion depth. Use the fitting manufacturer’s depth gauge or published insertion-depth chart. Mark both pipes so you can confirm that they reach the internal stop.
- Push in the copper. Press the copper straight into the fitting with a slight twisting motion until the depth mark reaches the fitting edge.
- Insert the PEX. Push the tubing into the opposite end until it reaches its marked depth. Use a tube stiffener when required. Some push fittings include an integral PEX liner.
- Restore pressure slowly. Turn the water on gradually while watching and feeling around the fitting for moisture.
Advantages of Push-to-Connect Fittings
- Fast installation with minimal tools
- No open flame or hot-work preparation
- Useful when the copper line cannot be completely dried
- Convenient in cramped cabinets and repair openings
- Some models can be removed with a disconnect tool
Potential Drawbacks
Push fittings cost more per connection than many crimp or sweat fittings. Their success also depends heavily on pipe preparation and insertion depth. A fitting pushed on “most of the way” is not an almost-successful connection; it is a future ceiling stain completing its paperwork.
Before concealing a push fitting, confirm that its listing and the local code permit that use. Protect the fitting from movement, freezing, excessive heat, and mechanical damage.
Method 2: Install a Sweat-to-PEX Adapter
A sweat-to-PEX adapter has a copper socket on one end and a PEX insert or expansion connection on the other. The copper end is soldered to the copper tube. After the metal has cooled completely, the PEX is attached using the compatible ring, clamp, sleeve, or expansion system.
This is a traditional and economical permanent transition. It is popular when the installer already knows how to solder copper and owns the appropriate PEX tool.
Choose the Correct Adapter
The copper side must match the copper tube size. The PEX side must match the tubing size and joining system. For example, a PEX barb designed for a copper crimp ring should not be treated as an expansion fitting simply because both pieces are sitting on the same workbench.
How to Solder the Copper Side
- Keep PEX away from the work area. Do not attach the PEX before soldering. Torch heat can soften, distort, or permanently damage the tubing.
- Cut and dry the copper. The pipe should be square, reamed, and dry. Even a small stream of water can prevent the joint from reaching soldering temperature.
- Clean both metal surfaces. Abrade the outside of the copper and the inside of the adapter socket until they are bright and clean.
- Apply compatible flux. Use a thin, even coating. Excess flux does not improve the joint and should not be left inside the piping system.
- Assemble the joint. Insert the tube fully into the adapter and rotate it slightly to spread the flux.
- Protect nearby materials. Use a flame-resistant heat shield and remove combustible materials. Keep an extinguisher nearby.
- Heat the fitting evenly. Apply heat primarily to the fitting cup, moving the flame to avoid overheating one point.
- Feed lead-free solder into the joint. Touch solder to the side opposite the flame. Properly heated surfaces draw molten solder into the joint by capillary action.
- Allow natural cooling. Do not quench the fitting with water. Wipe away excess flux after the joint has set.
Soldering remains a common method for joining copper tube and capillary fittings, but the quality of the joint depends on cleaning, flux control, proper heating, and compatible lead-free materials for potable-water work.
Connect the PEX Side
Wait until the adapter is cool enough to touch comfortably. Then follow the installation method listed for the PEX end.
For a crimp connection, slide the correct copper ring onto the tubing, insert the adapter fully, position the ring according to the manufacturer’s specified distance from the tubing end, and compress it with a calibrated crimp tool. Check the finished ring with the required go/no-go gauge.
For a stainless-steel clamp, place the clamp in its specified position, close it with a compatible clamp tool, and inspect the ear or indicator. For an expansion system, install the approved expansion ring, expand the tubing according to the system instructions, insert the fitting fully, and allow the tubing to contract around the fitting.
Crimp rings and stainless-steel pinch clamps can provide comparable performance when each is installed with the correct fitting, tool, ring placement, and inspection procedure.
Advantages of a Sweat Adapter
- Compact, permanent transition
- Lower fitting cost than many push fittings
- Compatible with several established PEX joining systems
- Useful for renovations where existing copper remains in service
Potential Drawbacks
This method requires soldering skill, a dry copper line, ventilation, and careful fire protection. It is a poor choice beside foam insulation, old dry framing, stored chemicals, or any location where a flame cannot be controlled safely.
Never attempt to solder an adapter while PEX is attached. Even when the flame appears far from the plastic, heat can travel through the metal fitting and damage the tubing or sealing components.
Method 3: Use a Press-to-PEX Transition Fitting
A press transition fitting joins copper mechanically without soldering. The copper side is pressed with an approved power or manual press tool. The PEX side is then completed with the matching press, crimp, clamp, or expansion system.
Some coordinated systems provide a press connection on both sides, allowing installers to transition from copper to PEX rapidly without changing to a torch-based process. Viega, for example, offers coordinated press transition fittings intended for copper and its PEX system.
How to Install a Press Transition
- Cut the copper squarely. Use a tubing cutter and avoid deforming the tube.
- Ream and deburr the pipe. Smooth both the inside and outside edges without reducing the tube diameter.
- Inspect the fitting. Confirm that the internal sealing element is present, clean, properly seated, and approved for the application.
- Clean the insertion area. Remove dirt, oil, adhesive, and heavy oxidation.
- Mark insertion depth. Insert the copper into the fitting and mark the pipe at the fitting edge. This provides visual confirmation if the pipe shifts before pressing.
- Position the correct jaw. Use the tool, jaw, ring, and fitting profile approved by the manufacturer. Place the jaw squarely over the press contour.
- Complete the press cycle. Hold the tool steady until the full cycle finishes. Do not stop midway unless the tool instructions require a specific recovery procedure.
- Connect the PEX side. Follow the exact instructions for the fitting system rather than assuming all PEX press connections are identical.
- Inspect and test. Check alignment, insertion marks, completed press indicators, and the entire joint under pressure.
Advantages of Press Connections
- No flame or soldering flux
- Fast and repeatable installation
- Useful in occupied buildings and fire-sensitive areas
- Some systems can be pressed when residual water remains in the line
- Well suited to contractors making many connections
Potential Drawbacks
Press tools and jaws are expensive, especially for a homeowner making one repair. Compatibility also matters. A jaw that closes around a fitting is not necessarily the correct jaw profile. Using an unapproved tool-fittings combination can create an unreliable joint and void the manufacturer’s warranty.
Comparing the Three Methods
| Method | Best Use | Special Tools | Flame Required | Typical Skill Level |
|---|---|---|---|---|
| Push-to-connect coupling | Fast repairs and tight spaces | Depth gauge and deburring tool | No | Beginner to intermediate |
| Sweat-to-PEX adapter | Economical permanent transitions | Torch, soldering supplies, PEX tool | Yes | Intermediate to advanced |
| Press-to-PEX transition | Professional renovations and no-flame work | Compatible press tool and jaws | No | Intermediate to professional |
For a one-time accessible repair, a listed push coupling is usually the simplest option. For an installer comfortable with soldering, a sweat adapter offers a compact and economical transition. For contractors already invested in press equipment, the press method is fast, consistent, and especially attractive where open flames are prohibited.
Common Mistakes That Cause Leaks
Failing to Deburr Copper
A sharp ridge can cut a push-fitting O-ring or interfere with insertion. Reaming and deburring take less than a minute and can prevent hours of unpleasant ceiling archaeology.
Using the Wrong Fitting System
Do not mix rings, sleeves, jaws, fittings, and tubing based only on nominal size. Verify the standards and manufacturer approvals for the entire connection.
Skipping the Insertion Mark
Depth marks are useful for push and press fittings because they reveal whether a pipe has reached the stop or shifted before completion.
Applying Heat Near PEX
Solder the copper side first, allow it to cool fully, and connect the PEX afterward. Protect nearby plastic piping from direct flame and conducted heat.
Leaving the Pipe Unsupported
PEX should not hang from the transition fitting or pull sideways on it. Add supports according to the tubing manufacturer’s spacing requirements and allow for expansion and contraction.
Testing Too Quickly
Inspect every connection before closing the wall. Restore pressure slowly, remove trapped air through a faucet, and examine the joint under normal operating pressure. Follow local inspection and pressure-testing requirements.
Practical Experience: What These Connections Teach You
The most useful lesson from connecting PEX to copper is that preparation matters more than speed. On an exposed practice bench, all three methods can look easy. Inside a vanity cabinet with a drain trap, two supply valves, a shelf, and exactly enough room for one irritated forearm, the differences become obvious.
Push-to-connect fittings are excellent when access is poor. The temptation, however, is to treat them as magical plumbing erasers. They are not. The copper must still be round, smooth, and clean. On older pipe, the area near a previous solder joint may contain scratches, solder residue, or slight deformation. Cutting an extra inch back to clean, undamaged copper often creates a better repair than forcing a fitting onto a questionable surface.
Marking insertion depth is another habit that feels optional until it prevents a mistake. In a dark joist bay, you may feel resistance and assume the pipe has reached the stop. A visible mark tells the truth. If the mark remains half an inch from the fitting, the connection is not complete, no matter how confidently the installer nods at it.
Sweat adapters reward patience. A common beginner mistake is overheating the fitting because the solder does not flow immediately. Usually, the real problem is moisture, poor cleaning, insufficient flux coverage, or heating the wrong area. Adding more fire turns the fitting black but does not improve the joint. Correcting the preparation is more effective than attempting to intimidate the copper with a larger flame.
It is also wise to solder the adapter in a controlled position whenever possible. For example, if a short section of existing copper can be removed, the adapter may be soldered onto that section away from insulation and framing. After cooling and cleaning, the prepared assembly can be installed using another approved connection. This reduces fire risk, although the final layout must still comply with code and manufacturer instructions.
PEX crimp work has its own learning curve. Ring placement is small but important. A ring placed too close to the tubing edge may not compress the tubing correctly over the fitting ribs. A ring placed too far away may miss the sealing area. Using a go/no-go gauge after every crimp quickly becomes second nature and catches tool-calibration problems before the water returns.
Press transition fittings shine on larger projects. When several copper branches are being converted to PEX, the time saved can justify the equipment. The process is clean, controlled, and repeatable. Still, speed creates a new risk: moving so quickly that an insertion mark, sealing element, or jaw size is not checked. A professional workflow is fast because each step is standardized, not because inspection has been deleted.
Another practical lesson is to plan for movement. PEX is flexible and expands more than copper. A neatly completed transition can still experience stress if the tubing bends sharply immediately after the fitting or is pulled sideways by an unsupported run. Leave a gentle path for the PEX, observe minimum bend-radius rules, and install appropriate supports.
Finally, never judge a connection only by whether it remains dry for the first ten seconds. Wipe the fitting completely dry, pressurize the system, run nearby fixtures, and inspect it again. A dry paper towel wrapped briefly around the joint can reveal a tiny seep that fingers miss. Check once more after the system has experienced hot and cold water cycles.
The best PEX-to-copper connection is not automatically the most expensive, traditional, or fashionable method. It is the approved connection that fits the location, is installed with compatible components, is fully inspected, and does not require anyone to whisper, “It will probably be fine,” before closing the drywall.
Conclusion
There are three dependable ways to connect PEX to copper: use a push-to-connect coupling, solder a sweat-to-PEX adapter, or install a press-to-PEX transition fitting. Push fittings offer the easiest path for many repairs. Sweat adapters provide a compact, economical connection for installers with soldering experience. Press fittings deliver fast, flame-free results when the correct equipment is available.
Whichever method you choose, cut the pipes squarely, remove burrs, verify compatibility, follow the manufacturer’s insertion or ring-placement requirements, support the tubing, and test the completed joint before concealing it. When the work involves a main service, inaccessible piping, extensive corrosion, fire-sensitive construction, or uncertainty about local code, hire a licensed plumber.