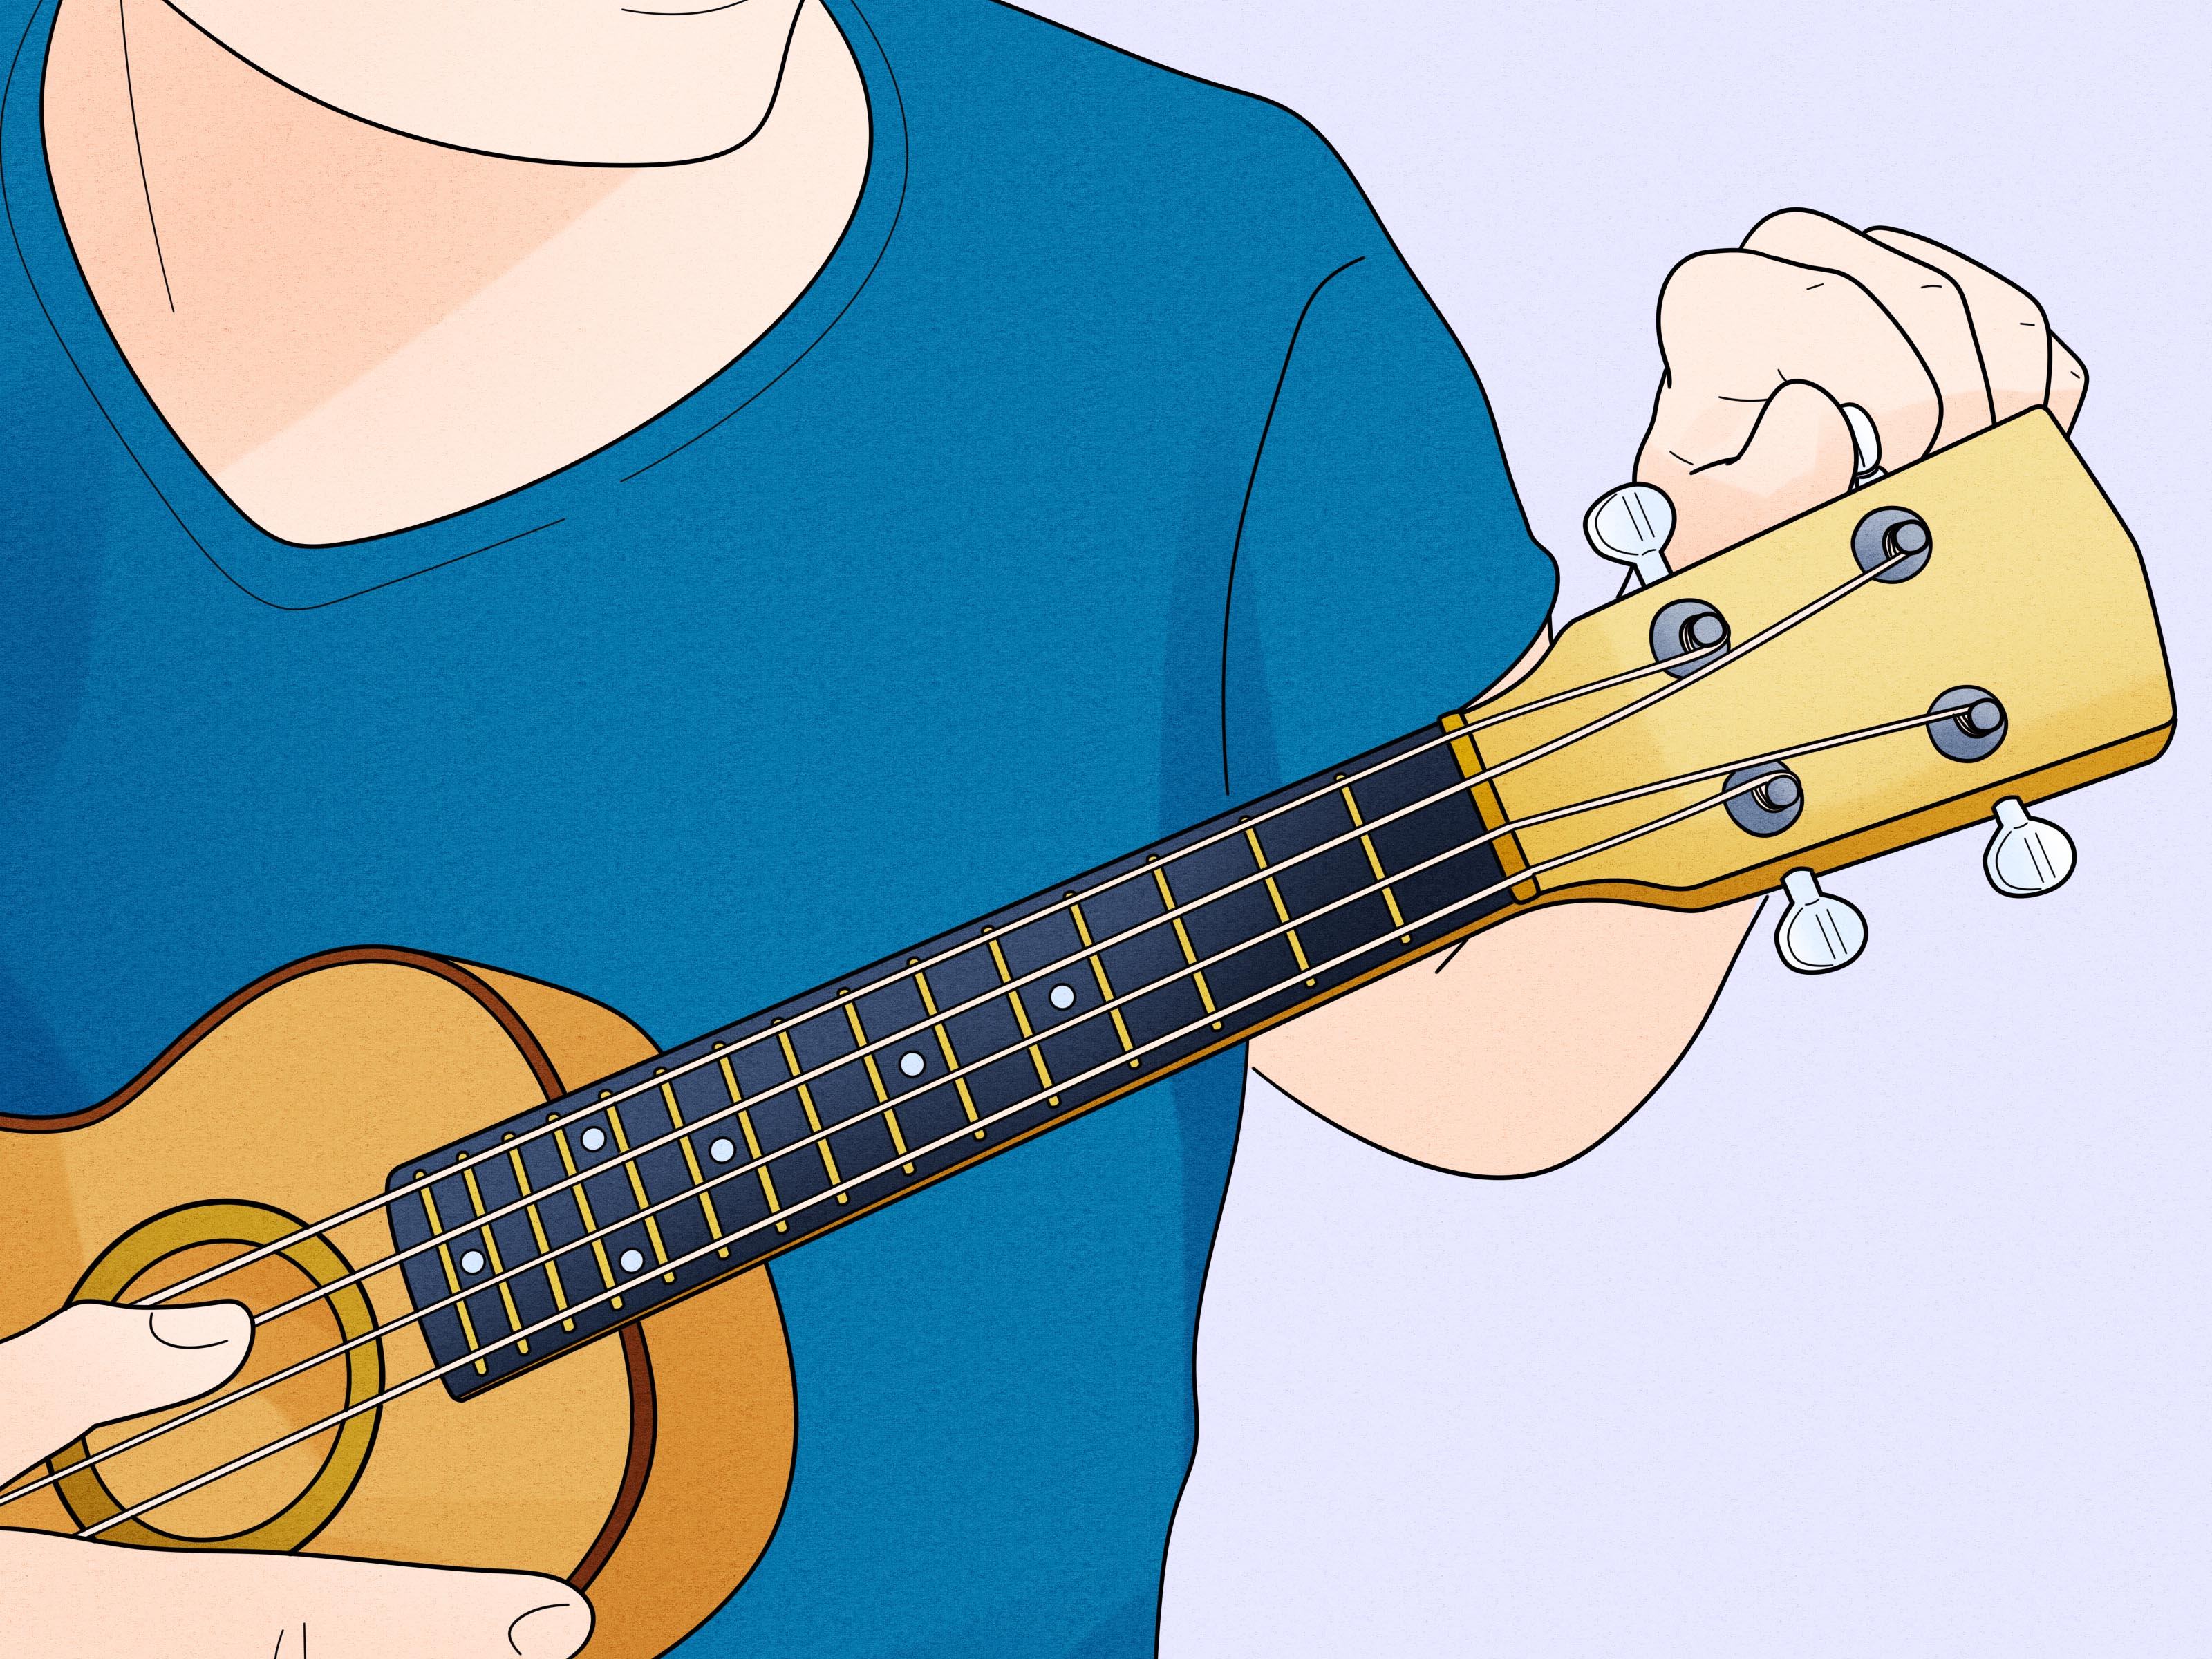
If your ukulele sounds dull, refuses to stay in tune, or has one lonely broken string flapping around like it has given up on life, it is probably time for a restring. The good news is that putting strings on a ukulele is not some mystical island ritual passed down by wizards in floral shirts. It is a basic skill, and once you do it once or twice, it becomes surprisingly easy.
This guide walks you through simple ways to put strings on a ukulele in 8 steps. Whether you play soprano, concert, or tenor, the process is mostly the same. If you have a baritone ukulele, the restringing method is similar too, but the tuning is different. We will cover what tools help, how to deal with different bridge styles, how to wind the strings neatly, and how to keep your new set from acting dramatic for the first few days.
Before You Start: What You Need
Before you begin, gather a few basics:
- A fresh set of ukulele strings made for your ukulele size
- A clip-on tuner or tuning app
- String winder if you want to save your wrist from writing a formal complaint
- Wire cutters or small snips
- A soft cloth for a quick cleanup
Most soprano, concert, and tenor ukuleles use standard G-C-E-A tuning. Many players use a high G, while some prefer a low G for a fuller sound. Baritone ukuleles usually use D-G-B-E tuning. That means your first job is choosing the right string set. Do not guess. A random pack from the music drawer is how chaos begins.
How to Put Strings on a Ukulele in 8 Steps
Step 1: Choose the Right Ukulele Strings
Start with the correct set for your instrument. This matters more than beginners often realize. Ukulele strings are not all interchangeable, and using the wrong set can lead to poor tension, weird tone, or a setup that feels like your uke had a bad day.
Look at the package and confirm these details:
- Ukulele size: soprano, concert, tenor, or baritone
- Tuning: standard GCEA, low G, or baritone DGBE
- Material: nylon, fluorocarbon, titanium, or similar synthetic material
If you want a traditional warm sound, nylon-style strings are a safe pick. If you want a brighter, cleaner tone with a little extra snap, fluorocarbon is often a favorite. Some players like titanium-style sets for a punchier feel. The best string is the one that matches your uke, your hands, and your ears.
Important: do not put steel guitar strings on a regular acoustic ukulele. Ukuleles are typically built for much lighter synthetic strings. If you own a special steel-string or solid-body electric ukulele, that is a different story, but a standard acoustic uke is not the place for a six-string identity crisis.
Step 2: Loosen and Remove the Old Strings
Turn each tuning peg slowly to loosen the old strings. Once the strings are slack, unwind them from the tuner posts. Then remove them from the bridge.
Here is where bridge type matters:
- Tie-block bridge: untie the knot or loop at the bridge
- Slotted or no-tie bridge: slide the knotted end out of the slot
- Through-body or pin-style bridge: push or pull the string free carefully
Some players replace one string at a time so they can copy the original path and maintain even pressure across the saddle. Others remove the full set at once so they can clean the fretboard properly. Both methods work. If you are brand new, replacing one at a time is often the less stressful route.
Step 3: Clean the Ukulele While the Strings Are Off
This is the five-minute housekeeping break your ukulele has been hoping for. Use a soft cloth to wipe dust, finger oil, and mystery grime from the fretboard, body, and headstock.
Pay special attention to:
- The fretboard near the first few frets
- The nut slots where the strings sit
- The bridge area
- The tuning machines
If your ukulele is especially dusty, a careful cleanup makes the restring feel more worthwhile. Fresh strings on a dirty fretboard are a bit like wearing brand-new sneakers with muddy socks. Technically legal, spiritually questionable.
Step 4: Attach the New String at the Bridge
Now it is time to anchor the string at the bridge. The exact method depends on the bridge style.
Tie-Block Bridge
Feed the string through or around the bridge as needed, then create a secure loop or knot so it will not slip when tension increases. Keep the knot neat and snug. A sloppy bridge tie is one of the fastest ways to hear a sad little “ping” and watch your work explode backward.
Slotted or No-Tie Bridge
For a slotted bridge, tie a small stopper knot near the end of the string, then place that knot into the slot and pull the string tight. These bridges are wonderfully convenient and save beginners from some knot-related soul searching.
Through-Body Bridge
Feed the string through the body, pull the plain end into position, tie the knot where required, then draw it back until it seats securely.
Before moving on, make sure the string sits correctly over the saddle and lines up cleanly toward its tuning peg.
Step 5: Thread the String Through the Tuning Peg
Take the loose end of the string up to the tuner post. Pull it through the hole, but leave a little slack for winding. You usually want enough extra length for about 2 to 4 clean wraps, depending on the string and post style.
Too little slack means the string may not grip well. Too much slack means you will create a spaghetti tower around the post. Neither is ideal.
A simple beginner-friendly method is this:
- Pull the string snug through the post
- Back it off slightly to create a bit of slack
- Make the first wrap go over the tag end
- Let the remaining wraps wind downward neatly beneath it
This helps lock the string in place and creates a better break angle over the nut, which improves stability.
Step 6: Wind the String Neatly and Bring It Up to Pitch
Turn the tuning peg slowly while guiding the string with your hand. Make sure the coils wrap neatly down the tuner post instead of piling up on top of each other like a tiny nylon parking garage.
As you tighten, keep checking these details:
- The string stays in its nut slot
- The bridge end remains secure
- The wraps do not overlap badly
- The string is not twisted along its length
Bring the string up close to its target pitch, but do not crank it too aggressively. Ukulele strings are forgiving, but they are not immortal. A tuner makes this much easier. For most standard ukuleles, the open strings are tuned to G-C-E-A, from the top string to the bottom string as you hold the instrument in playing position.
Step 7: Repeat for the Remaining Strings
Repeat the same process for the other three strings. Work slowly, especially if your string set includes a low G or if the string gauges feel very similar. It is easy to mix them up if you are moving too fast.
A good habit is to lay the full set out in order before you begin. On most standard sets:
- C is usually the thickest string
- E is usually thinner than C
- G and A are often the thinnest, though a low G may be wound
If you are restringing a soprano, concert, or tenor ukulele with standard tuning, both high-G and low-G sets can work as long as the strings are made for that use. Many modern ukuleles handle low G just fine with an appropriate set.
Step 8: Stretch, Tune, Re-Tune, and Then Re-Tune Again Because New Strings Are Like That
Once all four strings are on, tune the ukulele to pitch. Then gently stretch each string by pulling it upward a small amount away from the fretboard. Do not yank it like you are starting a lawn mower. Just give it a careful, even pull.
After stretching, tune again. Then play a few chords. Then tune again. Then walk away for a bit and, yes, tune again.
Fresh ukulele strings are famously stretchy. It is normal for them to drift out of tune a lot at first. In many cases, they settle down over a few days if you keep tuning them regularly. This is not a sign that you did something wrong. It is just the ukulele’s way of making you earn your peaceful, stable G chord.
Common Mistakes to Avoid
- Using the wrong string set: size and tuning matter
- Overwinding the tuner post: too many wraps can cause slipping
- Ignoring bridge type: a slotted bridge and a tie-block bridge do not behave the same way
- Tuning too fast: rushing increases the chance of breakage
- Skipping the stretch: if you do not stretch new strings, they will keep sagging like tired noodles
- Installing metal strings on a regular acoustic uke: not worth the risk
How Do You Know the Restring Worked?
Your ukulele is restringed correctly when:
- The strings sit neatly in the nut and saddle slots
- The knots or anchors hold firmly at the bridge
- The tuner wraps look clean and controlled
- The uke tunes to pitch without obvious slipping
- The sound is brighter, clearer, and more lively than before
If one string keeps slipping, check the knot at the bridge and the locking path at the tuner. Usually the fix is simple. It is rarely a crisis. It just feels like one when the A string decides to audition for slapstick comedy.
Extra Tips for Better Results
Match the Strings to Your Playing Style
If you strum hard and want punch, you may like a brighter set. If you fingerpick and want warmth, a softer-feeling nylon-style set might suit you better. String choice changes the feel as much as the sound.
Keep a Spare Set in Your Case
Broken strings do not wait for a convenient afternoon. Keeping a spare set, a tuner, and a small cutter in your case is one of those boring responsible habits that becomes very cool the minute you need it.
Take a Picture Before You Remove the Old Strings
If you are a first-timer, photograph the bridge and the tuner posts before removing anything. Future-you will appreciate the evidence.
Experiences and Real-World Lessons From Restringing a Ukulele
One of the funniest things about learning to put strings on a ukulele is that the task looks tiny. It is a small instrument. It has four strings. It seems like it should take about six cheerful seconds. Then the first restring begins, and suddenly you are squinting at a knot the size of an ant while asking the universe why the G string has chosen rebellion.
That first experience is incredibly common. Beginners often expect the hardest part to be tuning, but it is usually the bridge end that causes the most confusion. Tie-block bridges can feel awkward until your fingers understand the path of the loop. Slotted bridges feel easier, but they still require a clean stopper knot. Through-body designs may seem mysterious for about five minutes, and then they click. After that, the whole process becomes much less intimidating.
Another common experience is realizing that fresh strings change the personality of the instrument. A ukulele with old strings can sound tired, muted, or a little lifeless. Put on a new set and suddenly the same uke sounds brighter, louder, and more responsive. Many players honestly think they improved overnight. Sometimes they did. Sometimes the strings simply stopped sounding like cooked spaghetti.
Players also learn very quickly that neat winding matters. The first time around, many people leave too much slack, pile up wraps, or let the coils overlap. The ukulele may still work, but tuning becomes fussier. By the second or third restring, most people instinctively leave less slack, guide the windings better, and produce a much cleaner result. It is a satisfying skill jump because you can see it immediately.
Then there is the legendary break-in period. Nearly every beginner has the same thought: “I tuned this thing ten minutes ago. Why is it flat again?” Because new strings stretch. A lot. This phase can test your patience, but it passes. Once players understand that the frequent retuning is normal, they stop panicking and start treating it as part of the process.
There is also a confidence boost that comes from doing your own setup basics. Restringing teaches you how your ukulele is put together. You notice the nut, the saddle, the tuner posts, the bridge style, and the scale of the instrument more closely than before. That awareness tends to spill into better tuning habits, gentler maintenance, and smarter string choices later on.
In other words, putting strings on a ukulele is more than a maintenance job. It is one of the first moments many players stop feeling like someone who merely owns a uke and start feeling like someone who actually plays one. And that is a pretty nice return for an hour spent with nylon, patience, and a clip-on tuner.
Final Thoughts
If you have been nervous about restringing your ukulele, take a deep breath. The job is simple once you break it into steps: choose the right set, remove the old strings, clean the uke, secure the bridge end, thread the tuner, wind neatly, repeat, then stretch and tune until everything settles in.
The first restring may feel slow. The second will feel easier. By the third, you will probably be giving advice like a tiny four-string wizard. Fresh strings can make a ukulele feel brand new, and knowing how to install them yourself saves time, builds confidence, and keeps you playing instead of postponing.