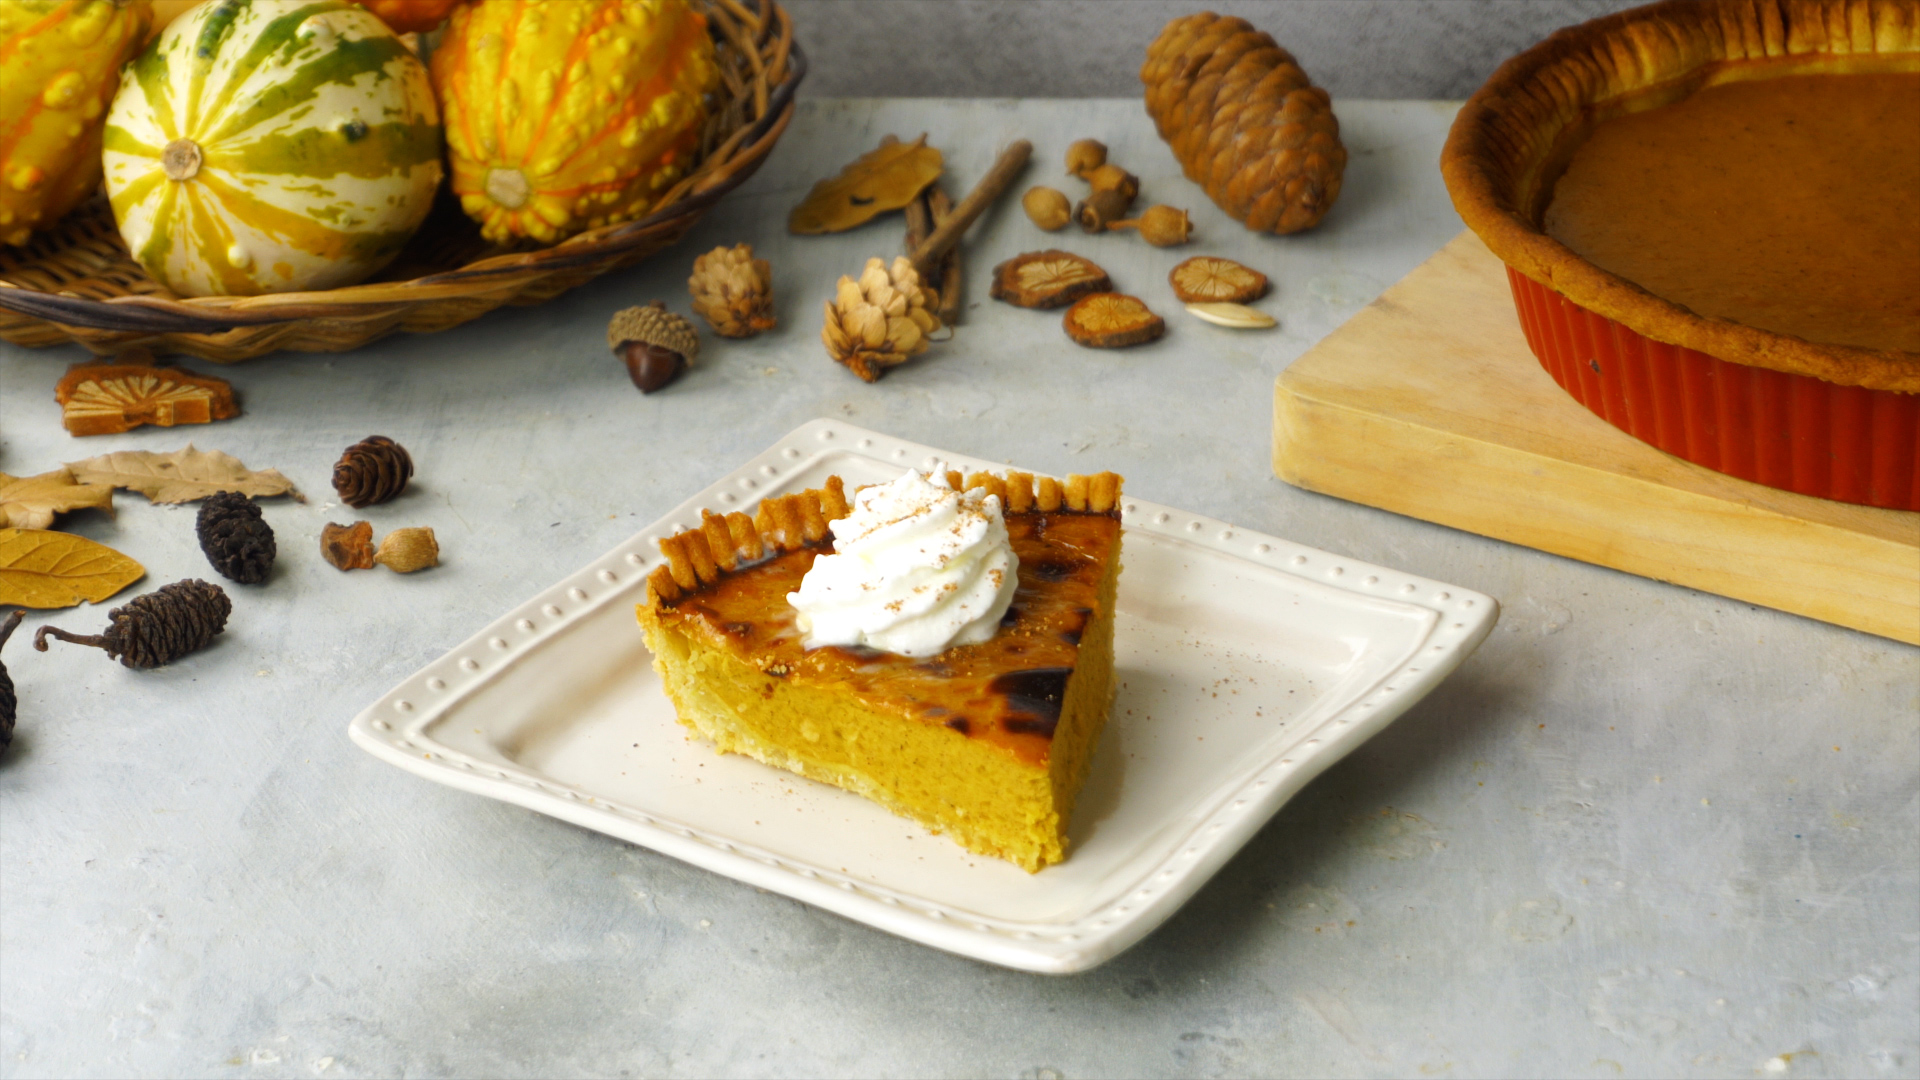
There are pumpkin pies, and then there is pumpkin pie made straight from an actual pumpkinthe kind that makes your kitchen smell like a cozy fall postcard and gives you full bragging rights at the dessert table. Yes, canned pumpkin is convenient. It has saved many a Thanksgiving. But making pumpkin pie from fresh pumpkin delivers a flavor that is earthy, naturally sweet, creamy, and just a little more personal. It says, “I came prepared,” even if there is flour on your shirt and one pumpkin seed stuck to the counter like it pays rent.
This guide walks you through how to make pumpkin pie straight from the pumpkin in 12 steps, from choosing the right pumpkin to baking a silky, warmly spiced pie with a flaky crust. You will learn how to roast a pumpkin, make homemade pumpkin purée, reduce extra moisture, prepare the filling, bake the pie until just set, and store it safely. Whether you are baking for Thanksgiving, a fall dinner party, or a Tuesday that clearly needed pie, this method keeps the process simple, practical, and delicious.
Why Make Pumpkin Pie from Fresh Pumpkin?
Fresh pumpkin pie has a softer, more nuanced flavor than many canned versions. It can taste lightly sweet, nutty, and almost buttery depending on the pumpkin you use. The texture may also be more delicate, especially when the purée is blended well and excess water is removed before baking.
The main difference is control. You choose the pumpkin, control the moisture, adjust the spices, and decide exactly how sweet and creamy the filling should be. The process takes more time than opening a can, but it is not difficult. Most of the work is hands-off roasting, which means your oven does the heavy lifting while you pretend you are starring in a charming autumn cooking show.
Ingredients You Will Need
For one 9-inch pumpkin pie, gather the following:
For the Fresh Pumpkin Purée
- 1 small sugar pumpkin or pie pumpkin, about 2 to 4 pounds
- 1 tablespoon neutral oil, optional
- A pinch of salt, optional
For the Pie Filling
- 1 3/4 to 2 cups fresh pumpkin purée
- 3/4 cup packed brown sugar
- 2 large eggs
- 1 cup evaporated milk, half-and-half, or heavy cream
- 1 teaspoon ground cinnamon
- 1/2 teaspoon ground ginger
- 1/4 teaspoon ground nutmeg
- 1/8 teaspoon ground cloves
- 1/2 teaspoon fine salt
- 1 teaspoon vanilla extract, optional
For the Crust
- 1 unbaked 9-inch pie crust, homemade or store-bought
- 1 egg beaten with 1 teaspoon milk, optional for brushing the crust
Best Pumpkin to Use for Fresh Pumpkin Pie
For the best homemade pumpkin pie, choose a sugar pumpkin, also called a pie pumpkin. These pumpkins are smaller, denser, sweeter, and less watery than large carving pumpkins. Carving pumpkins are excellent for jack-o’-lantern faces, but they tend to produce stringy, bland purée. In pie terms, that is like inviting the scarecrow to handle dessert: festive, but not ideal.
Look for a pumpkin that feels heavy for its size, has firm skin, and shows no soft spots, mold, or deep cracks. A 2- to 4-pound pumpkin usually gives enough purée for one pie, often with a little extra for pancakes, muffins, oatmeal, or a very proud spoonful straight from the fridge.
How to Make Pumpkin Pie Straight from the Pumpkin: 12 Steps
Step 1: Wash and Dry the Pumpkin
Rinse the pumpkin under cool running water and scrub the outside gently to remove dirt. Dry it with a clean towel. Even though you will not eat the skin, washing matters because your knife passes through the outside and into the flesh.
Step 2: Cut the Pumpkin in Half
Place the pumpkin on a stable cutting board. Use a sharp chef’s knife to cut it in half from top to bottom. If the stem is stubborn, cut beside it rather than through it. Keep your fingers clear and work slowly. Pumpkins are round, dramatic, and not known for their cooperation.
Step 3: Scoop Out the Seeds and Strings
Use a sturdy spoon or ice cream scoop to remove the seeds and stringy pulp. Save the seeds if you want to roast them later with salt, cinnamon sugar, or smoky spices. Scrape the inside until the pumpkin flesh looks clean and smooth.
Step 4: Roast the Pumpkin
Heat the oven to 375°F. Place the pumpkin halves cut-side down on a parchment-lined baking sheet. Roast for 35 to 50 minutes, depending on size, until the flesh is tender and easily pierced with a fork. Roasting cut-side down traps steam and helps the pumpkin soften evenly.
Step 5: Cool, Scoop, and Discard the Skin
Let the roasted pumpkin cool until it is safe to handle. Scoop the soft flesh into a bowl and discard the skin. If you roasted the pumpkin long enough, the flesh should pull away easily. If it fights back, it may need a few more minutes in the oven next time.
Step 6: Blend the Pumpkin into Purée
Transfer the pumpkin flesh to a food processor or blender and blend until smooth. You can also mash it by hand, but blending gives the pie a silkier texture. If the purée seems very thick, add a tablespoon of water. If it seems watery, do not panic; the next step is where fresh pumpkin becomes pie-ready.
Step 7: Remove Excess Moisture
Fresh pumpkin purée is often wetter than canned pumpkin. To thicken it, cook the purée in a saucepan over medium-low heat for 8 to 12 minutes, stirring often, until some moisture evaporates and the purée looks denser. Another option is to drain it through a fine-mesh strainer lined with cheesecloth for 30 to 60 minutes. This step improves flavor and helps prevent a loose, watery pie filling.
Step 8: Prepare the Pie Crust
Fit the pie dough into a 9-inch pie plate, trim the edges, and crimp as desired. Chill the crust for at least 15 minutes before filling. For an extra-crisp bottom, blind bake the crust for 10 to 12 minutes at 375°F with pie weights, then let it cool slightly before adding the filling. This is optional, but helpful if your fresh purée is on the softer side.
Step 9: Mix the Pumpkin Filling
In a large bowl, whisk together the brown sugar, cinnamon, ginger, nutmeg, cloves, and salt. Add the pumpkin purée and mix until combined. Whisk in the eggs, then add the evaporated milk or cream and vanilla. For the smoothest filling, blend the mixture briefly in a blender or food processor. If you want a bakery-style texture, strain the filling through a fine-mesh sieve before pouring it into the crust.
Step 10: Fill the Crust
Place the pie plate on a baking sheet to catch any spills. Pour the pumpkin filling into the crust, smoothing the top gently with a spatula. Brush the crust edges with the egg wash if you want a glossy golden finish. If the crust edges brown too quickly, cover them with foil or a pie shield.
Step 11: Bake Until Just Set
Bake the pie at 375°F for 45 to 60 minutes, or until the edges are set and the center still has a gentle wobble. The filling should not slosh, but it should not be rock-solid either. Pumpkin pie continues to firm up as it cools. Overbaking can cause cracks, so remove it when the center jiggles slightly like set custard.
Step 12: Cool, Chill, and Serve
Cool the pie on a wire rack for about 2 hours, then refrigerate it. Because pumpkin pie contains eggs and dairy, it should not sit out for long after cooling. Serve chilled or slightly cool with whipped cream, cinnamon, toasted pecans, or a drizzle of maple syrup. Congratulations: you have turned a pumpkin into dessert, which is basically kitchen alchemy.
Tips for a Smooth, Flavorful Fresh Pumpkin Pie
Cook the Purée with the Spices
For deeper flavor, warm the pumpkin purée with the sugar and spices in a saucepan for a few minutes before adding eggs and dairy. This helps bloom the spices, concentrates the pumpkin, and gives the filling a richer taste. Let the mixture cool slightly before whisking in the eggs so you do not accidentally scramble them. Pumpkin scrambled eggs are not the holiday tradition we are chasing.
Use Brown Sugar for Warmth
Brown sugar adds molasses notes that pair beautifully with fresh pumpkin. You can use light brown sugar for a gentle caramel flavor or dark brown sugar for a deeper, more robust pie. Maple syrup can replace part of the sugar, but do not add too much liquid unless you reduce the dairy slightly.
Balance the Spice
Cinnamon is the familiar star, but ginger keeps the pie lively, nutmeg adds warmth, and cloves bring depth. Use cloves carefully because a little goes a long way. Too much and your pie starts tasting like it wandered into a candle shop.
Blend and Strain for a Silky Texture
Fresh pumpkin can be slightly fibrous. Blending the filling and straining it before baking creates a smoother custard. This extra step is not required, but it makes a noticeable difference if you want a refined, slice-clean pie.
Common Mistakes to Avoid
Using a Large Carving Pumpkin
Carving pumpkins are usually watery and mild. They can work in a pinch, but sugar pumpkins are much better for pie. If you want flavor, choose the little pumpkin that looks humble and dense, not the giant one designed to become a porch decoration.
Skipping the Moisture Step
Fresh pumpkin purée can carry a lot of water. If you skip draining or cooking it down, your pie may bake unevenly or turn out soft in the center. Thick purée is your friend.
Overbaking the Pie
A cracked pumpkin pie is still edible and often delicious, so do not panic. But if you want a smooth top, remove the pie while the center still has a slight wobble. The custard will finish setting as it cools.
Slicing Too Soon
Warm pumpkin pie smells irresistible, but slicing too early can lead to a messy filling. Let it cool fully, then chill it for the cleanest slices. Your patience will be rewarded with neat wedges instead of pumpkin pudding in a crust canoe.
How to Store Fresh Pumpkin Pie
Homemade pumpkin pie should be refrigerated after it cools. Cover it loosely with plastic wrap or foil and store it in the refrigerator for 3 to 4 days. For best texture, allow the pie to cool completely before covering so condensation does not drip onto the filling.
You can also freeze pumpkin pie. Cool it fully, wrap it tightly, and freeze for up to one month for best quality. Thaw it overnight in the refrigerator before serving. Fresh pumpkin purée can also be frozen in measured portions, which is useful if your pumpkin gives more than you need. Label the container with the amount and date so future-you does not have to solve a frozen orange mystery.
Serving Ideas for Pumpkin Pie from Scratch
Classic whipped cream is always welcome, but fresh pumpkin pie also pairs beautifully with maple whipped cream, cinnamon whipped cream, candied pecans, toasted walnuts, vanilla ice cream, or a sprinkle of flaky salt. For a holiday table, garnish the pie with small pastry leaves made from leftover crust dough. They look fancy, but they are secretly just scraps with ambition.
If you are serving the pie after a rich meal, keep the slices modest. Fresh pumpkin pie has a lovely custard texture that feels satisfying without being overly heavy. Add coffee, hot tea, or warm apple cider, and you have a dessert that tastes like fall decided to put on a sweater.
Extra Experience Notes: What You Learn When Making Pumpkin Pie from a Real Pumpkin
Making pumpkin pie straight from the pumpkin teaches you something that canned pumpkin never does: pumpkins have personalities. Some are sweet and dense, some are watery, and some act like they have never heard of dessert. That is why the process matters more than a rigid recipe. Once you understand how to roast, drain, taste, and adjust, you can make a better pie every time.
The first useful experience is learning to trust texture. A good fresh pumpkin purée should be thick enough to mound softly on a spoon. If it spreads like soup, it needs draining or cooking down. If it is so thick that your blender complains, add a tiny splash of milk or cream when making the filling. This simple judgment improves not only pumpkin pie but also pumpkin bread, muffins, soups, and pancakes.
The second lesson is that roasting creates better flavor than boiling. Boiling can make pumpkin watery, while roasting concentrates its natural sweetness. When the cut edges caramelize slightly and the flesh becomes fork-tender, the pumpkin tastes warmer and deeper. That roasted flavor is subtle, but in a custard pie, subtle things matter. It is the difference between “nice pie” and “wait, did you make this from scratch?”
The third experience is realizing that spice should support the pumpkin, not tackle it. Fresh pumpkin has a gentler flavor than some canned purées, so heavy spice can overwhelm it. Start with a balanced amount, then adjust next time based on your taste. If you love a bold holiday pie, increase the ginger slightly. If you prefer a softer, bakery-style flavor, emphasize cinnamon and vanilla. If you are unsure about cloves, use less. Cloves are tiny but powerful, like the drama queen of the spice drawer.
The fourth lesson is that cooling is part of baking. Pumpkin pie is a custard, and custards need time to set. Pulling the pie from the oven when the center still trembles slightly may feel wrong at first, but it is usually the right move. As the pie cools, the filling firms into a smooth sliceable texture. Cut too soon and the pie will taste good but look like it gave up halfway through the assignment.
The fifth experience is that homemade does not have to mean perfect. Your crust may shrink a little. The top may crack. The color may be lighter or darker than the supermarket pie you grew up seeing. None of that means failure. Fresh pumpkin pie is supposed to look handmade. A swirl of whipped cream can cover a crack, and even if it does not, everyone will still understand the important part: you turned an actual pumpkin into pie.
Finally, making pumpkin pie from scratch is a surprisingly satisfying kitchen ritual. It slows you down in the best way. You cut, roast, scoop, blend, spice, bake, cool, and serve. Each step adds something. By the time the pie reaches the table, it feels less like a recipe and more like a small seasonal achievement. And when someone asks, “Is this made from a real pumpkin?” you get to answer yes with the calm confidence of a person who has conquered autumn.
Conclusion
Learning how to make pumpkin pie straight from the pumpkin is easier than it sounds and far more rewarding than simply opening a can. The secret is choosing a sugar pumpkin, roasting it until tender, blending it smooth, removing excess moisture, and baking the custard until just set. With warm spices, a flaky crust, and a little patience, you can create a homemade pumpkin pie that tastes fresh, cozy, and worthy of any fall gathering.
This 12-step method gives you a dependable foundation, but it also leaves room for personality. Add maple, adjust the spices, blind bake the crust, strain the filling, or decorate the top with pastry leaves. However you finish it, the result is a pie with real pumpkin flavor and a story behind every slice.