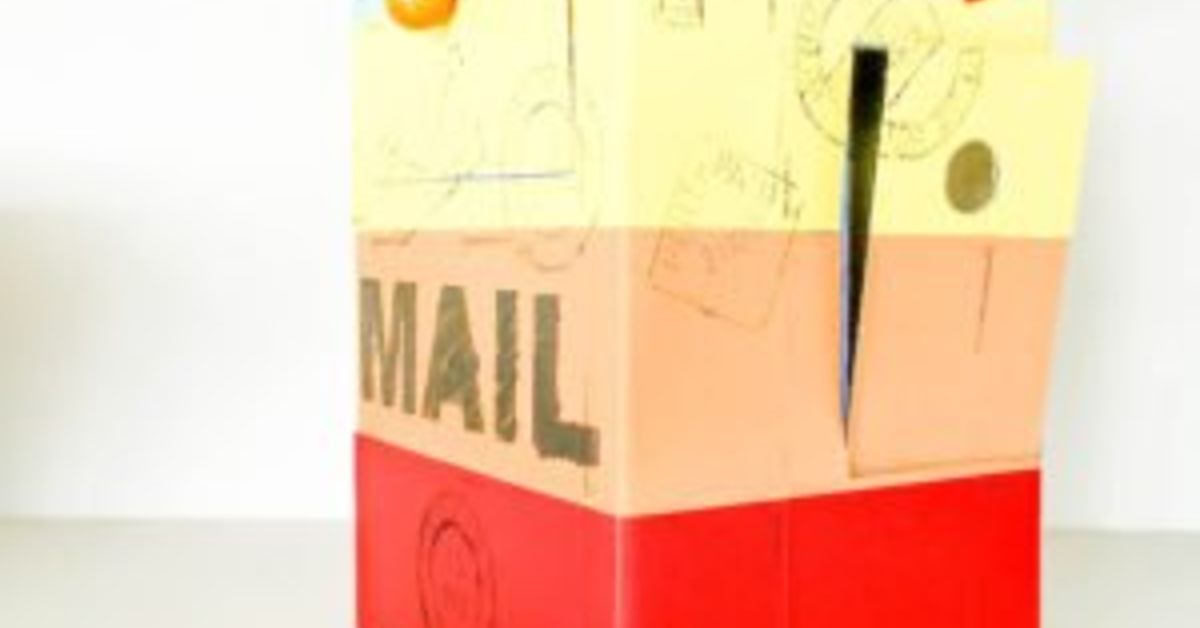
A DIY rainbow recycled mailbox is the kind of project that makes your front yard look happier before the mail carrier even opens the little door. It is colorful, budget-friendly, eco-conscious, and just slightly dramatic in the best possible way. After all, why should your mailbox spend its life looking like a tiny metal refrigerator when it could be a cheerful curbside landmark?
This project combines three things homeowners love: curb appeal, recycling, and the satisfying feeling of saying, “I made that,” while pointing at something that used to look like it had survived several weather events and one emotional raccoon. By reusing an old mailbox, leftover paint, scrap wood, bottle caps, metal pieces, or other clean recycled materials, you can create a rainbow mailbox that feels personal without spending a small fortune at a home improvement store.
Before we grab the paintbrush and start turning the curb into a mini art festival, there is one important rule: your mailbox still needs to function like a mailbox. It should be sturdy, safe, easy for the mail carrier to access, and clearly marked with your house number. The rainbow can be bold, but the mail delivery should remain boringly reliable. That is the dream.
Why Make a DIY Rainbow Recycled Mailbox?
A mailbox is often one of the first things people notice about a home. It sits right at the edge of your property like a tiny ambassador, quietly announcing whether your house is “fresh and cared for” or “we stopped noticing this in 2014.” A rainbow recycled mailbox gives that little ambassador a promotion.
The rainbow design works because it is instantly visible, cheerful, and flexible. You can paint clean rainbow stripes, create a mosaic-style pattern, use pastel colors, go bold with primary shades, or design a faded sunset rainbow that looks artsy without requiring an art degree. Even a simple mailbox can look custom when the colors are planned well.
The recycled part matters too. Reusing materials keeps useful items out of the waste stream and reduces the need to buy everything new. An old mailbox with a dent, a chipped wooden post, leftover exterior paint, scrap trim, or saved hardware can become part of the design. The project is not about making trash look expensive. It is about giving good materials a second act, preferably one with better lighting.
Check Mailbox Rules Before You Start
Creativity is encouraged, but mailbox placement is not a free-for-all. For a curbside mailbox, the general USPS placement guidance is that the mailbox should be positioned so the mail entry point or bottom of the box is about 41 to 45 inches from the road surface, and the mailbox door should sit about 6 to 8 inches back from the curb or road edge. If your street does not have a raised curb, it is smart to check with your local post office before moving or rebuilding anything.
Your house number should also be easy to read. Decorative lettering is fine, but this is not the moment for pale yellow numbers on a white background in a font named “Whispering Fairy Dust.” Choose high contrast, keep the numbers at least one inch tall, and make sure they are visible from the carrier’s approach. Pretty is good. Legible is better. Pretty and legible is where the magic lives.
Best Recycled Materials for a Rainbow Mailbox
The best recycled materials are clean, durable, weather-resistant, and safe to attach. A mailbox lives outdoors, so it has to deal with sun, rain, wind, dust, road spray, insects, and the occasional neighborhood mystery. Choose materials that can handle moisture and temperature changes.
Old Mailbox Shell
The easiest base is the mailbox you already have. If the box opens and closes properly, is not dangerously rusted through, and can be cleaned and painted, it is a strong candidate for a makeover. Metal mailboxes are especially common and can take paint well when properly cleaned, sanded, primed, and sealed.
Scrap Wood
Scrap wood can be used for a decorative post wrap, a small backing board, address number panel, or side trim. Sand it smooth, prime it, and use exterior-grade paint or sealer. Avoid splintery wood or pieces that are warped beyond reason. The mailbox should look recycled, not haunted.
Bottle Caps and Small Metal Pieces
Clean bottle caps, washers, old keys, and small metal odds and ends can become rainbow mosaic accents. Use them sparingly so the mailbox does not become too heavy or sharp. Attach pieces securely with outdoor-rated adhesive or screws when appropriate.
Leftover Exterior Paint
Leftover exterior paint is perfect for this project if it is still usable. Stir it well and test it first. If it smells strange, has separated badly, or has dried into a mysterious rubber pancake, let it go. Your mailbox deserves better.
Plastic Containers or Lids
Clean plastic lids can be cut into simple shapes for decorative accents, but plastic can be tricky outdoors. It expands, contracts, fades, and sometimes refuses paint like a cat refusing a bath. Use paint or primer made for plastic and keep pieces small, smooth, and securely attached.
Tools and Supplies You May Need
You do not need a professional workshop to make a DIY rainbow recycled mailbox. A basic project can be completed with common supplies:
- Old mailbox or salvaged mailbox body
- Mild soap, water, sponge, and clean rags
- Sandpaper or sanding block
- Rust remover or wire brush for metal surfaces if needed
- Exterior primer suitable for metal, plastic, or wood
- Outdoor paint or spray paint in rainbow colors
- Painter’s tape for clean stripes
- Clear outdoor sealant or topcoat
- House numbers or stencil materials
- Gloves, eye protection, and a mask for sanding or spray painting
If cutting, drilling, or installing a new post is part of the project, use proper safety gear and get help from an experienced adult. A mailbox makeover should end with compliments, not a dramatic family group text.
Step-by-Step: How to Make a DIY Rainbow Recycled Mailbox
Step 1: Inspect the Mailbox
Start by checking the condition of the mailbox. Open and close the door several times. Look for rust, sharp edges, loose screws, missing flags, broken hinges, and weak mounting points. A little surface rust is manageable. A mailbox that feels like it might collapse when you sneeze near it should be replaced or repaired before decorating.
Step 2: Remove Dirt, Grime, and Old Stickers
Wash the mailbox with mild soap and water. Road dust, pollen, bird activity, and old adhesive can prevent paint from sticking. Remove peeling decals and leftover tape. Rinse well and let the surface dry completely. Paint and moisture are not best friends.
Step 3: Sand the Surface
Lightly sand glossy paint so primer can grip the surface. For metal, remove loose rust and flaking paint with sandpaper or a wire brush. For wood, sand rough spots and edges. For plastic, use gentle sanding so the surface becomes slightly dull rather than scratched into oblivion.
Step 4: Prime for Durability
Primer is the unsung hero of outdoor DIY projects. It helps paint adhere and improves durability. Use a rust-inhibiting primer for metal, a bonding primer for plastic, and exterior wood primer for wood parts. Let it dry according to the product directions. Rushing primer is like skipping breakfast before a marathon. Technically possible, usually regrettable.
Step 5: Plan the Rainbow Design
Sketch your design before painting. You can create horizontal stripes across the mailbox, vertical bands, a diagonal rainbow, a rainbow arch, or a patchwork pattern made from recycled accents. Classic rainbow colors include red, orange, yellow, green, blue, indigo, and violet, but you can adapt the palette to match your home.
For a modern look, try muted colors such as clay red, marigold, sage, sky blue, navy, and plum. For a playful look, use bright glossy colors. For a farmhouse-style mailbox, paint the box white or black and add a rainbow panel only on the side. This keeps the design cheerful without making the whole curb look like a parade float parked permanently by the road.
Step 6: Tape and Paint in Thin Coats
Use painter’s tape to mark clean lines. Apply thin coats instead of one heavy coat. Thick paint tends to drip, bubble, and create the exact texture of regret. If using spray paint, work outdoors or in a very well-ventilated area, protect nearby surfaces, and spray in light passes. Let each color dry before taping over it.
Step 7: Add Recycled Details
Once the painted base is dry, add recycled details. Bottle caps can become dots along the bottom edge. Scrap wood can become a painted address panel. Small metal washers can form a shiny border. Plastic lids can be cut into simple raindrops or sun shapes. Keep decorations smooth and firmly attached so they do not interfere with the mailbox door, flag, or carrier access.
Step 8: Seal the Design
Outdoor projects need protection. A clear exterior topcoat can help guard against fading, chipping, and moisture. Choose a product compatible with your paint and surface. Let everything cure fully before heavy handling. Paint may feel dry to the touch before it is fully hardened, and impatience is how fingerprints become permanent design elements.
Step 9: Reinstall and Check Visibility
After the mailbox is dry, reinstall it securely. Confirm the door opens smoothly, the flag works, the address is clear, and the placement follows local delivery expectations. Step back from the street and view it as a driver or mail carrier would. If the number disappears into the rainbow, repaint it in a contrasting color.
Rainbow Design Ideas That Actually Work
The Classic Stripe Mailbox
This is the easiest version. Paint the mailbox in seven clean rainbow bands from front to back. It is bold, simple, and instantly recognizable. Use white numbers on a dark side panel or black numbers on a light panel for readability.
The Recycled Mosaic Mailbox
Paint the mailbox a solid base color, then attach recycled pieces in rainbow order. Bottle caps, old buttons, smooth plastic circles, and small painted wood shapes can create a textured mosaic. Keep the top smooth enough to shed water.
The Rainbow Garden Mailbox
Pair the rainbow mailbox with a small mailbox garden. Use mulch, stones, drought-tolerant plants, or native flowers around the post. Keep plants low enough that they do not block the mailbox door or create a jungle adventure for the mail carrier.
The Minimalist Rainbow Edge
If your home has a clean modern exterior, paint the mailbox matte black, charcoal, white, or navy, then add a slim rainbow stripe along the side or door. This gives you color without turning the front yard into a cereal box.
The Kids’ Art Mailbox
Let children help paint small recycled wood pieces in rainbow colors, then attach them as a border or address plaque. This makes the project personal and fun while keeping the main mailbox design neat. It is also a safer way to involve young helpers without handing them the spray paint can and hoping for the best.
Common Mistakes to Avoid
The biggest mistake is skipping surface prep. Paint does not like dirt, grease, loose rust, or glossy surfaces. If you paint directly over grime, the mailbox may look good for about three days, then begin peeling like it has trust issues.
Another mistake is using indoor craft paint without sealing it. Indoor paint may fade or wash away outdoors. Choose exterior-grade products whenever possible. If using small amounts of craft paint for details, protect them with a compatible outdoor clear coat.
Do not overload the mailbox with heavy recycled materials. A few decorative pieces are charming. A mailbox covered in half a junk drawer may become difficult to open, unsafe, or too heavy for the post.
Also avoid hiding the address numbers. The mail carrier, delivery drivers, emergency responders, and guests need to find your home quickly. Rainbow designs should frame the address, not camouflage it.
Eco-Friendly Tips for a Better Project
A recycled mailbox project is already a step toward reuse, but you can make it even greener. Use leftover materials before buying new ones. Borrow tools instead of purchasing items you will use once. Choose low-waste supplies, use drop cloths you already own, and dispose of old paint and aerosol cans according to local rules.
Try to design for repair. If a bottle cap falls off, can you replace it? If the address panel fades, can you repaint just that piece? A smart DIY design should be beautiful on day one and maintainable in year two.
Maintenance: Keeping the Rainbow Bright
Check your mailbox every season. Wipe away dirt, touch up chips, tighten screws, and look for rust or loose decorations. If your area gets heavy snow, road salt, strong sun, or frequent rain, your mailbox may need more frequent touch-ups.
A quick cleaning with mild soap and water can make colors look fresh again. Avoid harsh scraping unless you are preparing to repaint. If the clear coat begins to dull or peel, lightly sand the affected area and reapply a compatible protective finish.
Experience Notes: What I Learned From Making a DIY Rainbow Recycled Mailbox
The first thing you learn from making a DIY rainbow recycled mailbox is that the mailbox is smaller than it looks until you start taping seven colors onto it. Suddenly, every stripe feels like real estate in a crowded city. Planning matters. A quick pencil sketch or paper mockup can save you from ending up with a giant red stripe, a skinny green stripe, and a violet section that looks like it was invited at the last minute.
The second lesson is that cleaning takes longer than painting, and that is completely normal. Outdoor mailboxes collect an impressive amount of grime. Dust, rain marks, old adhesive, spiderwebs, and tiny mystery spots all show up once you are close enough to work on the surface. It is tempting to say, “Paint will cover that.” Paint will not cover that. Paint will highlight that, frame it, and invite guests to admire it.
I also learned that recycled decorations need editing. When you gather bottle caps, scrap wood, old hardware, and colorful plastic pieces, everything starts to look useful. This is how a simple mailbox makeover tries to become a roadside sculpture titled “Things I Could Not Throw Away.” The best results usually come from choosing one or two recycled accents and repeating them with intention. A neat line of painted bottle caps looks charming. Random objects glued everywhere can look like the mailbox lost a fight with a craft drawer.
Color order is another surprisingly emotional decision. Traditional rainbow order always works, but not every home needs fire-engine red shouting from the curb. Softer rainbow tones can blend better with brick, stone, siding, or landscaping. A muted rainbow can feel stylish while still being cheerful. Bright rainbow colors are wonderful for cottages, playful gardens, family homes, and anyone who believes beige has had enough time in charge.
The most practical experience tip is to test your house numbers before calling the project finished. Stand across the street and check whether the numbers are readable. Then check again from the direction the mail carrier approaches. A rainbow background can make numbers disappear if the contrast is weak. Black numbers on a white panel or white numbers on a dark panel usually solve the problem.
Drying time is where patience earns its paycheck. Thin coats look better than thick coats, but they require waiting. If you tape too soon, the paint may lift. If you seal too soon, the finish may stay soft. If you reinstall too soon, you may leave fingerprints and then pretend they are “texture.” Let the paint cure properly. Future you will be grateful, and current you can use the waiting time to clean up the garage, or at least move things into more artistic piles.
Finally, the best part of the project is how personal it feels. A DIY rainbow recycled mailbox is not just decoration. It tells visitors that someone in the house cares enough to make ordinary things joyful. It gives neighbors something to smile at. It gives the mail carrier a landmark. And every time you check the mail, even if the only thing inside is a coupon and a bill, the box itself feels like good news.
Conclusion
A DIY rainbow recycled mailbox is a small project with a surprisingly big impact. It improves curb appeal, gives old materials new life, and lets you add personality to a part of the home that is usually ignored. With proper cleaning, sanding, priming, painting, sealing, and placement, your mailbox can be both beautiful and functional.
The secret is balance. Make it colorful, but keep the address readable. Use recycled materials, but keep the structure safe. Add personality, but do not block the door, flag, or carrier access. When done well, this project proves that sustainability does not have to look dull and curb appeal does not have to cost a fortune.
Note: This article was developed from current mailbox placement guidance, recycling and reuse best practices, outdoor painting preparation standards, and practical curb appeal recommendations from reputable U.S. home improvement and environmental resources.