Wood is beautiful, warm, timeless, and occasionally a drama queen. One forgotten glass of iced tea, one enthusiastic pet accident, or one hot pizza box placed directly on the table, and suddenly your gorgeous wood surface looks like it has been personally offended. The good news? Many wood stains are fixable with patience, the right method, and a little detective work.
This guide explains how to get stains out of wood in 12 practical steps, whether you are dealing with white water rings, dark water stains, heat marks, oil spots, ink, food spills, or mystery blotches that appeared sometime between dinner and “Who did this?” You will learn how to identify the stain, clean safely, choose the least aggressive solution first, and know when sanding or refinishing is the smarter move.
Before you begin, remember one golden rule: wood stain removal is not a wrestling match. Scrubbing harder rarely helps. The goal is to lift, absorb, dissolve, or lighten the stain without damaging the finish or turning a tiny spot into a full-blown weekend refinishing project.
Before You Start: What Kind of Wood Stain Are You Fighting?
Not all wood stains are the same. A white ring usually means moisture is trapped in the finish, not deep in the wood fibers. These are often easier to remove. Dark brown or black stains usually mean water, iron, urine, or organic matter has penetrated deeper into the wood. Those stains may require hydrogen peroxide, oxalic acid wood bleach, sanding, or refinishing.
Also consider the surface. Finished furniture, hardwood floors, butcher block, unfinished wood, and antique pieces all react differently. A method that works beautifully on a sealed coffee table may be too harsh for raw pine or a delicate vintage dresser. When in doubt, test first in a hidden area. The underside of a table leaf is a great secret testing laboratory, minus the tiny scientists.
How to Get Stains out of Wood: 12 Steps
Step 1: Identify the Stain Type
Start by looking closely at the stain. Is it white, cloudy, gray, black, oily, sticky, or colorful? White stains often come from water or heat trapped in the finish. Dark stains suggest deeper water damage, metal reactions, pet urine, or long-term spills. Greasy marks usually come from cooking oil, lotion, wax, or food. Ink stains have sharp edges and may appear blue, black, or purple.
This matters because each stain needs a different strategy. Using a strong cleaner on a simple white ring is like calling a bulldozer to move a throw pillow. Start gentle and work upward only if needed.
Step 2: Clean the Surface First
Before applying stain removers, clean the area with a soft cloth and a small amount of mild dish soap mixed with warm water. Wring the cloth well so it is damp, not dripping. Wipe with the grain, then dry immediately with a clean towel.
This step removes dust, waxy residue, food film, and surface grime that may make the stain look worse than it really is. Sometimes what appears to be a stain is just residue sitting on top of the finish. Wood loves to keep secrets, but a basic cleaning often makes it confess.
Step 3: Test Any Method in a Hidden Spot
Never apply vinegar, baking soda, toothpaste, peroxide, mineral spirits, or wood bleach to a visible area without testing first. Choose a hidden place, apply a small amount, wait, wipe it clean, and check for discoloration, dullness, or finish damage.
This is especially important for antique furniture, dark-stained wood, lacquered surfaces, shellac finishes, waxed furniture, and engineered hardwood floors. Some finishes react badly to water, heat, acids, or abrasives. A five-minute test can save you from explaining why Grandma’s sideboard now has a “modern distressed look.”
Step 4: Remove Fresh Water Stains with Heat
For fresh white water rings, gentle heat may help evaporate trapped moisture from the finish. Place a clean cotton cloth over the stain. Set an iron to low heat with steam turned off, then press lightly for a few seconds at a time. Lift the cloth often and check progress. You can also use a hair dryer on a warm setting, moving it continuously over the stain.
Do not overheat the wood. The goal is gentle warmth, not furniture barbecue. If the finish feels sticky, smells odd, or becomes cloudy, stop immediately. Heat works best on newer white rings and light heat marks, not deep black stains.
Step 5: Try Mayonnaise or Petroleum Jelly for White Rings
For light water rings, mayonnaise or petroleum jelly can sometimes help by displacing moisture and conditioning the finish. Apply a small amount to the stain with a soft cloth. Let it sit for several hours or overnight, then wipe clean and buff gently.
This method is best for white or cloudy marks on finished wood. It will not usually remove black stains because those have moved deeper into the wood fibers. Also, do not slather the surface like you are making a sandwich for a picnic. A thin layer is enough.
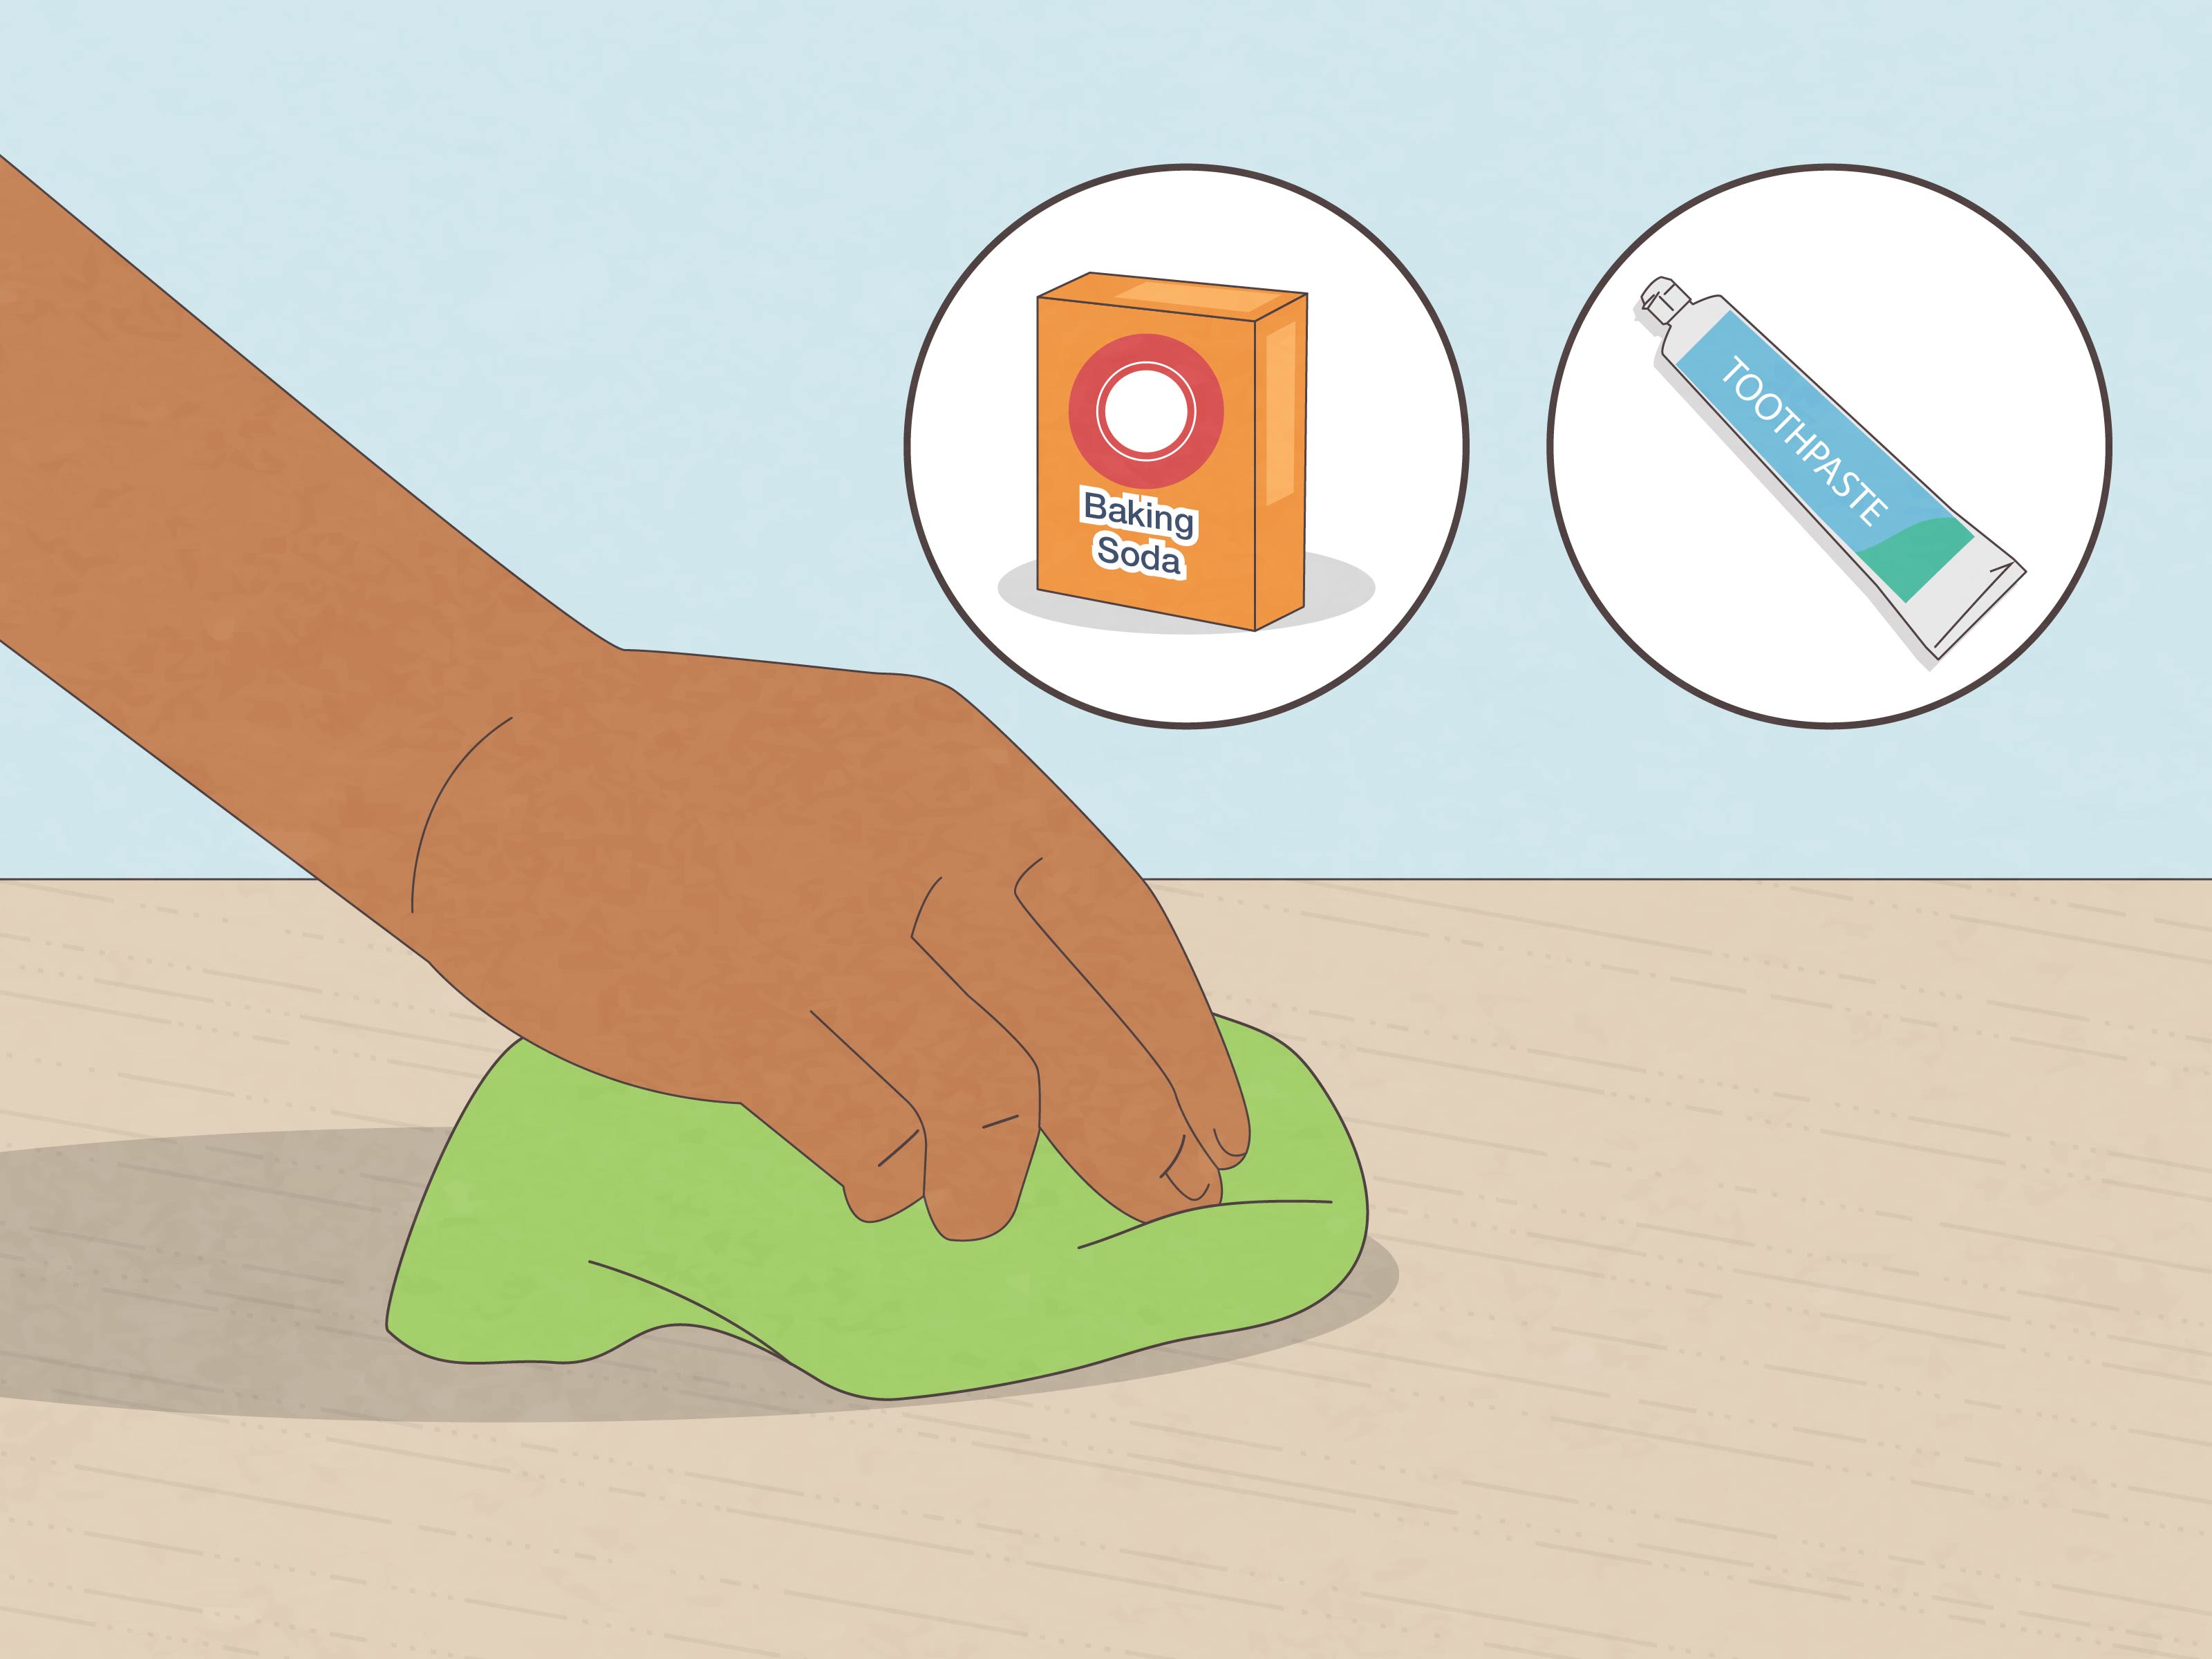
Step 6: Use Baking Soda Paste for Mild Surface Marks
Baking soda is a gentle abrasive that may help lift light surface stains. Mix baking soda with a few drops of water to form a paste. Rub gently with a soft cloth in the direction of the grain. Wipe clean with a damp cloth, then dry thoroughly.
This method can help with white rings, light scuffs, and some cloudy marks. Use a light touch. Baking soda can dull glossy finishes if you rub too aggressively. Think “polishing a pearl,” not “scrubbing a cast-iron pan after chili night.”
Step 7: Use Non-Gel Toothpaste for Stubborn White Spots
Plain white non-gel toothpaste can work similarly to baking soda because it contains mild polishing agents. Apply a pea-sized amount to a soft cloth and rub gently over the stain. Wipe away the residue and dry the wood.
Avoid colored toothpaste, whitening formulas with strong additives, and anything glittery unless your design goal is “bathroom sink meets dining table.” Toothpaste should be used carefully, especially on delicate finishes. If the stain fades but the finish looks dull, apply a suitable furniture polish or wax after the surface is fully clean and dry.
Step 8: Try Vinegar and Olive Oil for Light Water Marks
A mixture of equal parts white vinegar and olive oil may help with light water marks on some finished wood surfaces. The vinegar can help clean residue, while the oil can condition and blend the appearance of the finish. Dip a soft cloth lightly into the mixture, rub with the grain, then wipe with a clean dry cloth.
Do not soak the wood. Too much vinegar or too much moisture can damage certain finishes. This method is better for minor water rings and dull-looking spots than for deep discoloration. Also, do not combine vinegar with bleach or other cleaners. Household chemistry is not the place for improvisational jazz.
Step 9: Use Mineral Spirits for Wax, Grease, or Polish Buildup
If the stain looks greasy, cloudy, or waxy, mineral spirits may help remove old polish, wax buildup, or oily residue. Dampen a clean cloth with a small amount of mineral spirits and wipe gently with the grain. Keep the room well ventilated and follow the product label carefully.
Mineral spirits can affect certain finishes, so testing first is essential. It is commonly used in woodworking and refinishing, but that does not mean it belongs on every table. If the finish becomes tacky or color transfers to the cloth, stop.
Step 10: Treat Dark Organic Stains with Hydrogen Peroxide
Dark stains from water, pet accidents, food, or organic spills may respond to 3% hydrogen peroxide. Dampen a white cloth or cotton pad with hydrogen peroxide and place it over the stain. Let it sit for a limited period, checking often. Remove the cloth, wipe the area clean, and allow the wood to dry fully.
Hydrogen peroxide can lighten wood, so use it carefully. It may reduce dark stains, but it can also create a pale patch if overused. For hardwood floors, repeated light treatments are usually safer than one aggressive attempt. Keep pets and children away from the area while it is being treated, and never mix hydrogen peroxide with vinegar, bleach, or ammonia.
Step 11: Use Oxalic Acid Wood Bleach for Black Water or Iron Stains
For stubborn black stains caused by water penetration, tannin reactions, or metal contact, oxalic acid wood bleach may be effective. This is a stronger treatment and is usually best for unfinished wood, stripped furniture, or areas that will be refinished afterward.
Follow the manufacturer’s instructions exactly. Wear gloves and eye protection, work in a ventilated area, and keep the product away from children and pets. After treatment, the wood usually needs to be neutralized, dried, sanded lightly, and refinished to blend with the surrounding area.
Oxalic acid is not a casual “let’s see what happens” product. It can do excellent work, but it deserves respect. If the piece is expensive, antique, or emotionally irreplaceable, call a professional before experimenting.
Step 12: Sand and Refinish When the Stain Is Too Deep
If a stain has penetrated through the finish into the wood fibers, surface treatments may not remove it completely. In that case, sanding and refinishing may be the best solution. Start with fine-grit sandpaper and work carefully with the grain. Remove only as much material as necessary.
After sanding, clean away dust, apply matching stain if needed, and seal the surface with the appropriate finish. For hardwood floors, spot refinishing can be tricky because the repaired patch may not match the surrounding boards. A flooring professional can help blend the repair or decide whether a larger refinishing area is needed.
Common Wood Stains and the Best Fixes
White Water Rings
White rings are usually caused by moisture trapped in the finish. Try gentle heat, mayonnaise, petroleum jelly, baking soda paste, non-gel toothpaste, or a vinegar-and-oil treatment. Work slowly and buff after cleaning.
Dark Water Stains
Dark water stains are more serious because moisture has moved deeper into the wood. Try 3% hydrogen peroxide first. If that does not work, oxalic acid wood bleach or sanding may be needed.
Heat Marks
Heat marks often look cloudy or white. A low-heat iron over a cotton cloth or a warm hair dryer may help release trapped moisture. Avoid steam because steam adds moisture, which is exactly the villain in this story.
Oil and Grease Stains
Blot fresh oil immediately. Use mild dish soap and a damp cloth. For waxy or greasy buildup, mineral spirits may help, but test first. On unfinished wood, oil can sink deeply and may require sanding.
Ink Stains
Ink is stubborn. For finished wood, try gentle cleaning first. For deeper ink stains, rubbing alcohol may work, but it can damage finishes, so test carefully. If the ink has soaked into raw wood, sanding may be necessary.
Pet Stains
Pet stains can discolor wood and leave odor. Clean the surface, dry it thoroughly, and try hydrogen peroxide for dark organic staining. Severe pet stains on hardwood floors may require board replacement, especially if the odor has moved deep into the wood.
Safety Tips for Removing Stains from Wood
Use one cleaning method at a time. Never mix bleach with ammonia, vinegar, hydrogen peroxide, or other cleaners. Dangerous fumes can form when household chemicals are combined. Ventilate the room, wear gloves when using solvents or wood bleach, and read product labels before applying anything to furniture or floors.
Do not use excessive water on wood. Water is often the reason the stain exists in the first place, so flooding the surface is not the cure. Use damp cloths, not dripping ones, and dry the wood immediately after cleaning.
Avoid abrasive scrubbers, steel wool on delicate finishes, and harsh cleaners unless you are intentionally preparing to refinish the surface. For valuable antiques, hand-painted furniture, or heirloom pieces, professional restoration is safer than DIY bravery.
How to Prevent Wood Stains in the Future
The easiest stain to remove is the one that never happens. Use coasters, trivets, placemats, and felt pads under decor. Wipe spills immediately. Keep plants in waterproof saucers, not directly on wood. Avoid placing hot dishes, mugs, laptops, or pizza boxes on finished wood surfaces.
For hardwood floors, clean pet accidents quickly, use entry mats near doors, and avoid wet mopping. A slightly damp mop is enough for many sealed floors, followed by immediate drying. If your wood furniture looks dry or faded, use an appropriate polish, wax, or oil recommended for that finish.
When to Call a Professional
Call a professional if the stain is large, black, spreading, smelly, or located on expensive hardwood flooring. You should also get help if the wood is antique, veneered, lacquered, painted, or already peeling. Veneer is especially risky because sanding through the thin top layer can ruin the piece.
A professional refinisher can identify the finish, remove stains evenly, match color, and apply a protective topcoat. Sometimes paying for expert help costs less than buying three cleaners, two sandpaper packs, a new finish, and a large rug to hide the evidence.
Real-Life Experience: What Actually Works When Wood Gets Stained
After dealing with wood stains in real homes, one lesson becomes obvious: panic is useless, but a clean white cloth is priceless. The first reaction to a water ring is usually horror, especially when it appears on a dining table right before guests arrive. But white rings are often less dramatic than they look. In many cases, gentle heat or an oily treatment can reduce the mark enough that only the owner remembers where the disaster happened.
A common experience is the “overnight glass mistake.” Someone leaves a cold drink on a wooden nightstand, and by morning there is a pale circle staring upward like a tiny moon. For this type of stain, rushing straight to sanding is usually unnecessary. A hair dryer, a cloth-and-iron method, or a small amount of mayonnaise can often make a major improvement. The important part is patience. Check the surface often, use gentle pressure, and stop once the stain fades.
Dark stains are a different story. A black mark near a plant pot or under a pet bowl often means moisture has sat there for days, weeks, or longer. These stains are frustrating because they rarely disappear with cute pantry tricks. Hydrogen peroxide may lighten them, but the result can be gradual. Sometimes the wood improves after one treatment; other times it needs several careful attempts. And sometimes the stain wins, which is rude but honest.
Hardwood floors bring their own challenges. A small dark spot on a floorboard can look simple until you realize the finish, stain color, wood species, sunlight exposure, and age of the floor all affect the repair. Even if the stain disappears, the cleaned area may look lighter than the surrounding boards. That does not mean the method failed. It means wood ages like a living material, because it once was one. Matching it perfectly can require blending, staining, or refinishing a larger area.
Another real-world lesson: always test first. Many people skip this step because they are confident, busy, or emotionally betrayed by the stain. Testing prevents surprises. Vinegar can dull some finishes. Baking soda can leave a hazy patch if rubbed too hard. Peroxide can bleach the wood. Mineral spirits can remove wax or polish, which may be helpful or horrifying depending on the surface.
The best approach is to treat stain removal like a ladder. Start on the lowest rung: clean, dry, and observe. Then move to gentle heat or mild household methods. Only climb to peroxide, wood bleach, sanding, or refinishing when the stain truly needs it. This method protects the wood and keeps you from turning a small ring into a large repair.
Finally, prevention is not glamorous, but it works. Coasters, trays under plants, quick spill cleanup, and heat pads under dishes save more furniture than any miracle cleaner. Think of them as tiny bodyguards for your wood. They do not wear sunglasses or speak into earpieces, but they do keep your table from developing mysterious circles after taco night.
Conclusion
Learning how to get stains out of wood is mostly about choosing the right method for the right stain. White rings often respond to gentle heat, oils, baking soda, or toothpaste. Dark stains may need hydrogen peroxide, oxalic acid wood bleach, sanding, or professional refinishing. The smartest strategy is simple: identify the stain, test first, start gently, and protect the finish as much as possible.
Wood has character, but that does not mean every stain deserves a permanent place in your home’s biography. With patience and careful technique, many stains can be reduced or removed, leaving your furniture, floors, and countertops looking warm, clean, and loved again.