Laundry room plumbing is one of those topics that looks harmless until it suddenly becomes a foamy indoor waterfall. A washing machine dumps water fast, with all the subtlety of a marching band entering a library. That is exactly why the drain setup matters. If the standpipe is undersized, the trap is wrong, the vent is missing, or someone got “creative” with duct tape and optimism, you can end up with slow drainage, gurgling, sewer odors, siphoning, or a backup that turns laundry day into mop day.
So what should you actually install to vent a washing machine drain pipe properly? In most homes, the right setup is not mysterious. It is a practical combination of a standpipe, a P-trap, a vented drain connection, and a washer box or clean hookup point that makes the whole thing serviceable. The trick is knowing which parts do which job, where an air admittance valve may fit in, and when local code gets the final vote. Here is the plain-English version, minus the plumbing drama and plus a few lessons learned from real-world laundry rooms.
Why a Washing Machine Drain Needs a Vent in the First Place
Your washer does not politely drizzle out a teacup of water. It pumps out a rush of wastewater during the drain and spin cycles. That surge needs somewhere to go, and it also needs air moving through the system so the water can drain without creating a vacuum.
A vent does two big jobs. First, it lets air into the drain system so water flows smoothly instead of glugging like an upside-down bottle of barbecue sauce. Second, it helps protect the water seal in the trap. That trapped water is what blocks sewer gas from floating back into the house and announcing itself in your laundry room like an unwanted guest.
When the venting is wrong, the symptoms are usually memorable. You may hear gurgling, notice rotten odors, see the standpipe overflow, or find that the washer drains slowly even though the machine itself is fine. In other words, the vent is not a luxury. It is the part that keeps the drain system acting like plumbing instead of performance art.
What to Install for a Properly Vented Washer Drain
1. A Standpipe
The standpipe is the vertical pipe that receives the washer’s drain hose. Think of it as the landing zone for all that discharged water. In modern washer setups, this is commonly a 2-inch standpipe, because washing machines move water quickly and smaller piping can be more likely to struggle.
The standpipe should be tall enough to handle the washer discharge without splashing or siphoning trouble, but not so bizarrely tall that it creates its own problems. Many U.S. references and local handouts show a common standpipe range of about 18 to 30 inches above the trap, though exact requirements vary by jurisdiction. That “check local code” note is not legal wallpaper. It actually matters here.
2. A P-Trap
No P-trap, no peace. The P-trap sits below the standpipe and holds water after the drain cycle ends. That water becomes a seal that blocks sewer gas from coming back into the room. If someone skips the trap, installs it in the wrong place, or adds a second trap where one should not be, the whole setup can become fussy, smelly, or both.
In typical washer drain layouts, the trap is kept close to the standpipe and above the floor rather than buried in some mysterious underground location where future-you will have to guess what happened. Plumbing diagrams and local handouts often show the trap roughed in above the floor or within a defined height range, precisely so it can work correctly and be serviced if needed.
3. A Real Vent Connection
The gold-standard setup is a vent pipe tied into the drainage system the way your local plumbing code allows. This vent typically rises vertically and ultimately connects into the home’s venting system, which extends outdoors through the roof. That outdoor vent matters because the building’s drainage system still needs a way to relieve pressure and vent gases safely outside.
If you are installing a new laundry location, this is usually the cleanest long-term answer: properly sized drain, properly trapped standpipe, and a vented connection tied into the house venting system. It is not glamorous, but neither is ripping out drywall because the standpipe erupted during the rinse cycle.
4. An Air Admittance Valve, But Only Where Allowed
If connecting to a conventional vent stack is difficult, some jurisdictions allow an air admittance valve, often called an AAV. This device lets air into the drainage system when negative pressure develops, helping the drain flow without siphoning the trap. It is basically a one-way helper for venting, not a magical cheat code for all plumbing.
Here is the catch: an AAV is not a universal substitute for proper venting. It must be approved by local code, it must stay accessible for inspection or replacement, and it should not be hidden permanently behind a finished wall like a bad secret. It also does not eliminate the need for at least one vent through the roof for the building. If a contractor describes it as “close enough to a real vent,” that is your cue to start asking better questions.
5. A Washer Outlet Box
A washer outlet box is not just a fancy plastic square for making the wall look organized. It serves as the recessed connection point for the hot and cold supply lines and the standpipe opening. In a clean installation, it helps keep the hookup area neat, accessible, and less likely to resemble a bundle of hoses trying to escape.
Many installers place the box at a practical height that works with the appliance and local code. It is a small detail, but it improves service access, makes shutoffs easier to reach, and helps the whole laundry setup look intentional rather than improvised during halftime.
6. A Properly Positioned Drain Hose
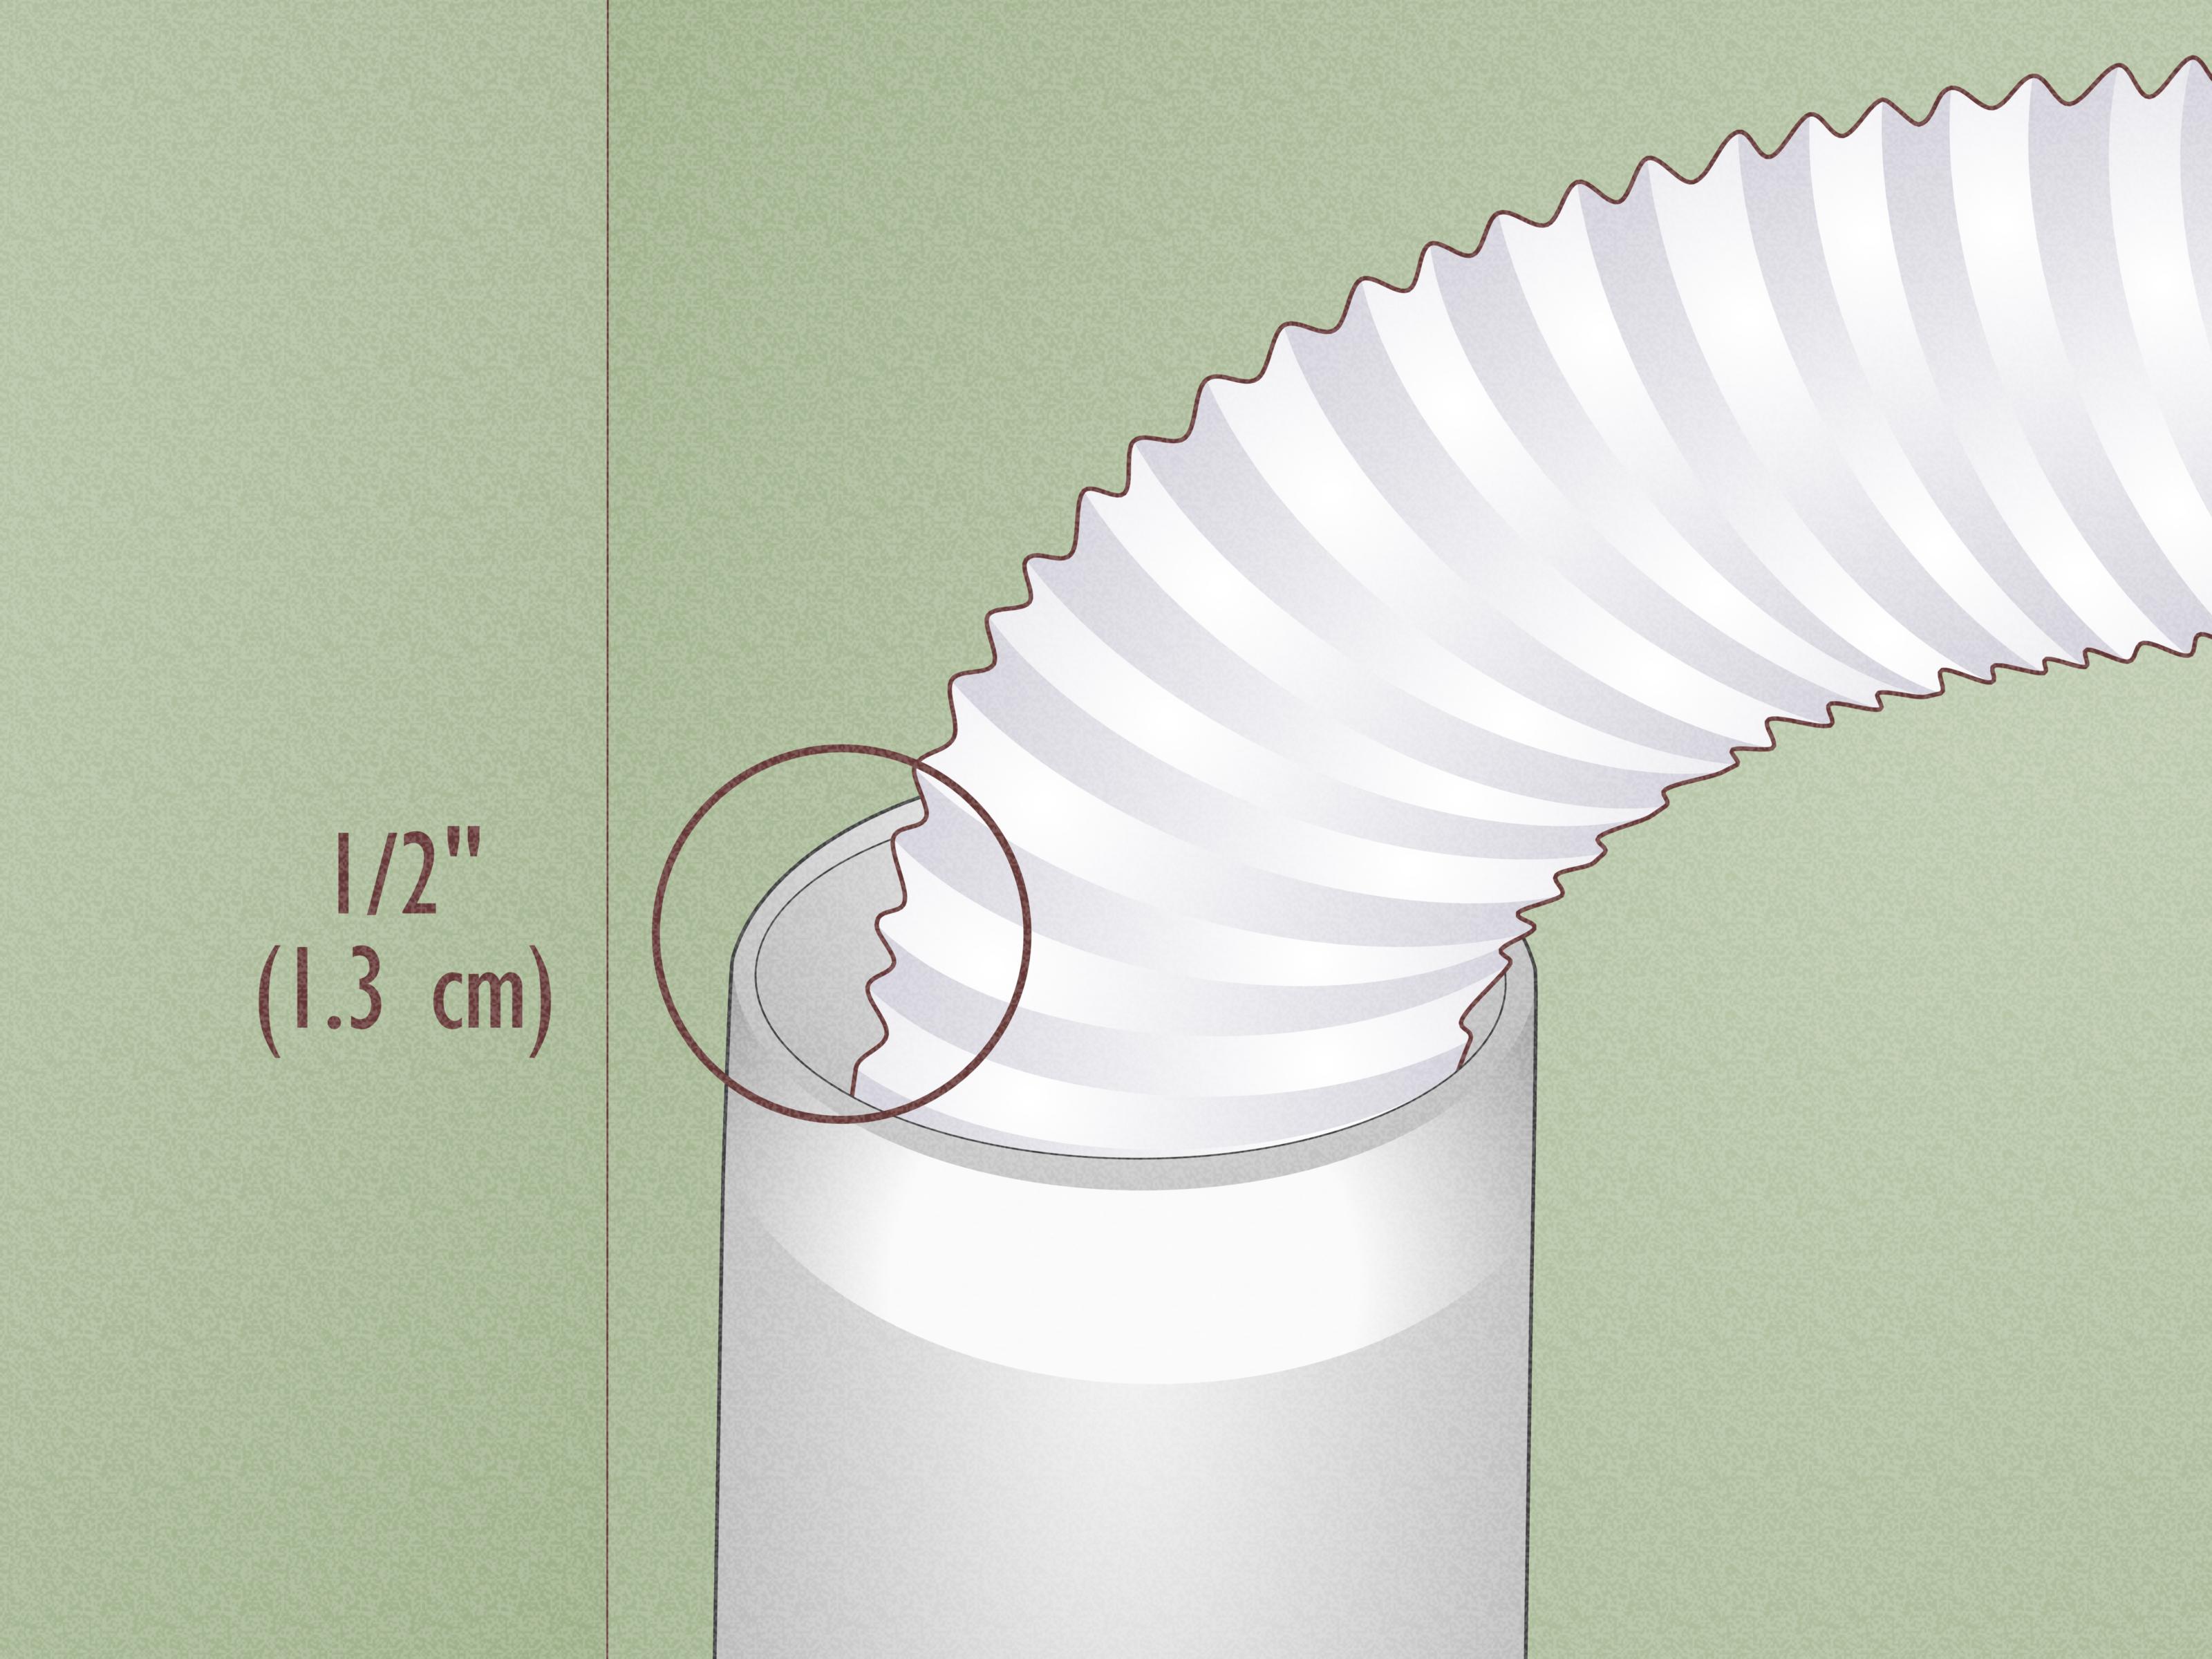
The washer drain hose drops into the standpipe, but it should not be sealed tight like a submarine hatch. That little gap around the hose matters because it allows air into the connection and helps prevent vacuum-related siphoning. The hose should be secured so it does not leap out during discharge, but the opening itself should stay unsealed.
This is one of the most common homeowner mistakes: someone sees a gap and decides it must be wrong, so they seal it shut. Unfortunately, that fix often creates the problem it was trying to prevent. Plumbing has a cruel sense of humor like that.
The Typical Washer Drain Vent Layout
In a straightforward laundry rough-in, the washer drain hose discharges into a vertical standpipe. That standpipe drops into a P-trap. From the trap, the fixture drain runs horizontally toward the branch drain. Somewhere within the allowed distance for your local code, a vent connection rises off that trap arm or branch arrangement and ties into the venting system.
In some code systems and local adaptations, the washer standpipe connection is expected to tie into a 3-inch or larger building drain, branch drain, or drainage stack. Other local handouts focus more heavily on standpipe height and trap placement details. The broad lesson is simple: the washer needs enough pipe size, enough air, and enough room to drain without flooding the wall cavity or stealing water from the trap seal.
If a laundry sink is nearby, some jurisdictions allow specific configurations where the sink and washer relate to the same standpipe arrangement. That can be useful, but it is not a free-for-all. The layout still has to follow local plumbing rules, especially on trap arrangement, standpipe height, and horizontal distances.
Roof Vent vs. Air Admittance Valve: Which One Should You Install?
If you have access to a conventional vent connection, that is usually the strongest answer for a washer drain. It is a familiar, durable approach and aligns with the basic design of a vented drain-waste-vent system.
An AAV can make sense in remodels, tight spaces, or situations where running a new vent line is difficult and local code allows it. But “allowed” is the key word. Some places accept them, some limit how they can be used, and some are less enthusiastic. Even where permitted, they must be installed according to the manufacturer’s instructions and local rules, kept accessible, and located properly above the branch drain.
So if you are asking what to install, the honest answer is this: install a standard vent connection when practical. Use an AAV only when local code allows it and the installation details are right. A tiny mechanical valve is handy, but it is not a hall pass from real plumbing design.
Common Mistakes That Make Washer Drain Venting Go Sideways
The first classic mistake is using piping that is too small. A modern washer is not shy about discharge volume, and a marginal drain size can quickly become an overflow problem.
The second is forgetting the trap or placing it incorrectly. Without the water seal in the trap, sewer gas has a direct invitation into the room. Not exactly the scent profile most people want near clean towels.
Third: sealing the washer hose tightly into the standpipe. It looks tidy. It is not tidy. It interferes with the air break the connection needs.
Fourth: installing an AAV where it cannot be serviced, buried behind drywall, or used in a jurisdiction that does not permit it. Hidden mechanical devices and wishful thinking do not form a recognized plumbing method.
Fifth: creating a drain layout with poor slope, an overlong trap arm, or random fittings that were apparently selected by closing one’s eyes in the aisle and pointing. Laundry drains reward boring, code-conscious choices.
What Homeowners Should Verify Before Installation
Before you buy fittings and start cutting pipe, confirm a few basics. Find out which plumbing code your jurisdiction uses and whether there are local amendments. Verify the required pipe sizes for the standpipe, trap, and branch drain. Confirm the acceptable standpipe height range. Ask whether an AAV is allowed for this application. Check the maximum developed length for the vented trap arm in your area. And make sure you know where the vent will remain accessible if you are using a mechanical device.
Also check your washer manufacturer’s installation instructions. Appliance requirements and plumbing rules need to agree. When they do not, the solution is not to ignore one and hope the spin cycle respects your confidence.
When You Should Probably Call a Plumber
Replacing a washer hose is one thing. Building a new vented laundry drain inside a wall is another. If you are relocating a laundry area, tying into an existing stack, opening finished walls, or trying to decide whether a vent can be wet, dry, or mechanical in your jurisdiction, professional help is usually worth the money.
The reason is not that homeowners are incapable. It is that laundry drains combine fast discharge, code-sensitive venting, water damage risk, and hidden piping. A mistake may not announce itself immediately. It may wait until a Saturday night wash cycle and then make its grand debut through the baseboard.
Final Takeaway: What to Install for a Proper Washer Drain Vent
If you want the short version, here it is. Install a properly sized standpipe, a correctly placed P-trap, and a vented drain connection that complies with your local plumbing code. Use a washer outlet box for a clean, serviceable hookup. Keep the drain hose secured but not sealed into the standpipe. If a conventional vent is impractical, use an air admittance valve only where local code allows it and only where it can remain accessible.
The best washer drain vent installation is not the one that merely works on a quiet Tuesday. It is the one that still works when the washer is draining hard, the household is busy, and nobody wants to discover that their laundry room has chosen a water feature theme.
Experience Notes: What Real Laundry Rooms Teach You About Venting a Washer Drain
In real houses, washer drain problems rarely begin with a dramatic explosion. They usually start with tiny clues people ignore because life is busy and the laundry basket is never empty. A little gurgle. A faint smell. A standpipe that trembles when the machine drains. A damp patch no one notices because there is a detergent bottle in front of it. Then, one afternoon, the washer hits the spin cycle and the room suddenly looks like the drain is protesting its working conditions.
One of the most common experiences homeowners describe is moving into a house and assuming the existing laundry hookup must be correct because, well, it exists. That is adorable. Laundry hookups can be old, modified, partially repaired, or assembled by someone whose main qualification was owning a saw. People often discover the drain is undersized, the trap is wrong, or the venting is missing only after they upgrade to a newer washer that pumps out water faster than the old machine ever did.
Another real-world lesson is that neat-looking does not always mean right. Homeowners see a gap around the drain hose and think, “That looks unfinished.” So they tape it, foam it, or otherwise try to make it look sealed and tidy. Then the washer starts siphoning oddly or draining poorly, and the mystery begins. Plumbing has several places where the awkward-looking detail is actually the correct detail. The open gap around the hose is one of those moments.
Remodels create their own kind of laundry-room folklore. Someone wants to move the washer to a closet, a mudroom, or a basement corner, and suddenly every shortcut becomes tempting. “Can we just tie into this nearby drain?” “Can the vent go here?” “Can we hide the valve behind the wall?” Those are fair questions. But the experience of many remodels is that the laundry drain is not the place to freestyle. What seems like a clever shortcut in the framing stage can become a chronic odor issue, a backup problem, or a costly tear-out later.
Homeowners also learn that washer problems are not always washer problems. A machine that appears to drain badly may be exposing a plumbing issue rather than suffering an appliance failure. People replace hoses, blame the pump, or clean the filter, only to find the real culprit is a clogged standpipe, a bad vent arrangement, or a trap arm that was never right to begin with. The washer was innocent. The pipe was the drama queen.
The most reassuring experience, though, comes after the setup is fixed correctly. Once the standpipe is sized right, the trap is where it belongs, the venting is legal and functional, and the hose is secured properly, the entire laundry room gets boring in the best possible way. No gurgling soundtrack. No mystery smell. No panic during the drain cycle. Just a machine doing its job while you do literally anything else. In plumbing, boring is a compliment. In a laundry room, it is basically luxury.