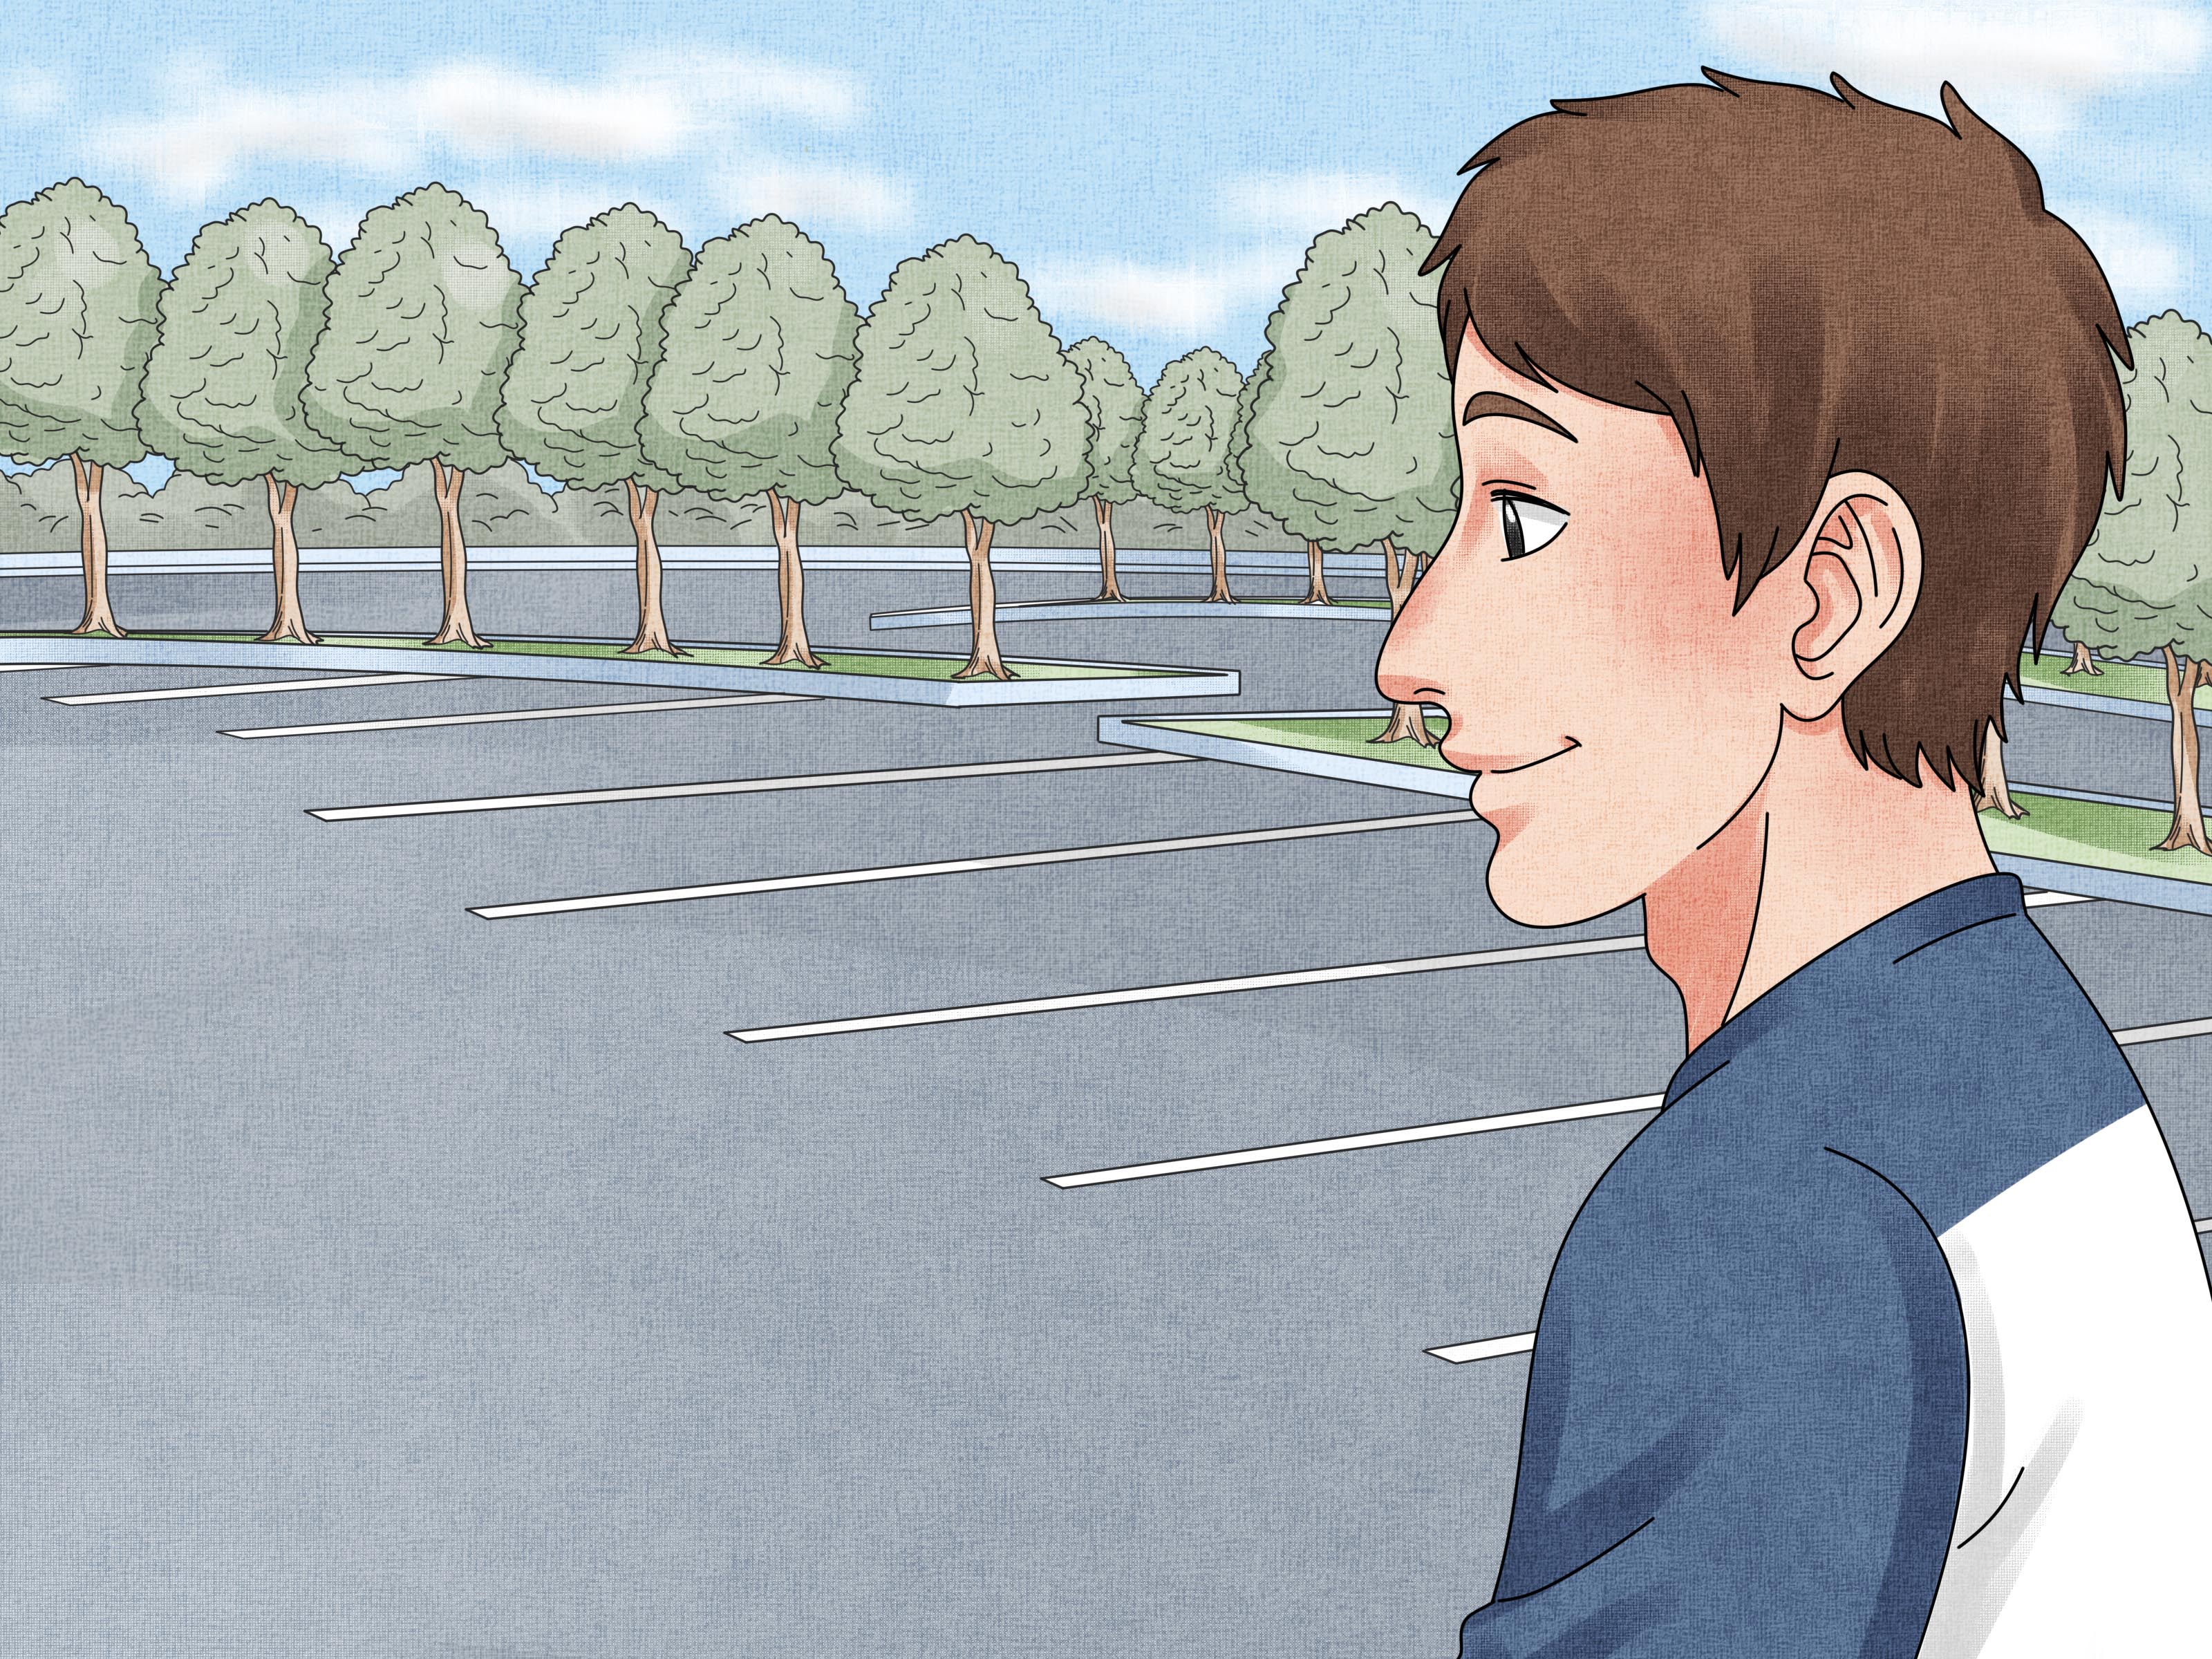
Teaching a child to ride a bike is one of those parenting milestones that looks wonderfully simple from a distance. Find a bicycle, place child on bicycle, release child, and prepare an inspirational speech for the neighborhood. In reality, the process may involve nervous giggles, sudden braking, dramatic declarations of “I will never ride again,” and an adult jogging awkwardly while holding a tiny saddle.
The good news is that learning to ride does not have to become a battle between gravity and the entire family. Most children make better progress when adults break the skill into manageable pieces: readiness, balance, steering, braking, starting, and finally pedaling independently. There is no universal “correct” age. Coordination, physical strength, interest, confidence, and emotional readiness matter more than the number of candles on a birthday cake.
The following eight methods explain how to teach a child to ride a bike safely, patiently, and with considerably less shouting across an empty parking lot.
1. Let Your Child Show Signs of Readiness
Before discussing pedals, brakes, or heroic first rides, determine whether your child actually wants to learn. Enthusiasm is one of the best teaching tools available, and unlike a new bicycle, it costs nothing.
A child may be ready when they:
- Show curiosity about bicycles or ask to ride
- Can follow simple safety instructions
- Have enough coordination to walk, run, and steer a wheeled toy
- Can sit comfortably on the bike without becoming frightened
- Are willing to practice after a minor wobble or mistake
Avoid comparing your child with siblings, cousins, classmates, or the suspiciously athletic four-year-old next door. Some children begin balancing on two wheels as toddlers, while others are not interested until elementary school. Both situations can be completely normal.
If your child resists, pause the lesson rather than applying more pressure. Put the bike somewhere visible and invite them to try again another day. A short delay is much easier to overcome than an association between bicycle practice and family conflict.
Keep the First Goal Small
The first goal does not need to be “ride independently.” It might simply be sitting on the bike, walking it forward, or squeezing the brakes. Small victories build the confidence required for larger ones.
2. Choose a Bike That Fits Right Now
Parents often buy children’s clothing with growing room, but a beginner bike is not a winter coat. A bicycle that is too large can feel heavy, difficult to control, and intimidating. Your child should not need stilts, a stepladder, or a leap of faith to reach the ground.
For early balance practice, lower the saddle until your child can sit on it with both feet flat on the ground and the knees slightly bent. This position allows them to push, glide, and stop with their feet. Once they can pedal confidently, the seat can gradually be raised for a more efficient leg position.
The child should also be able to:
- Reach the handlebars without stretching
- Turn the handlebars comfortably in both directions
- Squeeze the brake levers, when present
- Stand over the frame without painful contact
- Lift or maneuver the bike without excessive difficulty
Pediatric safety guidance recommends buying a bicycle that fits the child’s current body rather than one intended for future growth. Tires, brakes, reflectors, steering, and other parts should also be checked before riding.
Do a Quick Mechanical Check
Before each practice session, confirm that the tires are properly inflated, the wheels are secure, the handlebars do not twist unexpectedly, and the brakes work. A loose handlebar can turn a cheerful lesson into an unwanted physics demonstration.
3. Make Safety Gear Part of the Routine
A properly fitted bicycle helmet should be worn during every lesson, even if the child is only scooting a few feet. Falls can happen on sidewalks, paths, driveways, and other familiar areasnot just on busy roads.
Choose a helmet that meets applicable U.S. Consumer Product Safety Commission requirements. Check current recall information when buying an unfamiliar model, and avoid using a helmet with an unknown history or one that has already been involved in a significant crash.
For a secure fit:
- Place the helmet level on the head rather than tilted backward.
- Position its front edge about one or two finger-widths above the eyebrows.
- Adjust the side straps so they form a “V” around each ear.
- Tighten the chin strap until it is snug but comfortable.
- Ask the child to shake their head; the helmet should remain stable.
These fitting principles are recommended by pediatric and federal safety organizations because a loose, tilted, or poorly positioned helmet may not protect the intended areas of the head.
Closed-toe shoes are also important. Secure long shoelaces so they cannot catch in the chain or pedals. Knee and elbow pads are optional for ordinary bicycle practice, but they may help a cautious child feel more comfortable after a previous fall.
Adults Should Wear Helmets Too
Children notice what adults do more quickly than what adults say. If the family rule is “helmets every ride,” parents and older siblings should follow it as well. Modeling the behavior removes the impression that helmets are merely an inconvenient decoration invented for small people.
4. Teach Balance Before Pedaling
Balance is usually the most challenging part of learning to ride. Pedaling, meanwhile, is a movement many children already understand from tricycles or riding toys. Teaching balance first allows the child to focus on one difficult skill instead of simultaneously balancing, steering, pedaling, listening, and wondering why a parent is running behind them.
A purpose-built balance bike works well, but a regular child’s bike can often be converted temporarily by removing the pedals and lowering the seat. Have the child sit on the saddle and walk the bicycle forward. As confidence increases, encourage longer steps, stronger pushes, and brief glides with both feet lifted.
The balance-first method is widely used by cycling instructors and bicycle education programs. Both balance bikes and training wheels can help children become comfortable with cycling, but removing the pedals gives the rider direct practice with the balance required on a two-wheeled bike.
Use Simple Gliding Games
Place two chalk lines or small cones several feet apart and ask your child to glide from one to the other. Gradually increase the distance. Another game is “quiet feet”: the child pushes forward, raises both feet, and tries to keep them off the ground for as long as possible.
Do not demand perfect balance immediately. A glide lasting two seconds is progress. A glide lasting five seconds may produce enough excitement to power the entire household for an afternoon.
5. Practice in a Flat, Open, Traffic-Free Area
The learning environment can make the difference between confidence and panic. Choose a flat, paved area with plenty of open space, good visibility, and no vehicle traffic. An empty basketball court, quiet schoolyard, wide paved path, or unused section of a parking lot can work well when permitted.
Avoid steep slopes during the early lessons. A gentle incline can help experienced beginners build momentum, but too much speed removes the child’s sense of control. Grass may appear softer, yet thick grass creates resistance and makes balancing harder. Smooth pavement bordered by grass can offer a useful compromise.
Remove unnecessary distractions. Dogs, scooters, soccer games, moving vehicles, and crowds of encouraging relatives can overload a new rider. Grandpa may be supportive, but a five-person cheering section can make a six-year-old feel as though they have accidentally entered the Tour de France.
Keep Lessons Short
Ten to twenty minutes may be enough for a beginner. Stop before your child becomes exhausted, hungry, frustrated, or careless. Short, positive sessions repeated over several days are usually more productive than one marathon lesson.
Cycling educators recommend brief instructions and active practice because children often learn physical skills more effectively by doing than by listening to a long technical explanation.
6. Turn Steering and Braking Into Games
A child is not truly in control of a bicycle until they can steer toward a target and stop intentionally. Teach these skills during the balance stage rather than waiting until the child is pedaling at higher speed.
Begin by encouraging the child to look ahead instead of staring at the front tire. Riders tend to travel toward whatever has captured their eyes. Ask your child to focus on you, a cone, or a chalk mark several yards ahead.
Set up a wide course with cones, paper cups, or chalk circles. Practice gentle turns first. Avoid tight slalom courses until the child can steer smoothly without putting both feet down.
For braking practice, play “Red Light, Green Light.” On “green,” the child walks or glides forward. On “red,” they squeeze the hand brakes or use the coaster brake and place their feet down after slowing. Teach smooth braking rather than grabbing the brake suddenly.
Children should understand which braking system their bicycle uses. A coaster brake activates when the pedals rotate backward, while hand brakes require enough reach and hand strength to operate the levers. Some bikes have both. Practice with the bicycle stationary before adding movement.
7. Add Pedals and Practice Starts
Once your child can glide comfortably, steer around gentle curves, and stop on command, reinstall the pedals if they were removed. The next challenge is combining those existing skills with forward pedaling.
Position one pedal slightly forward and upward, roughly around the two o’clock position. The child places one foot on that pedal and keeps the other foot on the ground. Pushing down on the raised pedal gives the bicycle useful starting momentum. The ground foot then moves to the second pedal.
At first, you may steady the child by placing a hand lightly under the arms or on the upper back. Another option is holding the rear of the saddle. Avoid gripping or turning the handlebars because the child needs to feel how their own steering movements affect balance.
Do not secretly release the bike and announce the surprise afterward. Although this classic method has appeared in countless family stories, it can damage trust. Tell the child that you are reducing support and let them participate in the decision.
Momentum Is Helpful, but Speed Must Stay Controlled
A bicycle becomes easier to balance once it is moving, so encourage several steady pedal strokes rather than extremely slow half-turns. However, the child should already know how to brake before being encouraged to increase speed.
Practice three separate actions:
- Starting with the pedal in a strong position
- Pedaling in a straight line
- Braking smoothly and placing one or both feet down
Repeat this sequence until it becomes familiar. Independent starting often takes longer to master than riding after an adult-assisted push, so celebrate both achievements.
8. Build Skills Gradually After the First Ride
The first independent ride is exciting, but it is not the end of the learning process. A child who can pedal across an empty court may not yet be ready for sidewalks, intersections, hills, shared trails, or streets.
Gradually introduce:
- Wider and tighter turns
- Starting without assistance
- Controlled emergency stops
- Riding around stationary obstacles
- Looking over one shoulder while maintaining a straight path
- Using a bell and basic hand signals
- Watching for driveways, pedestrians, and uneven surfaces
Young children may have difficulty judging the speed and distance of approaching vehicles. Keep early riding in protected areas and provide close adult supervision until the child has demonstrated reliable handling skills, sound judgment, and knowledge of traffic rules.
When moving to family rides, choose short routes with low traffic and predictable surfaces. Review the plan before leaving, place an experienced adult where they can supervise, and stop while the experience is still enjoyable. A playground or snack destination can provide excellent motivation. Apparently, independence is wonderful, but independence involving ice cream is even better.
Experience-Based Lessons From Teaching Children to Ride
The following composite examples reflect situations that commonly occur during family bike lessons. They are useful reminders that technical instructions are only half of the process; the other half involves patience, observation, and knowing when to stop talking.
A Poorly Fitting Bike Can Look Like a Confidence Problem
Consider a child who repeatedly refuses to lift their feet from the ground. An adult might assume that the child is overly cautious or not concentrating. However, the real problem may be a saddle positioned several inches too high. Each wobble leaves the rider feeling trapped because their toes barely reach the pavement.
After lowering the seat, the same child may begin gliding within minutes. The lesson is important: before correcting attitude or technique, examine the equipment. A heavy bike, unreachable brake lever, twisted saddle, or uncomfortable helmet can create behavior that looks like fear or stubbornness.
Holding Too Tightly Can Delay Independent Balance
Another familiar scene involves an adult gripping the handlebars and rear of the bike while running beside the rider. This prevents falls, but it also prevents the child from feeling the small steering corrections that create balance.
A more effective progression is to provide only as much support as necessary. The adult might first stabilize the child under the arms, then touch the saddle lightly, and finally jog nearby without holding the bicycle. The child receives reassurance while gradually taking control.
This transition works best when explained honestly. Saying, “I’m going to use just one hand now,” is better than secretly releasing the bike. Trust allows a nervous child to focus on riding rather than constantly checking whether the adult has disappeared.
Ten Cheerful Minutes Can Beat an Hour of Frustration
Children often make quick progress at the beginning of a session and then deteriorate as fatigue appears. Steering becomes wild, braking becomes late, and every instruction starts sounding like criticism. Continuing beyond that point rarely produces a breakthrough.
A better approach is to finish after one small success. A parent might say, “That was your longest glide today. Let’s stop there and try again tomorrow.” The child leaves remembering achievement rather than exhaustion. During the next session, the skill often returns more quickly because the brain has had time to process the movement.
A Fall Requires an Emotional Reset
Even with careful preparation, most beginners eventually tip over. After checking for injury, resist immediately lifting the child back onto the bike. Some children need a drink of water, a hug, or several quiet minutes before deciding whether to continue.
Acknowledge the experience without turning it into a disaster. “That surprised you” is more helpful than “You’re fine” when the child clearly feels frightened. Once calm, examine what happened. Perhaps the rider looked down, turned too sharply, or forgot to brake. Convert the fall into one simple lesson rather than a long lecture.
The Breakthrough Often Arrives Without Warning
Progress is rarely smooth. A child may struggle through three practice sessions and then suddenly ride across the entire lot during the fourth. The earlier attempts were not failures; they were building balance, timing, strength, and familiarity below the surface.
Adults can support this process by praising specific actions: “You looked ahead,” “You used the brake gently,” or “You started by yourself.” Specific feedback teaches the child which behavior created success. It is more useful than repeating “Good job” until the phrase loses all meaning.
Most importantly, remember that the objective is not simply to remove the adult’s hand from the saddle. It is to help the child become a confident, safety-conscious rider who associates bicycles with freedom and enjoyment. The first independent ride may last only a few seconds, but the pride on the child’s face tends to last considerably longer.
Conclusion
The best way to teach a child to ride a bike is to match the lesson to the child. Begin when they show interest, provide a correctly sized bicycle and properly fitted helmet, teach balance before adding pedaling, and practice in a safe location. Break the process into short sessions that cover looking ahead, steering, braking, starting, and stopping.
Some children learn in an afternoon, while others need several weeks of occasional practice. The schedule matters far less than the experience. Remain calm, celebrate measurable progress, and avoid turning bike riding into a performance test. With patient instruction and gradual challenges, your child can develop a skill that supports exercise, independence, family adventures, and a lifetime supply of jokes about the day you tried to run beside a 16-inch bicycle.
Note: Adult supervision, correctly fitted safety equipment, and a protected practice area remain important even after a child completes their first independent ride.