Need to separate sections, build a timeline, point to something important, or create a line that says, “Yes, this document was made by someone who has their life together”? Good news: Microsoft Word makes it surprisingly easy to draw lines. Better news: you have more than one way to do it.
If you just want a fast horizontal divider, Word has a built-in keyboard shortcut that feels like a tiny magic trick. If you want more control over angle, thickness, arrows, color, or placement, the Shape tool is the better choice. In other words, Word gives you both the lazy route and the power-user route. That is real balance.
In this guide, you’ll learn exactly how to draw lines in Microsoft Word using the Shape tool and the shortcut method, when to use each one, how to customize your line, how to fix common annoyances, and how to avoid the classic “Why is Word doing that?” moment. Whether you’re making a resume divider, a worksheet, a simple diagram, or a document that just needs a little visual structure, this tutorial has you covered.
What “drawing a line” in Word actually means
Before clicking buttons like a caffeinated raccoon, it helps to know that Word treats lines in two main ways.
1. A line as a shape
This is the flexible method. You insert a line from the Shapes menu, then drag it where you want. This kind of line can be diagonal, vertical, horizontal, thick, thin, dashed, colored, or turned into an arrow. If you’re making diagrams, callouts, forms, or custom layouts, this is the tool you want.
2. A line as an automatic border
This is the shortcut method. You type three matching characters such as hyphens and then press Enter. Word turns them into a full-width horizontal line. It is quick and convenient, but it is not as flexible as a drawn shape. Think of it as a document divider, not a mini design object.
Once you understand that these are two different types of lines, everything gets easier. One is a graphic object. The other is basically a border pretending to be a line. Word loves this kind of drama.
Method 1: How to draw a line in Word with the Shape tool
If you want control, this is the method to use. It works well for arrows, custom dividers, labels, simple diagrams, flowcharts, and neat-looking document design.
Step 1: Open the Insert tab
Click inside your Word document where you want the line to appear. Then go to the Insert tab on the Ribbon. Look for Shapes. When you click it, a dropdown gallery appears with many shape options.
Step 2: Choose a line style
Under the Lines section, pick the line style you need. You’ll usually see options such as a straight line, arrow line, double arrow, elbow connector, curved connector, and freeform-style line tools. For most standard tasks, the plain straight line is perfect.
Step 3: Click and drag to draw
Click where you want the line to begin, then drag to where you want it to end. Release the mouse when you’re happy with the size and position.
Want a perfectly horizontal or perfectly vertical line? Hold down Shift while dragging. This is one of those small Word tricks that saves a shocking amount of frustration.
Step 4: Resize or reposition the line
Once the line is selected, you can drag either endpoint to adjust its length or angle. You can also move the whole line by clicking it and dragging it to a new position. If Word feels a little fussy while moving shapes, that is normal. Word likes structure. You like freedom. Sometimes you must negotiate.
How to format a line in Word
After drawing a line, you can make it look more polished by using the Shape Format tab. This is where the fun begins.
Change the color
Select the line, then go to Shape Format > Shape Outline. Choose a theme color, a standard color, or a custom color. This is useful if you want a subtle gray divider, a bright accent line in a flyer, or a color-coded arrow in a workflow chart.
Change the thickness
Still under Shape Outline, choose Weight. A thicker line works well for section dividers or visual emphasis. A thinner line is better for neat, understated formatting.
Make it dashed or dotted
Choose Shape Outline > Dashes to switch from a solid line to a dotted or dashed style. This is handy for drafts, placeholders, cut lines, or documents where a softer visual style makes more sense.
Add arrowheads
If you need the line to point somewhere, convert it into an arrow or choose an arrow style from the beginning. Arrows are perfect for instructions, process diagrams, annotations, or “Look here, please” moments in reports and training documents.
Use line effects carefully
Word also offers shape effects like shadows or sketched outlines in some versions of Microsoft 365. These can look nice in presentations or creative documents, but in professional documents, restraint is your friend. One tasteful line says “organized.” Six glowing arrows say “I found every button and used all of them.”
When to use the Shape tool instead of the shortcut
Use the Shape tool when:
- You need a vertical or diagonal line.
- You want a line with arrowheads.
- You need exact placement on the page.
- You want to change color, weight, or dash style easily.
- You are building a diagram, chart, form, or visual layout.
For example, if you’re designing a process chart in Word, a simple full-width border line will not help much. A shape line or arrow is what you need. The same is true for pointing to screenshots, creating a signature area, or separating side-by-side content blocks.
Method 2: How to insert a line in Word with the keyboard shortcut
If all you need is a fast horizontal line across the page, this method is beautifully simple.
How the shortcut works
Place your cursor on a blank line where you want the divider to appear. Then type three matching characters and press Enter. Word automatically turns them into a horizontal line that stretches across the page or column width.
Common shortcut options include:
- — for a standard thin line
- ___ for a thicker line
- === for a double line
- *** for a dotted line
- ### for a triple-style line
- ~~~ for a wavy or decorative line
This is one of the fastest ways to add a section divider in Word. It is ideal for letters, reports, study notes, and basic document styling.
What makes this shortcut so useful
It requires no menu hunting, no dragging, and no formatting knowledge. You type three characters, hit Enter, and Word does the rest. It is the office-document version of instant noodles: not fancy, but deeply efficient.
The catch
This is not a free-floating shape. It behaves like a border attached to a paragraph. That means it is great for full-width horizontal separators, but not for custom design work. You cannot tilt it diagonally, place it halfway across the page, or easily turn it into an arrow.
How to customize a shortcut line
Even though the shortcut line starts as an automatic border, you can still adjust its look.
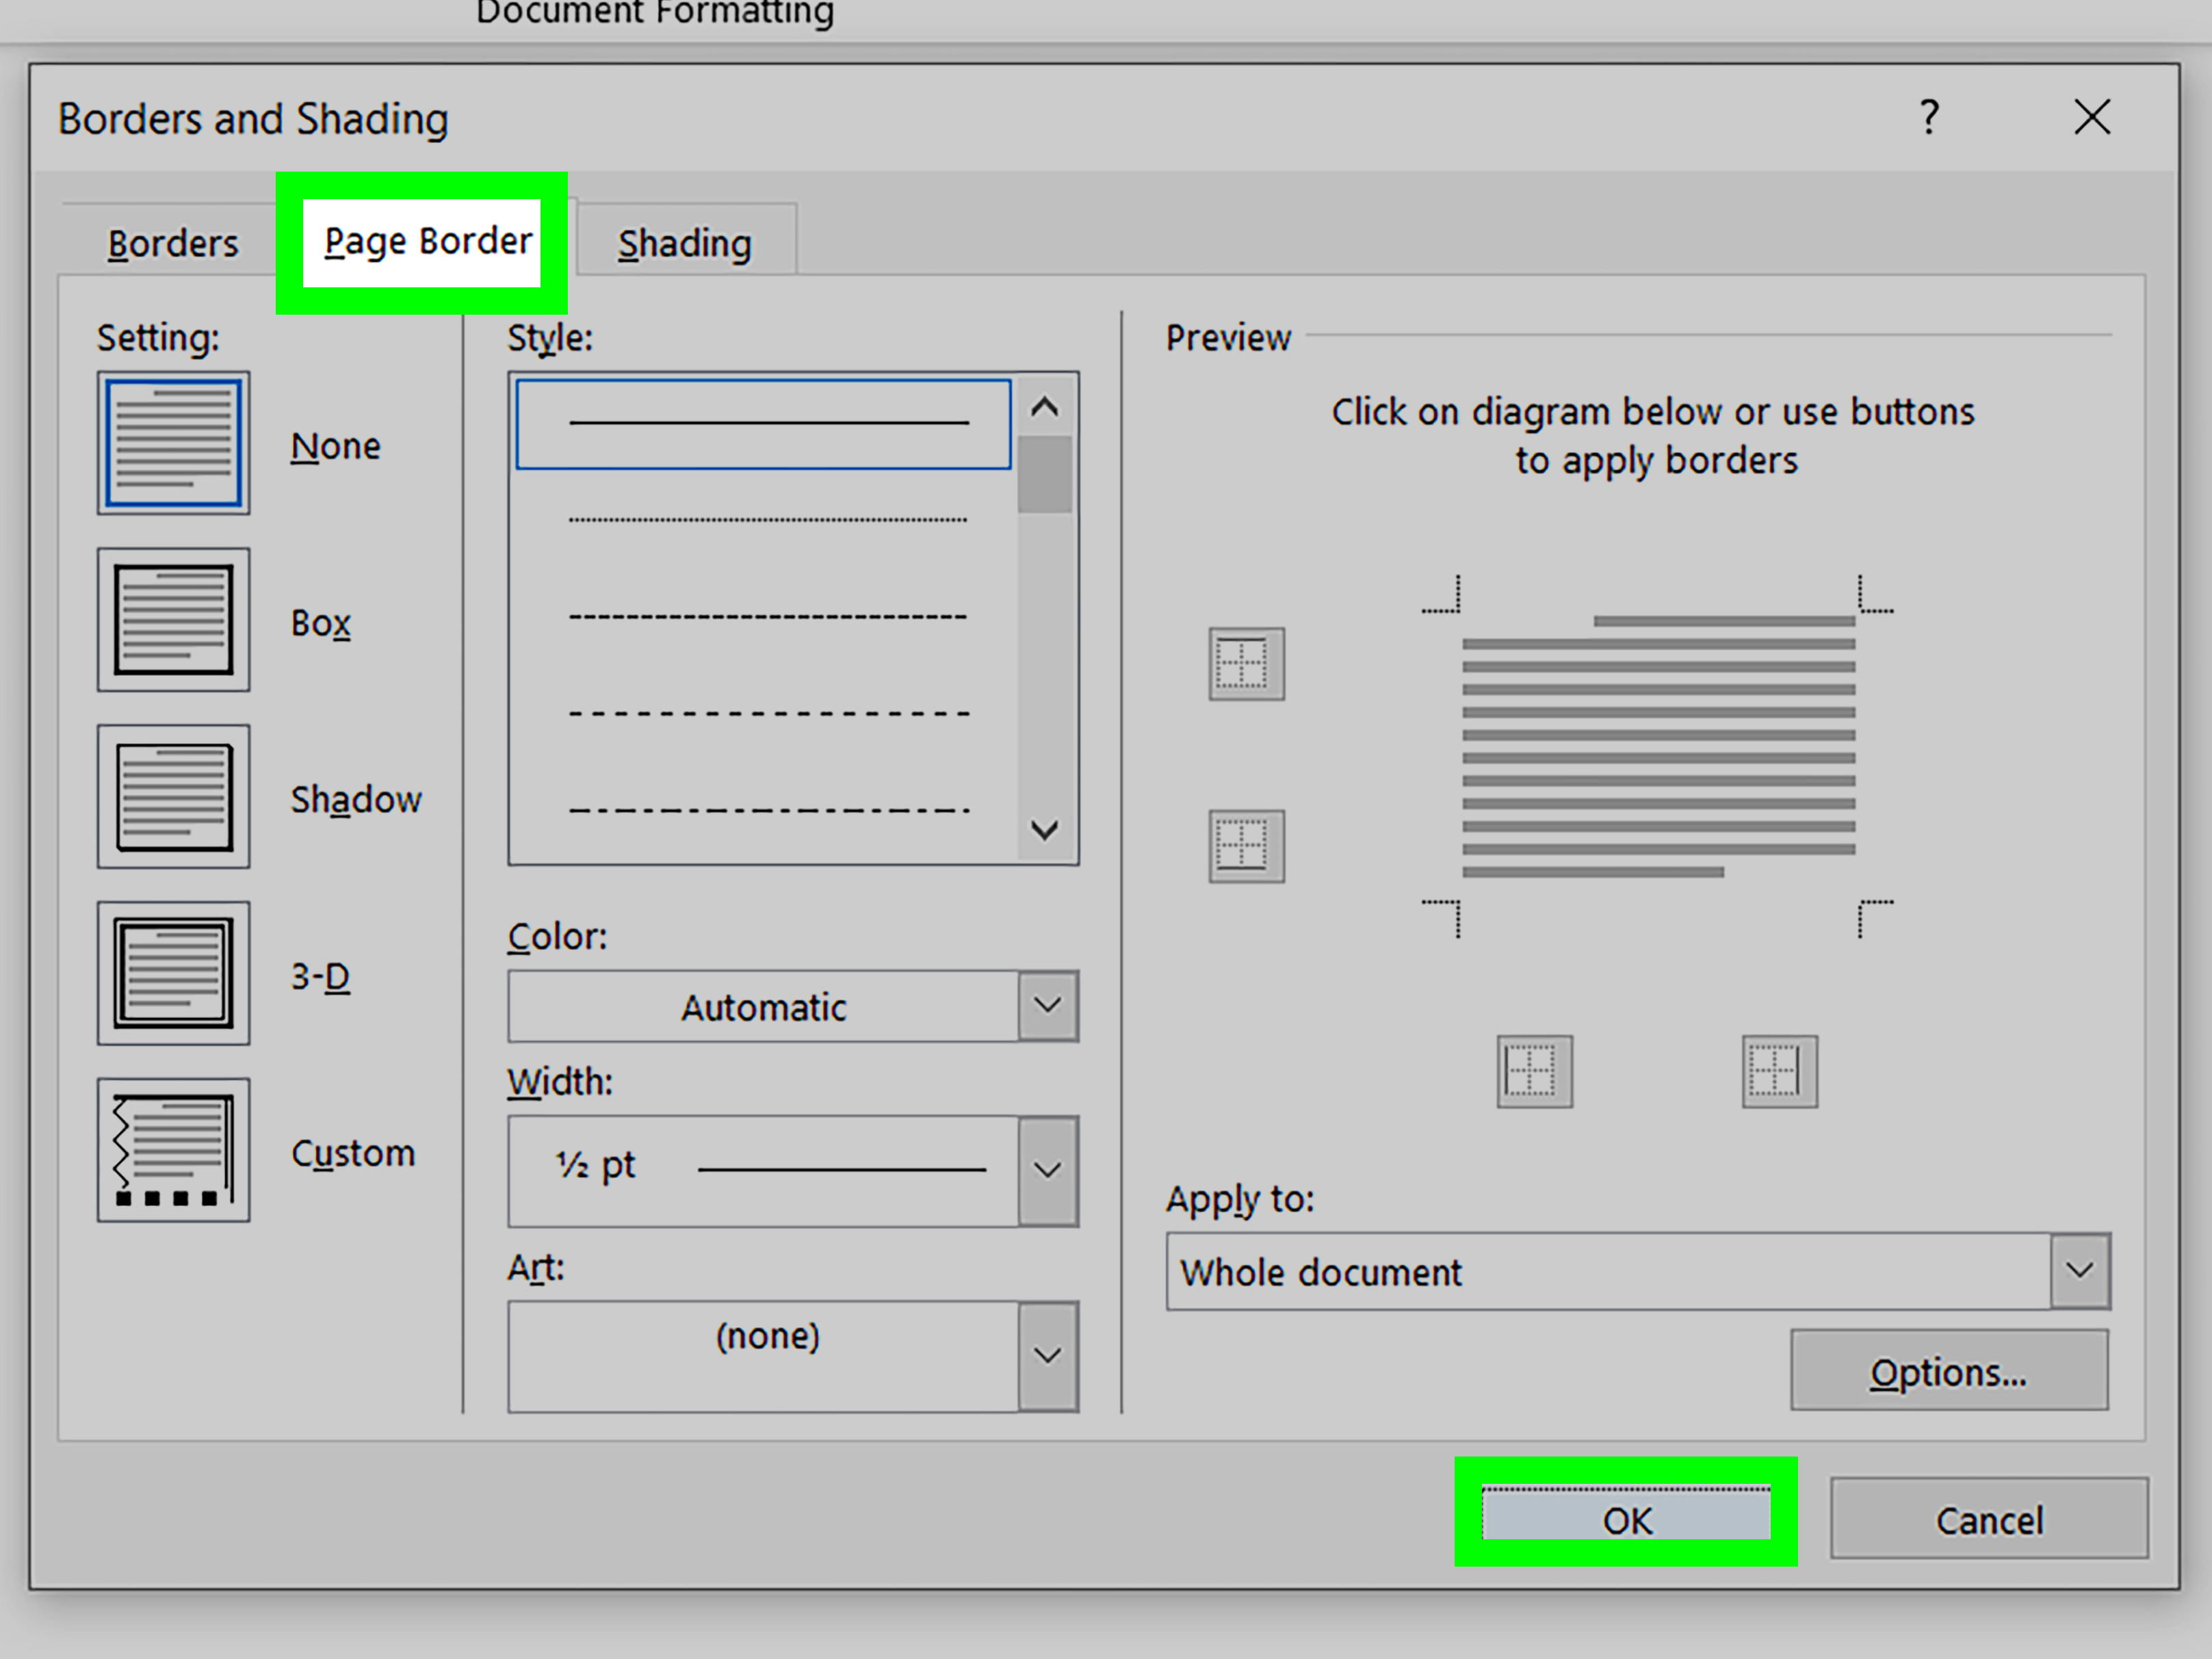
Click in the paragraph directly above the line, then go to the Home tab and open the Borders dropdown. From there, choose Borders and Shading. You can change the border style, width, and color.
This is useful when the default line appears too dark, too thin, or too dramatic for your document. Yes, even a line can have a little too much personality.
How to remove a line in Word
Sometimes you create a line by accident. Other times Word creates one because you typed three hyphens and were just trying to live your life. Here’s how to undo the chaos.
To remove a shape line
Click the line to select it and press Delete. Easy.
To remove an automatic shortcut line
Click in the paragraph immediately above the line. Then go to Home > Borders and choose No Border. This works because the shortcut line is really a paragraph border, not a separate drawing object.
Quick emergency fix
If you just created the automatic line and want to stop it immediately, press Backspace right after Word inserts it. That usually cancels the line before it settles in and acts like it owns the place.
What to do if the line shortcut is not working
If typing three hyphens and pressing Enter does nothing, the feature may be turned off in AutoCorrect settings.
How to re-enable it
- Go to File.
- Choose Options.
- Select Proofing.
- Click AutoCorrect Options.
- Open the AutoFormat As You Type tab.
- Make sure Border lines is checked.
Once that setting is enabled, the three-character shortcut should work again. If it still refuses, try testing in a blank new document. Existing formatting in an older file can sometimes make Word behave like a grumpy printer from 2009.
Best uses for lines in Microsoft Word
Lines might seem simple, but they are incredibly useful when you want a cleaner, easier-to-read document.
Document section dividers
A horizontal line can break up long pages of text and make the content easier to scan. This is especially useful in reports, study guides, internal memos, newsletters, and templates.
Forms and worksheets
Shape lines are helpful for creating answer spaces, signature areas, or simple printable forms. A straight horizontal line under a label can instantly create a field-like look.
Diagrams and process flows
Arrows and connector-style lines help explain steps, relationships, or directions. If you are making a quick process chart inside Word, these tools are much more effective than trying to fake it with underscores and wishful thinking.
Visual emphasis
A clean line above or below a key note, quote, or callout can guide the reader’s eye and make important content stand out without shouting.
Common mistakes to avoid
Using the shortcut when you really need a shape
If you need custom placement, do not use the keyboard shortcut. It is fast, but it is limited. Choose the Shape tool instead.
Forgetting to hold Shift
If your “horizontal” line looks like it had too much coffee, redraw it while holding Shift.
Trying to delete a border line like a shape
If nothing happens when you click near the line, it is probably an automatic border. Remove the border from the paragraph above it instead.
Overdesigning the document
Just because Word lets you make a thick red dashed arrow with shadow effects does not mean your quarterly update needs one. A clean, consistent style almost always wins.
Shape tool vs. shortcut: which method is better?
The honest answer is that both are useful, but they serve different purposes.
Use the Shape tool when you need flexibility, custom placement, arrows, vertical lines, diagonal lines, or more visual control.
Use the shortcut when you need a quick horizontal divider and want the fastest possible method.
If you write a lot of documents, it is worth learning both. The shortcut saves time. The Shape tool saves sanity. Together, they cover almost every “I need a line here” situation in Word.
Experiences and practical lessons from using lines in Word
Anyone who works in Word long enough eventually develops opinions about lines. Not big opinions, hopefully, but definitely opinions. And one of the first lessons many people learn is that the quickest method is not always the best one.
For everyday writing, the three-character shortcut feels amazing. It is fast, clean, and almost weirdly satisfying. You type three hyphens, press Enter, and suddenly your document looks more organized. This works beautifully for simple reports, blog drafts, meeting notes, and handouts. If the goal is just to separate one section from another, the shortcut feels efficient and smart.
But after a little more experience, most users run into its limits. The line goes full width when you only wanted half a page. It sits lower than expected because it is tied to paragraph formatting. You try clicking it like a normal shape and Word acts offended. That is usually the moment people realize the shortcut line is convenient, but not truly flexible.
The Shape tool, on the other hand, starts slower but becomes more useful over time. The first few attempts may feel awkward. You draw a line and it lands slightly crooked. You try moving it and the text behaves strangely. You click away and wonder where the formatting options went. Then you discover the Shape Format tab, the Shift trick, and the ability to adjust color, thickness, and arrowheads. Suddenly, Word stops feeling limited and starts feeling surprisingly capable.
One very practical experience is using lines in resumes or business documents. A thin gray shape line can create a cleaner, more modern divider than a bold automatic border. In teaching materials, arrows make instructions easier to follow. In printable forms, shape lines make answer blanks look intentional instead of improvised. In process documents, a few well-placed connector lines can explain more than an extra paragraph ever could.
Another lesson is that simple formatting choices matter more than fancy ones. A line that is too thick or too dark can overpower the page. A dashed line might look playful in a classroom worksheet but out of place in a formal proposal. Experienced Word users usually settle into a rule: use lines to support the content, not steal the spotlight.
There is also a very real troubleshooting lesson here. If something feels impossible to move or delete, the issue is usually not you. It is Word using a different kind of object than you expected. Once you learn the difference between a shape line and a paragraph border, a lot of those confusing moments disappear. That one piece of knowledge alone can save a surprising amount of time.
In the end, the best experience with lines in Word comes from choosing the method that matches the job. For speed, use the shortcut. For precision, use Shapes. For polished documents, use both with intention. And whenever Word tries to turn punctuation into art without permission, remember: the software may be clever, but now you are cleverer.
Conclusion
Learning how to draw lines in Microsoft Word is one of those small skills that makes a big difference. A well-placed line can organize content, improve readability, guide the eye, and make a document look more polished with almost no effort.
If you want speed, use the keyboard shortcut. If you want control, use the Shape tool. Once you know how both methods work, you can build cleaner documents, better diagrams, sharper layouts, and fewer “Why is this line stuck to my paragraph?” moments.
That is a pretty solid return on investment for something as humble as a line.