Editorial note: This guide is written for web publication and is based on practical hairstyling methods, professional grooming guidance, and healthy hair-care principles. No source links are embedded in the article body.
Slicked-back hair is one of those rare hairstyles that can look polished, dramatic, casual, expensive, rebellious, clean, or “I woke up five minutes ago but somehow own a yacht.” The magic is in the technique. A good slick back should look intentional, smooth, and securenot greasy, crunchy, or like your hair just lost an argument with a bottle of gel.
Whether you want a classic men’s slick back, a sleek ponytail, a low bun, or a wet-look style for short, medium, long, straight, wavy, curly, or coily hair, the basic formula is simple: prep the hair, apply the right product, brush or comb it into shape, and lock it in without creating painful tension at the scalp.
This guide covers three quick and easy slick-back tutorials, plus product tips, common mistakes, hair-type adjustments, and real-world styling experience so your hair stays neat without looking like a helmet with ambition.
What Does “Slicking Your Hair Back” Actually Mean?
To slick your hair back means to smooth the hair away from the face and direct it toward the crown, nape, ponytail, bun, or back of the head. The look can be shiny and wet, soft and natural, sculpted and formal, or clean and workplace-friendly. It is a technique more than a single haircut.
The slicked-back hairstyle works because it creates a clean line around the face. It highlights cheekbones, eyebrows, jawline, earrings, makeup, facial hair, or a sharp collar. That is why it appears everywhere: red carpets, offices, weddings, gyms, formal events, dance studios, barber chairs, and the occasional emergency “my hair is not cooperating” morning.
Before You Start: Tools and Products You Need
You do not need a professional salon kit to slick your hair back, but the right tools make the difference between sleek and suspiciously sticky.
Basic Tools
- Wide-tooth comb for detangling
- Fine-tooth comb for sharp lines and polished control
- Boar-bristle brush or smoothing brush for flyaways
- Hair ties, bobby pins, or clips if creating a ponytail or bun
- Spray bottle with water for refreshing hair
- Edge brush or clean toothbrush for baby hairs and hairline details
- Blow dryer if you want volume or a long-lasting shape
Best Products for Slicked-Back Hair
The best slick-back product depends on your hair type and the finish you want.
- Pomade: Best for classic slick backs, medium hold, shine, and flexible control. Great for short to medium hair and many curly textures.
- Gel: Best for strong hold, glossy looks, sleek buns, ponytails, and flyaway control. Use carefully to avoid crunch.
- Styling cream: Best for a softer, natural slick back with less shine. Helpful for dry, thick, or frizz-prone hair.
- Wax stick: Best for taming baby hairs, short layers, and last-minute flyaways.
- Hairspray: Best as a final seal, especially in humidity or for events.
- Leave-in conditioner: Best for curly, coily, dry, or textured hair before adding gel.
- Hair oil or serum: Best for shine and smoothing, but use a tiny amount unless you are intentionally creating a wet look.
Here is the easiest rule: pomade gives classic polish, gel gives strong hold, cream gives softness, wax controls details, and hairspray tells everything to stay where it is.
Tutorial 1: The Classic Slick Back for Short or Medium Hair
This is the timeless slick-back style often seen with short sides, medium length on top, or a neat layered cut. It works well for men’s grooming, formal looks, professional settings, and anyone who wants hair pushed back without a ponytail.
Best For
Short hair, medium hair, straight hair, wavy hair, thick hair, barbered cuts, side parts, and neat everyday styling.
Step 1: Start With Damp, Towel-Dried Hair
Damp hair is easier to shape than completely dry hair. After washing or wetting your hair, gently towel-dry it until it is not dripping. Your hair should feel slightly moist, not soaked. If your hair is too wet, the product may dilute and lose hold. If it is too dry, it may fight you like a tiny forest.
Step 2: Detangle From Ends to Roots
Use a wide-tooth comb to remove knots. Start at the ends, then work upward. This prevents unnecessary pulling and helps the hair lie smoothly. Detangling first also stops product from clumping in one area.
Step 3: Apply Pomade or Styling Cream
Scoop a small amount of pomade, cream, or lightweight gel. Rub it between your palms until it warms up and spreads evenly. Start with less than you think you need. You can always add more, but removing too much product usually requires a sink, regret, and a fresh start.
Apply product from the back and middle of the hair first, then move toward the front. This helps prevent a heavy, greasy patch right at the hairline. Work the product from roots to ends so the hair actually stays back instead of only looking shiny on top.
Step 4: Comb Hair Back Into Shape
Use a comb to direct the hair straight back from the forehead. For a softer style, use your fingers after combing to break up strict lines. For a sharper old-school finish, use a fine-tooth comb and keep the comb marks clean.
Step 5: Add Volume or Keep It Flat
If you want a modern slick back, lift the front slightly with your comb or fingers while blow-drying on low heat. This creates shape instead of flattening everything to the scalp. If you want a very sleek, close-to-the-head look, brush the hair flat and use a little extra product on the sides.
Step 6: Lock It In
Finish with a light mist of hairspray if you need long wear. For a natural finish, skip hairspray and let the pomade provide flexible hold. The final result should move a little but not collapse the moment you turn your head.
Tutorial 2: The Sleek Ponytail or Low Bun
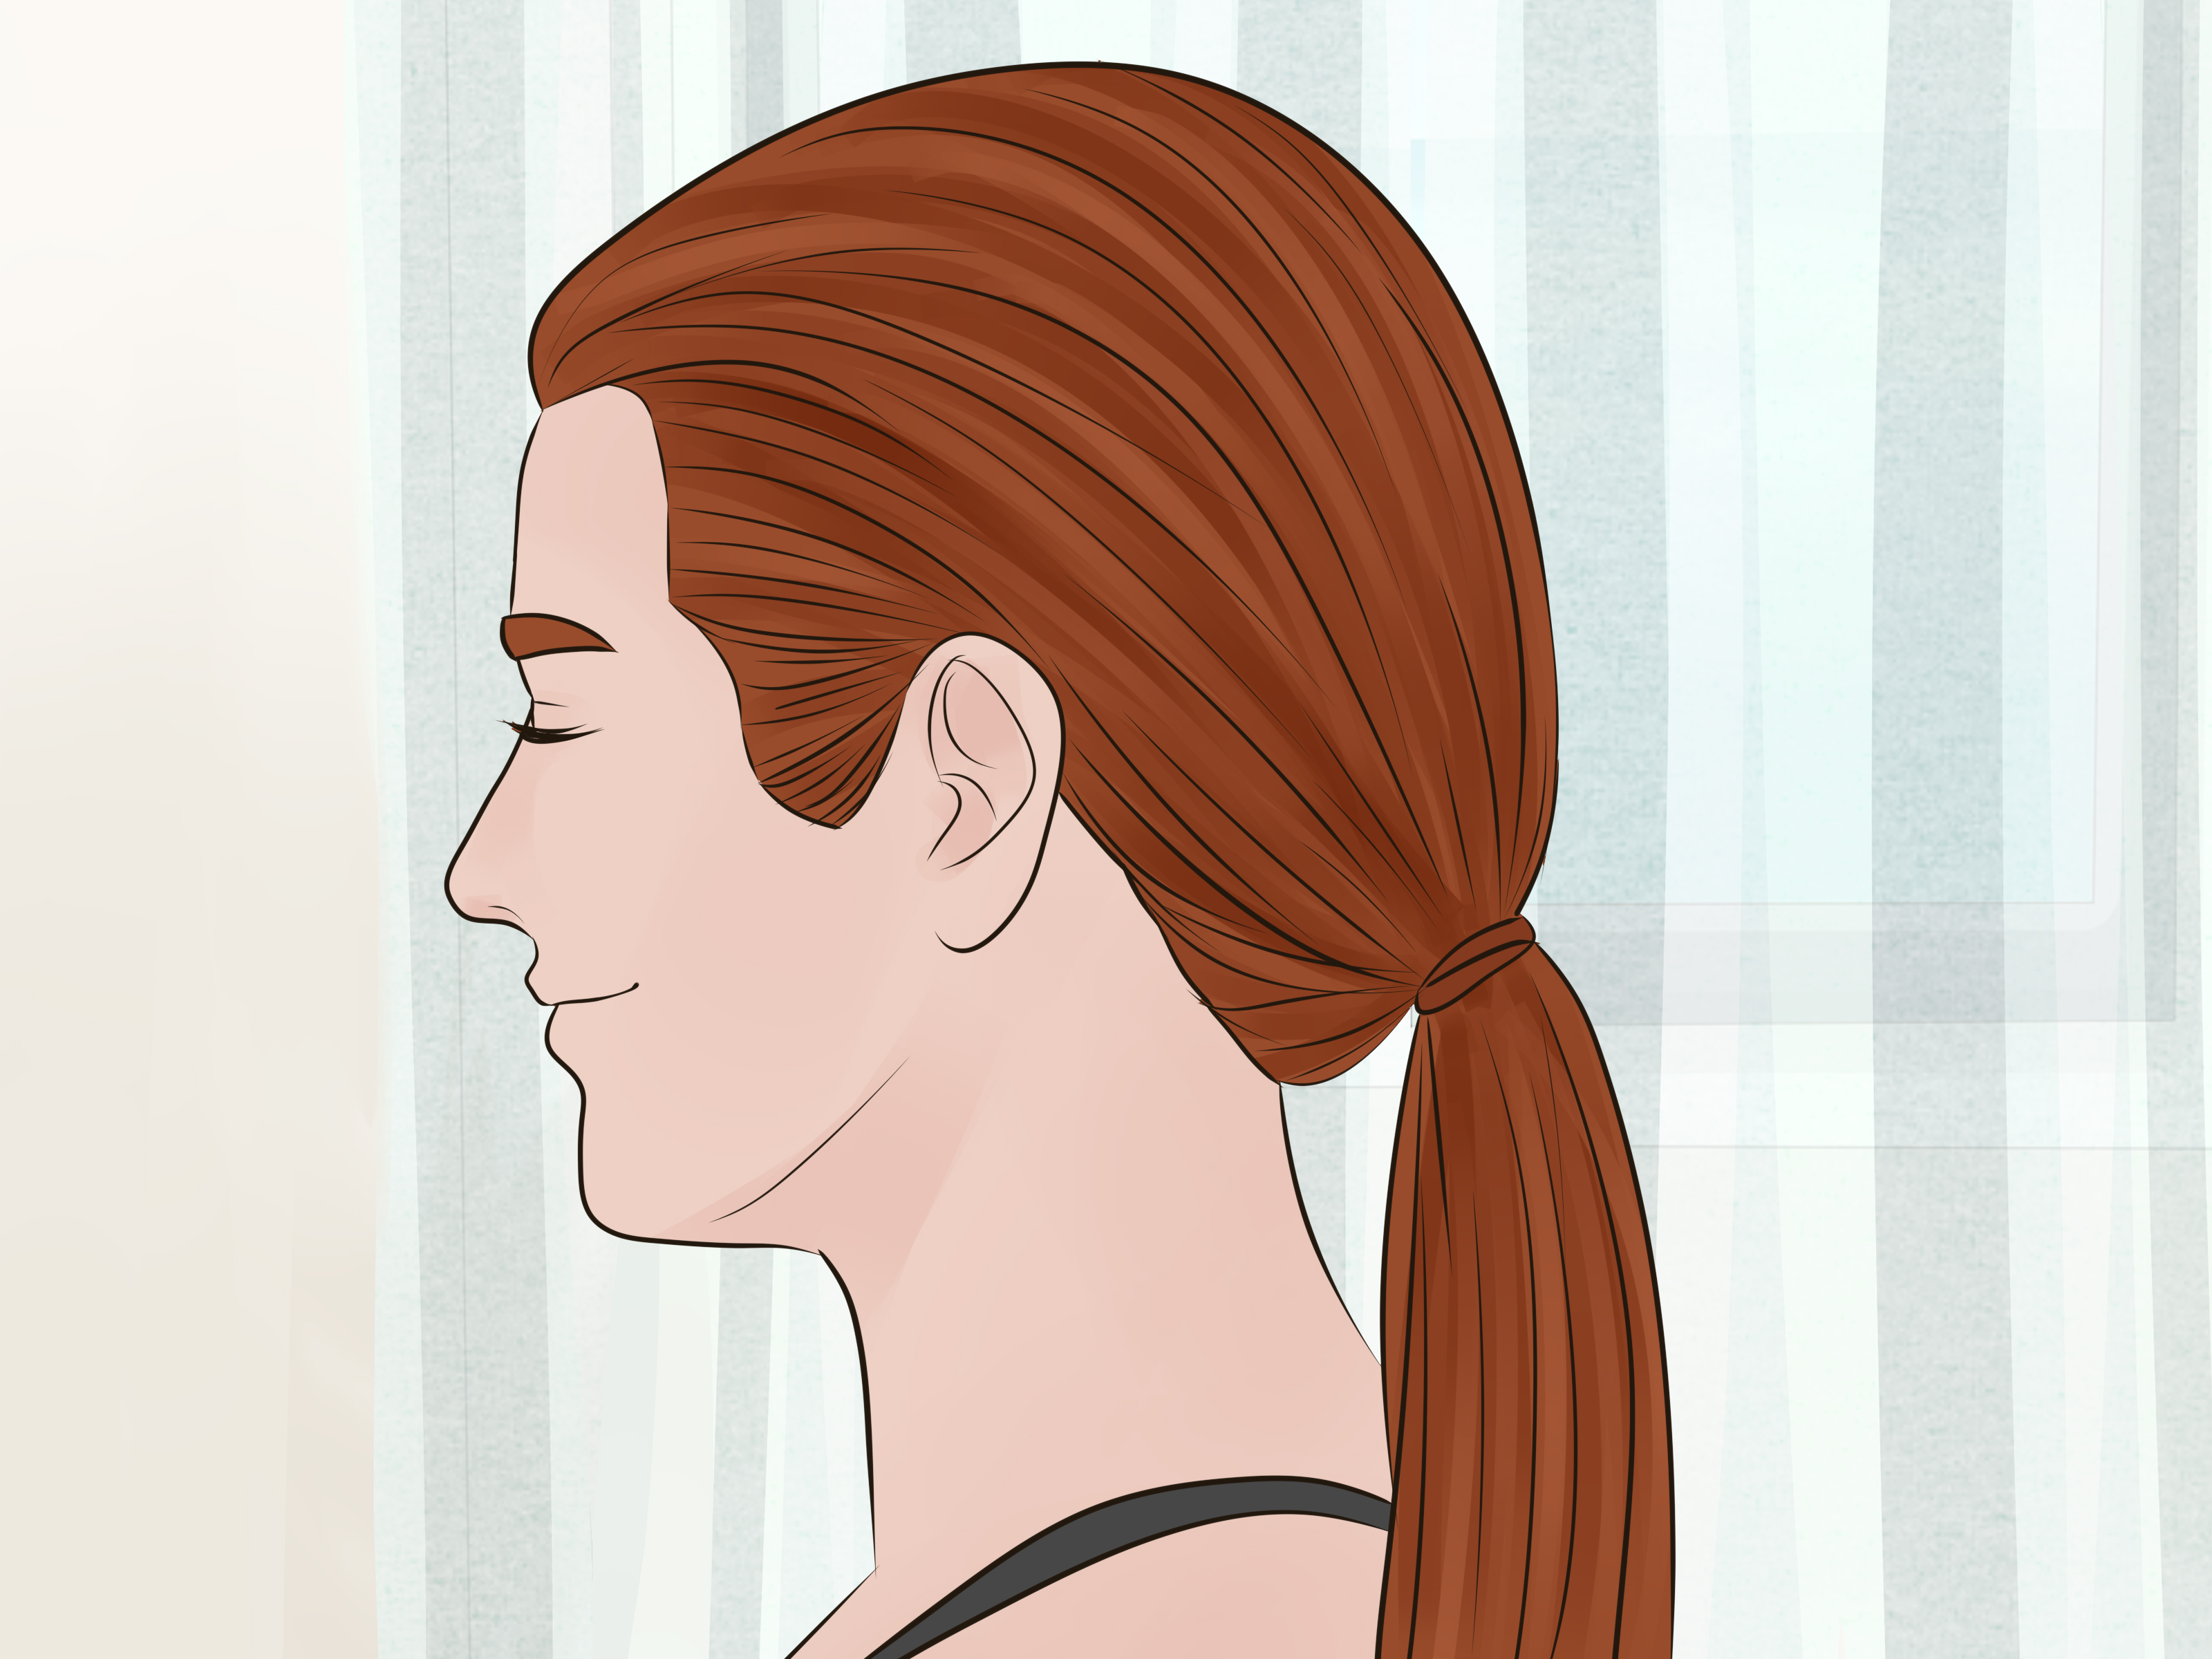
The slicked-back ponytail or bun is fast, elegant, and extremely useful when your hair is on day two, day three, or “please do not ask” day four. It works for casual outfits, formal dresses, work meetings, workouts, weddings, and bad hair days that deserve a second chance.
Best For
Long hair, medium hair, bobs that can be tied back, straight hair, wavy hair, curly hair, coily hair, natural hair, and anyone who wants a clean face-framing style.
Step 1: Decide on Your Part
You can slick everything straight back, create a middle part, or choose a deep side part. A middle part feels modern and balanced. A side part adds drama. No part gives a clean, athletic, model-off-duty look.
Step 2: Mist and Smooth
Lightly mist the top and sides of your hair with water. If your hair is curly, coily, dry, or textured, add a leave-in conditioner or light styling cream first. This gives the hair slip and reduces the need to pull hard while brushing.
Step 3: Work in Gel or Styling Cream by Sections
For thick or textured hair, sectioning is the secret. Apply product to the front, sides, crown, and underneath instead of only smoothing the top layer. This prevents the dreaded “sleek outside, puffy surprise inside” effect.
Use gel if you want strong hold and shine. Use styling cream if you prefer a softer look. For a very sleek bun, combine a small amount of leave-in conditioner with gel so the style stays smooth without feeling dry.
Step 4: Brush Hair Toward the Ponytail Point
Use a smoothing brush to gather hair toward your desired position. A low ponytail at the nape looks elegant and minimal. A mid-height ponytail looks sporty and clean. A high ponytail feels bold and lifted.
Brush in the direction you want the hair to lie, and pause to smooth bumps as you go. Do not yank. A slick back should be secure, not a scalp negotiation.
Step 5: Secure Without Over-Tightening
Use a covered elastic, silk scrunchie, or hair tie designed for styling. Tight ponytails and buns can stress the hairline when worn repeatedly, so aim for firm but comfortable. If your eyebrows feel like they have moved to a new zip code, loosen it.
Step 6: Create the Bun or Leave the Ponytail
For a ponytail, smooth the tail with a little cream, oil, or serum. For a bun, twist the ponytail around the base and secure it with pins or another hair tie. Keep the bun neat, but do not twist so tightly that it causes scalp pain.
Step 7: Finish the Hairline
Use an edge brush, toothbrush, wax stick, or tiny amount of gel to smooth baby hairs and flyaways. Finish with hairspray if needed. For extra hold, tie a silk or satin scarf around the hairline for 10 to 15 minutes while the style sets.
Tutorial 3: The Wet-Look Slick Back
The wet-look slick back is glossy, editorial, and dramatic. It says, “I am hydrated, mysterious, and possibly walking into a fashion show.” This style can work on short hair, bobs, curls, waves, and long hair worn down or tucked behind the ears.
Best For
Parties, photos, evening events, short hair, bobs, waves, curls, and anyone who wants a shiny, bold finish.
Step 1: Begin With Damp Hair
Wet-look hair starts with moisture, but your hair should not be soaking. Blot with a towel so the hair stays damp enough to shape but not wet enough to drip on your shirt like a leaky faucet.
Step 2: Mix Gel With Cream or Serum
Gel gives hold; cream or serum gives softness and shine. A good cocktail is one part gel with a small amount of styling cream or anti-frizz serum. Curly hair often benefits from more cream, while straight hair usually needs more gel for hold.
Step 3: Apply From Roots to Mid-Lengths
Work the product through the top and sides first. For a true wet look, continue through the mid-lengths and ends. For a more wearable style, keep the wet effect closer to the roots and let the ends remain softer.
Step 4: Comb Back or Shape With Fingers
For a sleek finish, use a wide-tooth comb and direct the hair backward. For curls and waves, use fingers to preserve texture while pushing the hair away from the face. You can tuck the sides behind the ears for a clean, sculpted shape.
Step 5: Set With Hairspray
Wet-look styles need a final seal because shine products can move. Use a flexible or medium-hold hairspray to keep everything in place. Avoid touching your hair too much afterward, unless your goal is “fashionable chaos,” which is a valid but separate tutorial.
How to Slick Back Different Hair Types
Fine Hair
Fine hair can look greasy quickly, so use lightweight products. Choose a light pomade, mousse, spray gel, or styling cream. Apply product mainly at the roots and mid-lengths, and use a blow dryer for lift before combing back. Avoid heavy oils unless you are using only a drop.
Thick Hair
Thick hair needs control. Use pomade, wax, strong cream, or gel. Section the hair so product reaches the inner layers. A blow dryer helps train the hair backward before the product sets.
Curly Hair
Curly hair usually needs moisture before hold. Start with water or leave-in conditioner, then apply gel or cream. Use a brush only where you want smoothness. Let curls remain defined in the ponytail, bun, or ends if you want texture.
Coily or Natural Hair
Work in sections and use hydrating products before gel. A smoothing brush, edge brush, and scarf-setting method can help create a polished finish without excessive tension. Choose products that provide hold without drying out the hair.
Short Hair
Short hair is ideal for slick backs because it needs less product and dries quickly. Use gel for a glossy look, pomade for a classic finish, or wax for texture. Comb back while damp and refine with fingers.
Long Hair
Long hair often looks best in a ponytail, bun, or half-slick style. Focus product near the scalp and hairline so the roots stay smooth while the lengths remain soft. Too much product through the ends can make long hair feel heavy.
Common Slick-Back Mistakes to Avoid
Using Too Much Product
Too much gel or pomade can make hair look oily, stiff, or flaky. Start small. Add more only where needed. Most slick-back disasters begin with confidence and a scoop the size of a cookie.
Skipping Detangling
If you apply product over knots, the final style will look uneven. Detangle first, especially if you have long, curly, or textured hair.
Pulling Hair Too Tight
A sleek style should not hurt. Repeated tight ponytails, buns, braids, or updos may contribute to breakage and hairline stress. Keep the style comfortable, change the placement often, and give your scalp breaks.
Ignoring Hair Texture
The same product will not behave the same way on every head. Fine hair may need light hold. Thick hair may need stronger control. Curly and coily hair usually need moisture first. Customizing the method matters more than copying a video exactly.
Forgetting the Finish
The final finish decides the mood. High shine looks formal and dramatic. Matte or natural finishes look relaxed. A little hairspray adds longevity. A wax stick fixes flyaways. Small details make the style look deliberate.
How Long Does Slicked-Back Hair Last?
A classic slick back can last all day if you use the right product and avoid touching it. A sleek bun or ponytail can last through work, dinner, and errands. A wet-look slick back usually needs more maintenance because glossy products can shift, especially in heat or humidity.
For longer wear, set the style in layers. Apply product, brush, secure, add detail product, then finish with hairspray. If you are styling for a wedding, photoshoot, performance, or long event, bring a travel-size comb, mini hairspray, or wax stick for touch-ups.
How to Remove Slick-Back Products Without Damaging Hair
At the end of the day, do not rip through hardened gel or heavily styled hair. Mist with water first or step into the shower and let warm water soften the product. Use shampoo at the scalp and conditioner through the lengths. If you used a lot of wax or pomade, you may need a second gentle shampoo.
After washing, apply conditioner or leave-in product if your hair feels dry. Slicked-back hairstyles are easier to repeat when the hair is healthy, moisturized, and not overloaded with old product.
of Real Styling Experience: What Actually Works in Everyday Life
The first thing most people learn about slicking hair back is that the mirror is honest but bathroom lighting is dramatic. A style that looks perfect at home can suddenly reveal bumps, flyaways, or an accidental crunchy patch when you step outside. The good news is that slicked-back hair gets much easier once you understand your own hair’s personality.
For example, fine hair usually behaves best when you use less product than the tutorial suggests. A pea-size amount of pomade or a few sprays of lightweight styling mist may be enough. The goal is direction and control, not coating every strand until it looks laminated. Fine hair also benefits from blow-drying backward first. Even one minute of airflow can teach the roots where to go.
Thick hair is the opposite. Thick hair often laughs at tiny product amounts. The trick is sectioning. Instead of smoothing only the top, lift the hair and apply product underneath. This makes the style hold from the inside, not just the surface. It is like building a house: if the foundation is fluffy, the roof will not save you.
Curly and coily hair often look incredible in slicked-back buns and ponytails, but moisture matters. A water mist, leave-in conditioner, and gel combination tends to work better than gel alone. Gel by itself may create hold, but it can also feel dry or tight. Adding hydration first makes brushing easier and helps the final style look sleek rather than stressed.
Another real-life lesson: the hairline deserves kindness. It is tempting to pull tighter when you see bumps, but tension is not the only path to sleekness. More smoothing product, a better brush, sectioning, and scarf-setting can do the job with less pulling. If a ponytail gives you a headache, it is not “snatched”; it is a warning sign wearing lip gloss.
For humid weather, hairspray is your friend. A slick back without hairspray can survive a calm office day, but humidity has a personal vendetta against smooth hair. A light final mist helps preserve the shape. For flyaways, a wax stick or a tiny amount of gel on an edge brush is more precise than adding product everywhere.
The most reliable everyday slick-back routine is simple: dampen the hair, detangle, apply product in small layers, brush into shape, secure gently, refine the hairline, and set. Once you find the product combination that works for your texture, the whole process can take five minutes or less. That is the real beauty of slicked-back hair: it looks like effort, but once you know the steps, it becomes one of the fastest hairstyles in your rotation.
Conclusion
Learning how to slick your hair back is less about copying one perfect hairstyle and more about understanding product, texture, tension, and finish. A classic slick back needs direction and flexible hold. A sleek ponytail or bun needs smoothing, sectioning, and gentle security. A wet-look slick back needs shine, gel, and a confident attitude that says, “Yes, I meant to look this polished.”
Start with damp, detangled hair. Choose pomade for classic shine, gel for strong hold, cream for softness, and hairspray for staying power. Adjust the method for your hair type, avoid painful tension, and keep a small flyaway tool nearby. With a little practice, slicked-back hair can become your fastest route to looking clean, stylish, and completely in controleven when your morning was absolutely not.